How To Replace A Drawer Bottom-Furniture Repair
As an Amazon Associate, I earn from qualifying purchases.
Replace A Drawer Bottom
We are going to replace a drawer bottom today. No, sorry, I didn’t get that piece of furniture painted like I was supposed to. But I have some photos of work in progress at the end of this post, just to prove to you that I am painting furniture. We made some furniture repairs on another piece to prep it for painting.

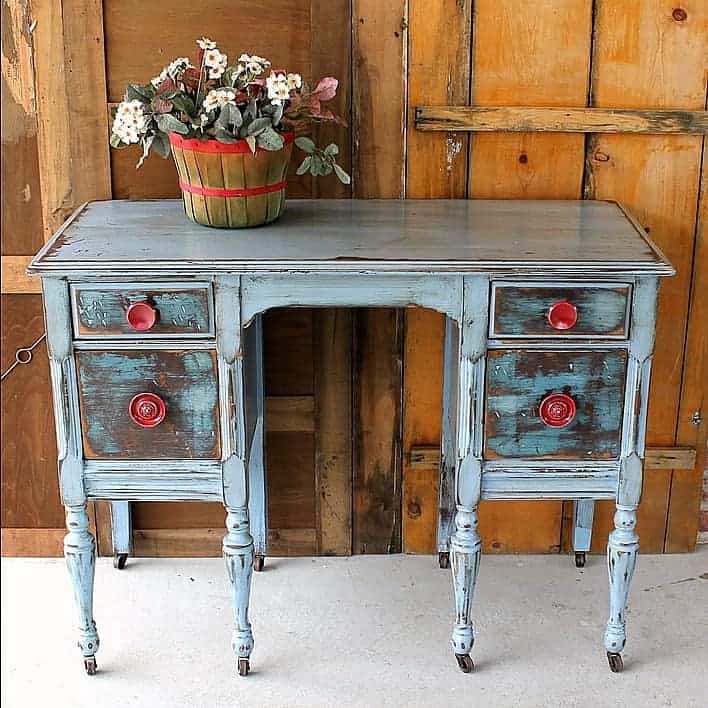
You got a little peak of this piece last week. I picked it up on the latest trip to My Favorite Junk Shop.

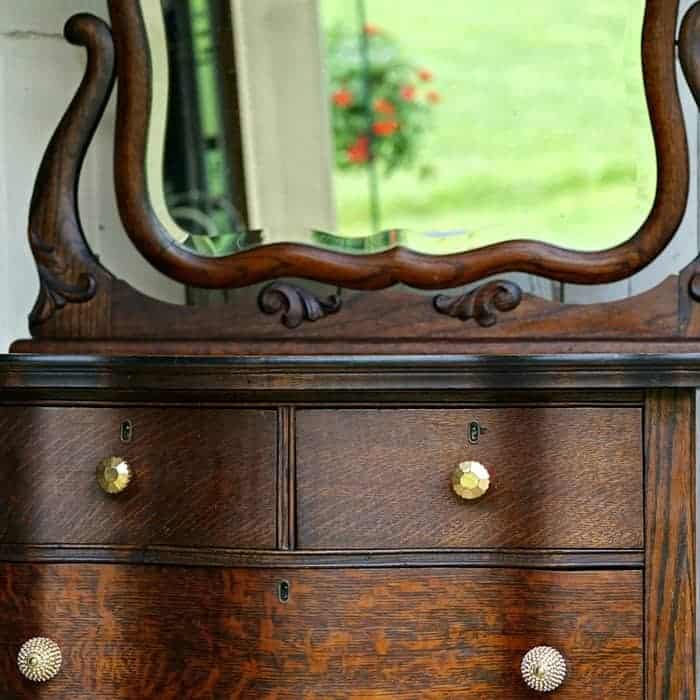
This is the part you didn’t see. The top drawer and the bottom drawer were missing their bottoms. Very seldom do I buy a piece of furniture that doesn’t need repairs of come kind.

I knew the Junktion Technical Specialist (also known as my handy husband and the JTS) could repair the drawers for me. We made a trip to Home Depot because we were out of the wood we use for projects like this. We purchased a 5.0mm 4 x 8 sheet of underlayment for $15.97 plus tax. Here the JTS is marking the measurement for the drawer bottom.

Pictures are out of order but this is where he measured the length and width of the drawer on the underside. If you’ve ever noticed most of the drawers have a grooved slot on three sides and you can slide the drawer bottom into the slotted grooves from the back side.
The JTS cutting the underlayment with the table saw. Don’t call the safety police please. I always tell him to wear the safety goggles but he says his glasses are good enough. Not in my book.

He slid the bottom into the slots and the fit was good the first time! Just to make sure the bottom stays in place he used the nail gun to secure it to the casing.

two nice new drawer bottoms
Did you know how to replace a drawer bottom?

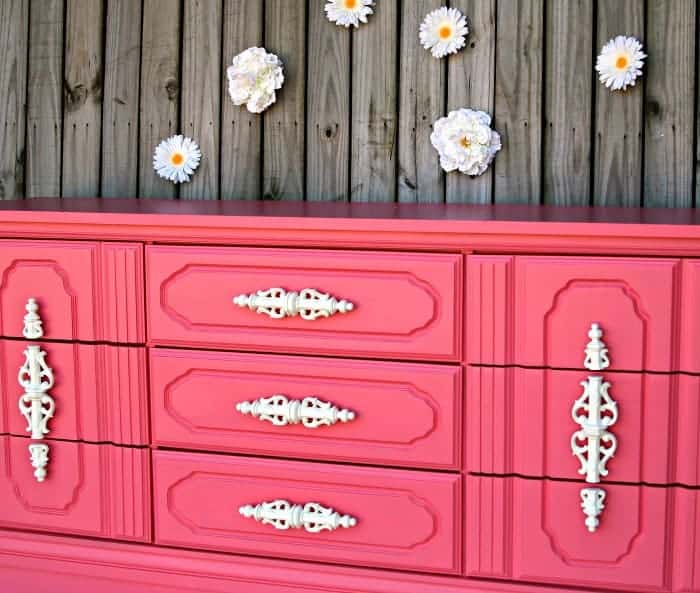
This is the piece I’m in the process of painting.

Yes it’s white. But what other plans do I have for it?? You can leave me a note below. I love hearing from you. Thanks for stopping by and have a great week, Kathy
You’re welcome. My hubby is great with repairs.
Hi! i’m really glad I found this post! I’m considering pulling this dresser from the street, someone through it out because the bottom of one drawer was busted. I just wanted to know how easy it was to replace and you showed me thanks!
We both say it’s definitely better to replace the bottoms. It’s nice that you have the original bottoms for templates…if they don’t crumble too much!
Can you ask your JTS… I am trying to repair very old very dried out dresser drawer bottoms. Is it just better to replace the bottoms or is there any way to save the original bottoms – they are so dried out some of the edges crumble when I handle them.
Thank you for your time!
Patty
Just found your blog (not sure why it took so long!) and can’t stop going from article to article! You (and hubby) are a wealth of information and appreciate your sharing it for all of us! Thank you!
Robin
My drawer bottoms are really messed up so this post will really come in hand for my old dresser.
Kathy – We recently repurposed a 1930’s dresser into a vanity for our master bath. Not only did my resident JTS have to replace a couple of the drawer bottoms, but he also had to restyle the backs of several of the drawers to allow for the plumbing. We used a vessel sink sitting on top and flexible plumbing. It came out so wonderful, we are doing another smaller one for the guest bath! Gotta love those JTS’s!!!
Looks like an easy job to do. You are lucky to have a husband who is so good with DIY projects. I’m looking forward to more pictures when this is done. I can’t wait to see the finished product. I bet it’s going to be gorgeous! I absolutely have no idea how to replace drawer bottoms but i could really use some tips.
I’m going to guess there may be a bit of red added somewhere… 🙂
You’re right Andrea, they do look pink in the photos. I didn’t edit those any or adjust the colors on the photos before I posted them. Since they are not finished yet I didn’t worry with that. Come back tomorrow to see it finished!
But, Kathy! The pictures of the painted pieces look pink!!
Can’t wait to see it finished…!
Your JTS makes it look so easy! If you don’t have a JTS hubby, Home Depot or Lowe’s will cut the board for you free of charge when you buy it. It may be a good idea to take the bottomless drawer(s) to the store with you, though.