Recycle A Fish Tank Stand Into A Cute Table
As an Amazon Associate, I earn from qualifying purchases.
Reclaimed wood comes in handy when you want to recycle a fish tank stand. For this cute table I painted and white washed the wood. I also filmed a short video so you guys can see how I did the white wash.
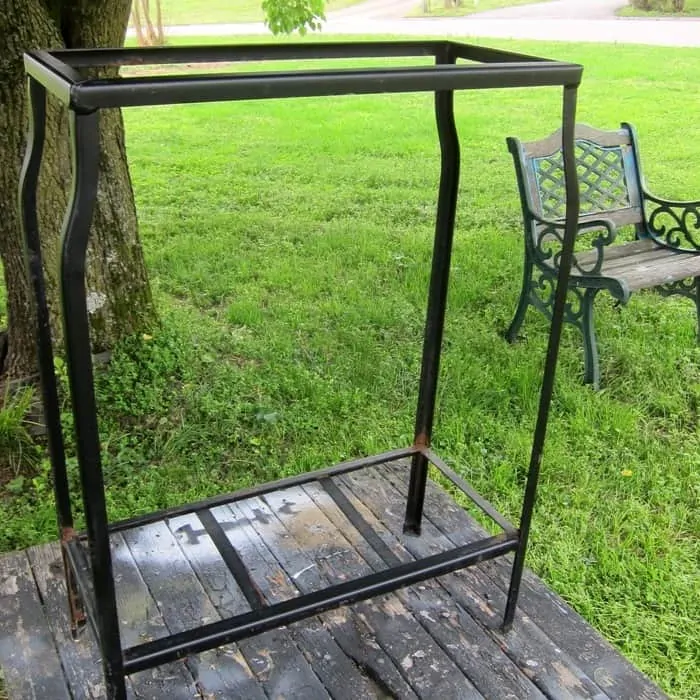
This is my fifth or sixth aquarium/fish tank stand recycle. Not quit sure of the number but I’m going to find them all and do a roundup one of these days. Those metal stands are easy to find at junk shops and flea markets so be on the lookout.
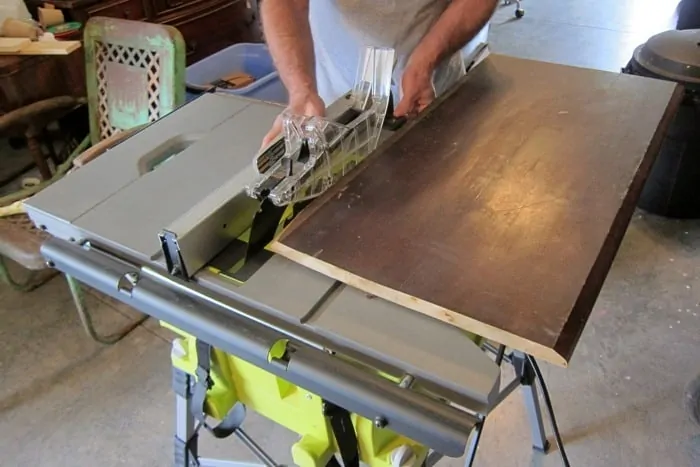
Since I have plenty of old table tops, cabinet doors, and odds and ends of reclaimed wood it’s easy to make a table using the metal stands. as the table base. I usually make the plan for the table and the JTS cuts the wood and makes it happen.
We worked on two fish tank stand tables this week and this is the first one we finished. I bought the small stand at my favorite junk shop and I’m sure the price was $5 or $10. Ten dollars is usually the max price at the junk shop.
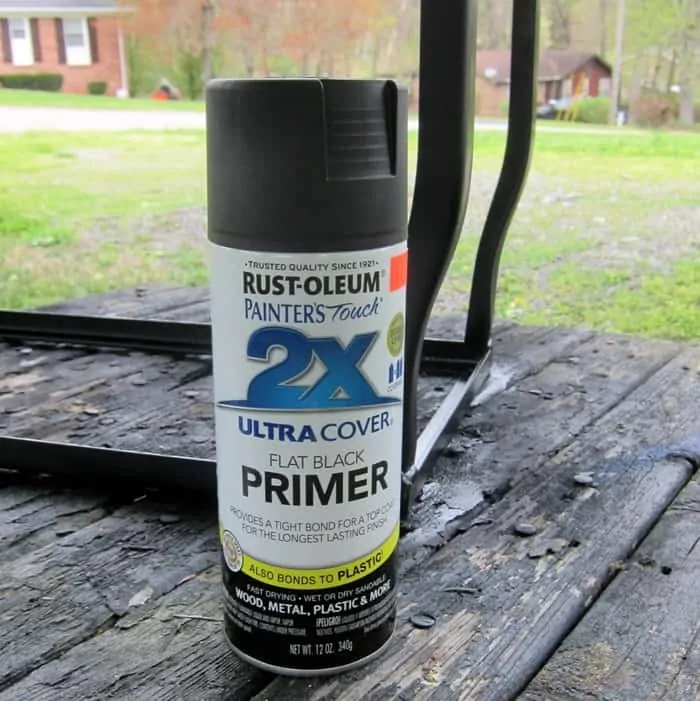
The stand was a little rusty and I applied a coat of Rustoleum Black Primer.
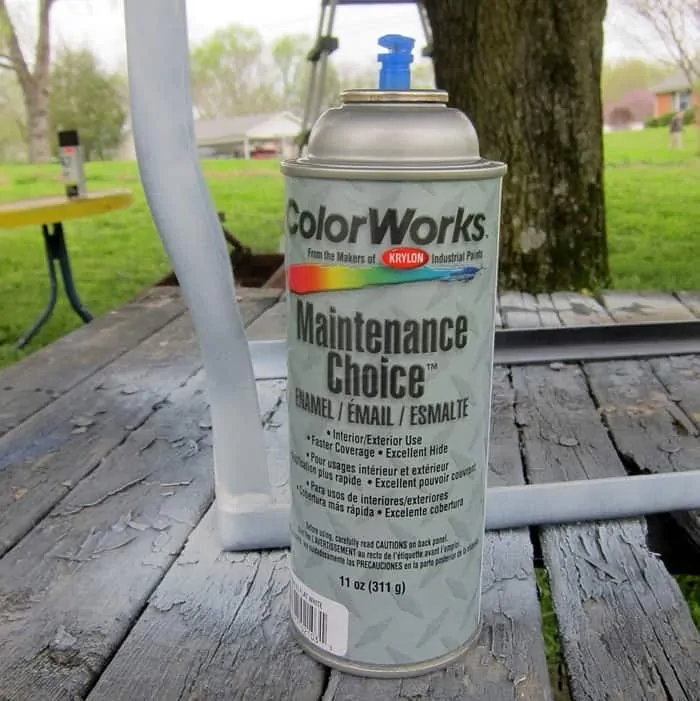
Then I painted the stand white with some spray paint the hubby bought at an auction. The paint is great and he bought a case (six cans) of it.
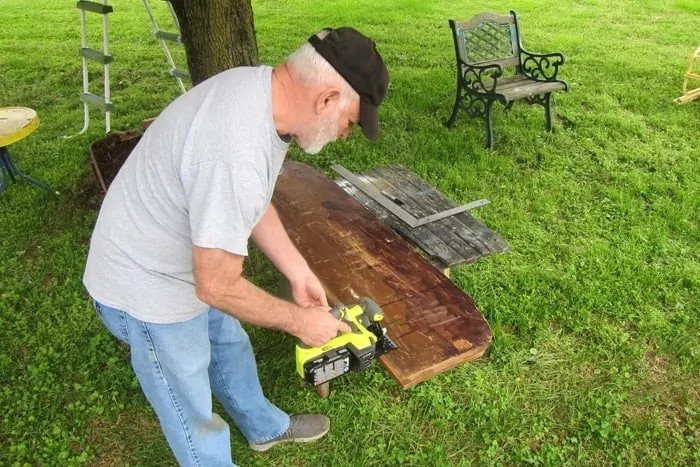
The wood for this table is a combination of two pieces of old table tops.
One reclaimed piece was cut up to go on the top of the table and one was cut up to make the bottom shelf.
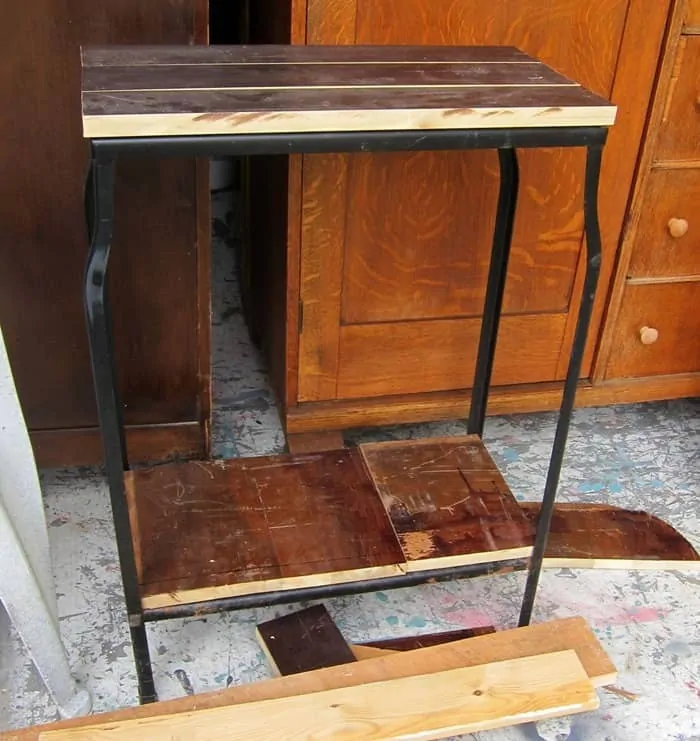
These are the pieces all cut and ready to be attached to the metal.
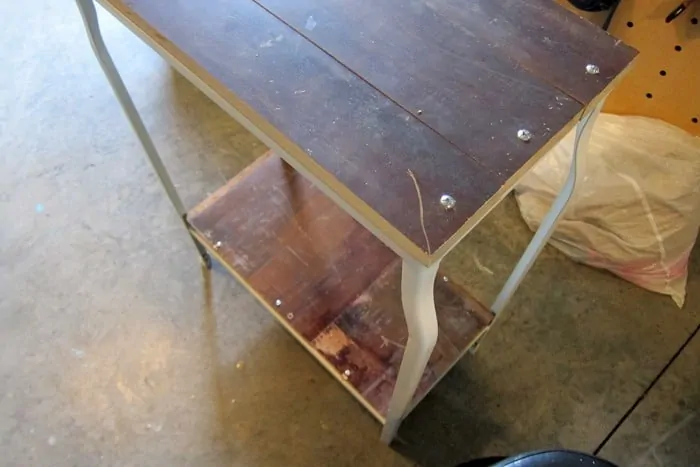
The JTS drilled holes and countersunk the screws into the wood.
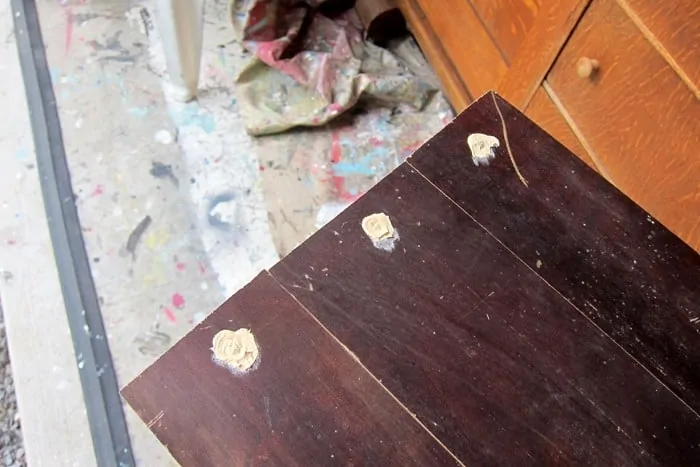
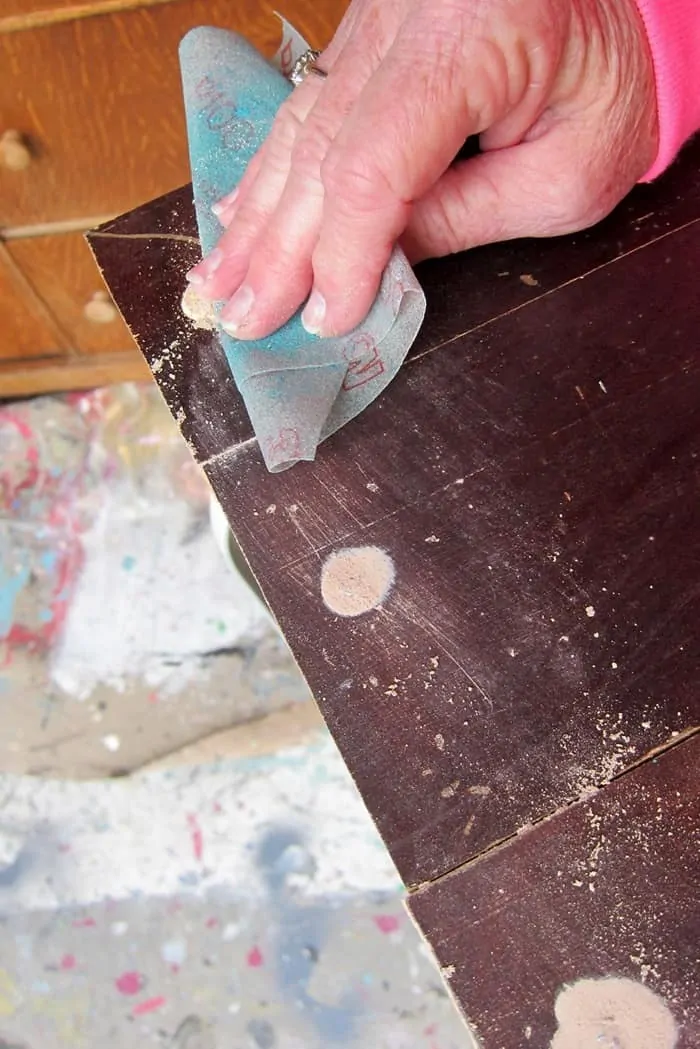
I filled the screw holes with wood putty then sanded them flush with the wood once the putty dried.
After all the sanding I cleaned the wood with Simple Green.
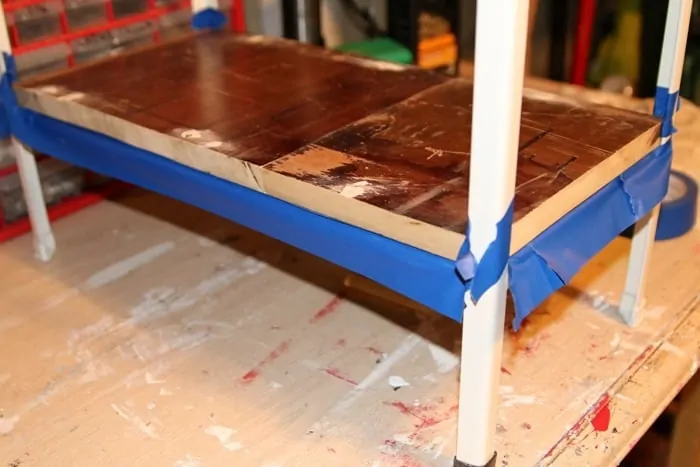
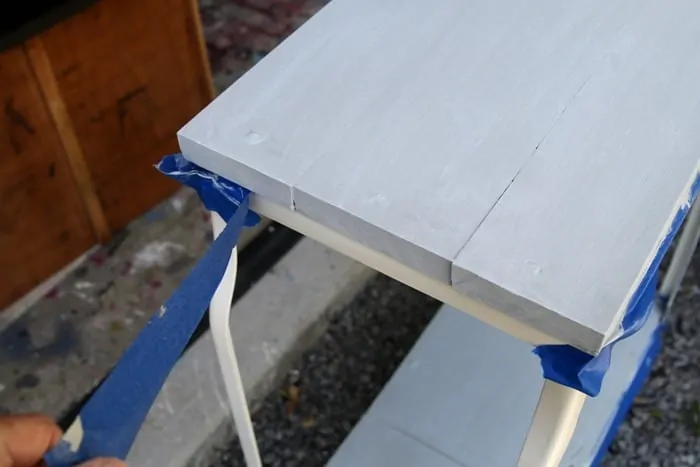
Before painting the wood I taped off the painted metal stand with 3M painters tape.
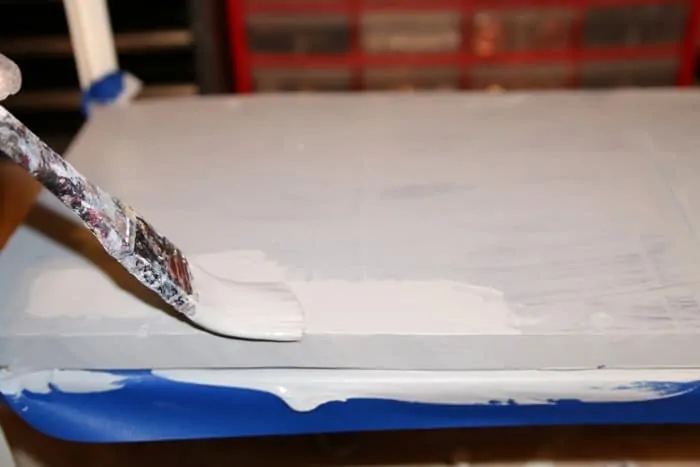
Then I applied two coats of Beyond Paint, color Soft Grey.
The next step after the gray paint dried was to apply a light white wash over the paint. I have a video of that process below….
[adthrive-in-post-video-player video-id=”I2kdnlux” upload-date=”2020-04-29T02:04:51.000Z” name=”How To White Wash Painted Wood” description=”How To Apply White Wash” player-type=”default” override-embed=”default”]
How To White Wash Painted Wood
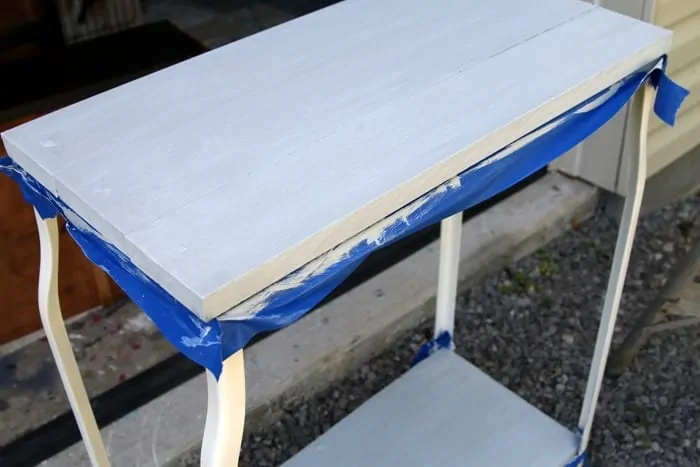
I removed the painter’s tape after the white washing was completed.
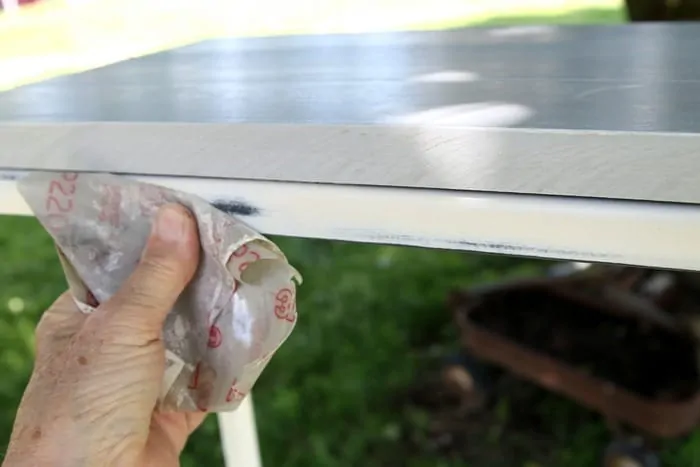
Last thing to do is a bit of distressing on the spray painted metal (you knew this was coming). I sanded the paint by hand using 3M flexible sandpaper (my favorite).
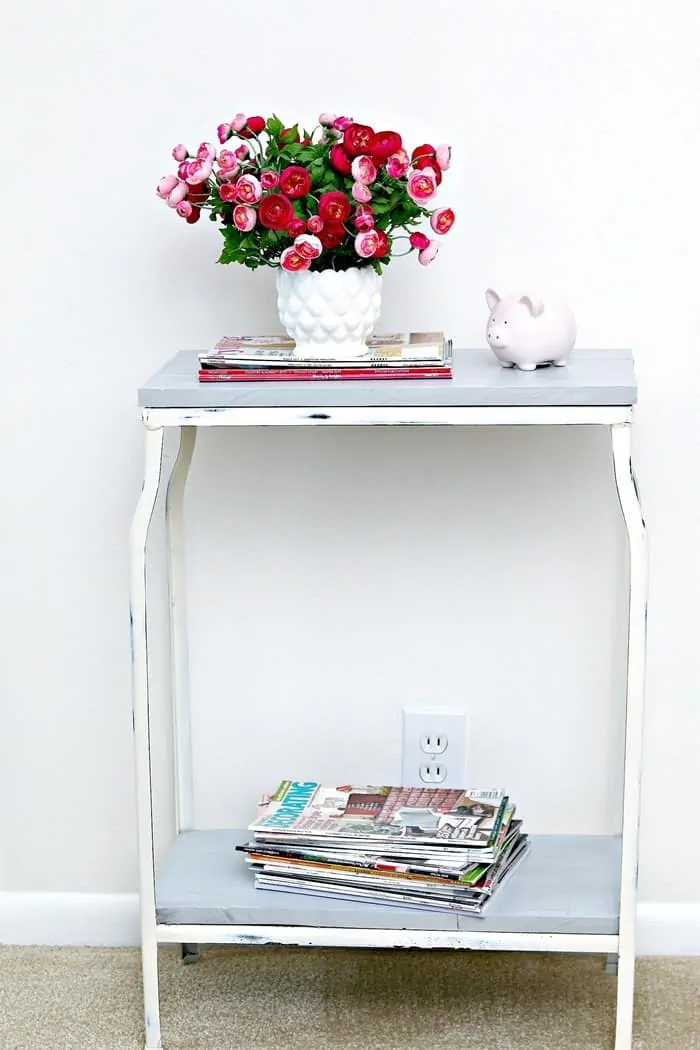
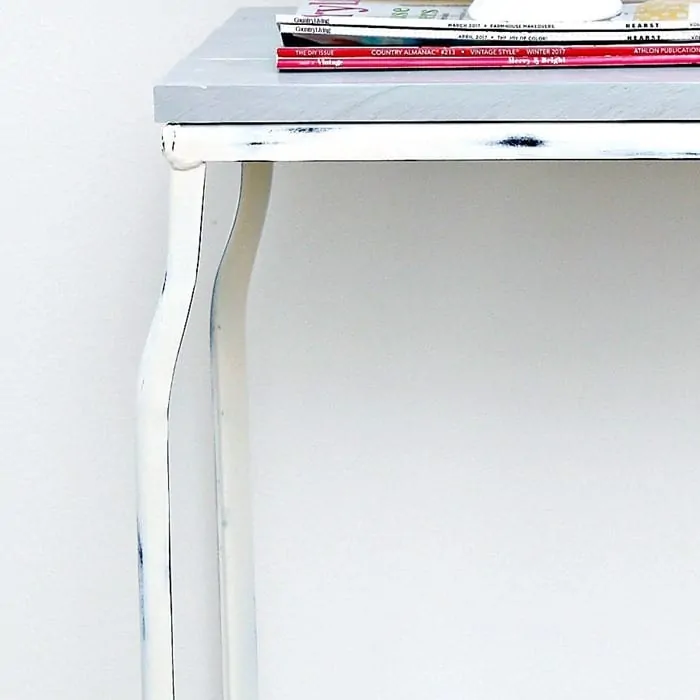
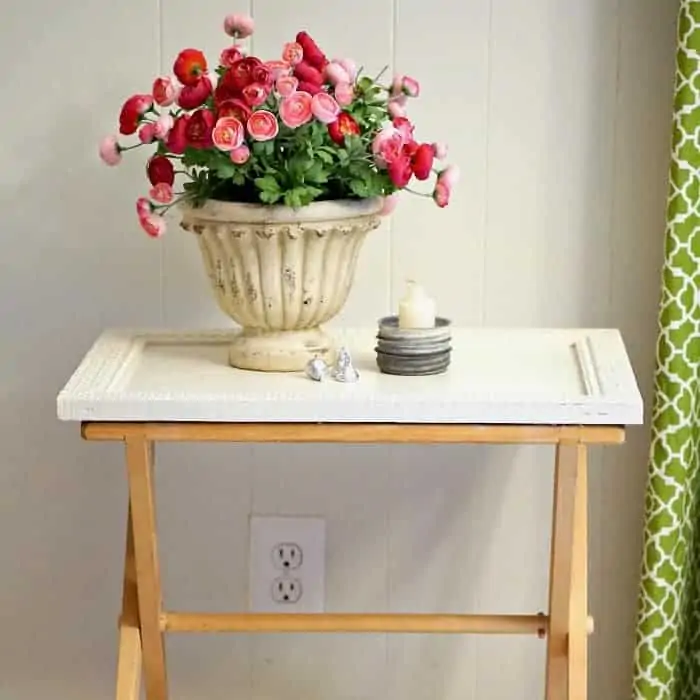
How pretty. Light and airy and just the right size for a small space.
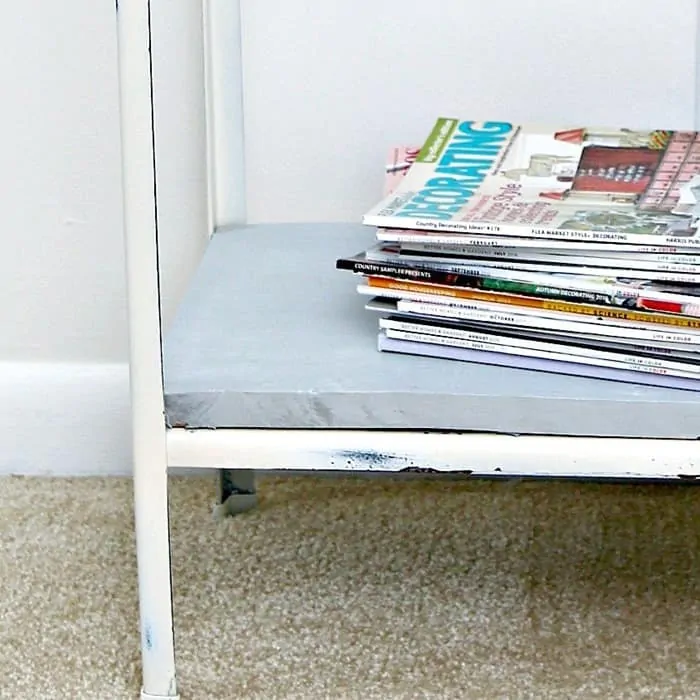
The wood, the distressing, the paint finish…..all perfectly imperfect.
The distressed paint is my favorite part of the whole project. Maybe it looks so good because of the black paint under the white??
Where would you put this table? Maybe on the porch or patio….as long as it’s in a covered area. You would need to apply an outdoor sealer to the table if it was out in the weather.
It’s Furniture Fixer Upper Day tomorrow and my furniture project is very colorful. Can’t wait for you to see it. Until tomorrow, Kathy



When you do your grateful prayers tonight, be sure to thank God for the eye you have to see the beautiful possibilities in things. Some of us don’t have that and wish we did. But, I can watch you!!
Yes, that would be pretty
This is tall enough that I’d put it in front of a window to hold my succulent plants.
Thank you. Apparently I’m doing my best work lately. I get a lot of this is my favorite piece the past couple of weeks!
Loving it! & kicking myself for passing up a stand at an auction for $1
That table is wonderful–one of my favorite projects you have shared. Thanks!
I love anything metal!! I think it would make a perfect side table anywhere. Maybe a nightstand.
LOVE IT!!!!