New Upholstered Headboard Was An Easy One Person Set Up
As an Amazon Associate, I earn from qualifying purchases.
I mentioned a few weeks ago that we painted our bedroom and I would share the reveal once it was decorated. Well, the Big C has slowed things down. I did find a new upholstered headboard at the At Home store while hubby (aka, The Junktion Technical Specialist) was in the hospital.
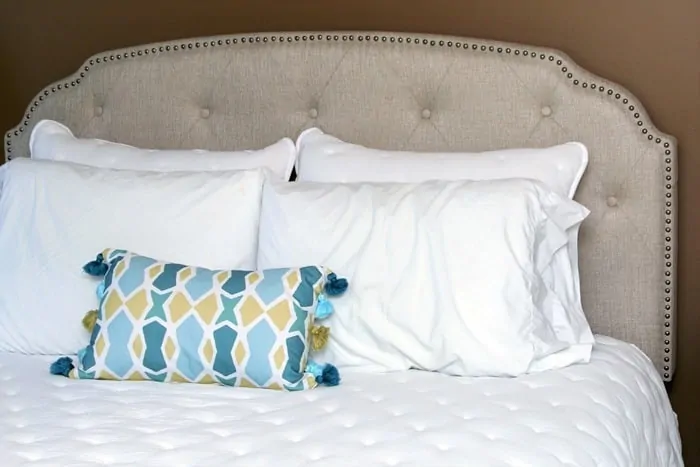
I took the big truck and picked up the headboard at the store. I unloaded it, and put it together all by myself. Then I took down the old headboard and footboard and put up the new headboard. It looks awesome.
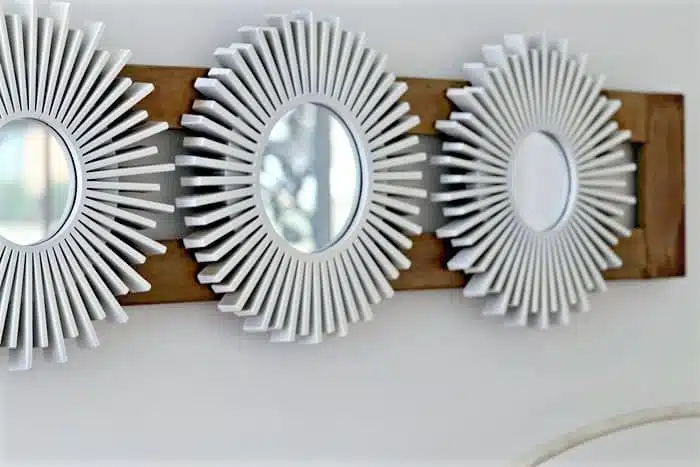
I’m excited because things are finally coming together. I painted the two nightstands we’ve had for several years and I’m really happy with them. So far I have one piece of wall decor that looks great. It’s an upcycled piece! Hoping to share those things with you this week too.
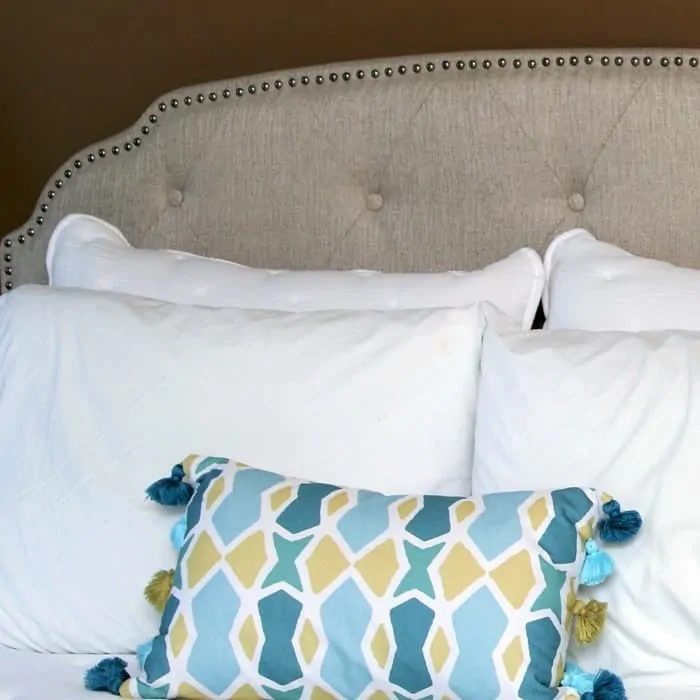
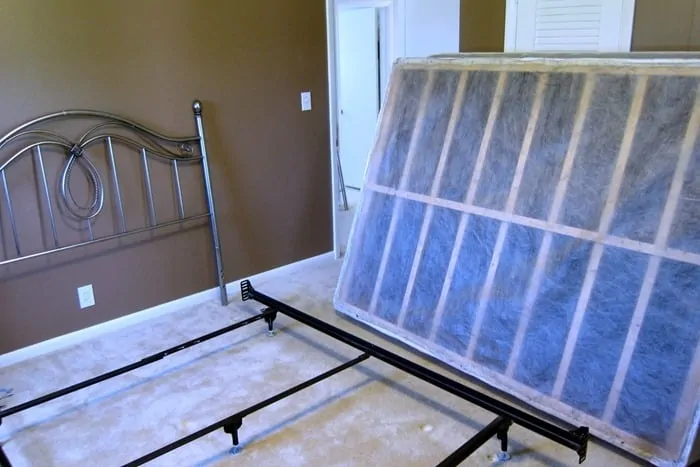
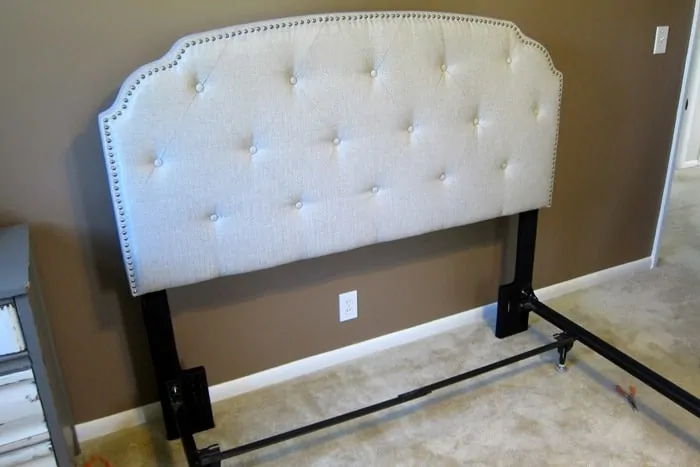
We went from a cold silver tone metal fru-fru headboard and footboard to a classy looking tufted upholstered headboard. And the headboard didn’t cost an arm and a leg.
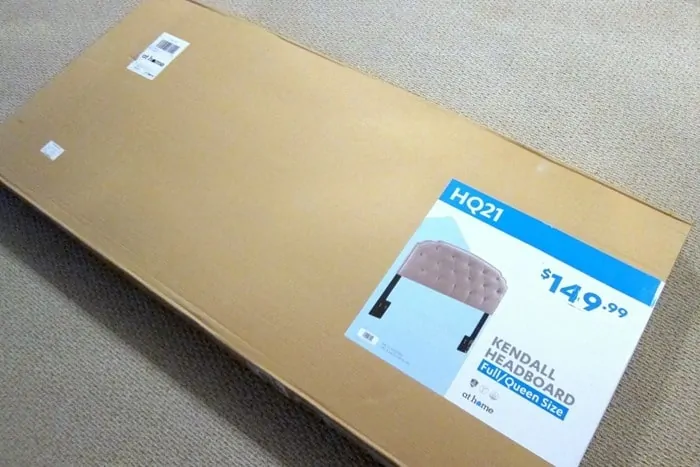
The headboard from At Home (not a sponsored post) came boxed and weighed about 44 lbs. You can see the price was only $149. A pretty good deal.
When I unloaded the headboard from the truck I dragged it into the family room and left it in the middle of the floor. I needed a big work space and that was it.
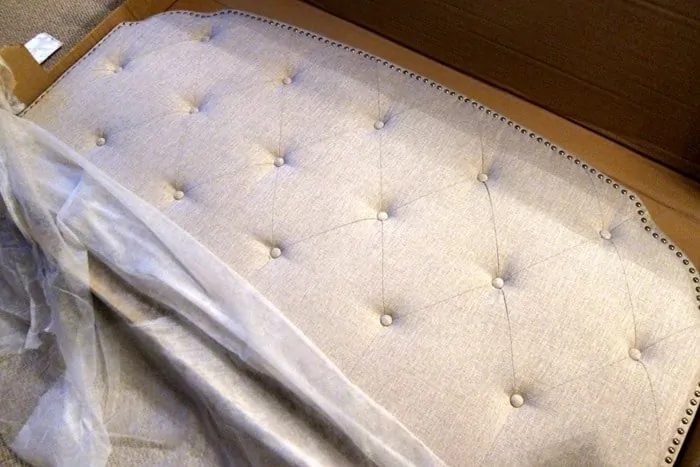
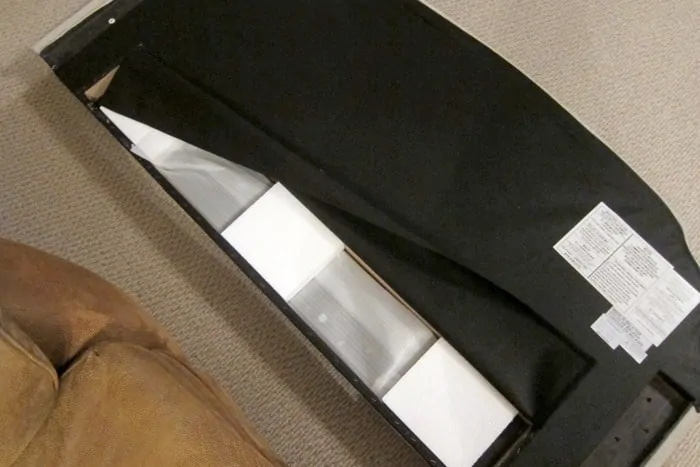
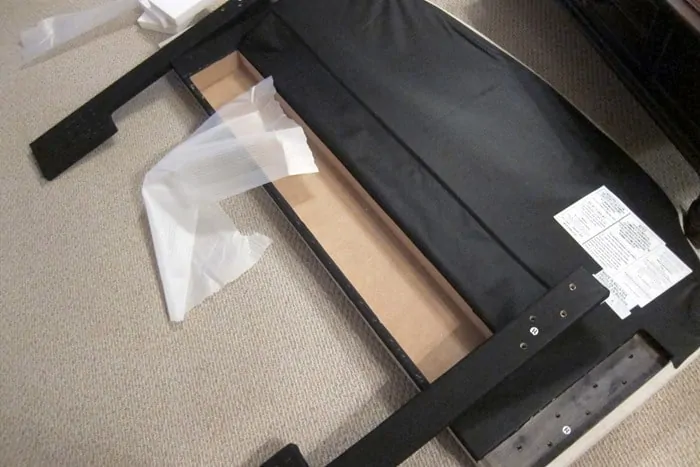
I opened the box and the headboard looked just like the one on display. I found the bag of hardware but couldn’t find the two metal legs. I almost had a fit until I turned the headboard over and looked closely at the backside.
The legs were packed inside the headboard.
I lifted the Velcroed flap and sure enough there they were.
I guess that’s a good way to package the parts. I laid the two legs in place.
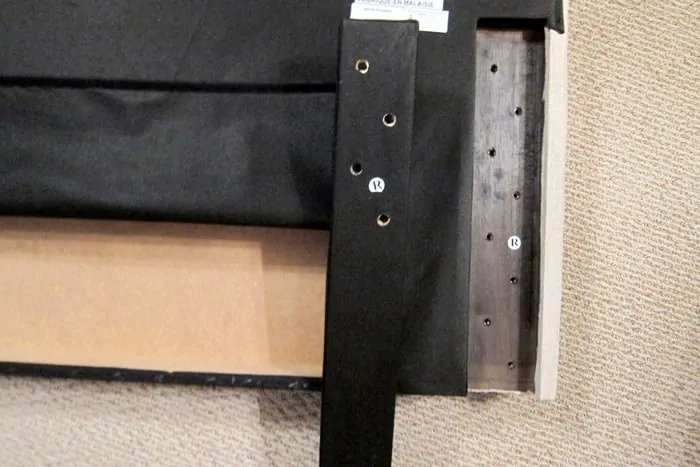
There were a lot more screw holes on the headboard than there were on the legs.
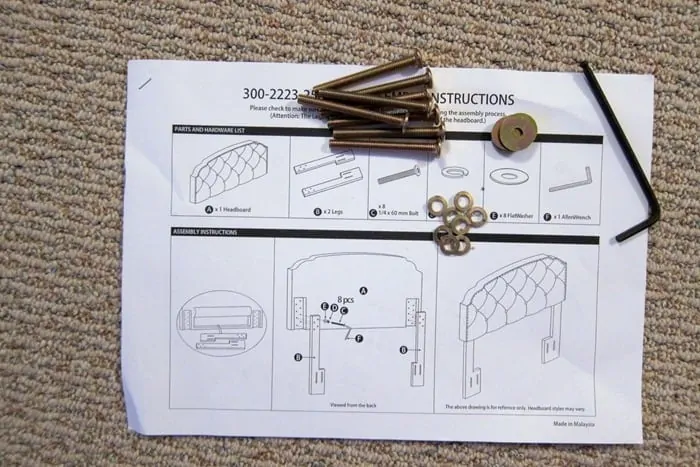
I unpackaged the hardware and counted it out to be sure it was all there. Then I figured out the extra screw holes were there so you could make the headboard as high or as low as you wanted it……or needed it.
I measured the height of our present bed from the floor to the bottom of the headboard and that was how I decided which screw holes to use. The bottom of the upholstered headboard is 24 inches from the floor.
Now remember the JTS was still in the hospital with a broken arm so I did all of this myself. Also remember I was an Army wife for 20+ years so I knew all about doing things solo. I took the old headboard and footboard off of the bed frame.
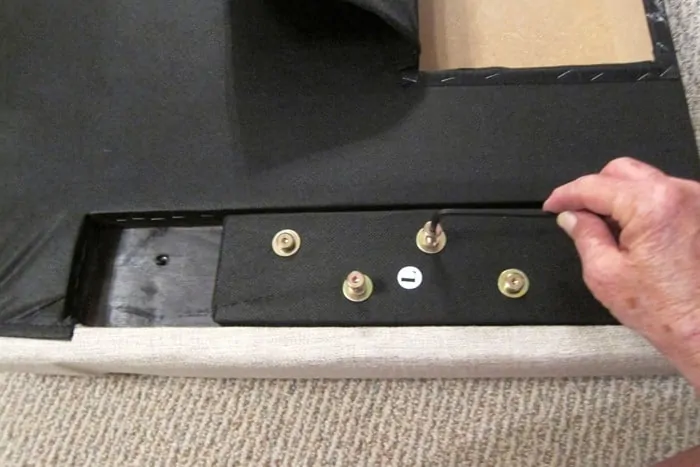
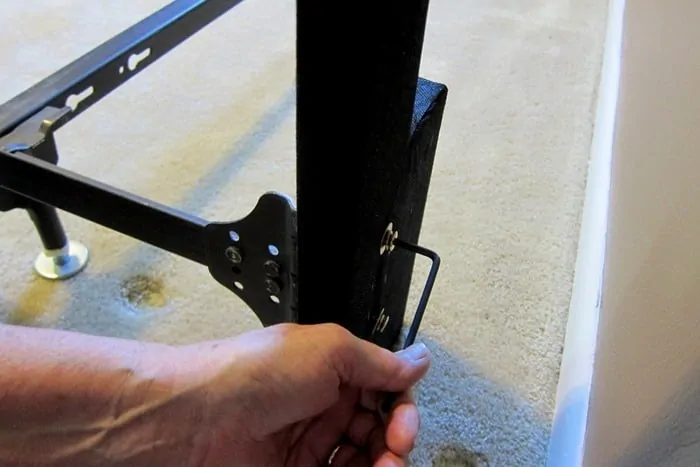
Then I attached the new headboard to the frame using an Allen wrench……
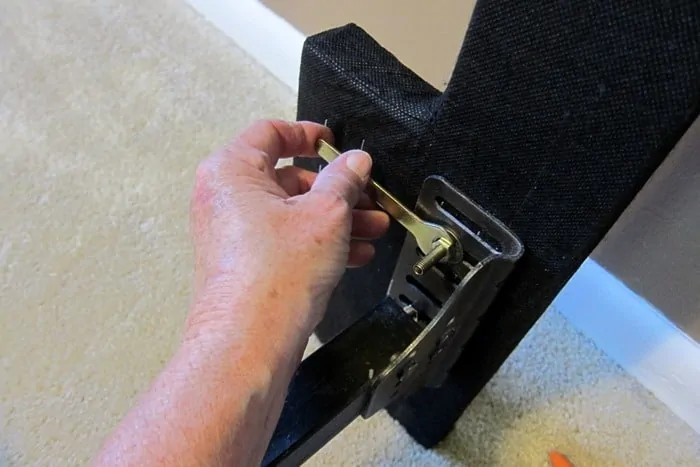
…..and a little wrench supplied with the headboard. I actually bought a new frame when I bought the headboard thinking the one I had wouldn’t work since it was for a headboard and footboard. Silly me. I returned the bed frame and used the one we had.
Not too much work to setting up the headboard with the bed frame.
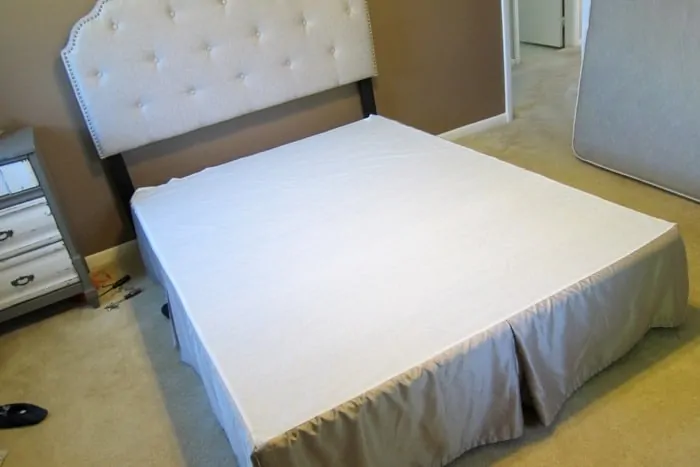
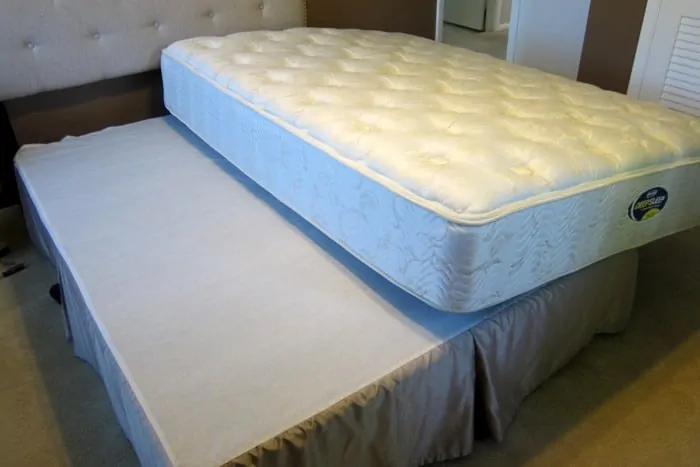
I flipped the box spring onto the frame and then put on the bed skirt.
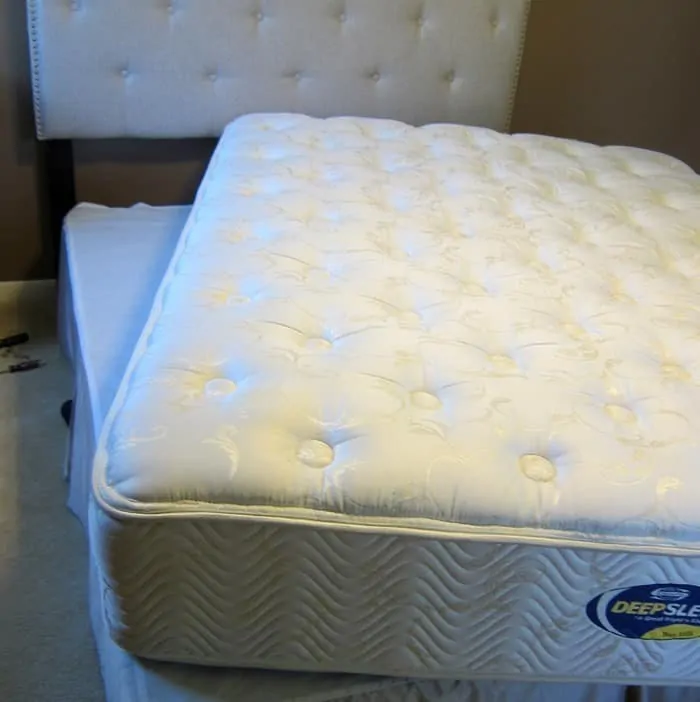
No problem at all keeping the bed skirt in place. I thought it would slide a bit when I put the mattress on top but it didn’t. I gently laid the mattress on the box springs.
Then I lifted one end and shifted it. Then I shifted the other end and all done.
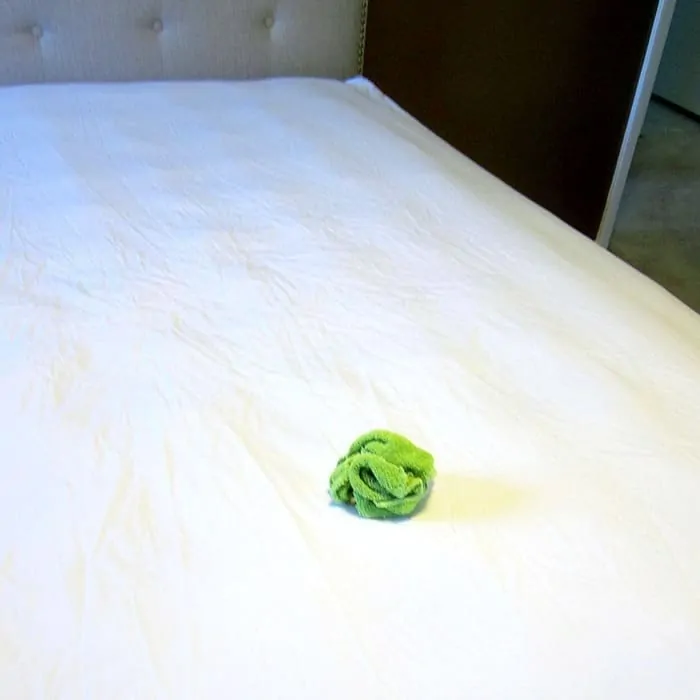
Anyone every find wash rags or unmentionables in your sheets. This little wash cloth made a big lump under the sheet.
And the new headboard is all set up. Yes, we painted the bedroom walls brown and I promise to write up all the details once the room is completely redecorated. I still need a dresser or chest of drawers and a small bench of some type. The curtains are an issue.
If you missed the story about the broken arm you can read it here.
As always thanks for being here, Kathy





It is very nice! I just finished making over a guest room and bought a very similar headboard and assembled it by my self too! It was not terribly difficult, but took patience. After I plopped the mattress back on the box springs I am disappointed that it is so low to the ground. Is your bed low also? I dread having to raise it because I’m not sure if I need to take the headboard off the frame or just raise it up all together. I look forward to the reveal of this room!!
Sweet price and nice fabric, it looks high end! I had to chuckle how you hauled it from your truck and set it up yourself. I would have done the same.
Hope hubby is mending well. I am surprised, I didn’t think I would like the headboard but it looks great! Keep an open mind!
I love your new headboard, so elegant. Just what a lady needs. Great job at putting everything together, it looks great. Can hardly wait to see what the room looks like when you finished redoing it. Hugs
I love the headboard. Isn’t it great when you find something so inexpensive that looks so elegant and high quality? Great job! I’m currently redoing a guest bedroom in my new home and can’t wait to see more of your remodel to give me inspiration.