How To Paint And Antique A Wood Bed
As an Amazon Associate, I earn from qualifying purchases.
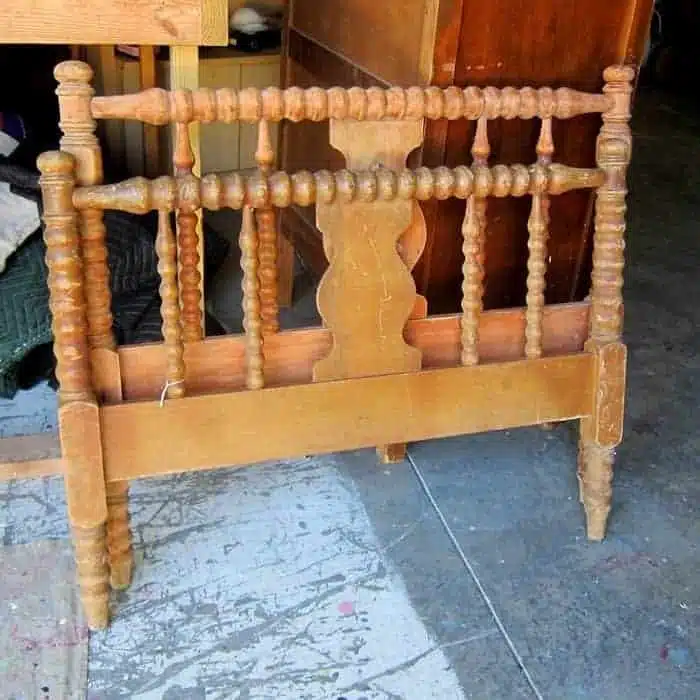
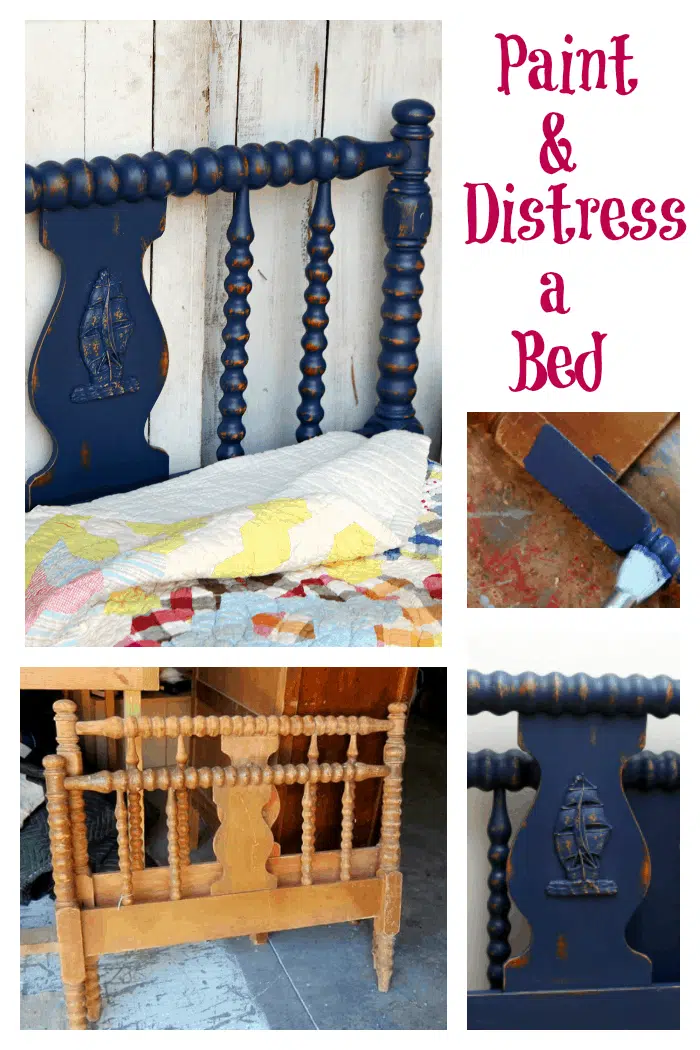
In this tutorial I will show you how to paint and antique a wood spindle bed. The bed is a twin size and has an added detail that makes it perfect for a boy’s bedroom. I plan to distress the spindles because I can tell you that the bed will slowly be distressed by daily wear and tear.
Painted furniture gets dings and scrapes but furniture in a child’s room is likely to get aged faster so I will antique the paint on the bed myself. I love the look of antiqued paint!
I bought the bed at Warehouse 41 Antiques and More in Clarksville where I have a booth. I don’t exactly remember the price but I want to say it was $20-$25.
I bought a set of bed rails to go with it at my favorite junk shop for $10. So the investment was pretty small. People come in the shop all the time looking for twin beds. Hopefully, I won’t have a problem selling it.
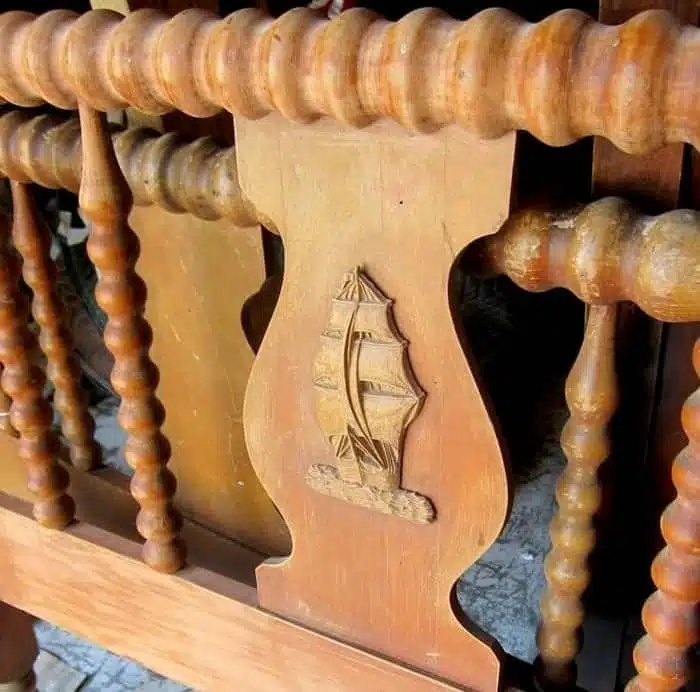
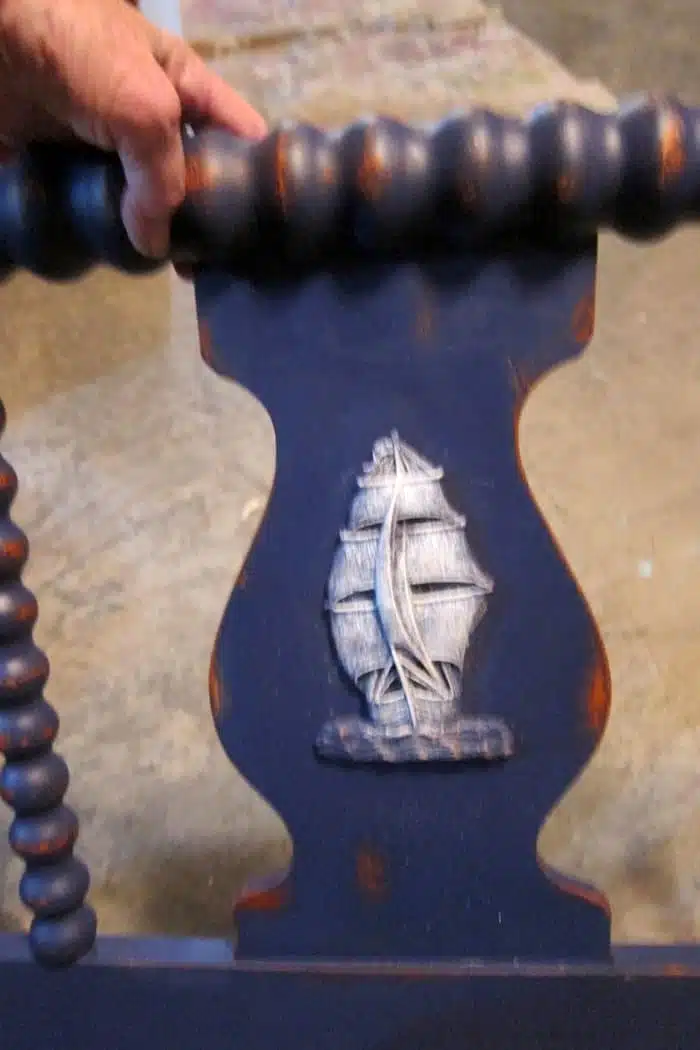
I like the spindles but what really sold me on the bed was the ship. You have to admit it’s perfect for this bed.
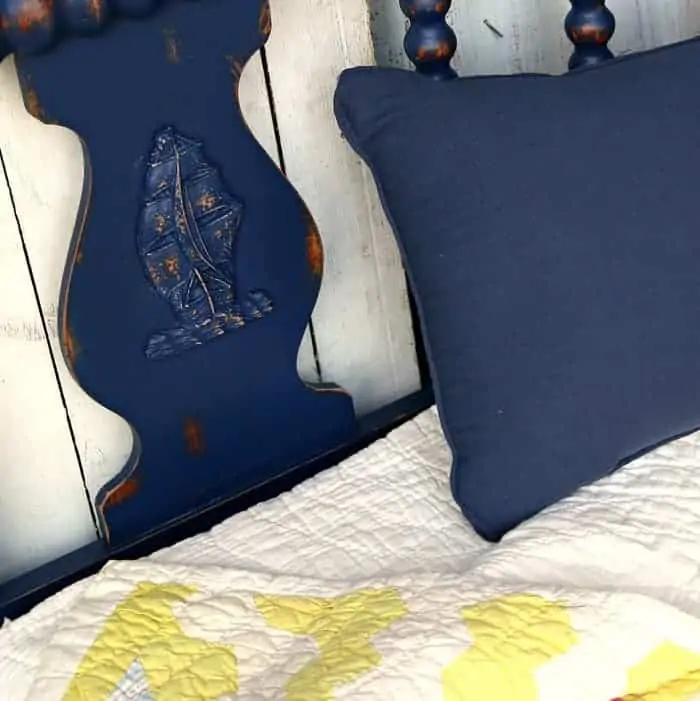
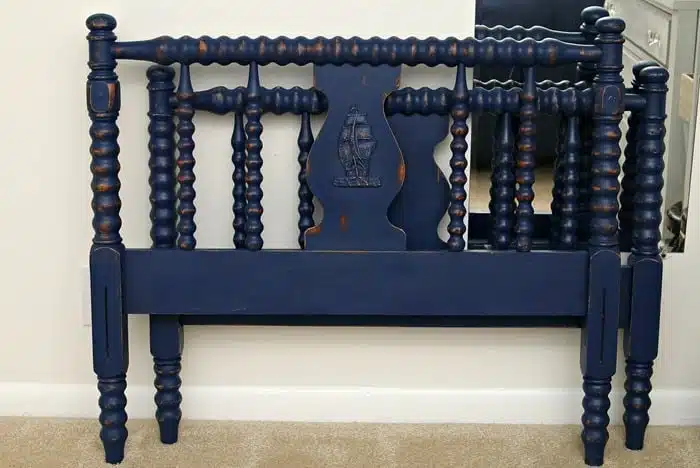
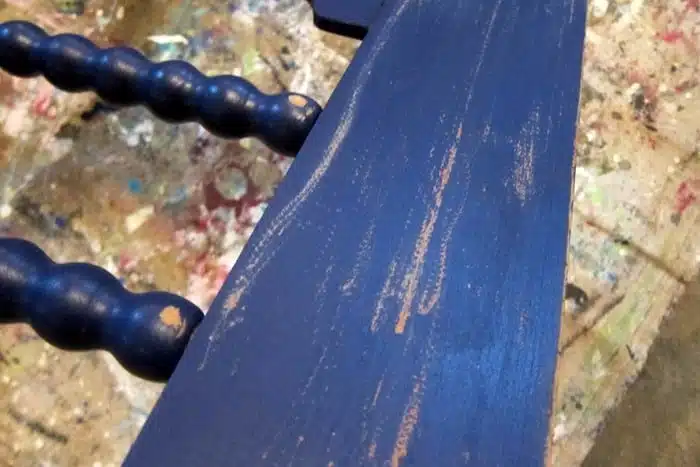
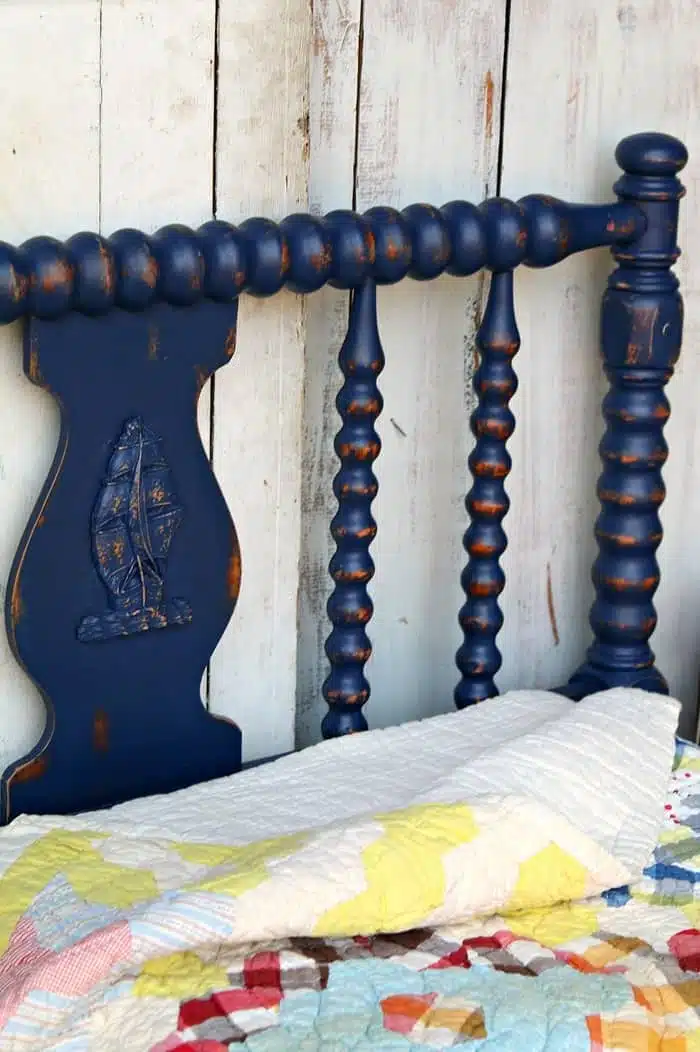
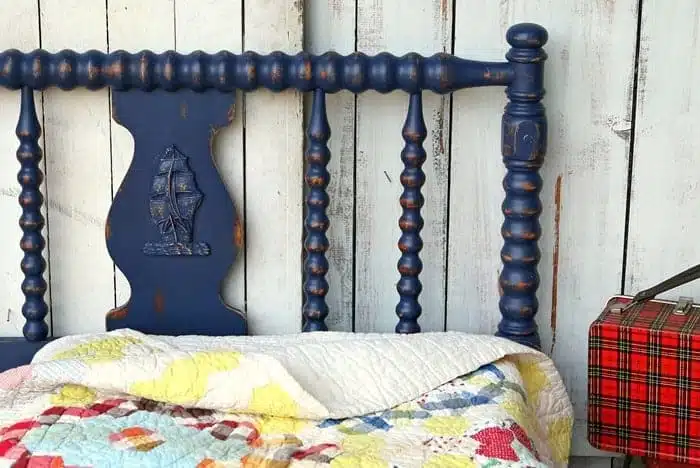
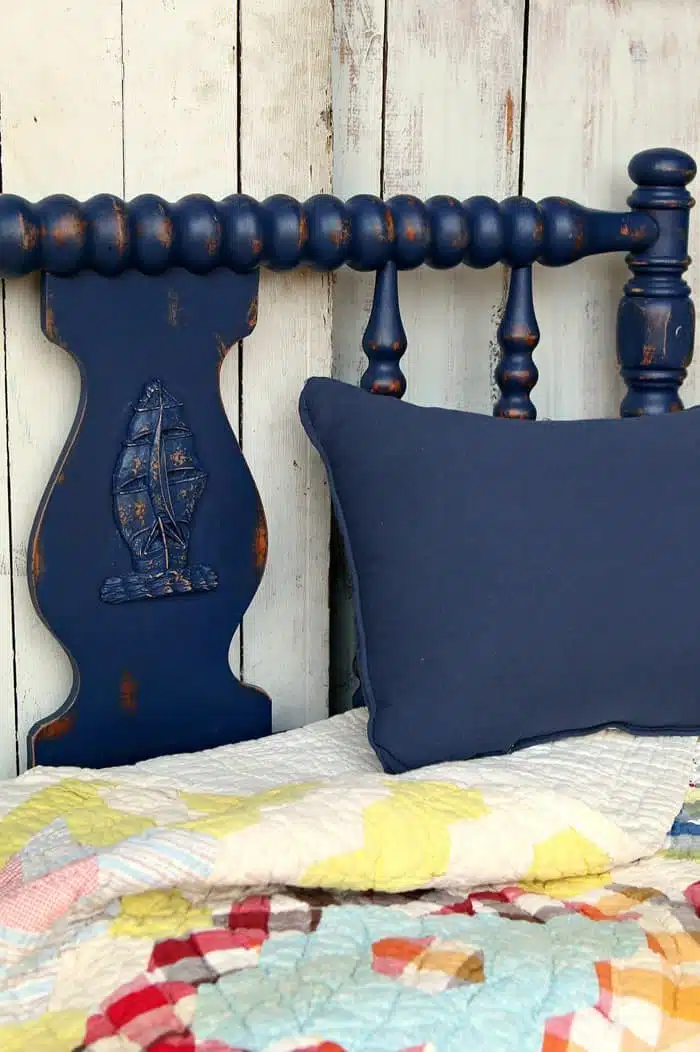
This style of bed was meant to be painted and distressed. Just look at how pretty those spindles and the wood ship applique look with the stained wood showing through the paint here and there. As I always say “distressing paint adds character.”
And the navy blue paint is just the right color for a boy’s bedroom. I thought about gray for the bed but it sounded too dull. Besides Navy is trending now.
How To Paint And Antique A Wood Bed
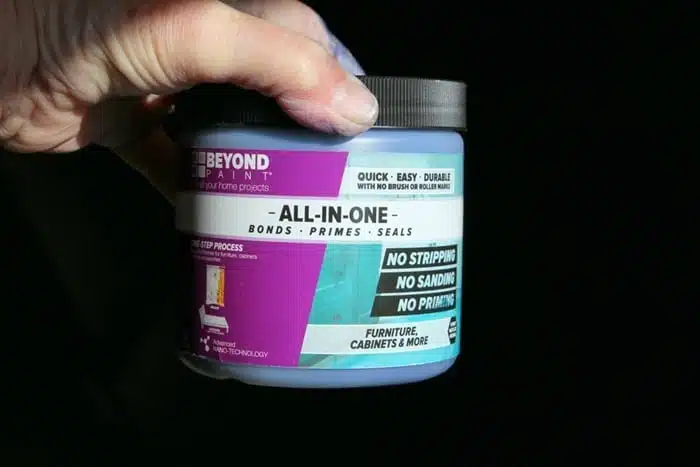
The paint I selected for the project is Beyond Paint, color navy. You guys have heard me talk about this paint before. It is all-in-one which means no priming or sealing is required although depending on the project I might prime and I might seal.
For instance, a vintage wood piece with a lot of red in the wood might get primed and a tabletop that will see a lot of use might get sealed for extra protection. Each painted piece is different.
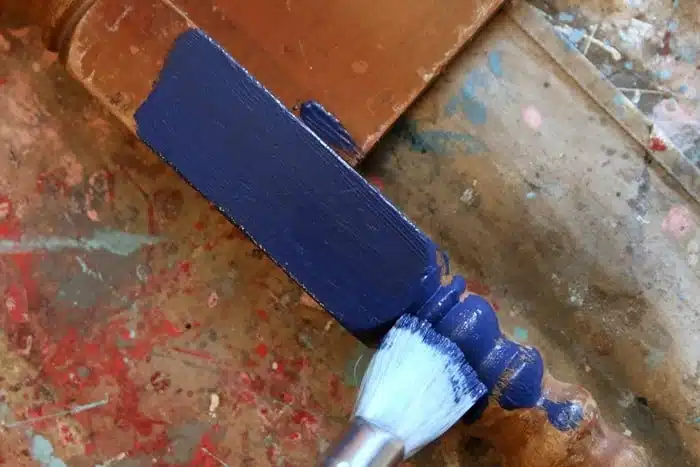
I used a Zibra paint brush and this is what one coat of paint looks like with Beyond Paint. The paint covers great and I love the sheen. It’s not flat and it’s not satin. Just a nice finish.
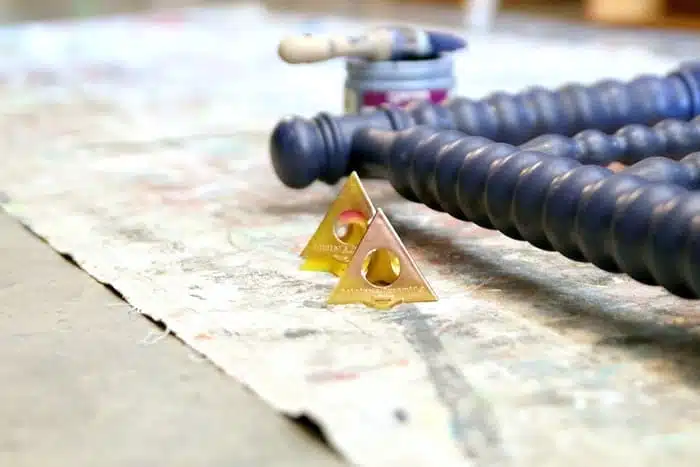
Those little yellow pyramids are one of my favorite little DIY tools. Well, they were yellow but I’ve used them a bunch and I think they are mostly gold now…..from spray paint.
When you have a piece like this bed where you are painting both sides you sit the piece on the pyramids after painting one side then you move on to the other side to paint. No waiting for paint to dry.
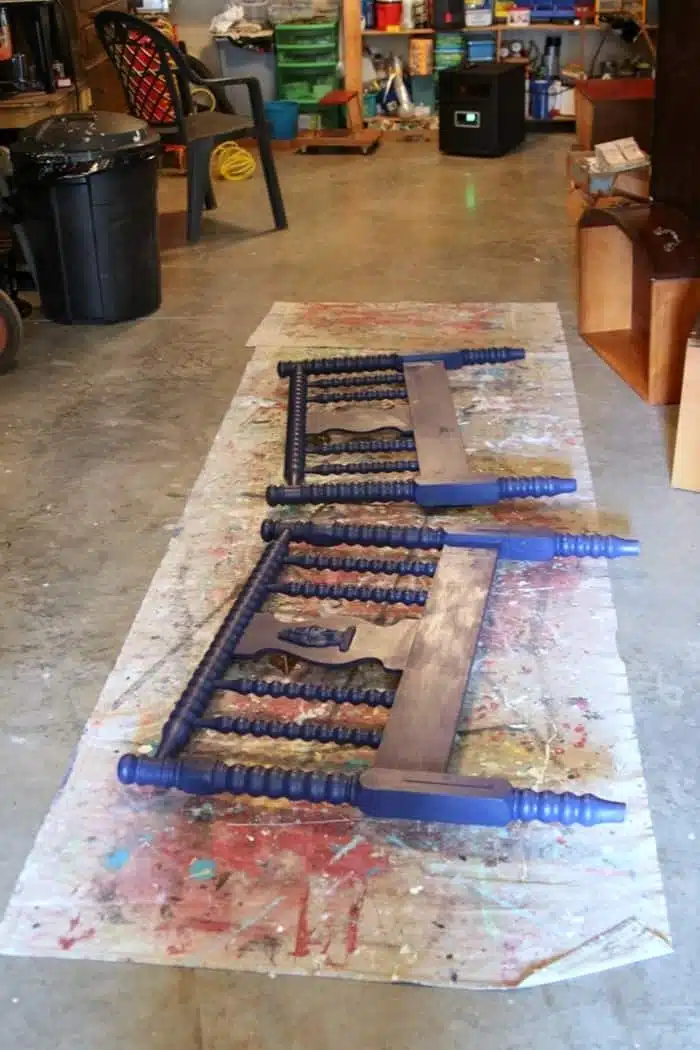
I painted the bed in the middle of the workshop floor. I usually open the garage door and paint at the end of the workshop where I can get natural light but this heat is something else.
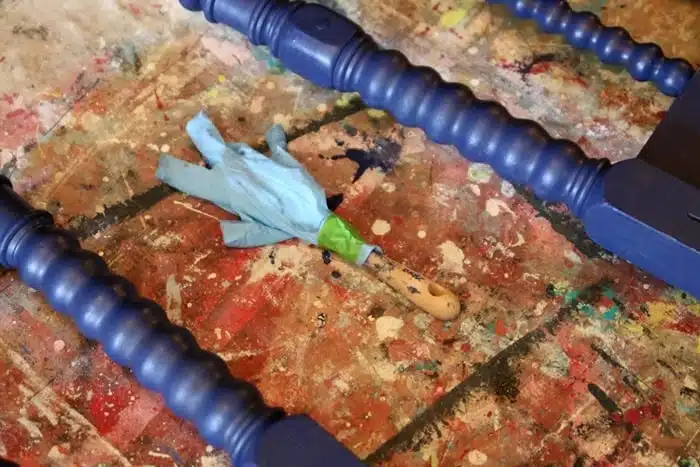
I brushed on two coats of the all-in-one paint just to be sure I covered every nook, curve, and cranny. In between coats of paint, I wrapped my brush in my gloves so the paint didn’t dry out and I could use the brush for the second coat.
I started distressing the paint with my power sander but was getting these ugly marks from the sander vibrations so I had to resort to sanding by hand.
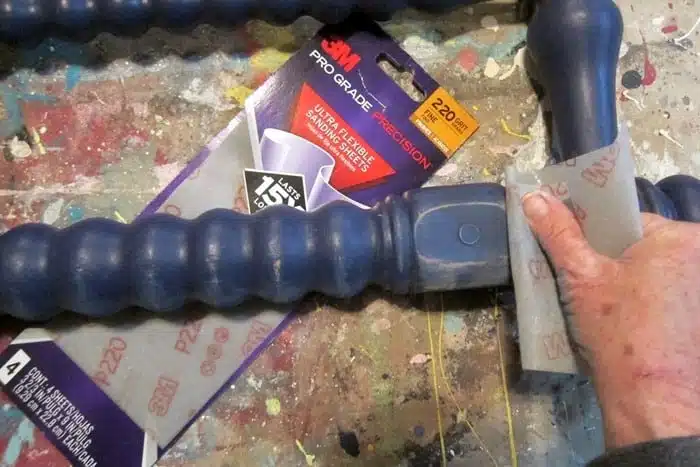
Sanding a bed like this by hand takes a while. I used my favorite flexible sandpaper and took my time working on the bed. It would be a good idea to wear gloves while sanding by hand. It can be a bit messy.
Distressing the paint is a big part of the antiquing process but all of that distressed wood is going to look a little raw. To take care of that and antique the paint and raw wood,
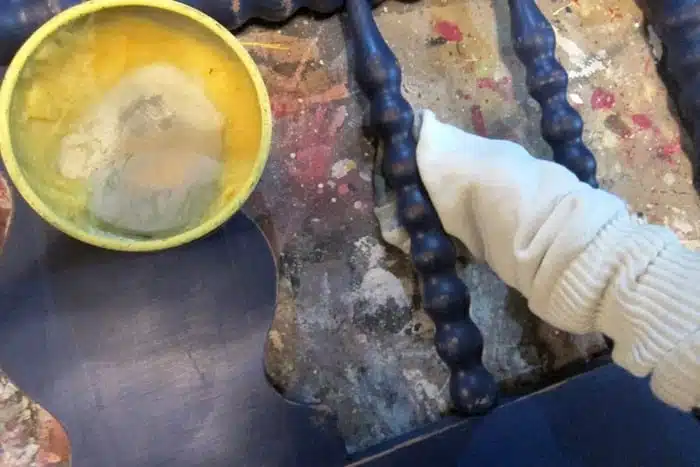
I apply a coat of neutral or dark wax to bring the color back to the wood. In this case, I used Howard’s Wax in neutral. The wax looks yellow in the can but goes on clear and dries clear.
Petticoat Junktion Tip: When waxing a bed like this or anything with spindles or legs I grab an old sock. I slip it in on my hand, dip it in the wax, and start waxing. The sock makes the job really easy. With a rag it seems I am always folding and unfolding it or it slips out of my hands.
After the wax dries I use the top part of the sock (the dry part) to buff the wax. Can you tell the difference in the spindle in the middle and the one on the left? The one in the middle looks so shiny because I already buffed it up.
All along I had this plan to dry brush or paint the ship white. I did…..and I didn’t like it. I painted over the white with the navy paint and distressed the ship again. Don’t stick with a plan if it’s not working. Sometimes or a lot of times you have to alter the plan and that’s okay.
That bed sure shines now. I absolutely love it. It’s even prettier than I envisioned. The distressing adds character and dimension to an otherwise flat look.
I used a quilt from my collection to stage the bed. Yellow and blue go so well together. I can also see this bed showcased with red, white, and blue decor.
I think you call that a clipper ship. I’m not really up on ships but I think I’m right. One of these days I’ll show you guys a photo showing how I staged this headboard. I don’t have a single twin bed in my house or a twin mattress so I winged it.
Did you know you can wet distress paint using Simple Green or a similar household cleaning product? It’s the no mess distress way. I made a short video of the technique and you can watch it below……
[adthrive-in-post-video-player video-id=”I5G14pXt” upload-date=”2019-07-25T13:13:17.000Z” name=”Wet Distress Painted Furniture” description=”How To Wet Distress Painted Furniture Using Simple Green Cleaner” ]
How To Wet Distress Paint
What do you think of the bed…..the color…….the distressing? You know you can apply this technique to any piece of furniture. It doesn’t have to be a spindle bed. This project has been featured on This Old House here.
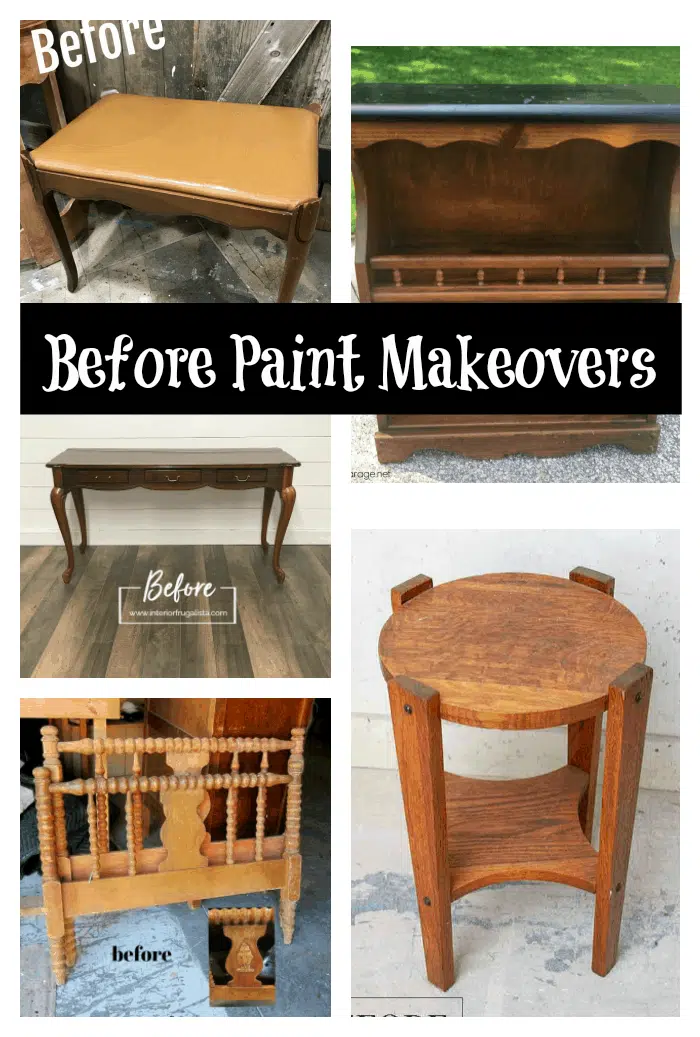
Time to see what my friends have for us today. Just click the pink text links after the “before makeovers” photo collage below…..
How To Reupholster A Vanity Bench– Just The Woods
Sofa Table Makeover – The Interior Frugalista
White Washed Wood Plant Stand – Salvaged Inspirations
Bookcase Makeover – Girl In The Garage
Distress Boys Furniture – Petticoat Junktion (you are here)
As always, thanks for being here. I’ll see you next week, Kathy

