How To Change Furniture Drawer Pulls When Screw Holes Are In The Wrong Place
As an Amazon Associate, I earn from qualifying purchases.
I can show you how to change furniture drawer pulls where the center-to-center measurement of the old hardware differs from the new hardware. To put that in regular language….you can’t screw the new knobs to the furniture because the screw holes are not the right distance apart.
You will need to fill the original screw holes with wood putty and drill new holes for the replacement hardware. You can do this; it’s not that hard. You do need a drill, and if you don’t have one already, you can buy a cheap one for less than $25.

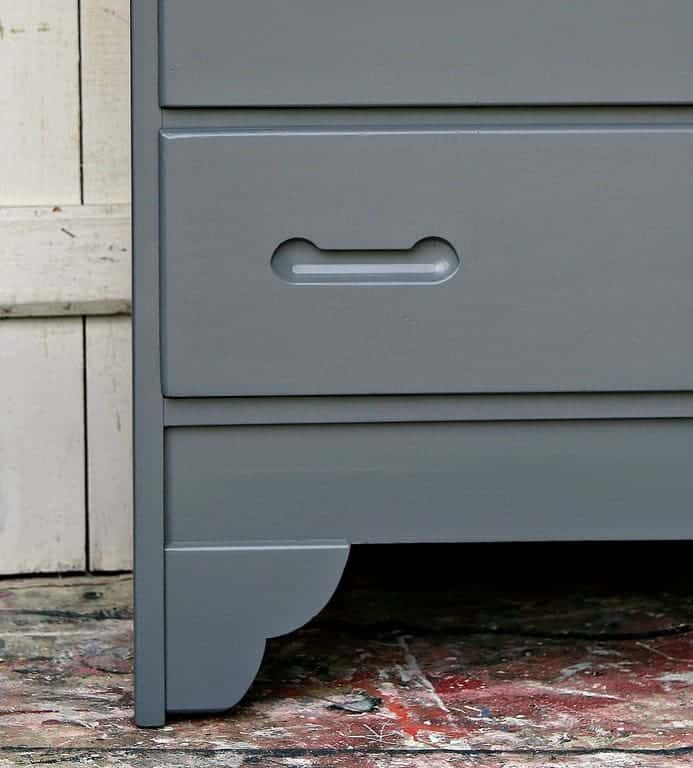
The furniture knobs are a really, really important part of any furniture makeover. The style of the knobs will dictate the feel of the finished furniture project. Take the nightstand in the photo above. The details and the furniture pulls scream country and outdated.
I found the nightstand/table at the Southern Kentucky Flea Market. I thought it looked pretty good until I unloaded it at home and got a glimpse of the damage to the bottom edges. Why do furniture companies make pieces with solid wood drawers and use MDF or fiberboard for the sides?? Makes no sense at all.

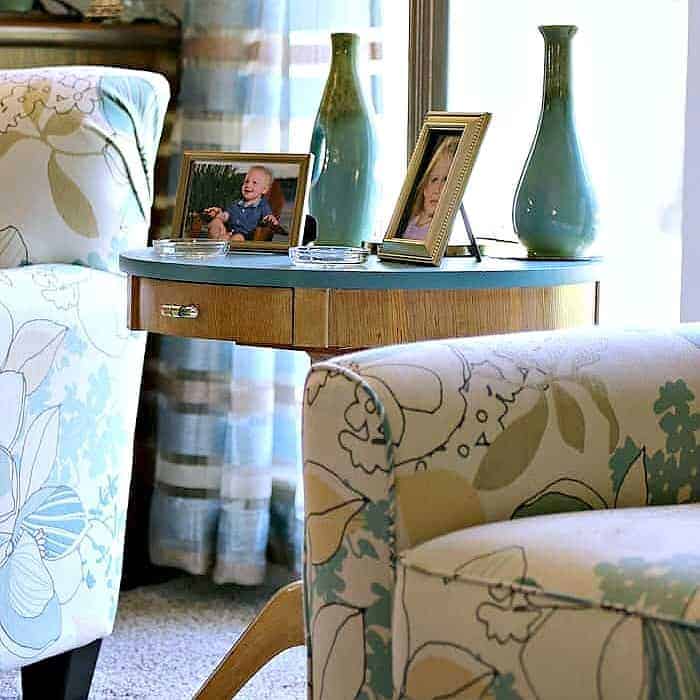
The same piece painted Radiant Orchid with the addition of new feminine hardware is hardly recognizable. No more clunky hardware and stained wood. Now let’s talk about how to change out those knobs, then I’ll tell you about the paint job!
How To Change Furniture Drawer Pulls

Step 1. Select the new furniture knobs.
I knew I wanted to change the hardware on the small nightstand, so I went through my hardware stash and came up with these beauties. I was going for a feminine French Provincial look and these were perfect. I know most of you don’t have a hardware stash like mine but you can buy new hardware at Hobby Lobby and home improvement stores or order from online sites.

The major problem you run into when replacing hardware is finding some with the correct screw hole width to fit what’s there. I think the correct term is “measuring on center,” or “center-to-center measurement,” or something similar. The most common size of hardware is 3” on center…but most antique hardware is not a standard size.
The drawer pulls I selected for this makeover were smaller on center than the original, and I had to putty up one of the screw holes for each hardware piece and drill one new hole for each piece. No need to drill two new holes usually. Try to use one of the original holes.
.
Step 2. Fill screw holes with wood putty.
As I just mentioned, use one of the original holes so you don’t have to fill two holes and drill two new holes for each pull. You need to decide which hole to fill. The end result is two holes closer together than the originals. As you can see here…I filled the wrong hole on the right side of the drawer. I meant to fill the hole closest to the side of the drawer. Oh well, I did catch my mistake so I just knocked the filler out and filled the correct hole. I make all kinds of screw-ups ya’ll never find out about.

I used Elmer’s wood filler to putty the unneeded holes. One thing that’s very handy is to put a piece of tape on the inside of the drawer over the hole you’re filling. The tape prevents the excess filler/putty from seeping into the inside of the drawer. You also use less filler this way.
Step 3. Sand wood filler.
When the wood filler is dry, it’s time to sand off the excess. I use 100-grit sandpaper by hand to do the sanding. Sand the filler flush with the drawer front. When you are finished sanding, there may be a little depression where the filler shrunk as it dried. If there is… put a little more wood filler over it, then sand it when dry. That should do the trick.
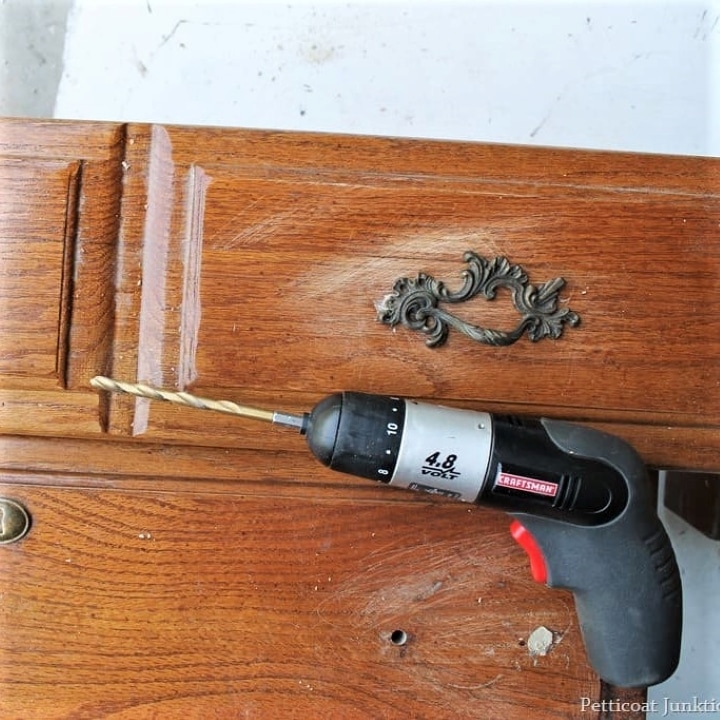
Step 4. Drill new hardware holes.
The next step is to drill the new screw holes. You can lay the hardware pull on the drawer and mark with a pencil or pen where the new hole should be, or there is a handy dandy cabinet hardware template that makes this job much easier.

The photo above is from another project where I used the template for the screw hole placements.

I use a cordless drill because it is easier for me to work with. I begin with a small drill bit to start the hole, then move up in size till I get the size screw hole I need. I usually use 2 or 3 drill bits. You can always start with the size bit you think will do the job if you prefer. Don’t be scared of the drill! They are really easy to use.

Here’s the new hole and the filled hole…..all nice and neat. Always drill the new holes before painting because you may scuff up your new paint finish if you wait.

Step 5. Add the new furniture hardware.
This is where I inserted the replacement hardware so you could see how well it fit. Another thing to mention is it’s always nice if the replacement hardware covers the original holes. Then you don’t have to fill them. Sometimes that does happen. The hardware curves and decorative details will be wide enough to cover the original holes so you don’t see them.

The JTS started repairs on the nightstand before I could get photos of the water damage. You can tell from this shot…it was pretty bad. The MDF had crumbled off a bit on the bottom. Hubby troweled on lots of wood putty, trying to give the bottom edge some structure.

This is how it looked after I sanded down the wood filler. Not bad. Anytime you use wood filler try to sand it flush to the surface around it.

I needed a girly paint color for this piece. I got a sample jar of the Pantone Radiant Orchid at Lowes. I only used maybe half of the sample to paint the nightstand.

The hardware got a makeover with a generic brand white spray paint and gloss acrylic spray. Spray paint is the best and easiest way to modernize old drawer pulls.

That detail on the top drawer needed to pop! I first dry-brushed the floral detail but it wasn’t white enough and I finger-painted it with the tip of my pinkie….really.

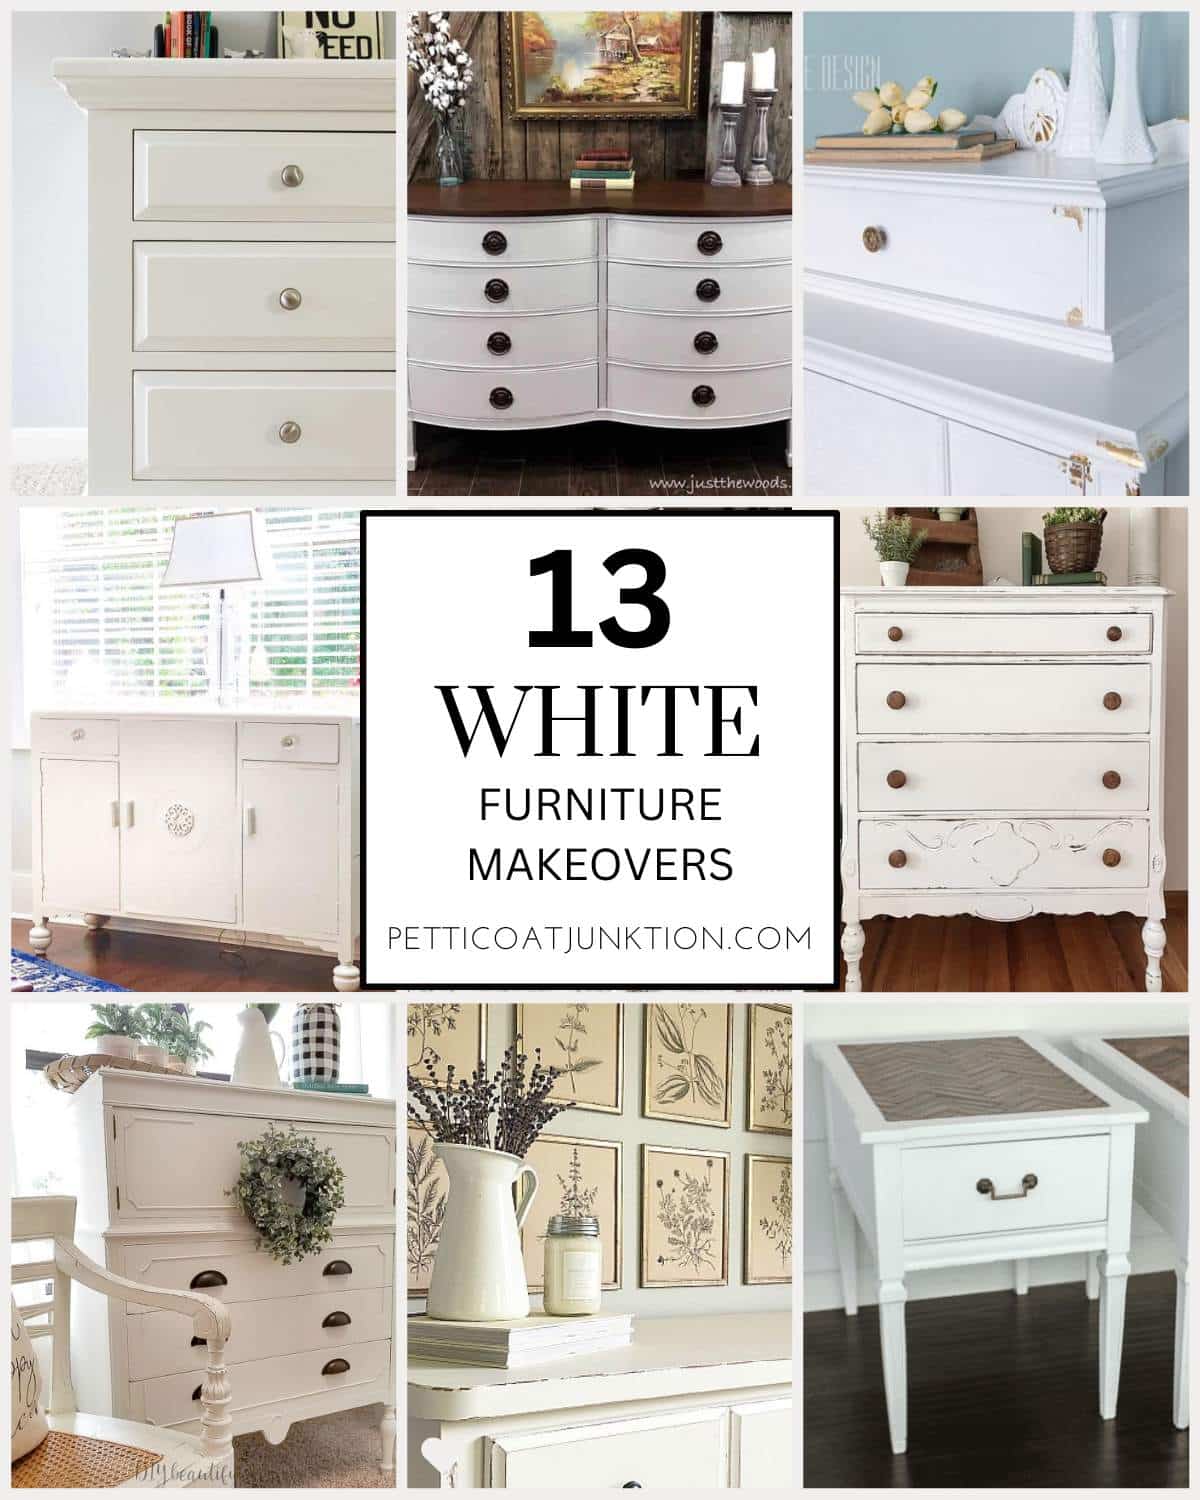
If you like this girly makeover you will love this one too. Just click here….Stenciled Wardrobe Fit For A Princess
My video below on how to fill hardware screw holes with wood putty….
How To Fill Holes With Wood Putty

How To Change Furniture Drawer Pulls And Knobs
You can replace furniture knobs on any piece of furniture. You don’t have to paint it or make any major changes either. Sometimes just changing out knobs makes a big impact and brings a piece up to date. As always, thanks for being here, Kathy

I simply love it. Great Job! Awesome!