How To Make Latex Painted Furniture Look Old And Worn
As an Amazon Associate, I earn from qualifying purchases.
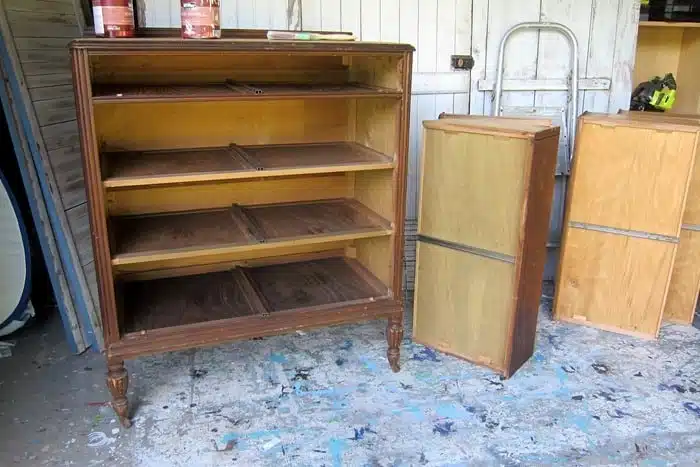
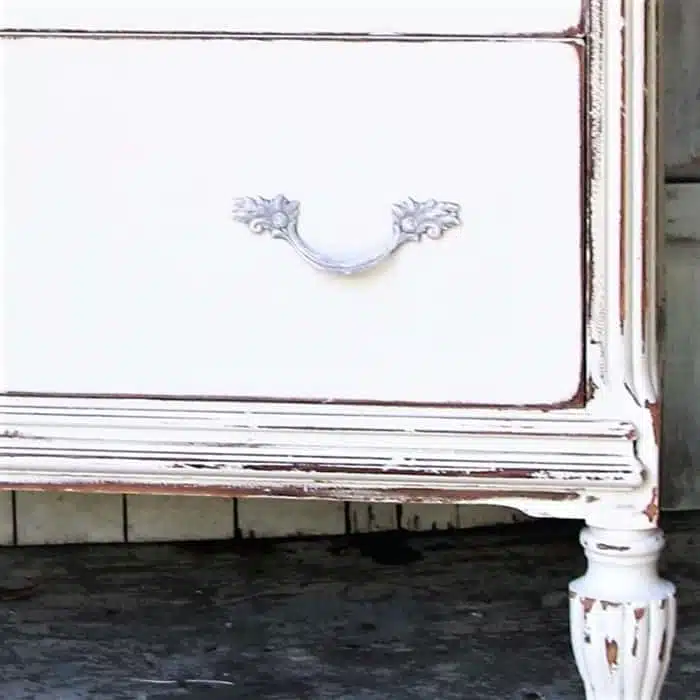
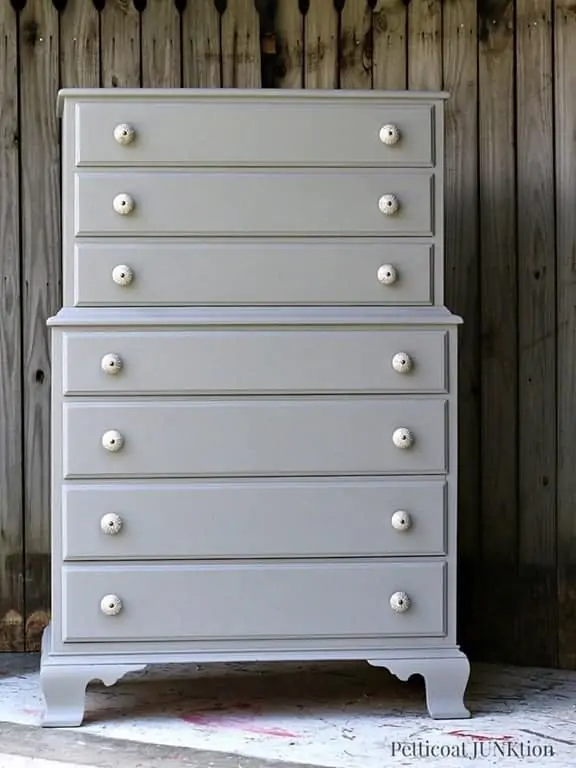
I painted this chest of drawers about 6 weeks ago and just now got everything together for this post. It’s been a lazy Summer around here or a busy Summer depending on how you look at it. I chose off-white latex paint for the chest then distressed the paint and applied a light coat of wax to the distressed wood.
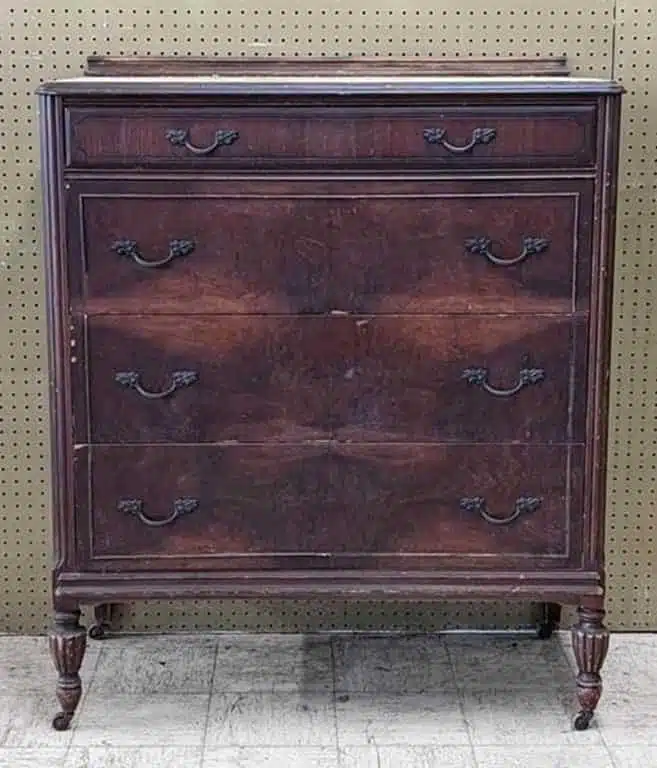
I bought the chest of drawers from an online auction, and I believe the price was somewhere between $75 and $85. It’s not a steal, but it’s an okay deal.
This piece had the full set of French Provincial drawer pulls. Not one is missing. It’s always nice when all of the original furniture hardware is intact.
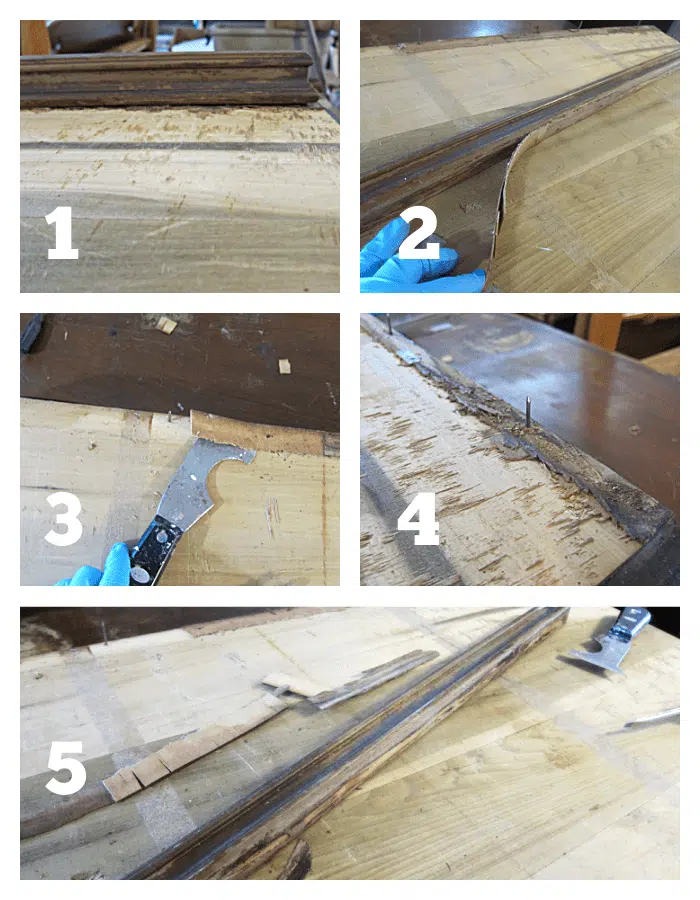
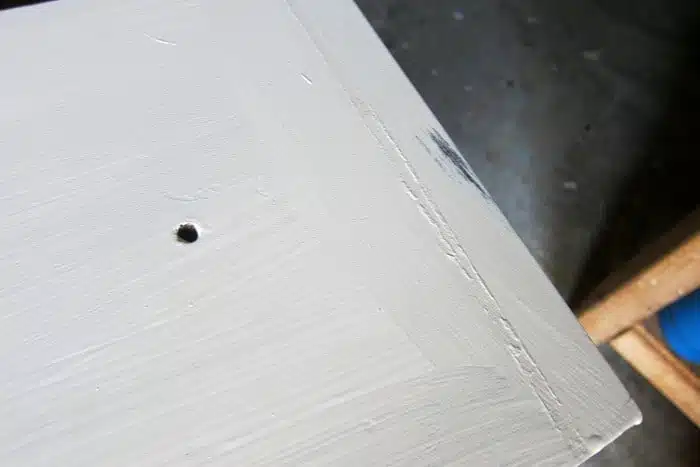
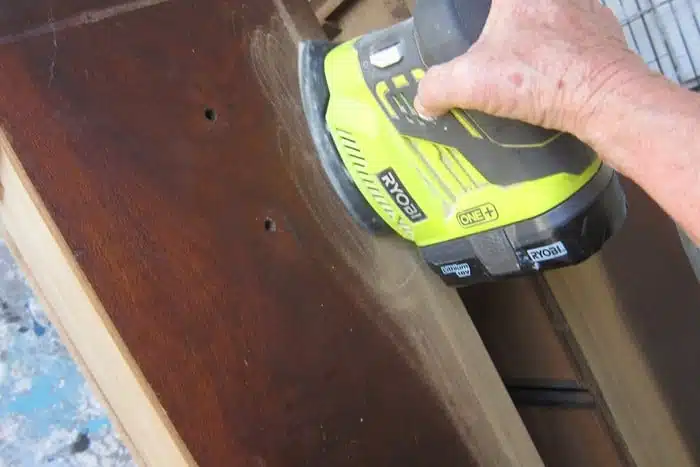
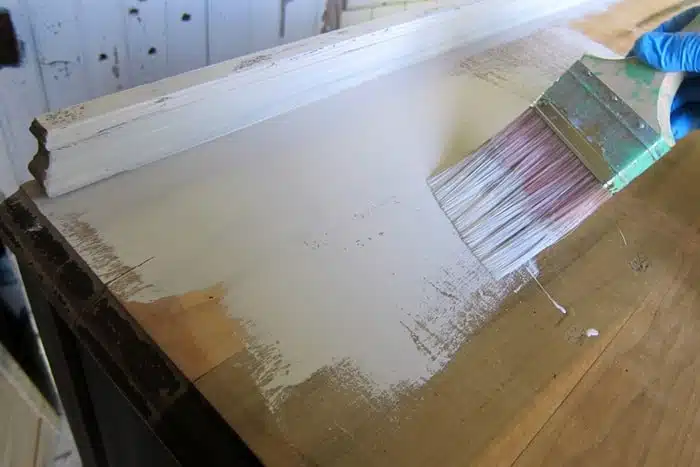
The top of the chest of drawers was a mess. The veneer was missing……mostly. Where the veneer had peeled off, there were still bits and pieces of wood and glue. I was able to scrape a lot of it off with a putty knife then I used a sander to smooth the rest of the area. (photos 1 and 3)
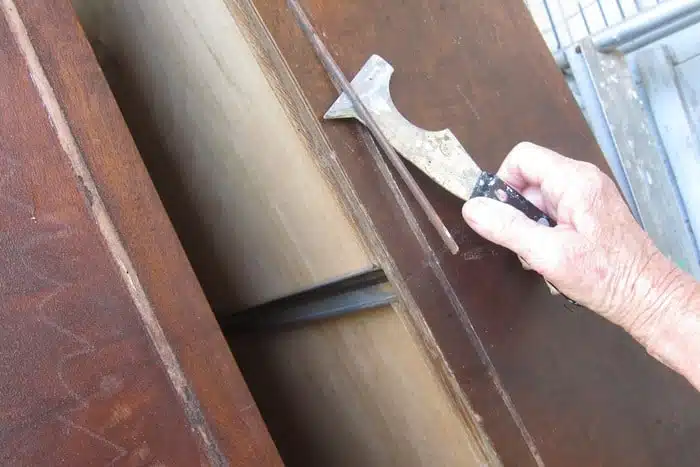
The detail piece on the back of the top still had the veneer under it. I pulled that detail piece up and peeled the remaining veneer off. (photos 2, 4, 5) Then I nailed the piece back in place.
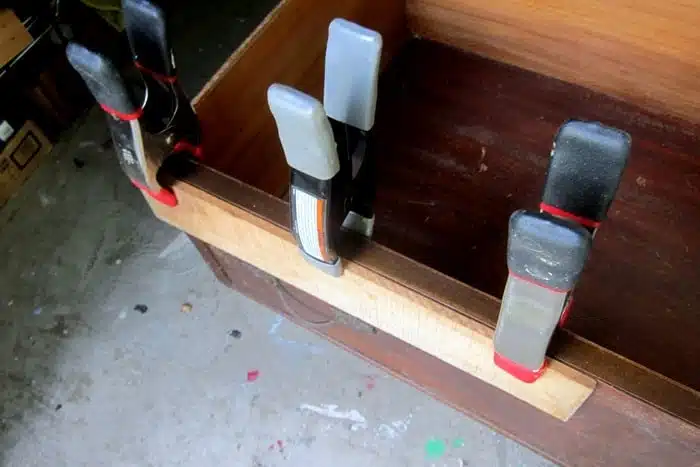
There was a bit of loose veneer on one drawer front. Using a toothpick, I put wood glue between the veneer and the drawer front. Then I found a short piece of wood and placed it flat against the glued area, holding it tight with clamps.
I learned this trick from the hubby. The piece of wood holds down the whole glued area and I don’t have to use 10 clamps, lol.
I remove all furniture pulls and hardware before painting a piece of furniture. I also clean the piece inside and out first using a vacuum cleaner then Simple Green on all surfaces. TIP: Cover the drawer pull screw holes with painter’s tape on the inside of the drawer. This keeps paint from leaking inside the drawer.
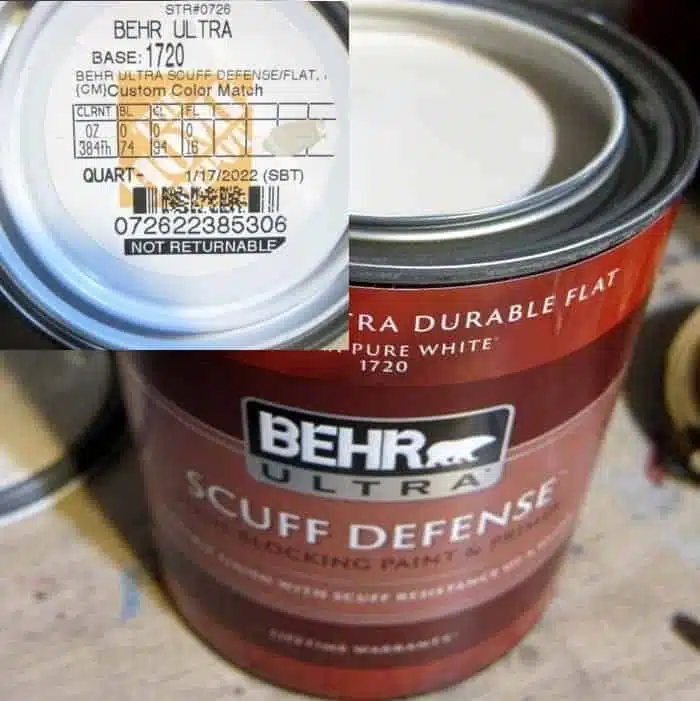
I chose a custom mixed off-white paint for the chest. I really like the Behr Scuff Defense Paint. It sticks like glue!
When I started painting the first drawer front, I noticed how much gunk was still on the drawer where a small strip of molding was missing.
So, I removed the remaining molding on the other drawer fronts, then….
I distressed the areas where the molding strips were removed, and I also sanded over the gunky area on the first painted drawer front to smooth it out before applying another coat of paint.
I started painting the top of the chest when I ran into another problem.
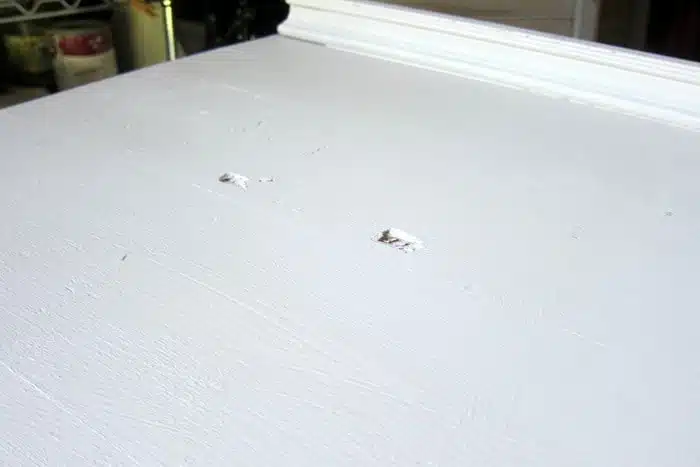
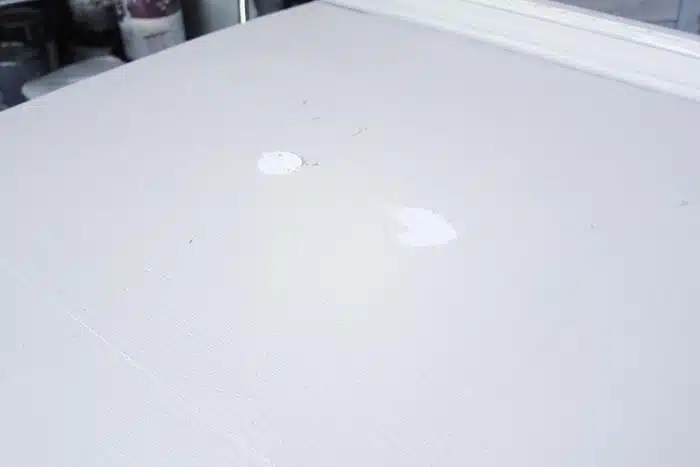
I really thought those two holes would be okay because you guys know how I like rough or detailed surfaces when distressing paint. But these holes were just too big and obvious.
I pulled out my wood putty and filled the holes. Once the putty dried, I sanded it level with the surface around it.
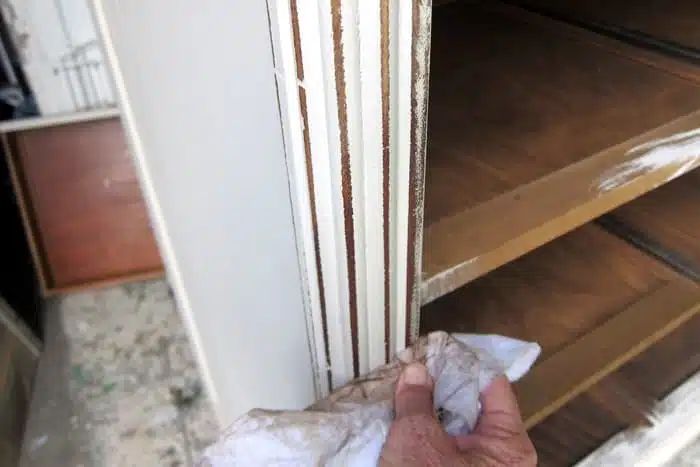
To distress the paint, I first started sanding by hand with a small piece of sandpaper. Well, as I mentioned earlier, that scuff defense paint really sticks. I pulled out my battery powered sander and distressing the paint was much easier.
After I distressed the paint, I used Howard’s Wax, a neutral color, to get rid of the raw wood look caused by sanding. I rub the wax on the wood areas using a lint-free rag.
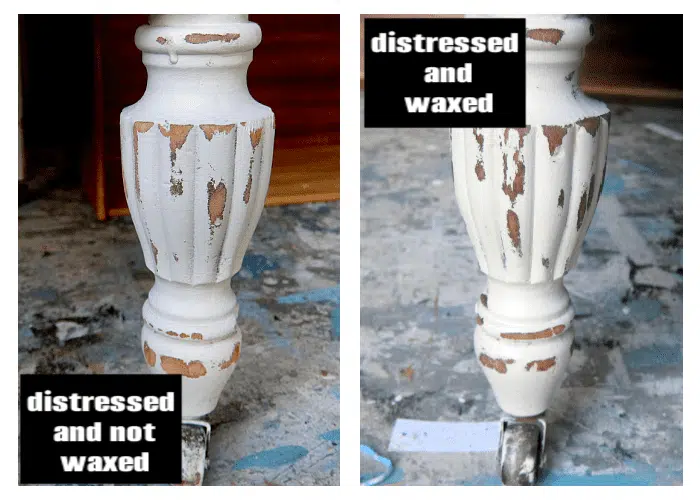
I took photos of both front legs so you can see how the wax makes a big difference. The photo on the left shows how the wood looks after distressing. The photo on the right shows how the wood looks after a coat of Howard’s wax. The wood now has a deep color and a more natural look. (find the wax here on Amazon)
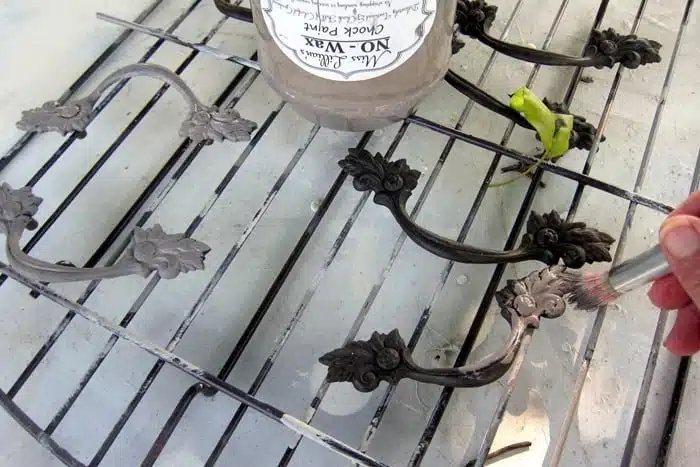
It took a while and a few changes before I figured out the perfect color for the drawer pulls. I first painted them light brown so they would stand out against the painted chest.
I put one of the pulls on the chest and didn’t like it at all. Next, I painted over the brownish paint with the same paint I used on the chest. Then I distressed the paint lightly.
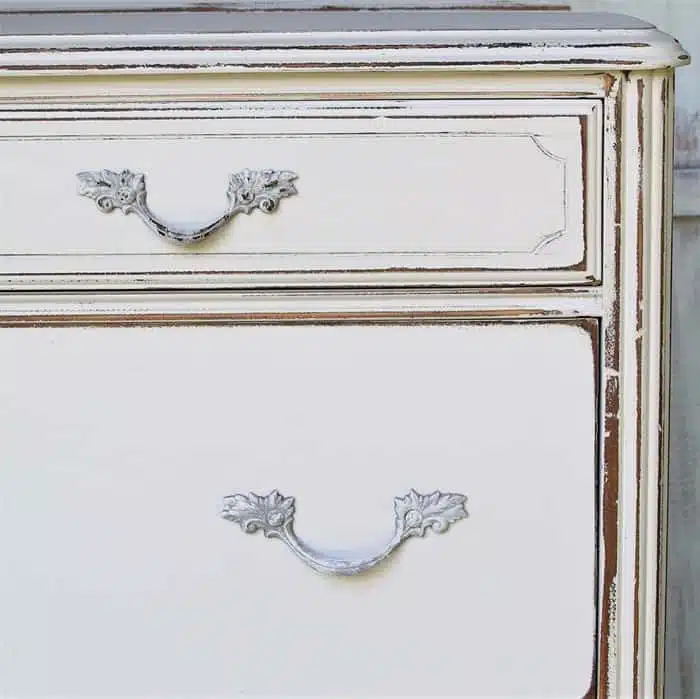
That seemed to be the best paint finish for the pulls. You can see the French Provincial pulls are all distressed differently, so they are not matchy-matchy and are not fake-looking.
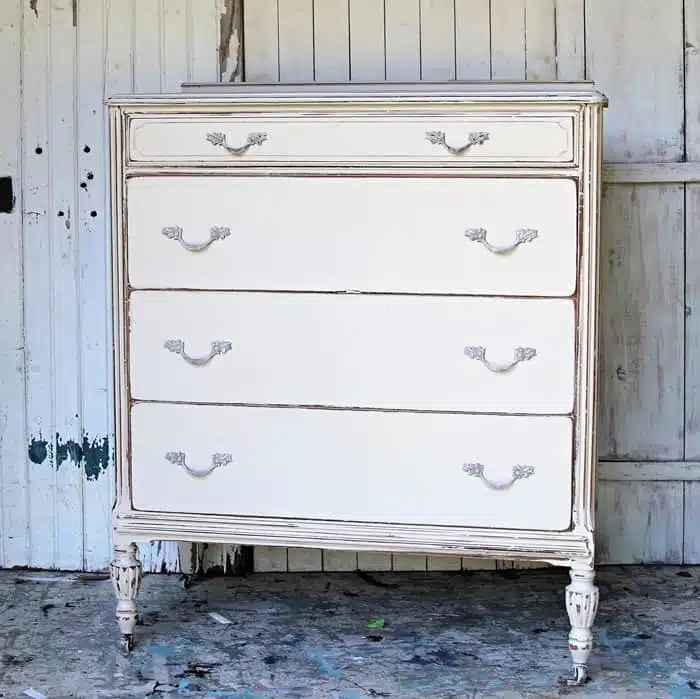
I’m really happy with the way the chest of drawers looks now. I’m glad I finally got this one ready to post. It takes a while to take the photos, edit them, and write the blog post.
The distressed paint gives the chest of drawers depth and character.
The raised detailed wood pieces really shine with that wax coating.
Read all about distressing paint here…..What You Should Know About Distressing Painted Furniture And Home Decor


I love ur post..I too put succulents in my bird bath,, love it 😀 💖 thank you for all the ideas 💡 keep up the good work..know it’s getting harder to find furniture..
Thank you Lynda! It’s really hard to find furniture to paint these days. I’m on continuous lookout.
I really love the chest!! So beautiful, I always watch your blog, I can never find pieces like u do. .ur the best..thank you
Great tip about the tape! Thanks!
Kathy,
I use the same method when gluing (clamping). BUT! I coat my scrap wood with painter’s tape to make sure the scrap doesn’t accidentally get attached to the repair. 🙂
I love, love, love the new look of this dresser.
Love the new look for the chest! Thanks for all the tips – saving this one for reference!!
I have used latex paint for ever to paint furniture.
It was what I always had around. Long before all the chalk type paints were around. It is still my favorite.
This piece looks amazing. I love your content.