Replacing A Wood Slat In Outdoor Furniture
As an Amazon Associate, I earn from qualifying purchases.
Hey guys! Learn a simple technique for replacing a wood slat in an old outdoor chair or any type of wood slat furniture.
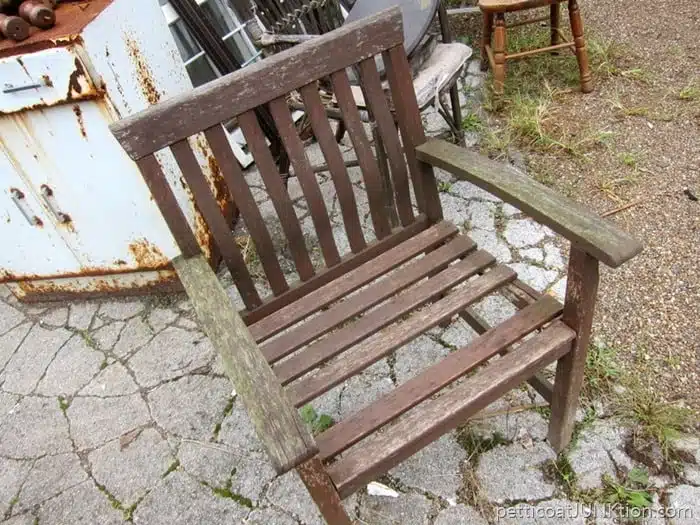
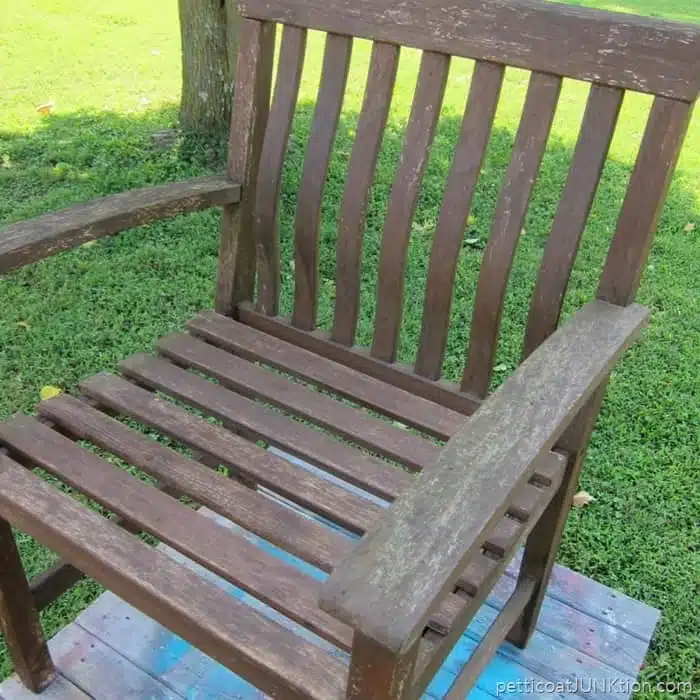
You might remember this chair from last week’s post on new junk finds. The chair is all fixed up now….almost better than new.
I spotted it at my favorite junk shop, and for only $7, I had to have it. No, it wasn’t a bargain.
I knew we could replace the missing slat, but I had no idea we would be able to match the other slats so closely. I thought I would have to rough up a piece of wood and mix paint numerous times to make it work. No.
How we replaced the missing wood slat.
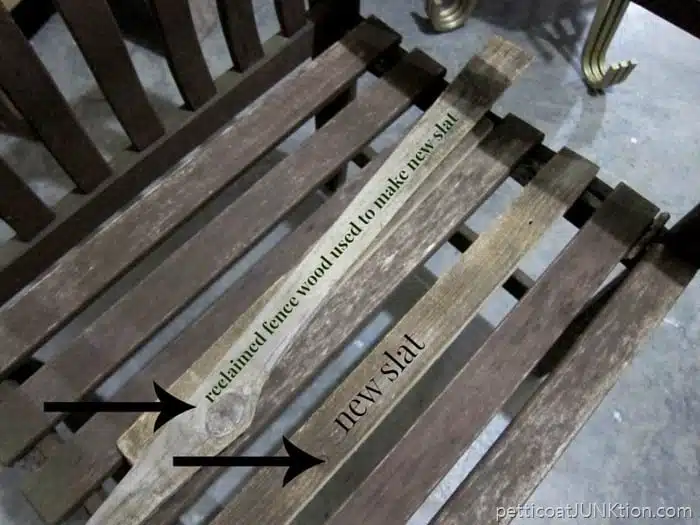
I didn’t get a photo of the JTS cutting the new slat for me. I went out of town for a couple of days, but before I left town, I found a reclaimed board in my stash to work with.
The wood is a fence slat from Florida. At one time, I had a bunch of fence boards.
We lived in Florida from 2006-2009, and in the mornings after the JTS went off to work, I would drive up and down neighborhood streets looking for curb-side goodies.
Homeowners set their trash out at the curb, waiting for the city to pick it up. There was a lot of wood fencing discarded during those years after several hurricanes hit the panhandle of Florida.
I’m sure the homeowners didn’t mind that I reclaimed it instead of filling up a landfill. I might also mention that there were lots and lots of fence boards piled on curbs because Hurricane Katrina blew through the area the year before.
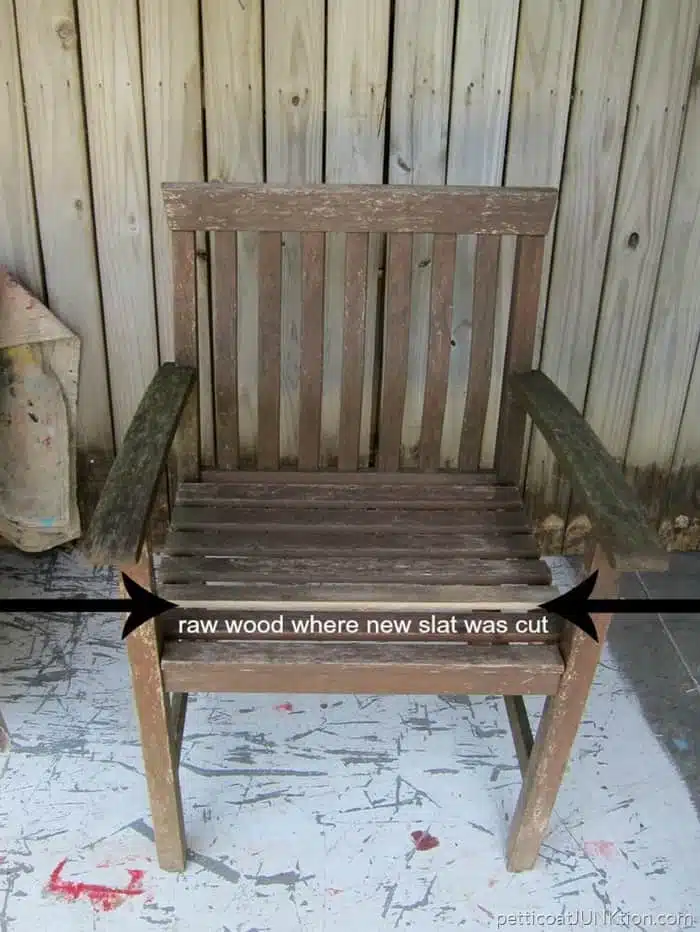
I asked the JTS to wait until I was home to replace the slat…but he didn’t. He gets a little carried away sometimes. You have to love him.
The wood looked pretty good but it did stand out just a bit and the raw cut edge shining in the front wasn’t working for me.
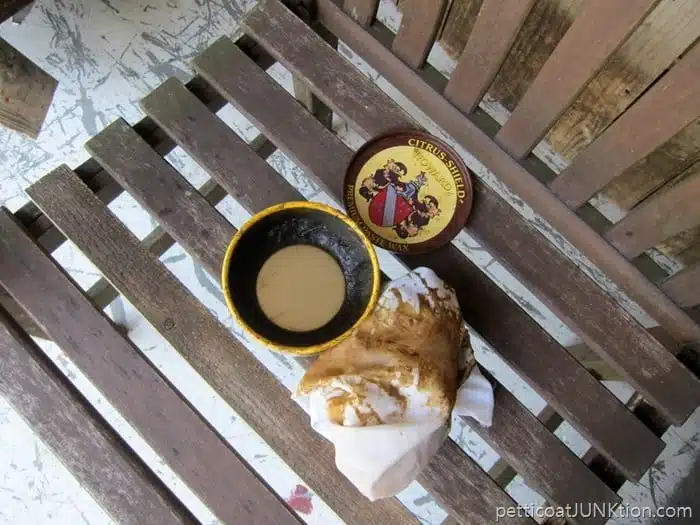
I cleaned the chair and polished it up with my old standby, Howard’s Wax in Golden Oak. I thought the wax would add enough color to the cut edge, but it didn’t.
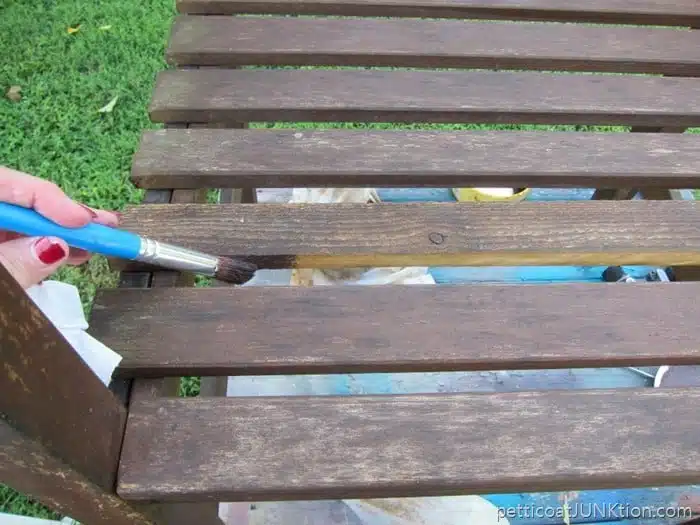
How I painted the new slat to match the others.
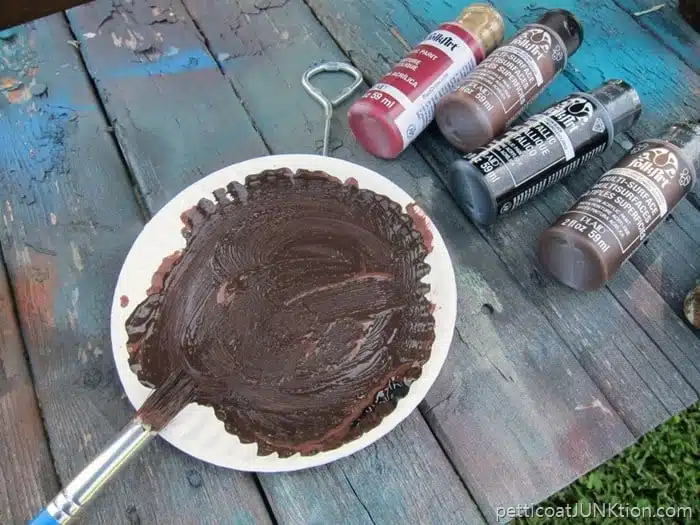
Next I mixed paint to match the original (worn now) finish. I first mixed brown and a reddish color and that didn’t work. I added two more colors from the paint wagon to the mix.
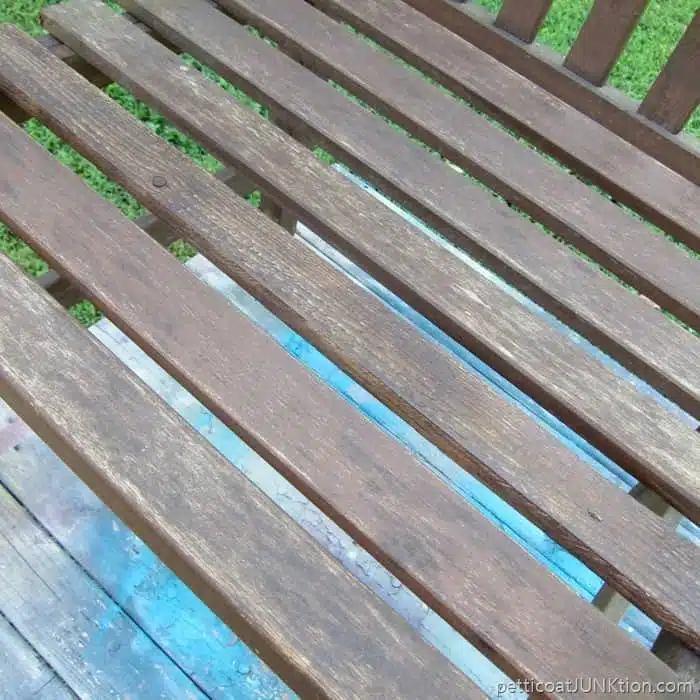
The color was almost perfect. I painted it on and immediately wiped it down with a rag which helped to press the paint into the wood and muddied it enough to blend with the other slats.
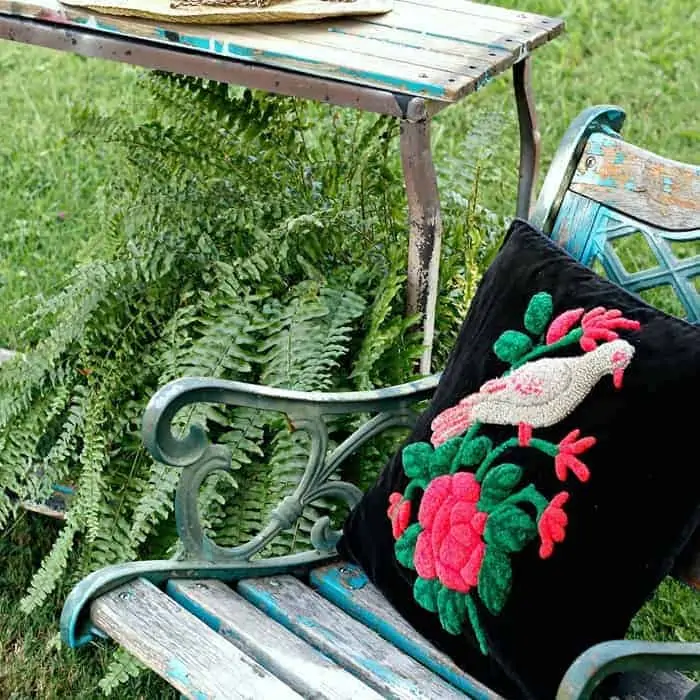
I’m surprised by how well the slat matches. In the photo, it is the third slat from the front. I liked the chair’s overall worn look, so I didn’t want to cover all the scratches and imperfections in the finish.
The chair has a slight rounding of the slats on the back. That’s what makes the chair special. In some of the photos it’s hard to see the rounding in the back.
What do you guys think about the project? You know, you don’t need to have a large stash of junk stuff to make repairs on projects. I could have used new wood to repair the chair and painted it, as I did with the reclaimed wood slat. I just got lucky with the fence wood.

Awesome repair, like it was never there! (Hey, I just made a rhyme!)
Kathy, that is really a great chair. Like you said, the rounded slats on the back make it unique. Will you make cushions for it? It doesn’t seem like it would be all that comfortable without at least a seat cushion.
I have an old park bench with very weathered slats on the seat. One slat was worn so much where it was screwed into the frame that it came loose. I am encouraged now that I’ve read and seen what you did with your chair to find some old wood and get that slat replaced.
Thanks for your post. Always interesting and informational to see what you are up to!
looks great
yeah! What Shirley said ! A good job of matching. I was thinking the other day when you first showed us the chair that you could always space out the remaining slats to cover up the space. Matching existing finishes is never an easy job. I once had to repair the corner of a chair that someone’s dog took a chunk out of. After filling the corner of the seat with wood filler I stained it over and over to match the old varnish then I hand painted the grain with a one-haired artist paintbrush. I love a good challenge! I know that you do, too!
Good job! I have people telling me all the time to get rid of my STUFF! I am glad to see that there are others out there like me! Thank you!! Keep up the good work!