How To Antique Metallic Silver Painted Furniture
As an Amazon Associate, I earn from qualifying purchases.
In this tutorial you will learn how to antique metallic furniture paint. And there are two different metallic paint projects here. The antiquing process gives the painted furniture an aged look. Metallic furniture makes a statement and fits into any decor. The soft shine adds class to any room.

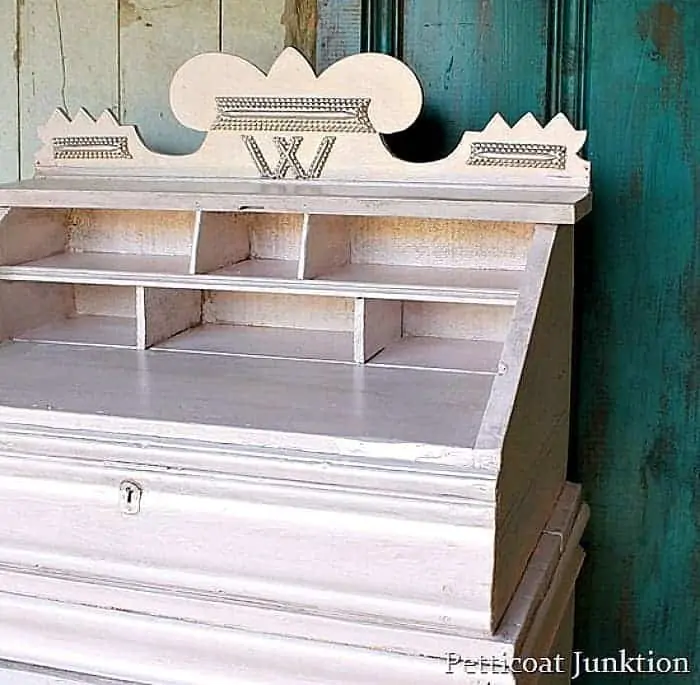
This was a fun project. I love working with metallic paint and the Caromal Colours Toner. I mean, how pretty is this piece! The highlighted details are lovely.
")
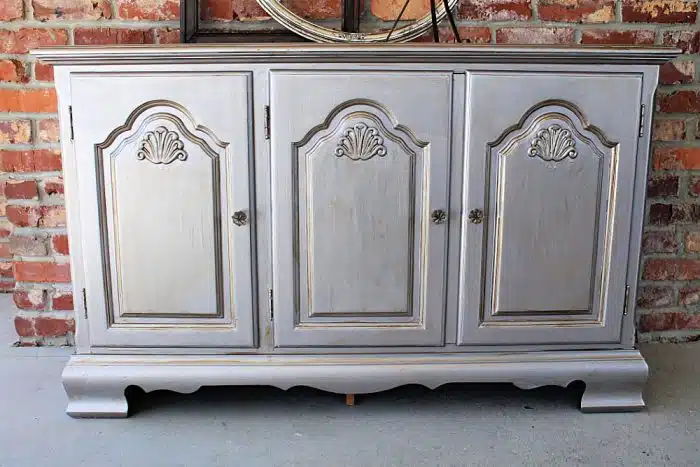
before makeover
This furniture style is really nice and could be used in a foyer, dining room, living room (tv stand) or just about anywhere. I can’t remember where I bought it or how much I paid for it. That’s bad isn’t it.

Glidden Gripper Primer in grey (or gray) is my all time favorite primer. They don’t make the grey Gripper anymore so I just have the hardware store tint the white Gripper to gray.
Martha Stewart Living Precious Metals Specialty Finish in Mirror and Martha Stewart Living Metallic Paint in Vintage Gold are such pretty colors. Update August 2016: They no longer make the MS Precious metals anymore. I recommend the Modern Masters line of Metallic Paints.

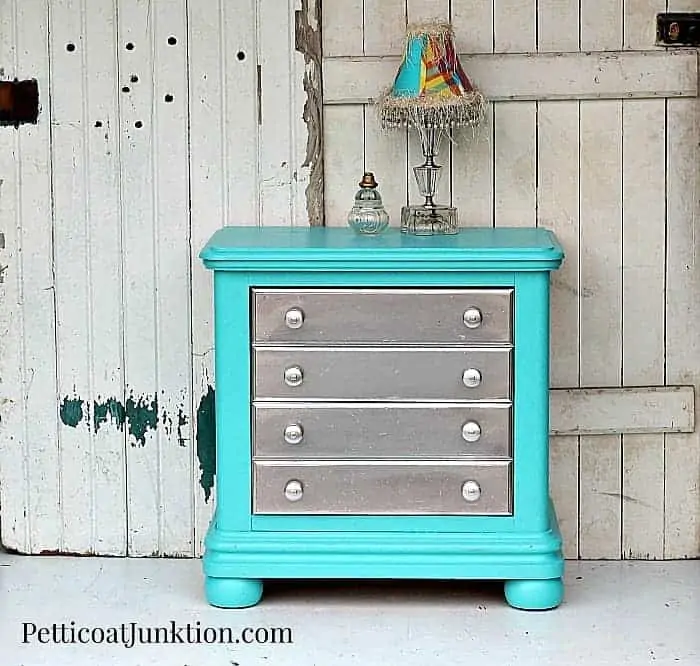
I used the Mirror finish metallic paint on A Pair of Nightstands and the gorgeous Small Buffet. It’s a really bright silver and in your face. I like that….but not the look I’m going for this time.
I mixed the vintage gold and the mirror colors together to get a really pale silvery tan. Or that’s what I call it. You can see where I mixed the two together in the plastic container. The end of the paint stick has the new paint mix on it and the upper color is the Mirror Silver. The Metallic Mirror has a slight lavender tint!
I guess because of the elements in the paint the paint tends to separate while painting. It’s really good to stir it occasionally during the painting process. I usually give it a stir every few minutes.

The inside of this piece was a little dirty but in great shape. I always tape off the inside when not painting it so I won’t have a lot of messy looking paint marks. I did paint the backside of the doors so they would look nice when opened.

This is how the piece looked after one coat of primer and one coat of metallic paint. When using the gray primer under the silvery colored paint I usually only need to apply one coat of metallic paint. Time and paint saver.

After one coat of Martha Stewart Metallic Paint special mix I applied Caromal Colours Toner very, very, lightly over the whole piece then went a little heavier on the detailed parts.
As you can see the toner is very dark. It’s best to brush it on and then almost immediately go over it with a damp rag to remove almost all the toner…or a dry rag to leave more of the toner on. Depends on your preference. The toner takes just a bit of time to dry so I work small areas at a time, brushing and wiping off.
Once the toner is dry it’s not going anywhere……trust me. It doesn’t need a sealer over it either unless you just want to do extra work.
")
I apply the toner unevenly because I think it looks more natural that way and not like it came from a big box store. Perfectly Imperfect.
")
See how the toner settles into the groves and small details. Adds depth and character to the furniture.
")
project 2


This is how the tables looked after two coats of primer and one coat of metallic paint. I was afraid the original finish would bleed since it had a lot of red in it so I applied a primer. I like to have my primer tinted gray because it works well under any paint color…..especially silver. I find I use less paint with a gray primer.
I chose Martha Stewart Precious Metals in Mirror. I was going for Silver but the sample was really dark so I went with the Mirror color.


Thanks for being here, Kathy
Can u use this same method on porous tile on a backsplash kitchen. Thanks Celena.
What Modern Masters metallic paint color would you substitute for the Martha Stewart Precious Metals Mirror?
I don’t sand the furniture unless it has rough spots on it or things like finger nail polish or permanent marker that will leech through the paint. So 95% of the time I don’t sand!
Hello, did you sand down furniture?
HI where can you purchase the specialty finish quart size Martha Stewart. Thanks loved the tutorial will be back. Charlsey
you got it!
Kathy,
Do I follow same steps?
1) Prime with Glidden gray (tinted)
2) Paint with metallic paint
3) toner
There is no sanding needed before the primer, correct?
Thank you,
Belkis
I know it’s nuts!! You can get the Glidden white primer and have Home Depot tint it gray. There are other silver paints. There is Modern Masters that you can order online. I haven’t used it but several of my friends have.
Hi,
I am new to the specialty paint movement. I tried to get Martha Stewart 1-Qt. Silver Semi-Gloss Precious Metals Specialty Finish, but found out that Home Depot is discontinuing the paint. Do you know where I can get it? Do you know any substitutes? I am also having trouble finding the primer. Please help.
A few days ago I was at Home Depot, and there were a whole bunch of Martha Stewart samples on the clearance area. I bought one of each color! My husband gave me a big eye roll when I came through the door with more paint!
Thanks!
I’m sure you can Gloria. I noticed Home Depot isn’t carrying the Martha Stewart Precious Metals anymore. Don’t know if it’s discontinued or not.
Do you really need to use the Precious Metals Specialty Finish WITH the Metallic Paint? Can’t you use the Metallic Paint by itself?
Thanks
Tracy, I just mixed until I had the color I wanted. Sorry I can’t be more helpful with the measurements. I know the ratio of gold to silver was very low…not much gold. Let me know how it turns out!!
I finally tracked down the Martha Stewart paint required for this (Home Depot is discontinuing). I need to know what proportion you mixed the Mirror with the Vintage Gold. Please let me know as I’m ready to start! Thanks so much!
It’s really great look after painting the furniture you give very good idea to improve looks of furniture.
Hi Kathy,
Home Depot has discontinued the Martha Stewart metallic paint (the gold specialty finish) ! Do you have any knowledge of a similar product to use instead?
thanks!!!
Michaela, I’m not sure what the glaze is. I always use the paint called Martha Stewart Precious Metals in the quart can and get them to mix the silver color tint I pick out. I will email you in case you don’t see this reply!
I just purchased a bottle of Martha Stewarts Metallic Glaze in a Mercury silver, love the color and tested it on a piece of wood trim, will not dry… I painted three coats to get a fully covered look but the paint is still moist or damp, its been like 2-3 hours. I have the piece in my garage so I’m thinking it maybe too cool to dry? Im going to wait until tomorrow to see if it has fully dried. If not Im thinking of blow drying the piece to see if that will dry it. Do you have any solutions or does it normally take this long to dry? Home Depot online instructions says “dry’s in 30 minutes…”
Michaela
Hi Kathy,
Quicky question. I’m working on a dresser that I have already roughly sanded. I was going to paint it a shade of red but have changed my mind. I’m going to us MS metallic silver on it. So here’s the question… do I need to prime before using it? I’ve only used it on raw wood before and it adhered well. Do you think I need to prime the dresser first since I’ve only roughed up the old finish rather than completely removing it. Thanks for the advice!!
Love it! I am going to try it on my dresser and a nightstand tonight!
Attempting my first piece using metallic glaze on a very detailed table. I sanded the top cleaned the entire piece, will need to repaint it a cream color and I’m glazing with copper. I tested it on the white paint that’s already on the table and it’s gorgeous.
Hi Kathy, I found the Martha Stewart metallic paints at Home Depot but they are discontinuing the Glidden Gray Primer. Any suggestions for a substitute? I’m trying this silver and gold mix to get that beautiful silver-taupe color!!! Love the color! Leslie
I love this look and can’t wait to try it! You inspire me! I am going to order the toner…how much would it take to do a medium sized three drawer chest?
straight for the gray primer 🙂
Hi there….LOVE LOVE LOVE all that you do…do you strip the furniture before or do a quick sanding on it??? Or just go straigh for the grey primer?
I would love to try metallic paint on my dining room set, after I fell in love with a metallic silver table at Z Gallerie. How do you get an even finish? I don’t like brush marks. Do you use a brush and if so, what kind?
Absolutely beautiful! Appreciate the tutorial.
Beautiful. Thank you for explaining your process. Most people only share pictures. This is so helpful.
I love the job on this piece. For some time I have been looking for the perfect silver paint DIY project. I have 4 pieces in my bedroom (French Provincial) that I have wanted to redo. I couldn’t believe the prices on the silver finish furniture in the stores. The wood is new and not the quality of used or vintage furniture. I have a piece very similar to yours. The oak criss cross top and the heavy plaques on the doors. I am going to start with a small end table in my bedroom. To be clear, I paint one coat of primer, one coat of the Precious Metals mirror silver base, then apply two coats 2 coats of your special mix of Martha Living Precious Metal Mirror silver base mirror and the Martha Living Metallic Paint in gold. A total of four coats of paint. Lastly I apply the toner. Hope you are enjoying the Holiday weekend. Look forward to hearing from you, DeeDee W.
Hi Rebecca, I used a regular 2″ paint brush. I always use the cheap ones!
Hello. What brush did you use to apply the metallic paint? Did you roll with a sponge foam roller, use a brush, or use the special roller in the Martha Stewart line?
Thanks for any info,
Rebecca
How long after applying primer did you wait to paint?
I always loved the antique silvered furniture and the mirrored furniture. Now im not afraid too do this on my own.thanks so much for giving me the know how and the confidence too try it! The piece looks Awesome!
I love the way it turned out, I just recently bought a piece of furniture that I would like to try this technique on. Great Job, it looks awesome
What a great outcome! I love the metallic look too, but it sometimes comes out looking pretty brassy. Your extra step of “antiquing” with the dark stuff and wiping it off I think gives it quite the finished look. So very nice!
wow great job it looks fabulous now awesome transformation
this is amazing! I LOVE it! I will have to give it a go sometime, thank you for the tutorial 🙂
go for it girl!
thanks Diane, I don’t mind sharing the how-to on my projects. Everyone puts their own spin on things. Be sure and share a pic if you do a makeover with the metallics!
Appreciate you giving up your secret on the paint. It is really a beautiful piece. I would like to try it out on a small piece myself. Hope it turns out as well as yours. Thanks 😉
You inspire me! I really like this look!