How To Stencil a Heart
As an Amazon Associate, I earn from qualifying purchases.
Valentine Stencil
Learn how to make the Valentine stencil pop. I’ll show you how to use more than one color to add depth and dimension to the finished design. Valentine Stencil Project
It’s the start of “Love Week”….as proclaimed by me! And what better way to start love week than with…..…a heart. And a really pretty heart at that. I did a great job.

The heart is perfectly imperfect.

I’m going to show you how to use the Valentine stencil so the project doesn’t look store bought…..like a million others. This heart is going to have charm and character and depth. The stencil is a freebie from Royal Design Studio…it came with my last stencil order. I love that I get a free stencil with every order. { p.s. this isn’t a sponsored post }

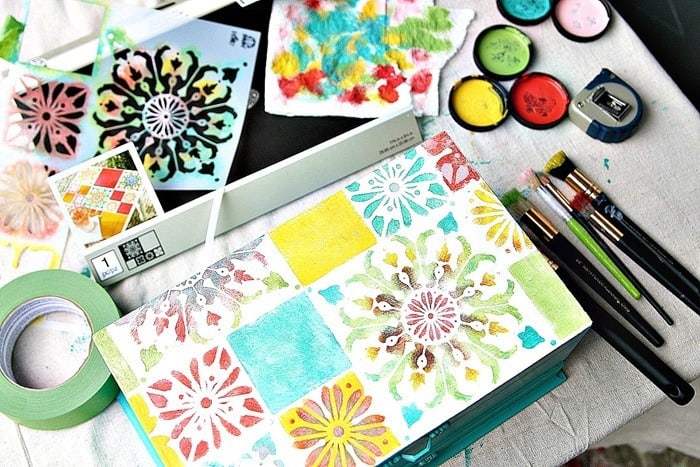
First step was to stencil the heart with fuchsia paint. I normally tape the stencil in place but the stencil was bigger than the board so I had to hold it in place. I raised the edge of the stencil a little to show the first layer of paint. You can see that it’s not all solid and even. Some areas are darker than others…that’s just perfect.

When the fuchsia paint was dry I used red paint on the stencil. I’ve shared this tip before….dip the stencil brush tips in the paint then wipe most of the paint off on a paper towel. That keeps the paint from bleeding under the stencil. I pour a small dab of paint on a paper plate or paper towel, dip the brush in, then wipe off almost all the paint. And I do mean, almost ALL of the paint.

You can tell from the paint on the stencil that I just put the red on kind-of willy nilly. I only wanted some red here and there. Don’t forget to let the first layer of paint dry before adding another color layer so the two colors don’t blend together.

And that’s how I got this designer look.

The two paint colors give the heart depth and keep it from looking flat. It’s a really simple technique and you only need one stencil…not layers of stencils. You could add another color to the mix if you wanted to.

I inserted a wire hanger through the two holes that were already there in the reclaimed wood board. I think I forgot to tell you about the board.. It was a junk find and the JTS cut the long board into short strips for me. I painted the board white….before starting the project. The finishing touch is a vintage key tied to the wire hanger with a soft velvet ribbon! I hope you liked the first installment of “Love Week” and ” The Valentine Heart .
I have another project you will love. It’s black and fuchsia and oh so soft. See it here…..Shaggy Stool Seat Cover.
You guys have a great week and thanks for being here, Kathy
She loves color, just like you! Pretty soon she will organize a Valentine’s Day Card Exchange. It is so fun! I have participated in the last 3 or 4 years, and you get from very elaborate to very simple Valentines, all adorable!
Thanks for sharing that Gloria. Now I have a new favorite website!
Very nice and colors/technique/used very well explained.
awww kathy i (heart) this xx
Very pretty!
This is so cute!!!! Love it!