How To Paint, Dry Brush. And Antique Metal And Wood Furniture
As an Amazon Associate, I earn from qualifying purchases.
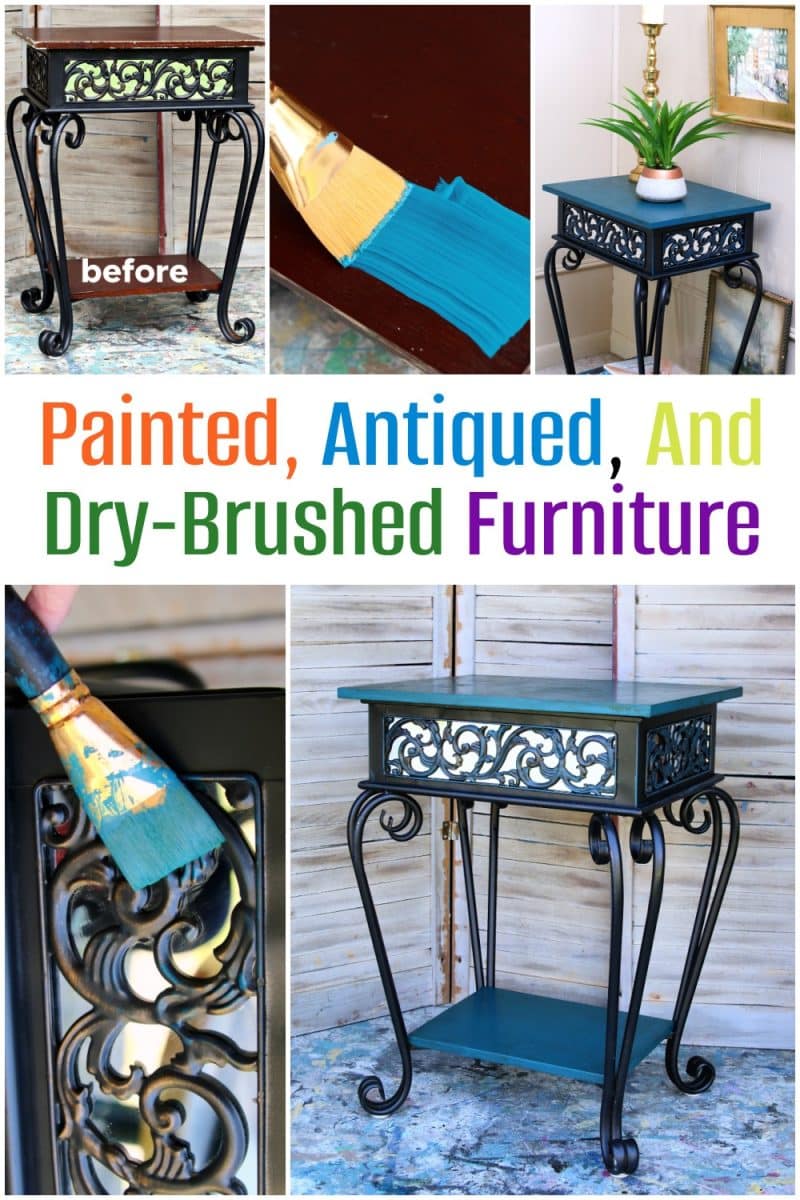
This makeover of a used At Home table includes two special paint techniques. First, the wooden part of the table was painted, then antiqued to make it look old, and the metal details were dry-brushed with the same paint color.
Hi Friends, I’m glad you’re here. Do you know how it is when things don’t go according to plan? I certainly do. That’s what happened with this little table. I had a paint plan that included taking the table completely apart, but that didn’t happen.
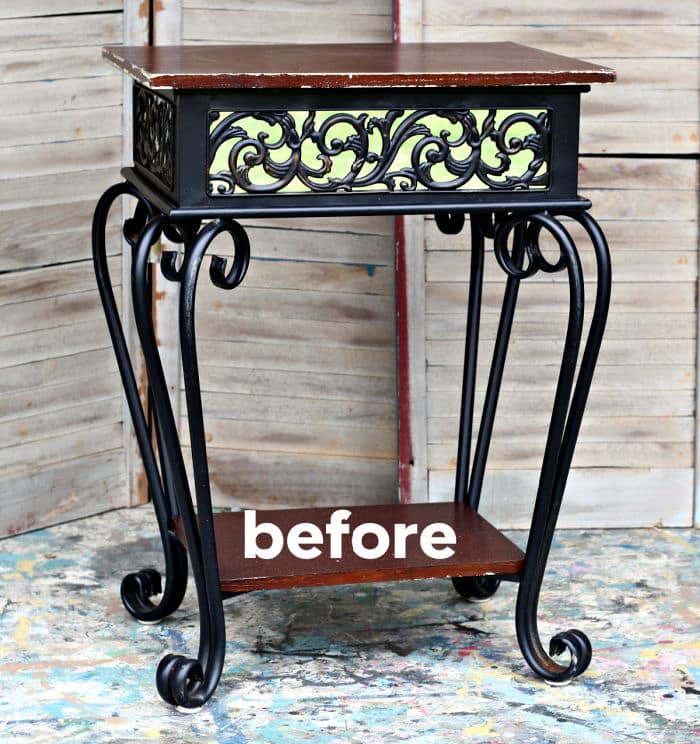
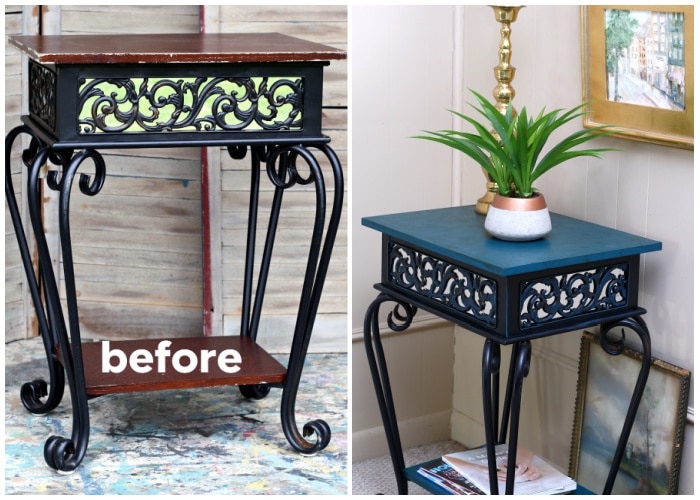
I picked up the table at My Favorite Junk Shop for $10. It had some issues, but they could be worked out.
I have all the details for you, plus, today is Furniture Fixer Upper Day, so be sure to take the tour!
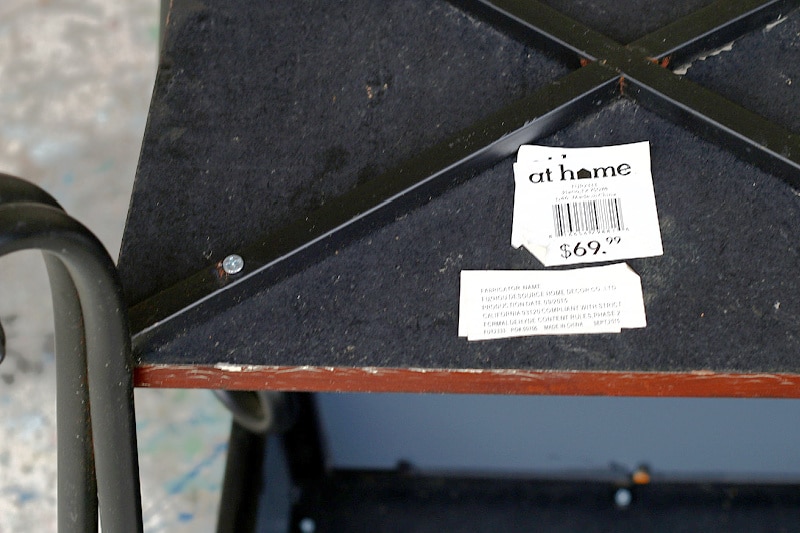
I turned the table upside down in preparation for taking it apart. Then I noticed the price sticker from At Home. Pretty fair price for a side table. I may price it the same when I take it to my booth.
My original plan was to take the table apart, or at least remove the wood top, shelf, and mirrored panels, before painting. Then I was going to spray-paint the metal parts metallic gold and the shelves metallic silver.
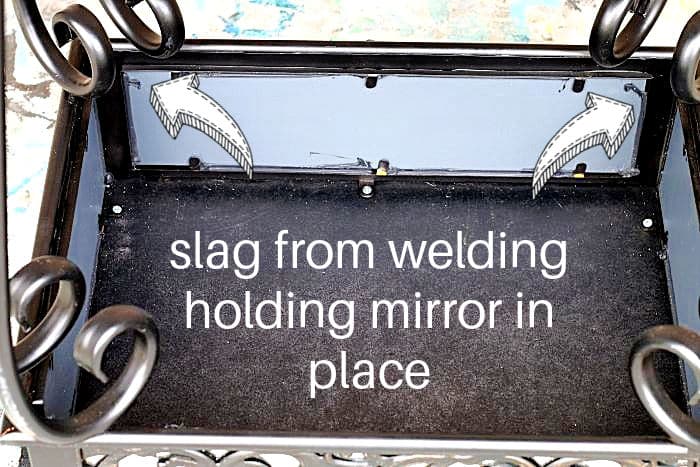
When I loosened the metal clip pieces holding the mirror in place, the mirror was still stuck. I had noticed the metal slag on the sides and wondered at the time if that would be a problem. Well yes, yes it was.
The four mirrored panels could only be removed after loosening the clips and removing the welding stuff. That wasn’t going to happen.

So I worked on a plan while getting ready to sand the problem areas on the table top and shelf edges.

I used 22o grit sandpaper by hand to sand the areas where the top finish was flaking off.

Before using the sandpaper, I folded it over several times. This makes the thin sandpaper easier to grip and work with. I sanded all the edges smooth without overdoing it. The top and shelf were MDF, not real wood, and I didn’t want the wood to puff up in the sanded areas when it got damp or wet.

I chose an oops paint color from my paint stash. I love oops paint because you can buy it cheap!

This container was 52 cents, and I’ve painted a couple of home accessories with it.

The bottom shelf was screwed in place, and I removed it for painting. The little yellow things (some were spray-painted during an earlier project) are risers used to elevate things for painting.

These little risers come in handy for all kinds of things. (take a look on Amazon here)

The blue is such a pretty color. I search the oops paint shelves every time I go into a home improvement store. Sometimes the cans of Oops paint are nice, and sometimes the colors are bland. A lot of the gallon oops paints are mixed for wall painting, in neutral colors.

This is how the table top looked after one coat of paint. Kind of smeared and spotchy but that will clear up after the second coat.

See…..second coat.

I tried a different technique for antiquing the table, and it didn’t make me happy. The wood stain dried too fast and was difficult to work with.

Next, I pulled out my old standby. I don’t use this Caromal Colours Toner nearly as much as I used to. I need to remedy that. The toner is easy to work with and gives enough time to work the finish before it dries. 
The process is simple: apply the toner with a lint-free rag, then wipe it back with a slightly damp rag until you achieve the perfect finish. I have a full tutorial here… How To Antique Painted Wood Furniture
There is no need to seal the finish unless you would like a satin or glossy look. Once set, the toner will not wash off.

Once the antiquing was done, I decided the color needed to be incorporated somewhere in the body of the table. This will pull the table top and bottom shelf together. Dry-brushing the scrollwork metal plates covering the mirror glass with the same blue paint makes it all work.

To dry-brush any item, just dip your brush into your paint, then wipe most of the paint from the bristles using a paper towel or rag. Next, run the brush tips over raised or detailed areas on your furniture piece or home decor item.
You can use a light touch or a heavy touch, but I always start light. I went really light with the dry brushing here, but once the paint dried, it almost blended into the black metal. I went back over the scrollwork with a heavy hand!

And that did the trick. When I first spied this piece at the junk shop, I didn’t notice the mirrors. It was like I was looking through the scrollwork to the other side of the table.
I guess it depends on what they are reflecting. The mirrors do get lost with all the metal in front of them.

Even though I started with a different plan, I love how the table looks now.

I don’t have a place for it at home, so the table will go to my booth at the shop. I think I’ll price it at $79.

I moved a table that was sitting in this spot in our family room just so I could take photos. The brass candlestick and framed painting were part of the original table display.

The painting is an original artwork by a local artist. I purchased it several years ago. That brass candlestick is vintage Home Interior. My Mom had a set of two. I got one, and my sister has the other.

You can see the blue paint on the scrollwork much better in this photo.

I dry-brushed the corners of the metal work, too. Painting the legs would have been overkill.
Leave a comment, please! I love to hear your opinions on my projects. Then head out on the Furniture Fixer Upper Tour. I’m especially interested in seeing Denise’s table makeover. It was a hot mess when she found it. Click the links below the “before makeovers” photo collage…….
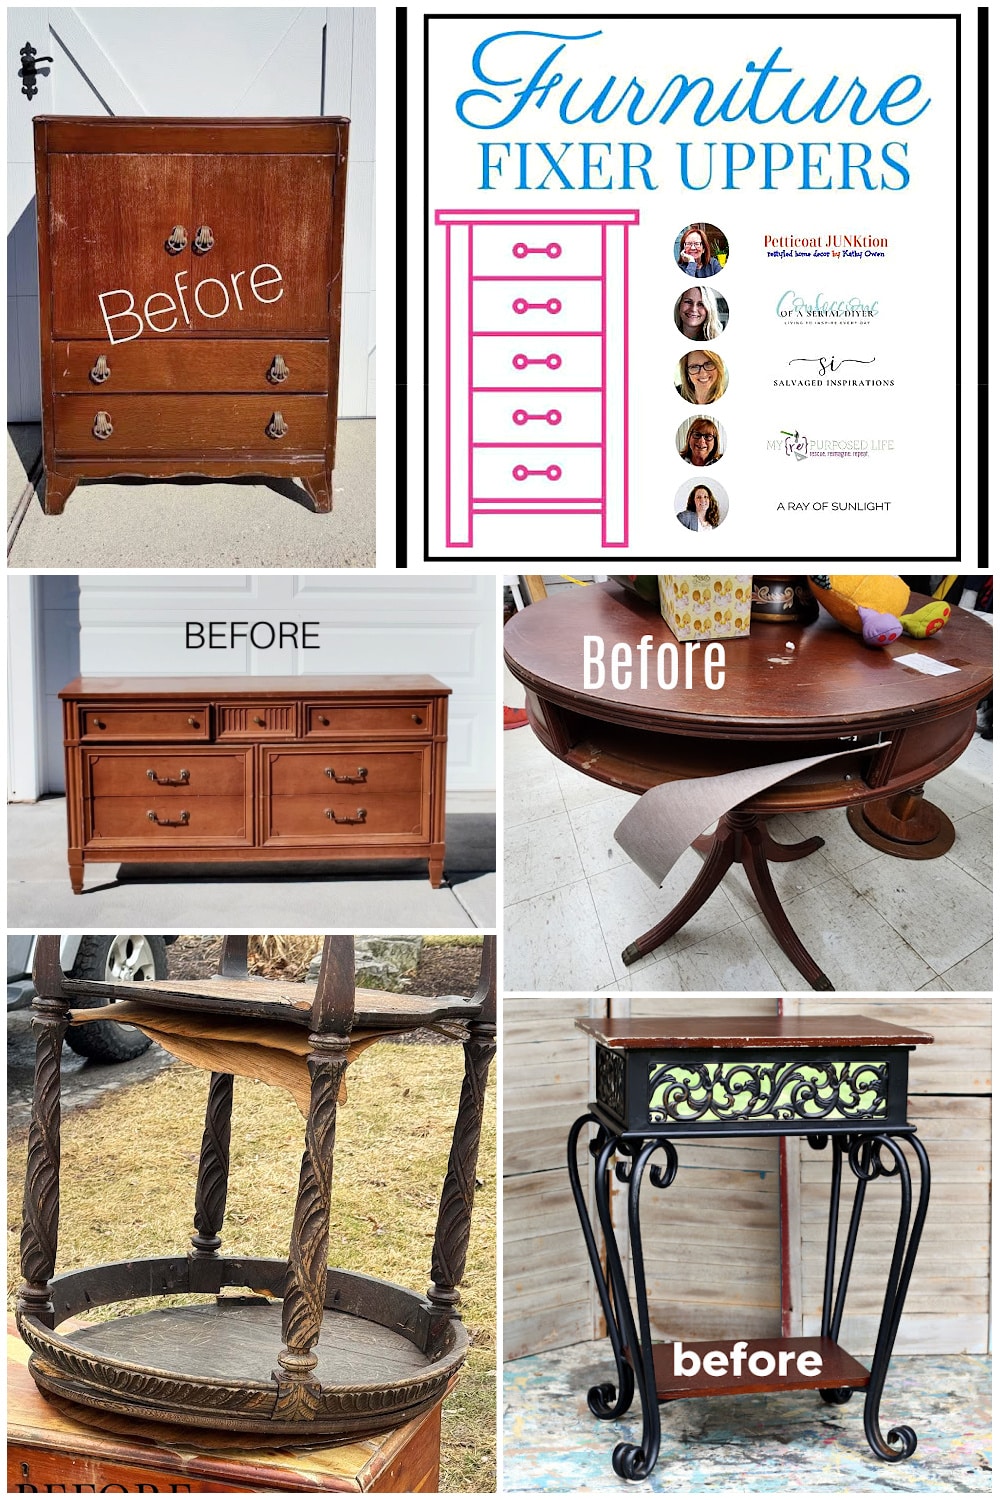
Furniture Fixer Upper Tour:
Gentlemens Dresser Makeover – Confessions of a Serial DIYer
How To Fix A Warped Table Top – Salvaged Inspirations
Drum Table Makeover – My Repurposed Life
How To Paint A Dresser In One Day – A Ray Of Sunlight
Antiqued And Dry Brushed Table – Petticoat Junktion (you are here)

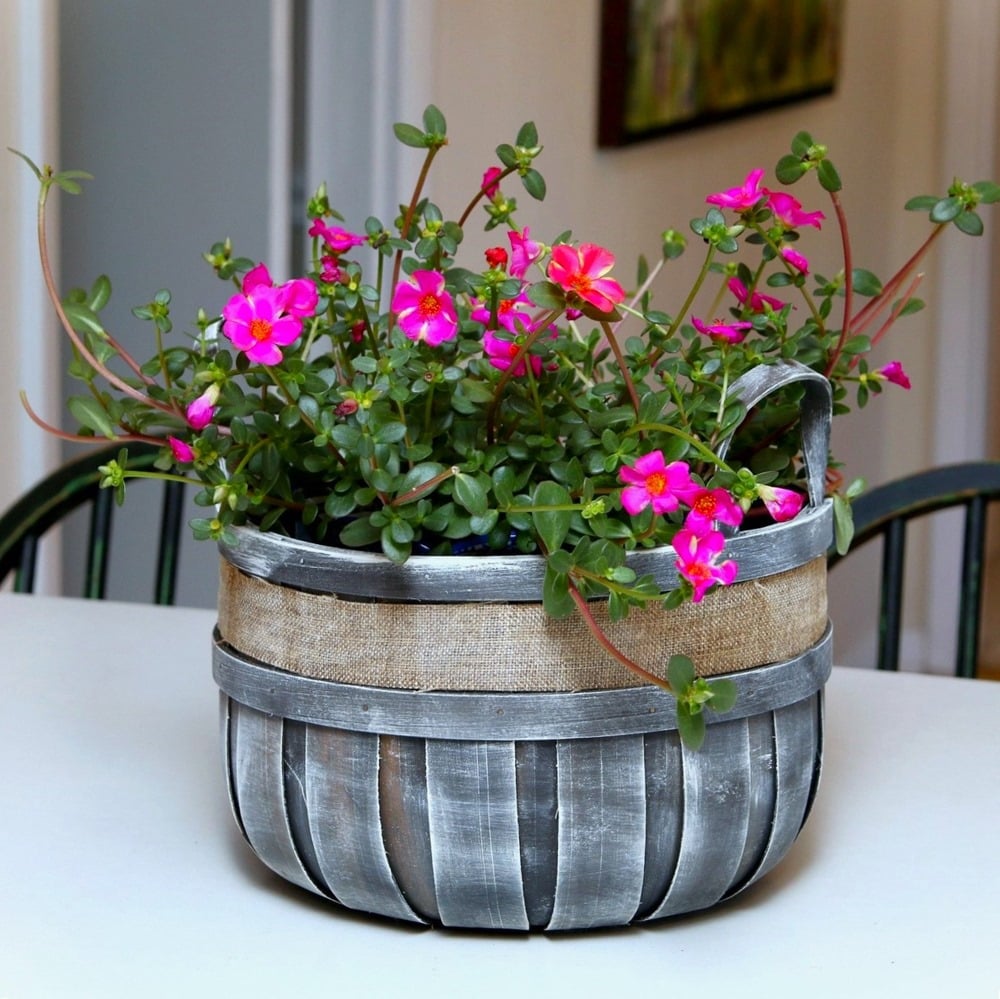
You can dry-brush home decor accessories in just a couple of minutes! See this basket project here…. Time Saver: Paint Home Decor In Batches With Off-White Paint
As always, thanks for being here, Kathy