Beach Happy | Easy DIY Sign | No Worries
As an Amazon Associate, I earn from qualifying purchases.
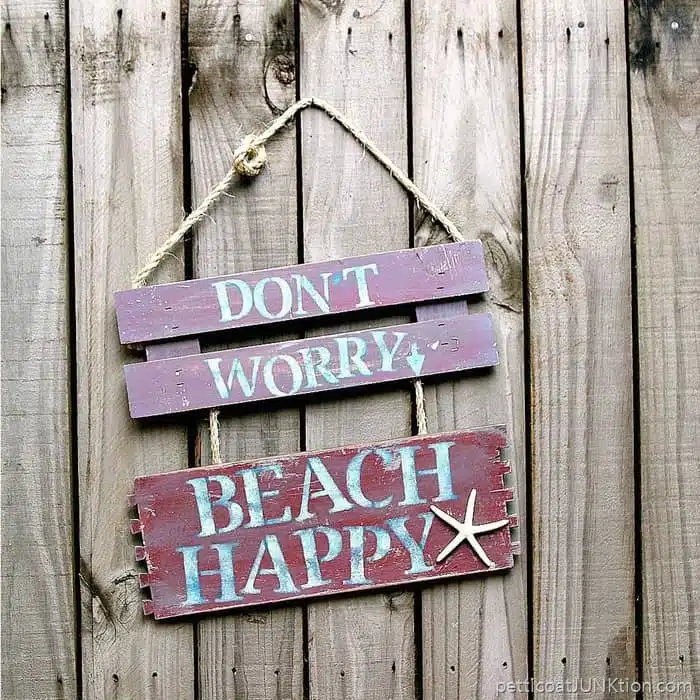
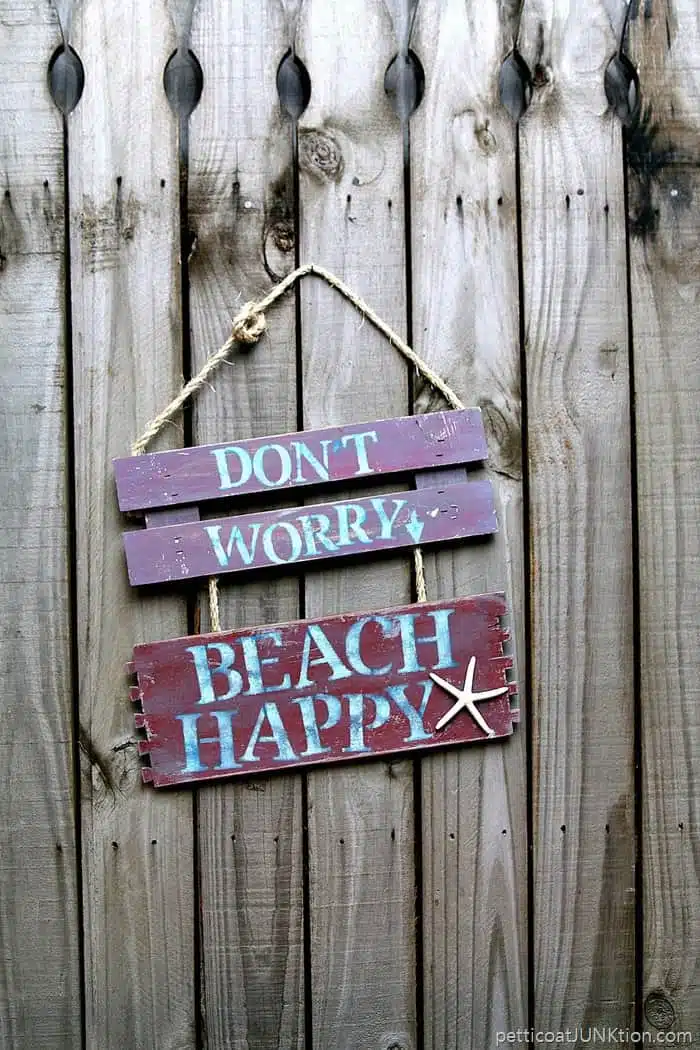
Don’t Worry, Beach Happy, is my saying for Summer 2017. I spotted the words on a marquee in Florida a couple of weeks ago. I liked the sentiment so I made a sign.
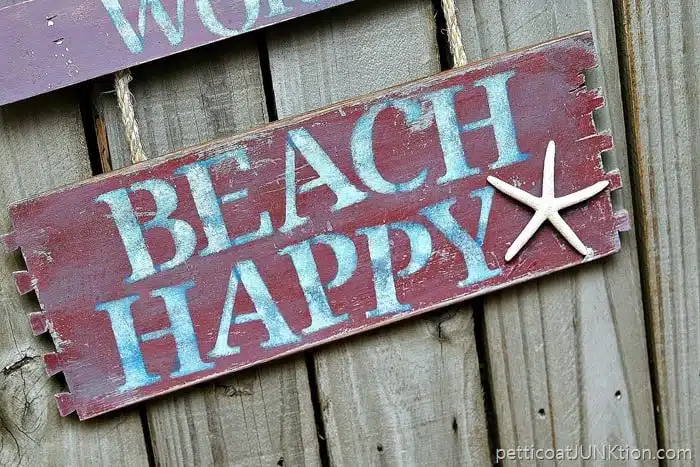
Don’t Worry – Beach Happy
Me and my honey, and my sister and her honey, enjoyed some quality time together in Florida. It was an unexpected trip for me and the JTS and that made it all the better. Beach Happy time.
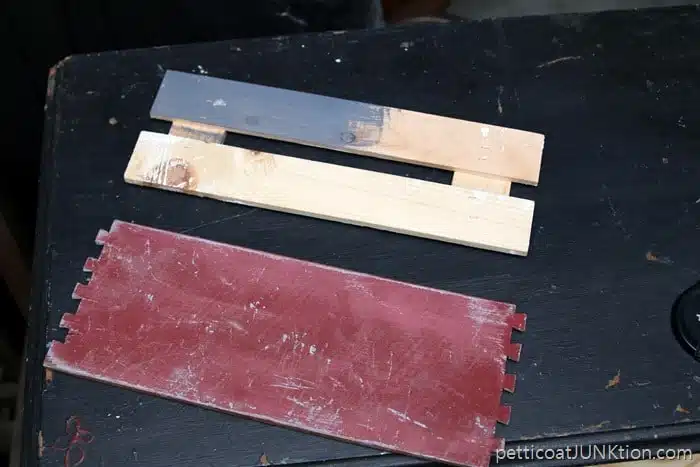
When I decided to make the sign I scrounged through my reclaimed wood stash and came up with these two pieces. At first I was going to just use the slatted wine crate top and put the whole saying on it “Don’t Worry, Beach Happy”. I changed my mind after laying out the stencils and finding they were too big.
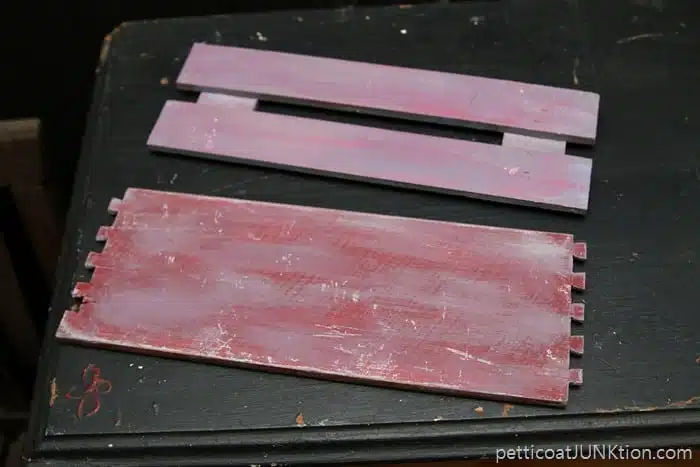
Moving on to idea number two and using two boards. I painted the boards to match…..kind-of…..close enough for beach work.
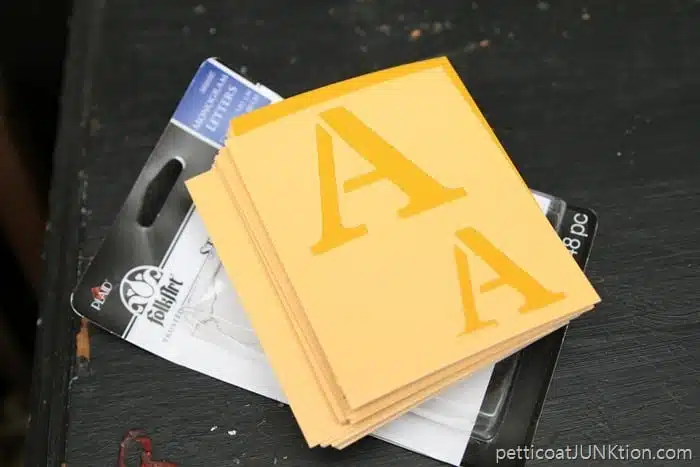
A fresh package of stencils from FolkArt.
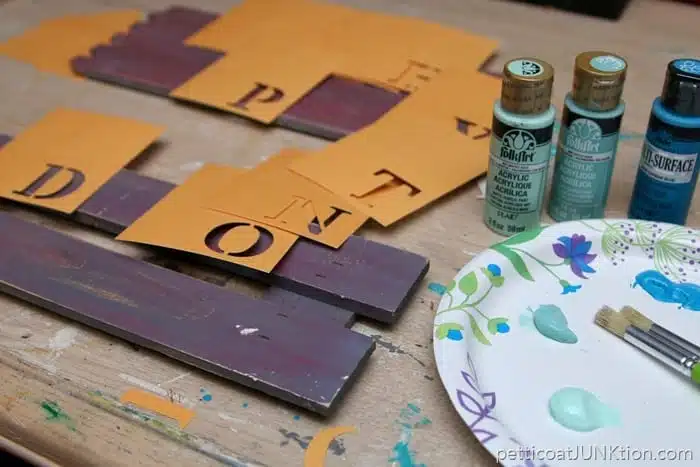
After laying out the letters to see if the size was right I started to work. The colors I selected for the stenciled words are Cayman Blue, Dutch Aqua, and Minted Aqua (all FolkArt Acrylics). I poured just a touch of each paint color on a paper plate so I could dab the brush in them. Doesn’t take much paint at all.
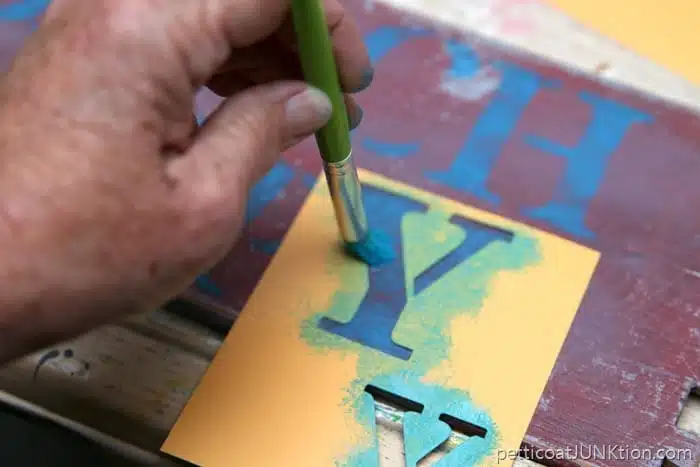
I started with the Cayman Blue because it was the darkest color. I used a very dry stencil brush to do the stenciling.
After the Cayman Blue was dry I dabbed the Dutch Aqua over the stencil in carefully selected areas….just kidding. I dabbed and smushed the color on all willy nilly. I didn’t want to cover the first paint color completely.
Once the second paint color was dry I added the third color, Minted Aqua, to the mix. Using more than one color adds depth to the stencil and the finished look is so much better. See my stenciling tips by clicking here…How to Stencil Like a Pro.
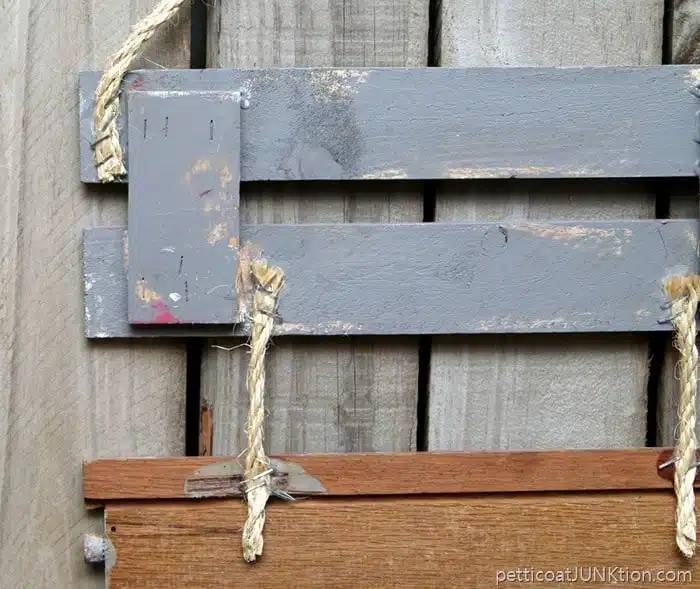
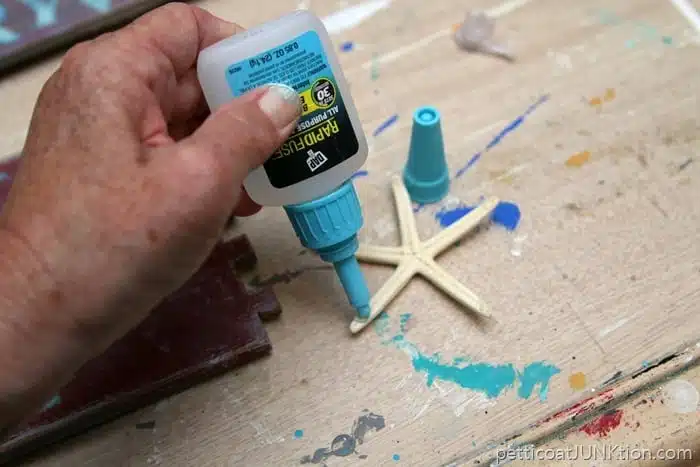
Next I added sisal rope as a hanger. Beach projects are required to sport a bit of sisal rope. I used staples and DAP RapidFuse on the rope. I was afraid the staples wouldn’t hold so I added the DAP as a safety measure …..just to be sure.
I used DAP RapidFuse on the Starfish too.
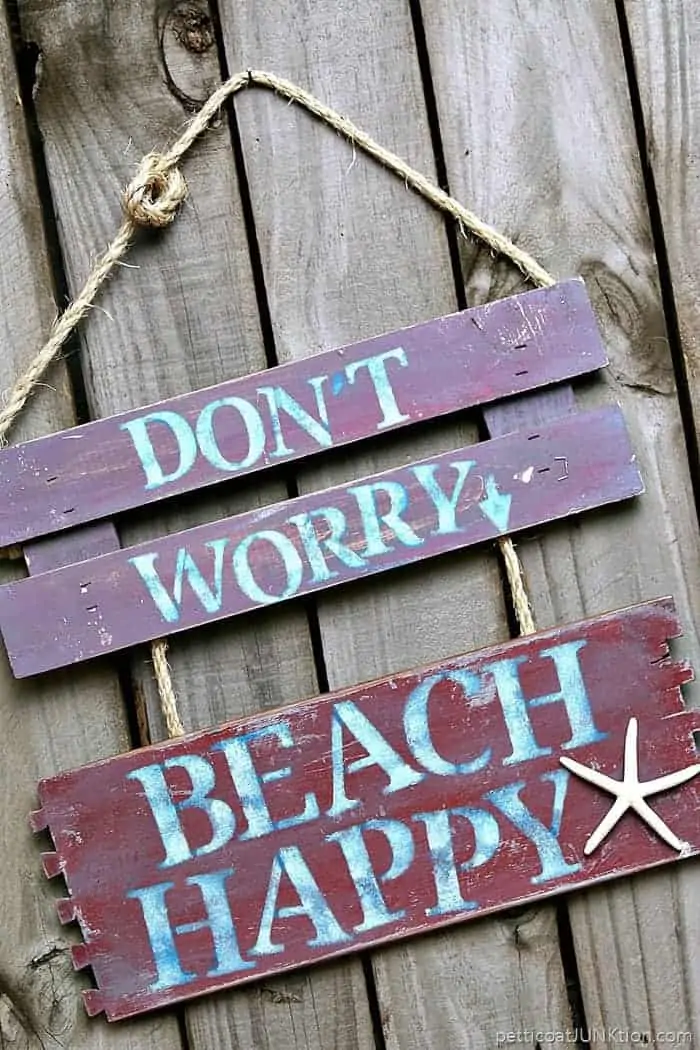
My saying for the Summer. See what I mean about the multiple colors I used for the stenciled letters. No flat boring look.
I also did a little distressing over the stenciled words. Nice and weathered.
Now it’s your turn to talk. Leave a comment letting me know what you think of the sign. Do you like to stencil? Do you have any stenciling tips? I can’t freehand paint anything so I have to use a stencil.
That’s it for me. Have a great day!

The sign is really very cute. It is the perfect saying for summer. I really liked the starfish, it looks very cute.
Wow, I love this, great job. Thanks fr sharing it.
Cute. My sister and a good friend would love this since they are beach people.
I love it! What a great philosophy for summer!!! You beached it!! Haha!
I love the effect of using the two colors on the letters. Just gives them a little oomph! or something. You do good work!
Glad you enjoyed your impromptu trip to Florida, Kathy – much deserved! Love your time worn Beach Sign, especially the sentiment. This Mama is so overdue for some Beach Happy – the snow just melted a few days ago.
Adorable – so clever!!
Love the sign – very clever. Thanks for the tip re using several colors on the letters. They do give them depth.
I love the saying, the sign is perfect for the upcoming summer season and the colors you chose are so fun and fresh!
So Cute!! Thanks for inspiration!