

How To Make a Mason Jar Ring Pumpkin With a Wine Cork Stem
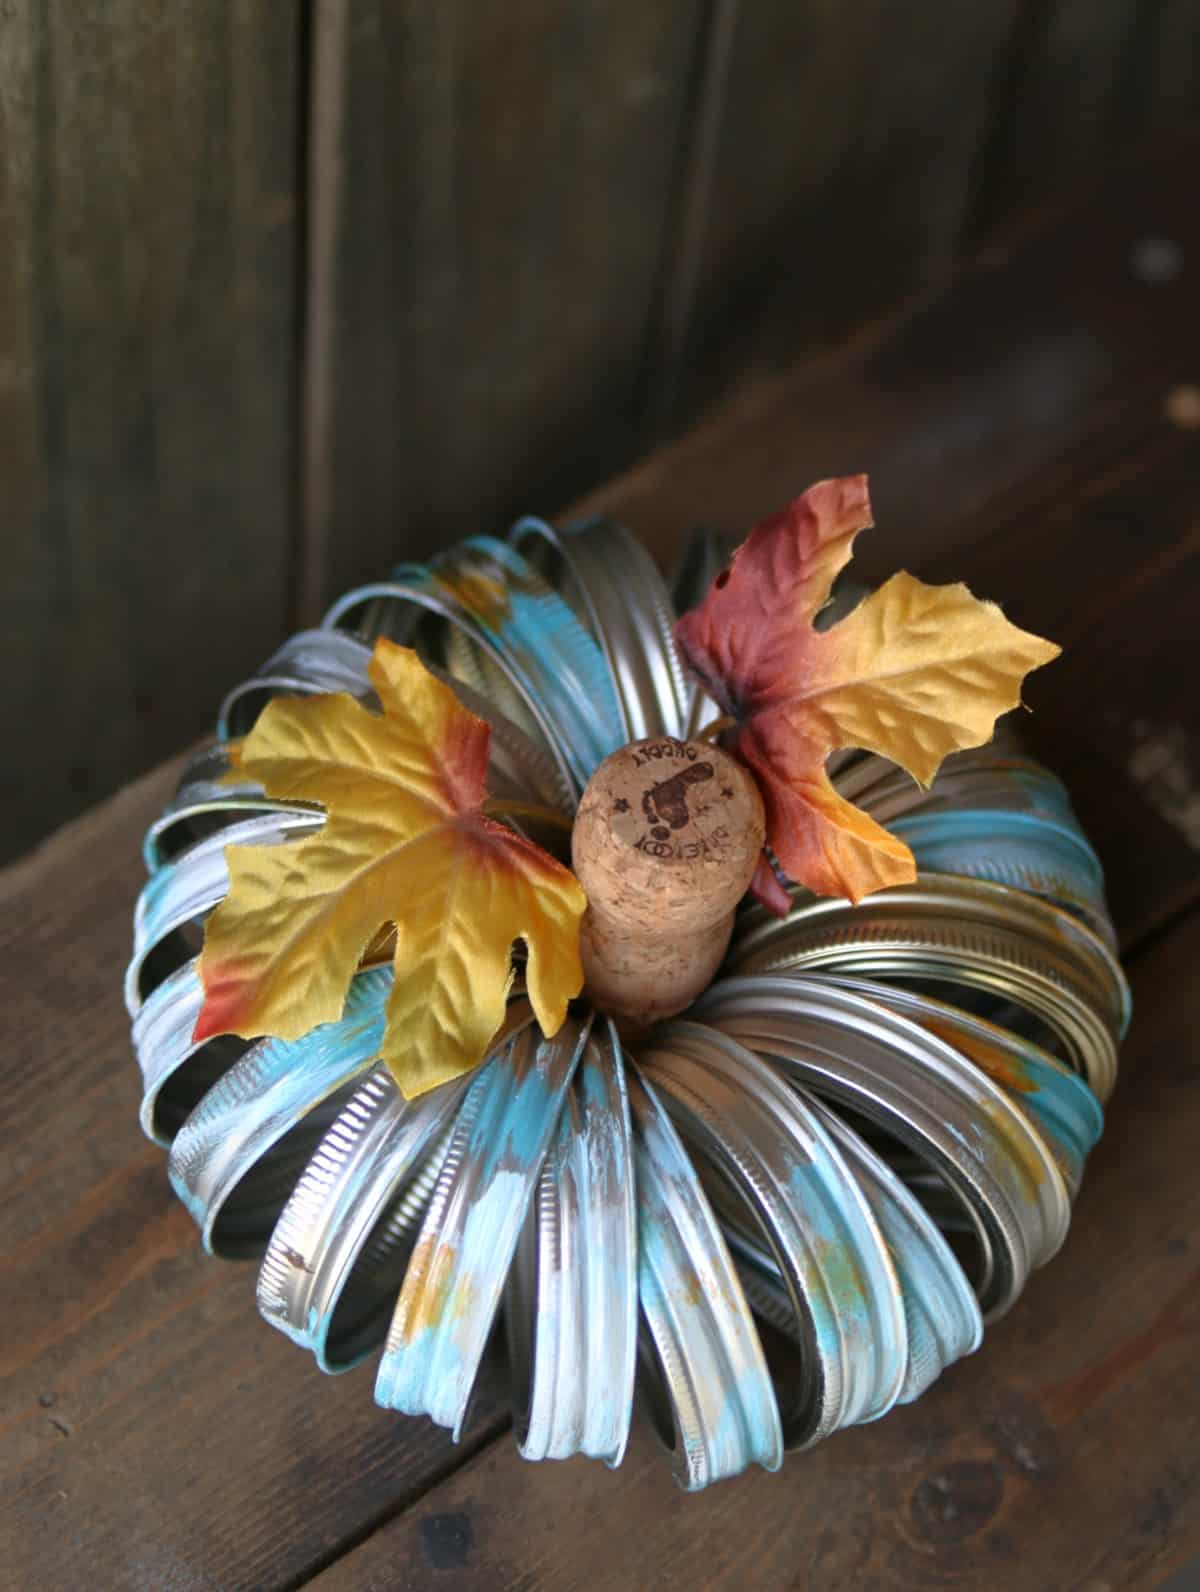
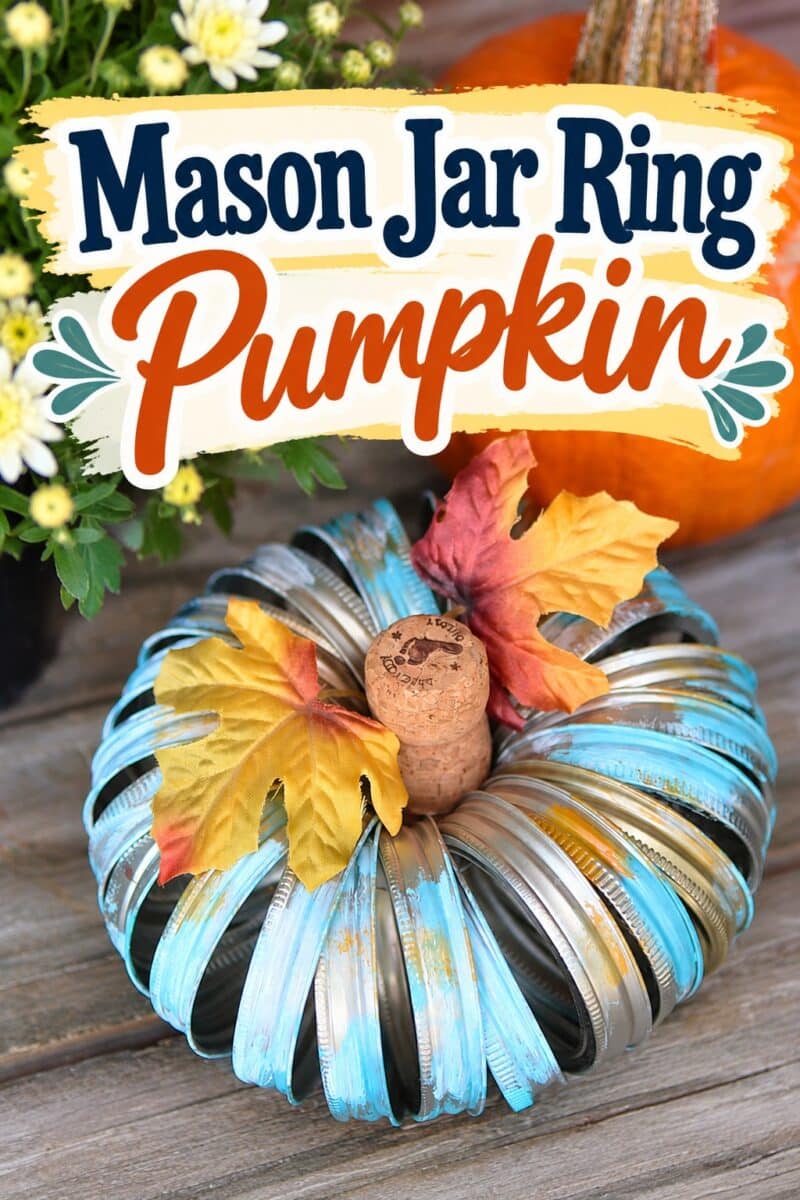
This Mason jar ring pumpkin is so much fun and easy to put together. The DIY pumpkin has a wine cork stem, which adds a touch of whimsy and a bit of attitude.
You know how I love finding unexpected ways to repurpose everyday stuff, and saving those canning jar rings turned out to be a wise decision. After wiring the metal rings together in the shape of a pumpkin, I lightly brushed them with acrylic paint to add a bit of color. Artificial leaves were the finishing touch.
I bet you have everything you need to make your own pumpkin, so let me show you how I put it together.
How to Make a Mason Jar Ring Pumpkin
Project Supplies and Tools:
Metal canning jar rings
Wire
Wire cutters
Acrylic paint
Paint brush
Wine cork
Artificial greenery
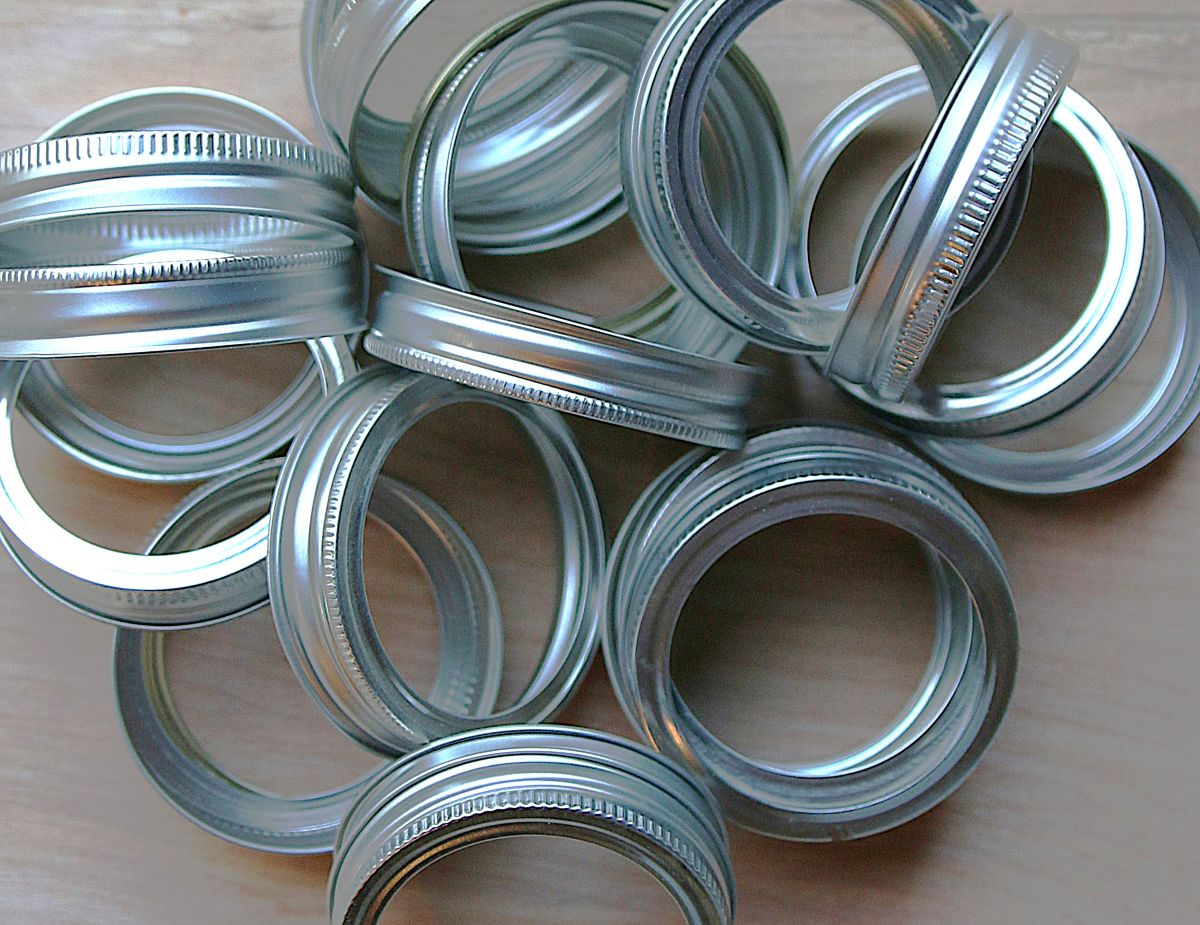
I used twenty-three jar rings (the number I had in my stash) to make the pumpkin.
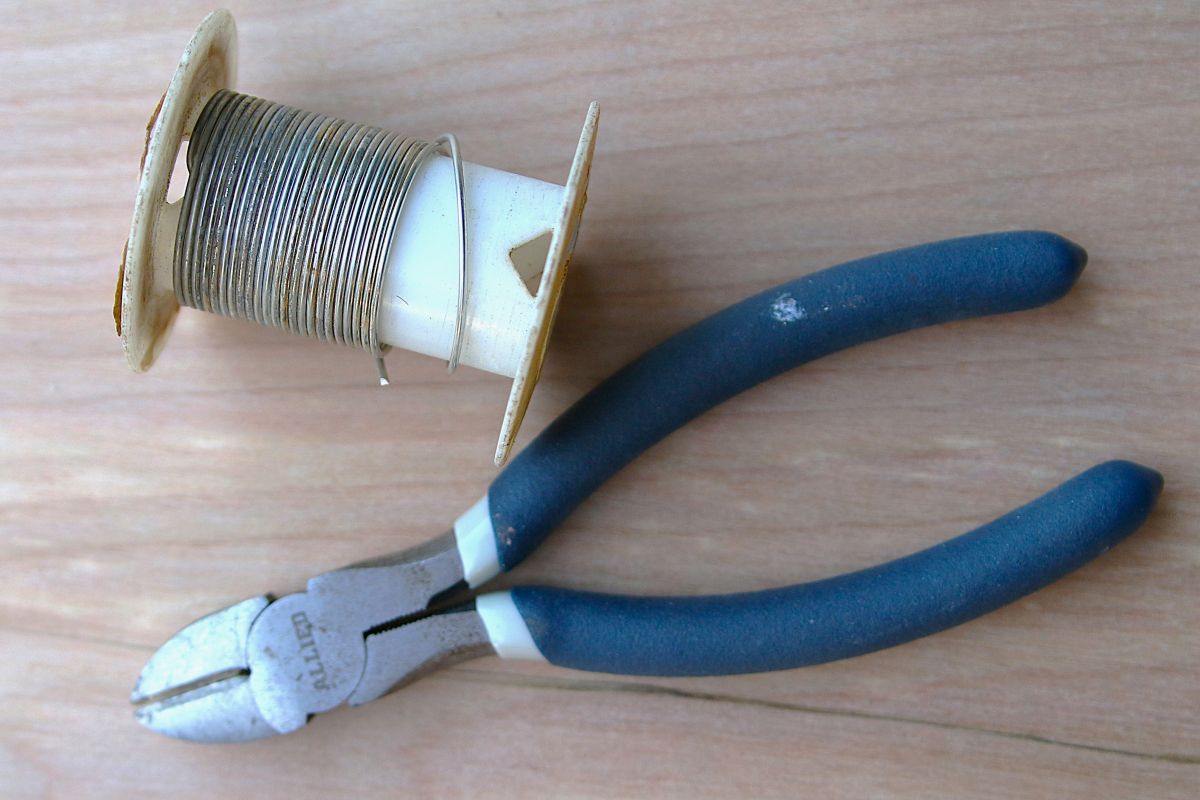
You need medium wire for bendability and support.
Put the Rings Together
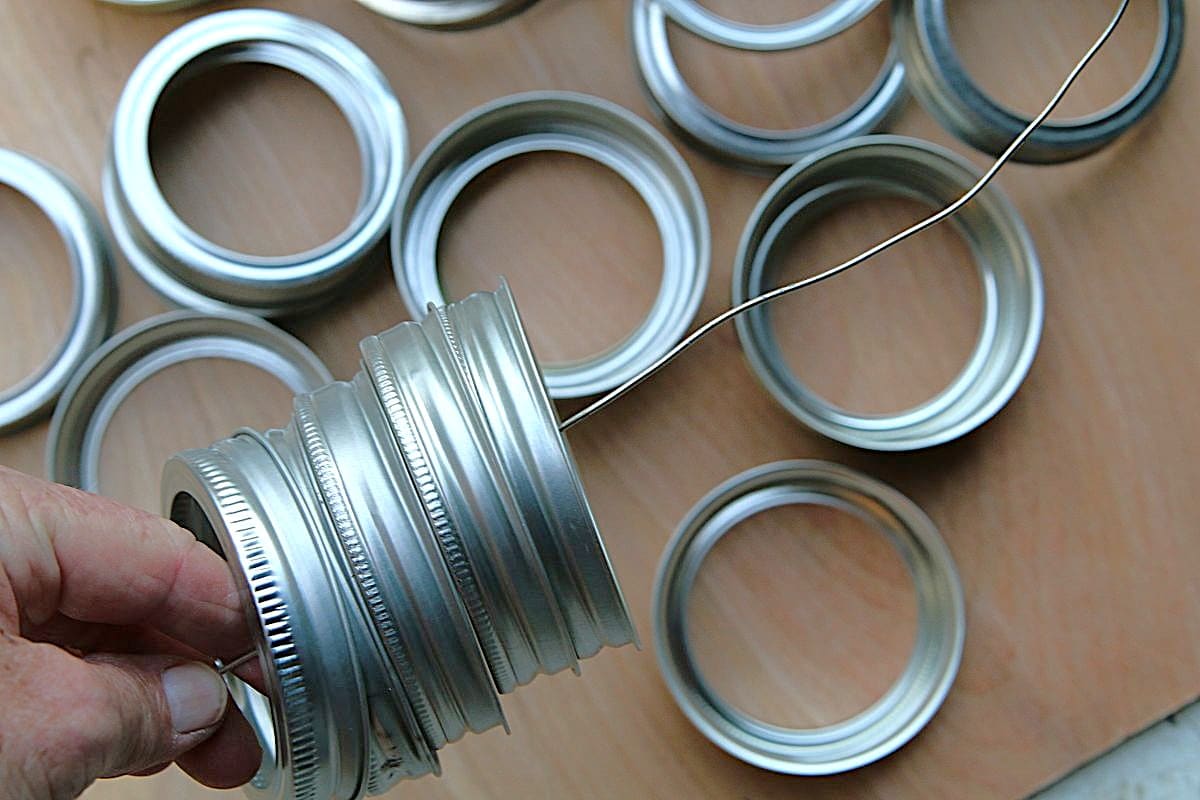
Pull about a foot or two of wire from the spool. Hold one end of the wire and load the rings onto the wire facing them in the same direction.
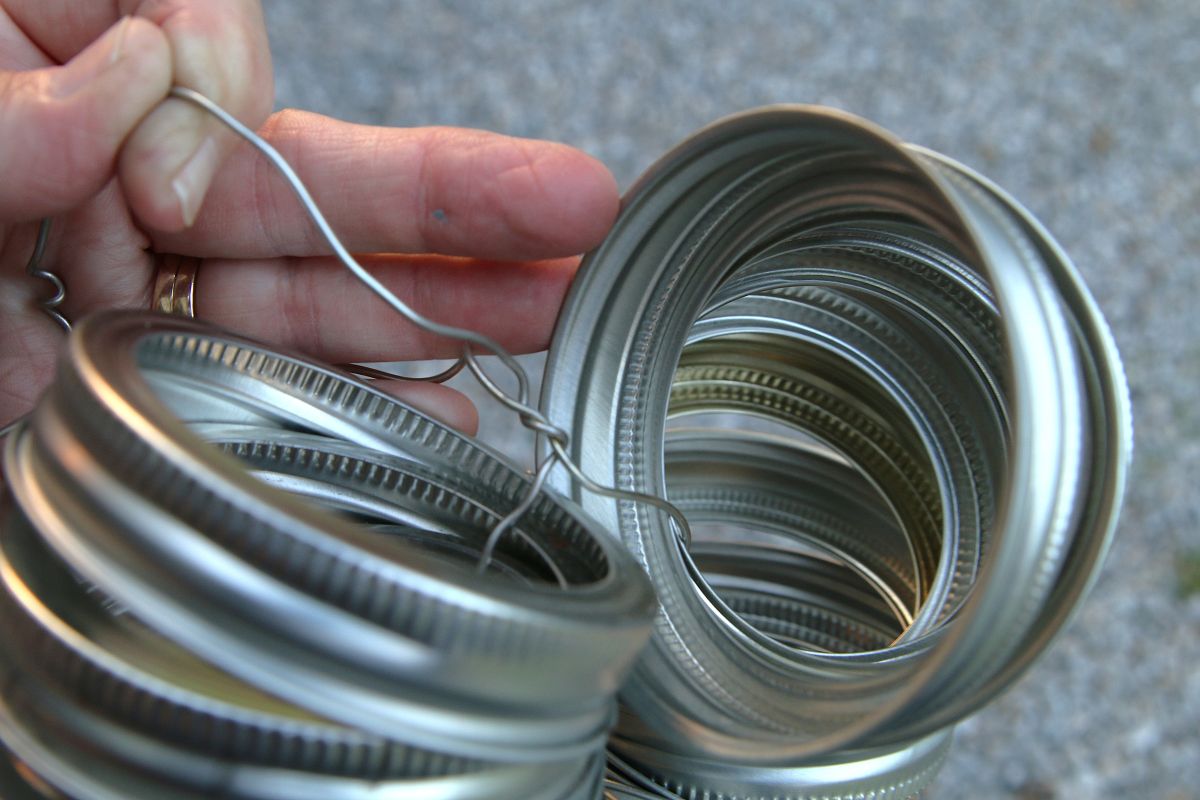
When you have all the rings on the wire, pull the wire tight, but loose enough that the rings will fall into a pumpkin shape when set on a flat surface. Twist the wires together and cut with wire cutters.
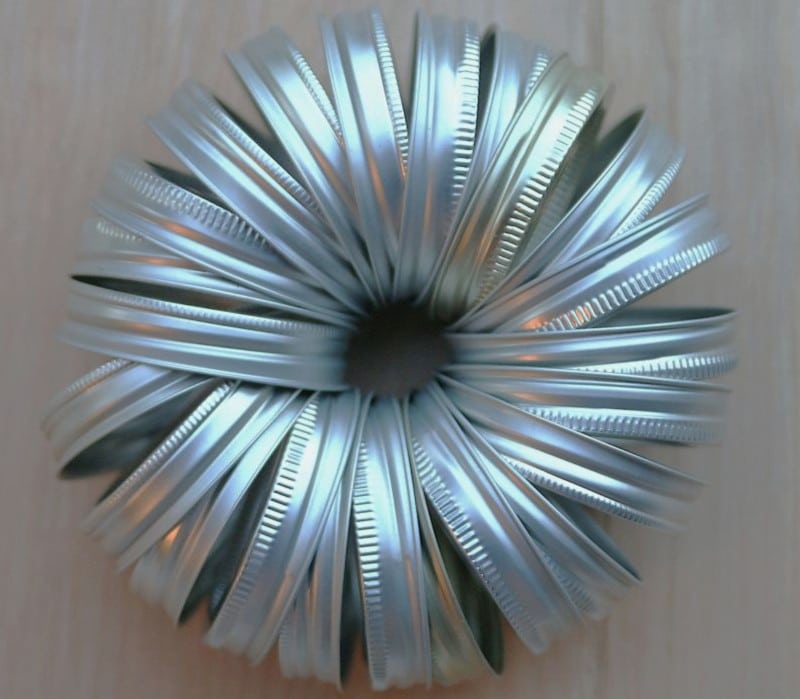
Your pumpkin should look similar to mine. I’m assuming you can use more or fewer mason jar rings than I did, and the pumpkin will just look different but should have the same diameter.
Attach a Stem
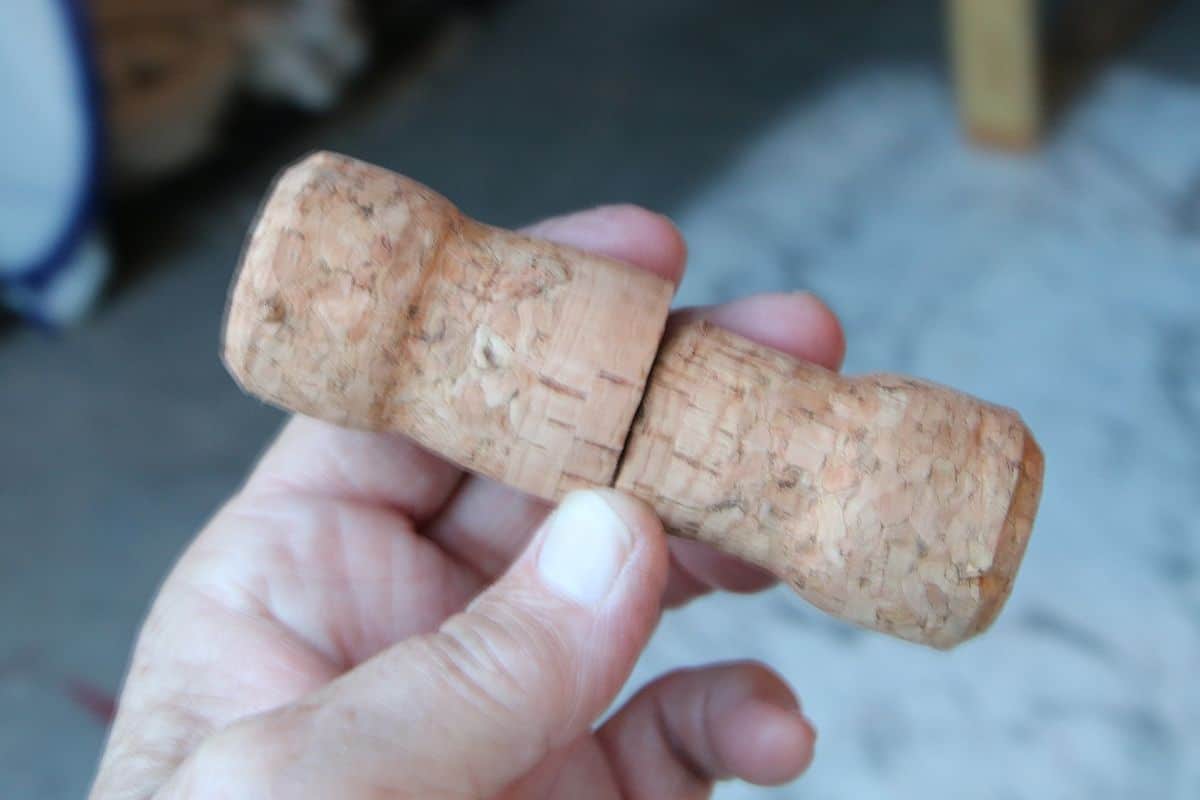
I have a Mason jar full of wine corks, and these two large ones looked like good options for the pumpkin stem. I glued them together bottom to bottom.
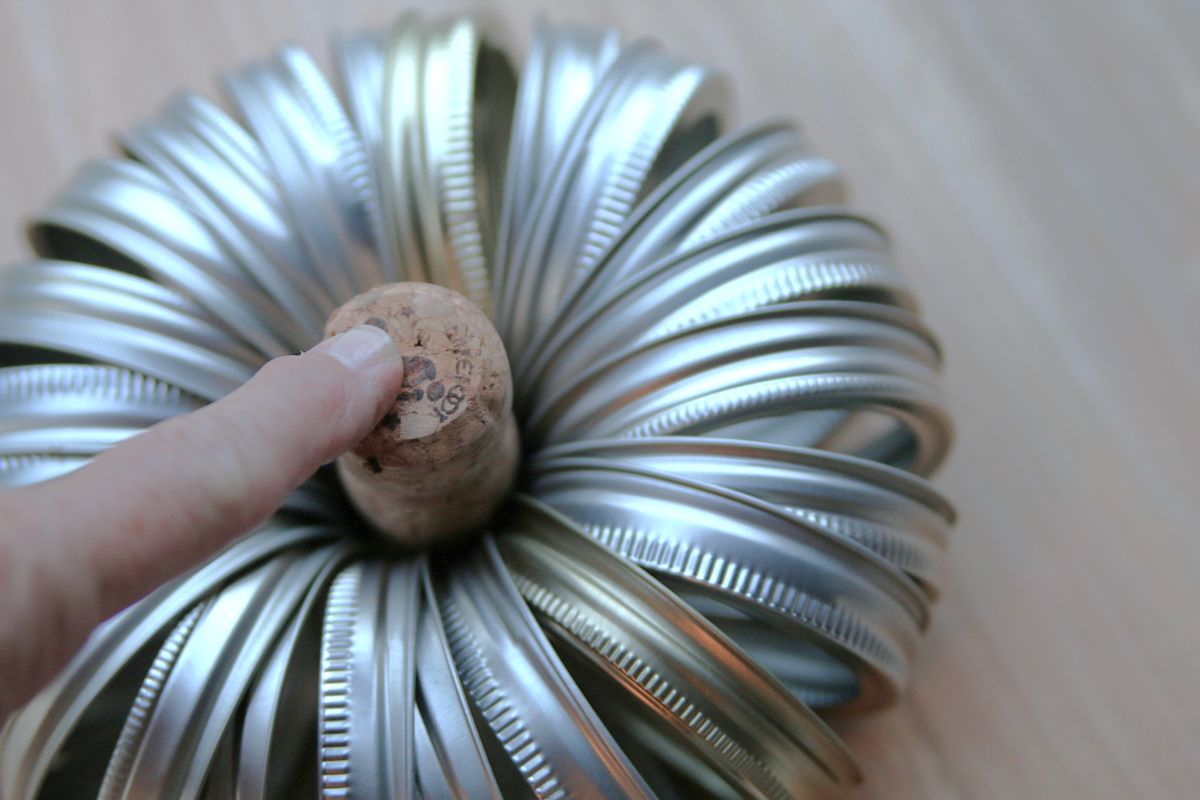
I planned to glue the attached corks onto the rings, but when I pushed them down into the rings, they fit snugly.
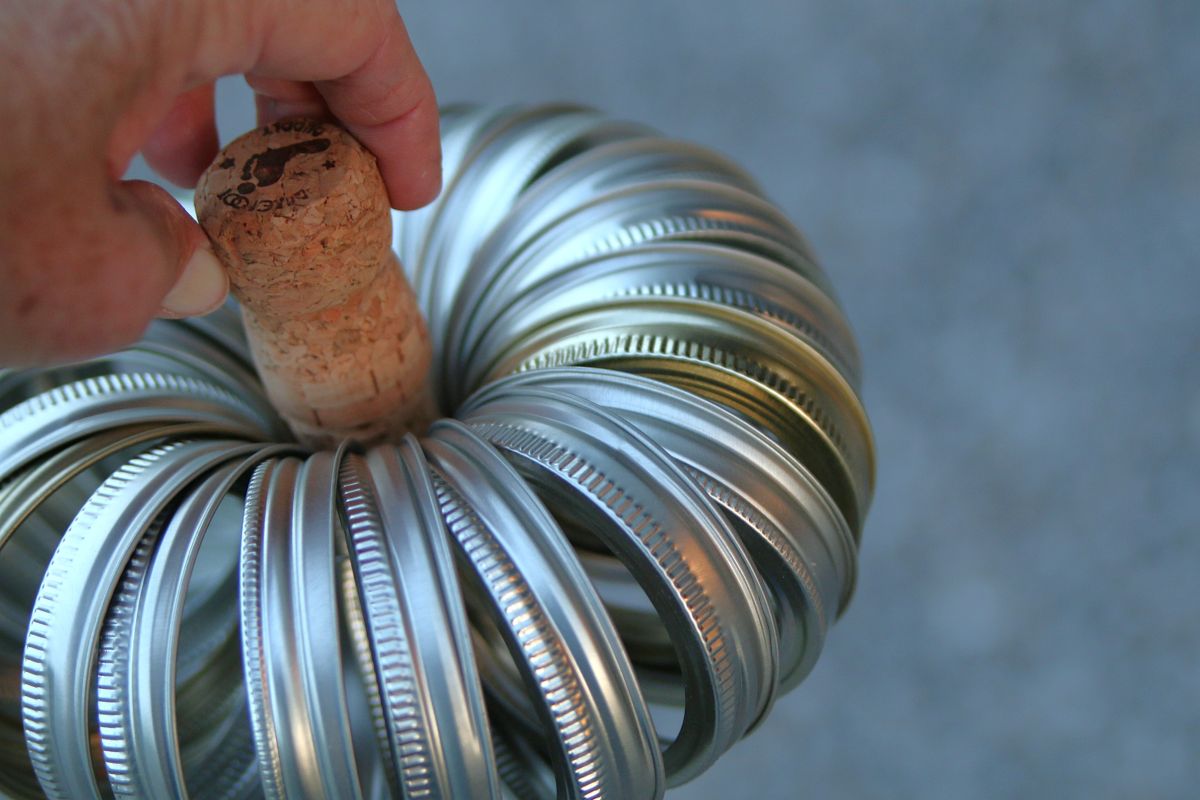
When I picked up the pumpkin, the “stem” stayed in place, so I didn’t bother with glue. When I set the pumpkin down, the cork fell back into place.
Paint the Pumpkin
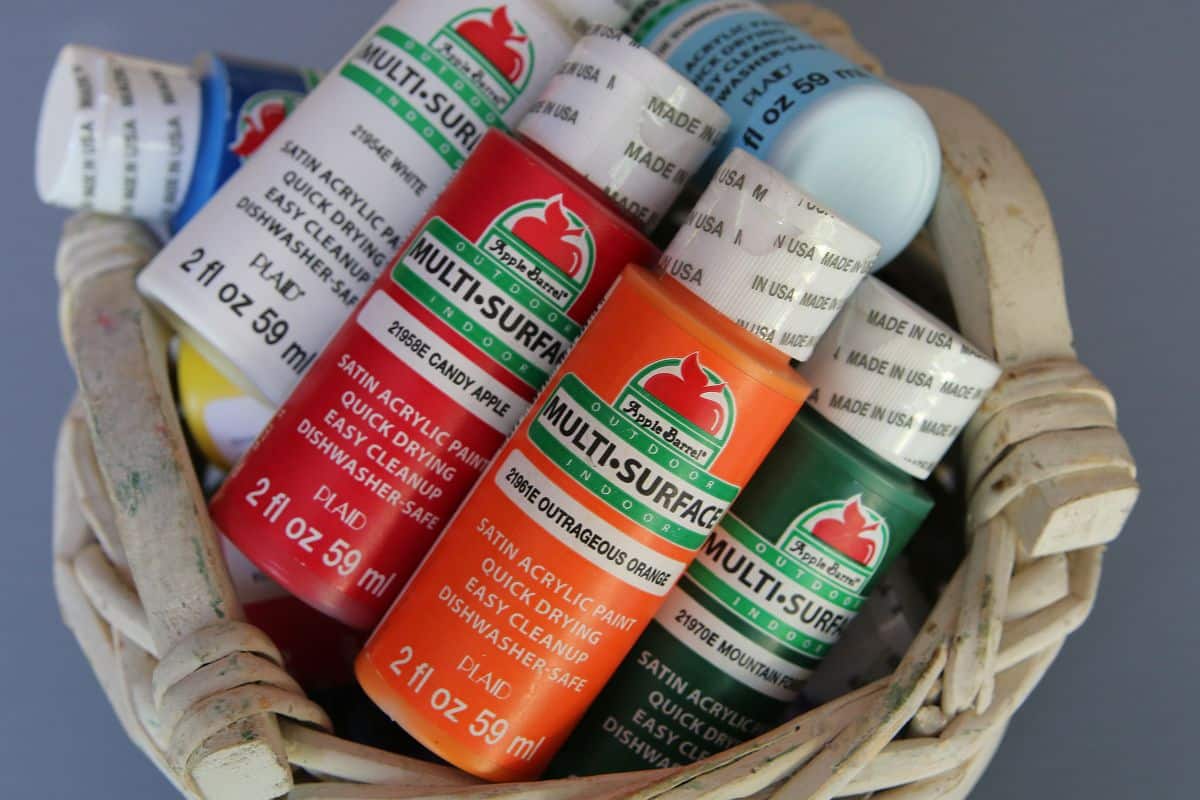
I gathered a few acrylic paints and finally decided on two colors.
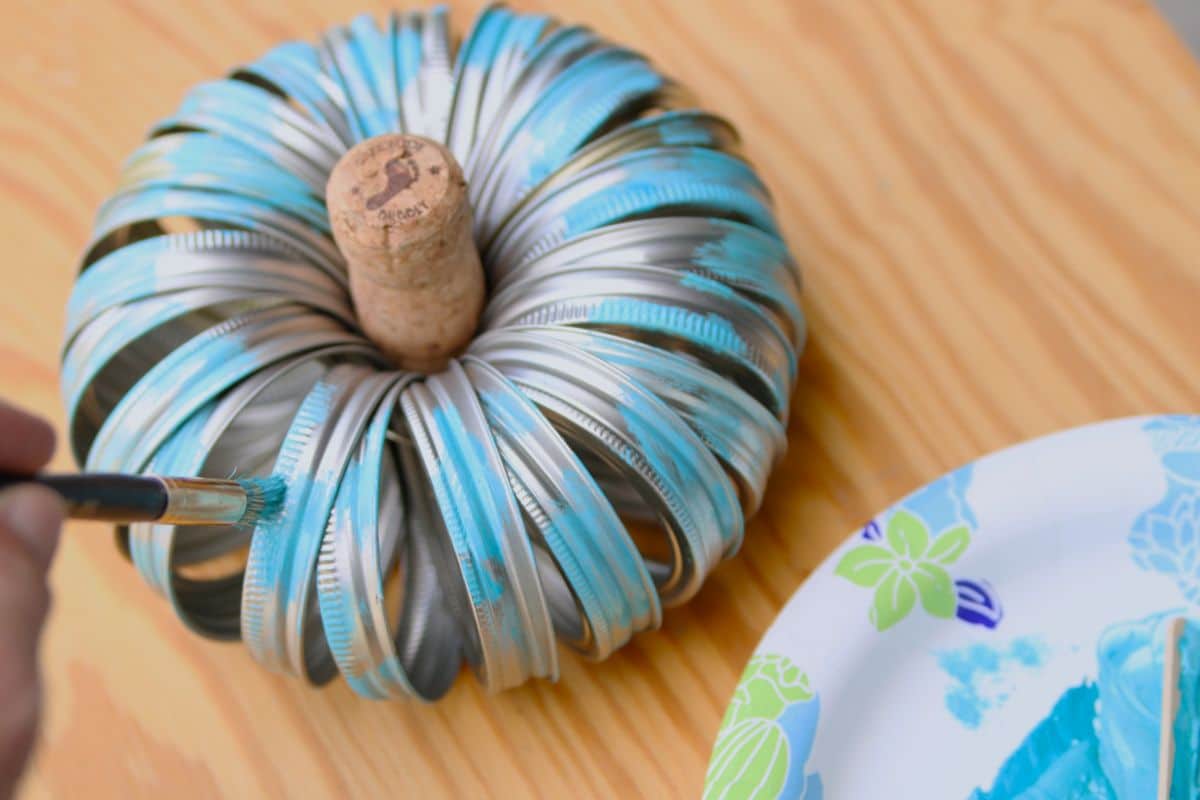
I just dabbed and brushed the first color, turquoise, here and there on the jar lid/rings.
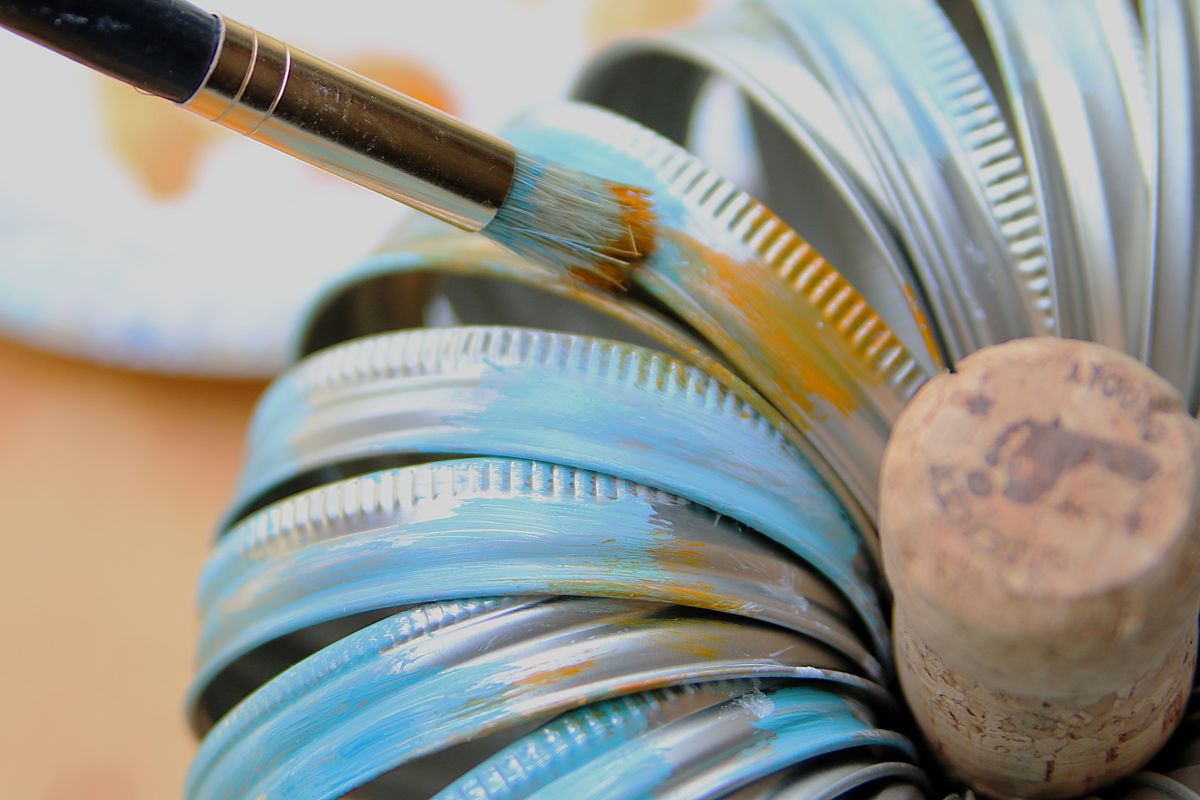
Then I added a second color, orange, and applied it the same way.
Attach Greenery to the Mason Jar Ring Pumpkin
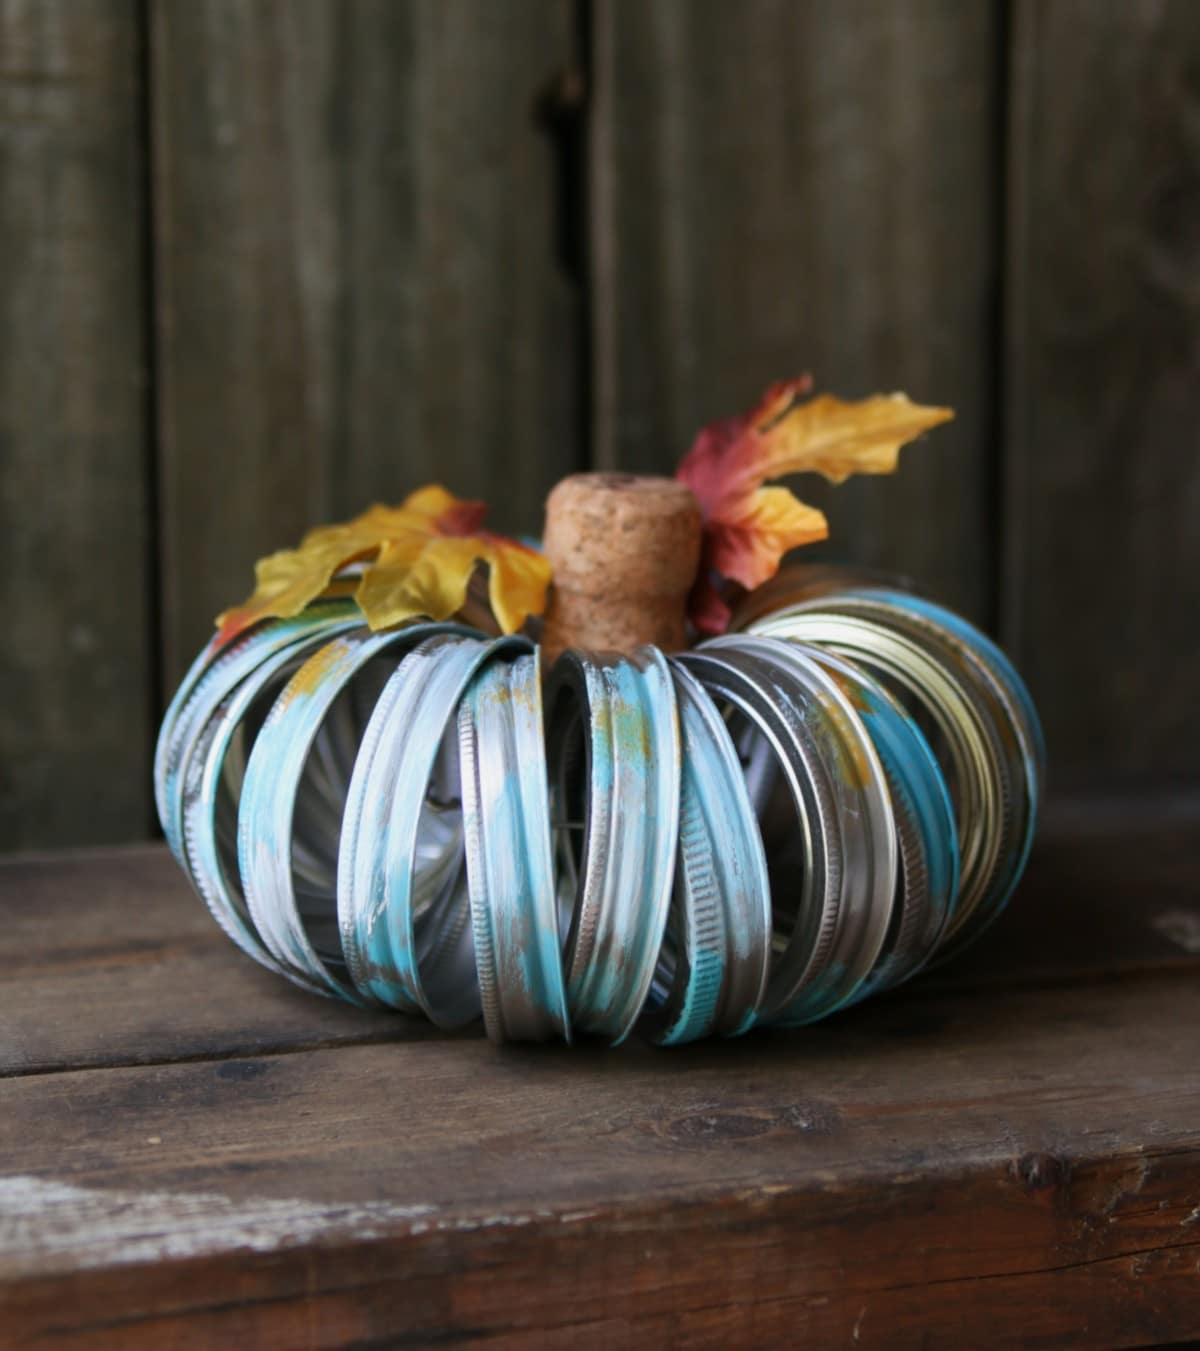
I sorted through my stash of artificial bushes and stems (I have stashes of everything) and picked a couple of fall leaves as the finishing touch for the pumpkin.
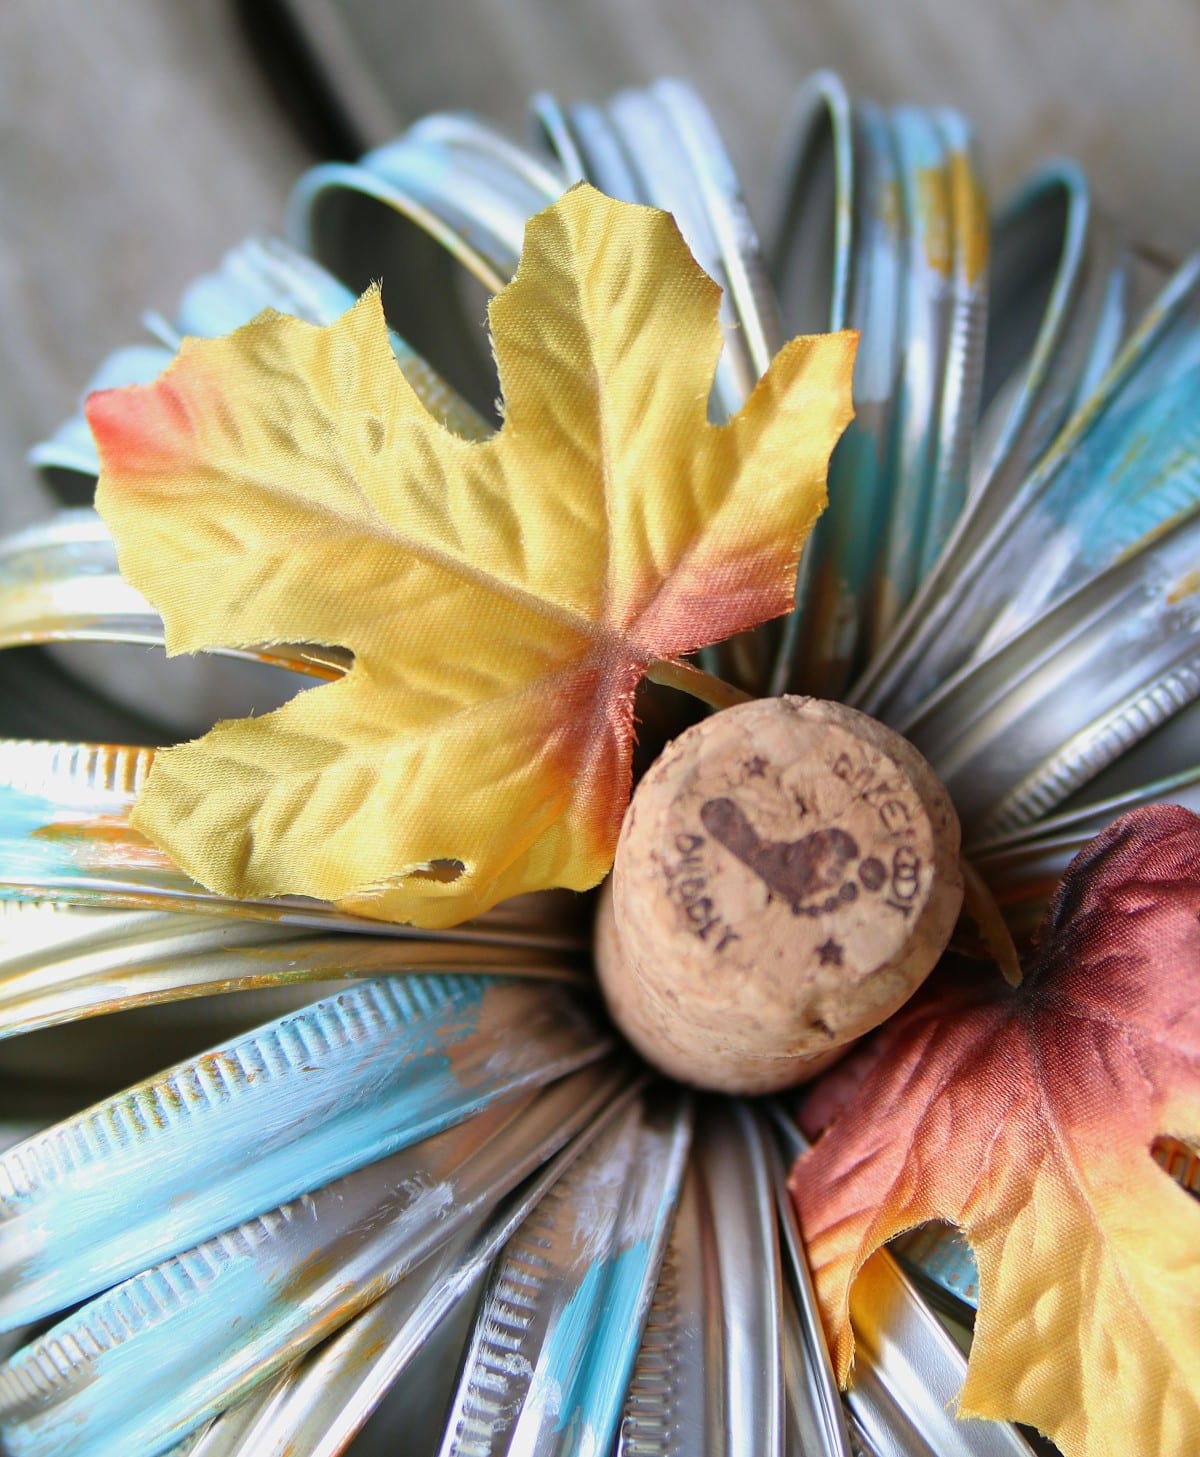
I used a dab of hot glue to attach them to the rings.
Display Your Canning Jar Ring Pumpkin
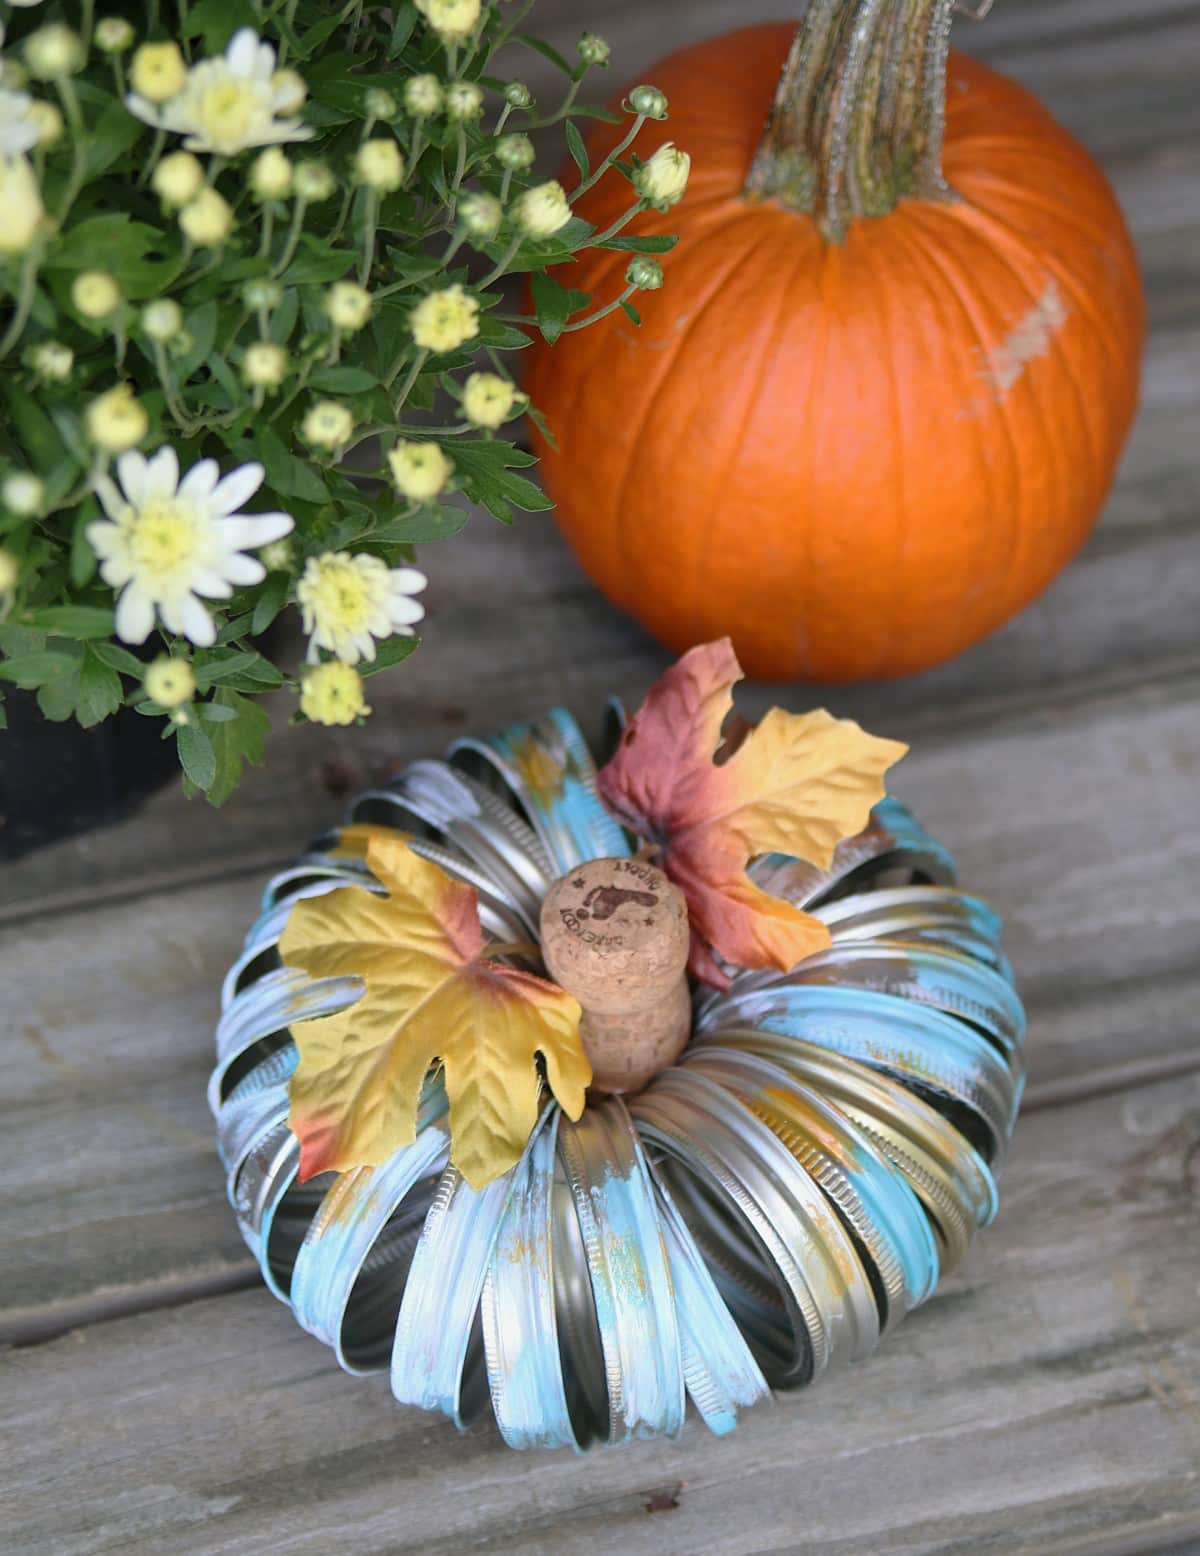
This look might be too random for some of you, but I like it. Yes, I’m a little different! Display your faux pumpkin with real pumpkins to make a fun display.
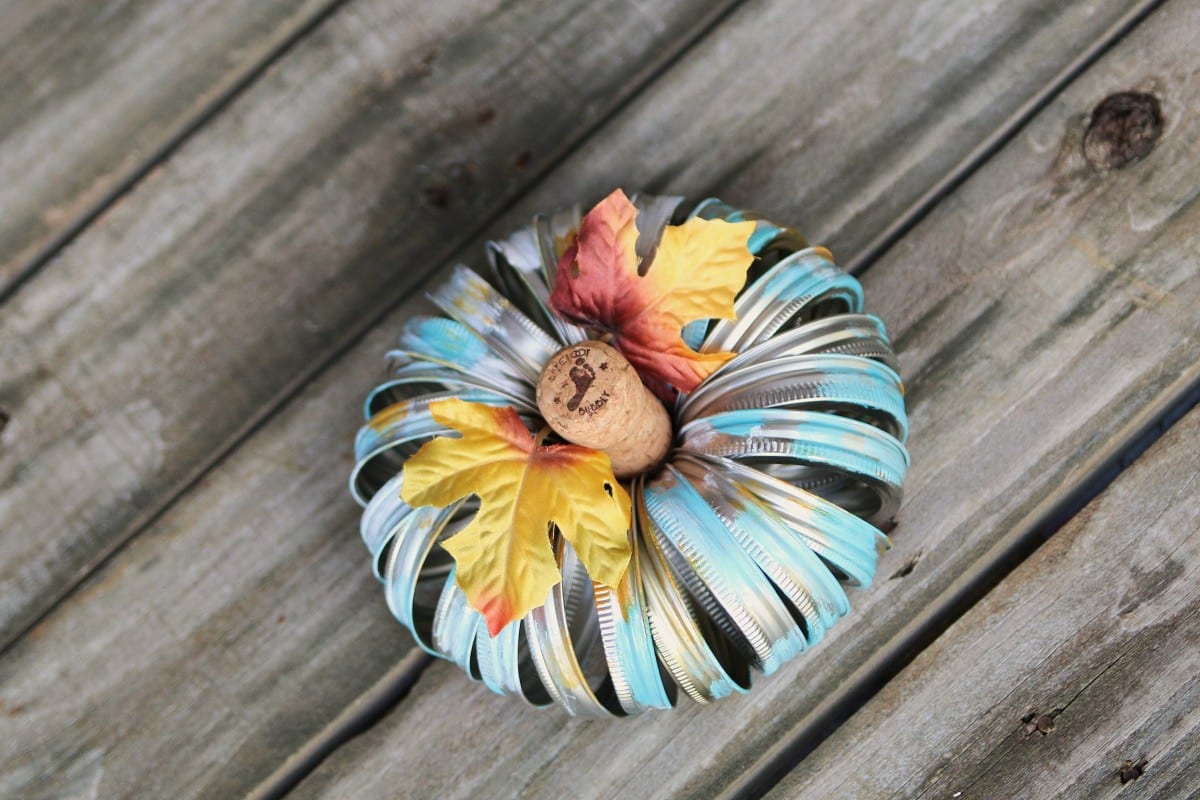
The colors work well together and look good against the silver metal rings.
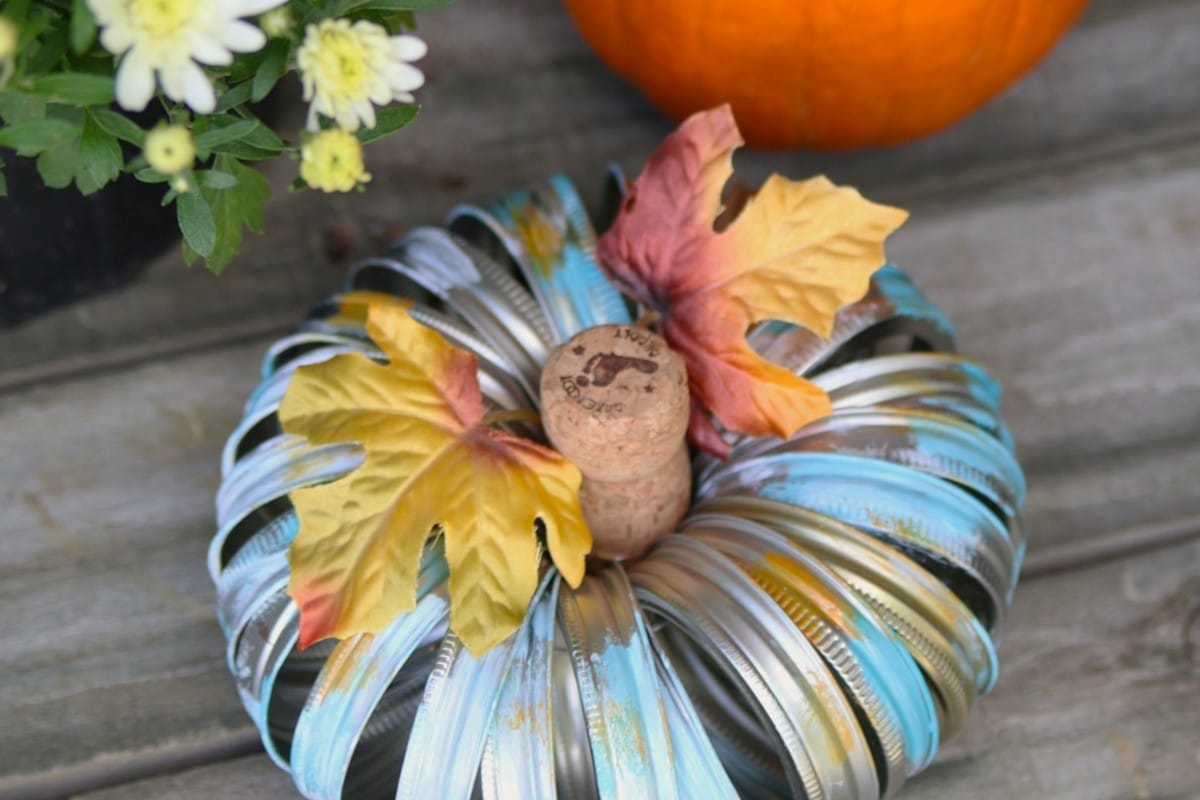
I think the silver rings with no paint were blah.
And just one color would be flat and boring. Display this little pumpkin on a mirrored tray for a simple display.
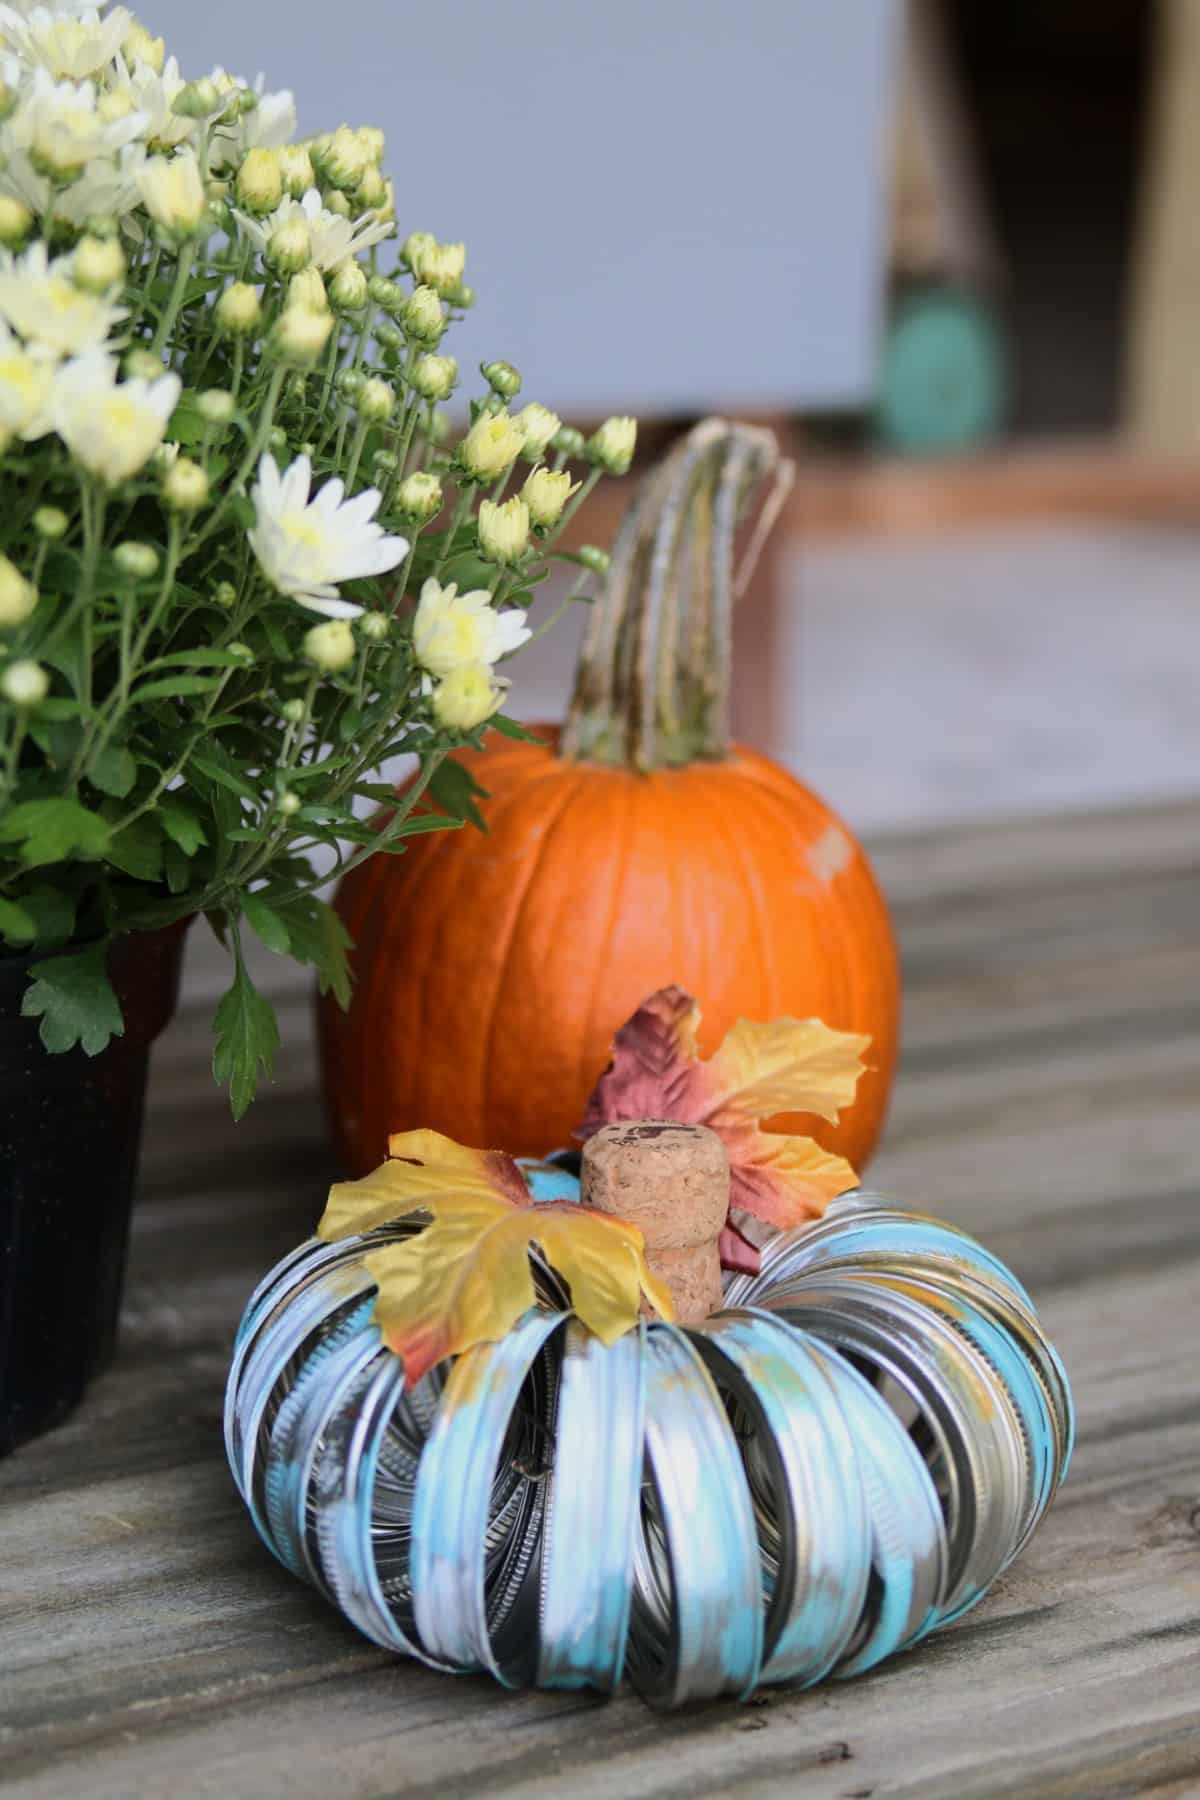
Who knows, I may decide to spray paint it later, maybe white. I like white pumpkins. It wouldn’t be much of a problem to remove the leaves and the corks.
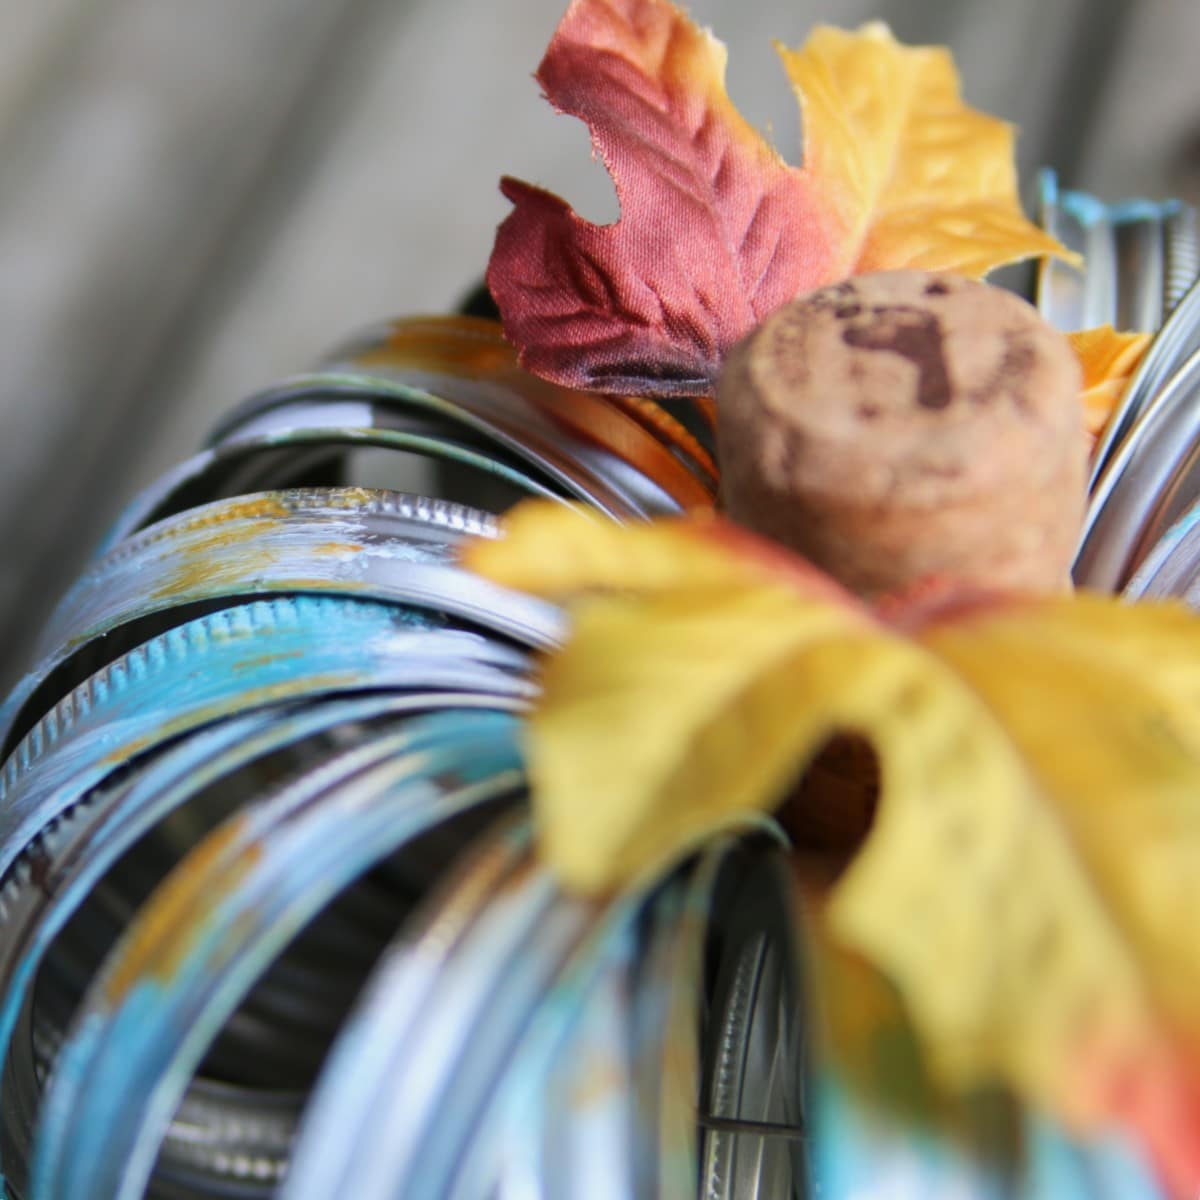
The wine brand was Barefoot. That’s why there is a foot on the end of the cork.
I bet you have some jar rings. If you don’t have wine corks, you can use a branch from your tree and cut a short section to use as the stem.
Share with me what colors you would choose, or if you would spray-paint your pumpkin, or maybe just leave it silver. I think the gold canning rings would make a pretty pumpkin, what about you/
Thanks for being here, Kathy




Super cute and so pumpkin looking, love it
Thank you for sharing at SSPS #432! Your support means so much, and I’m so happy to have you as part of our SSPS family!
I love the way you painted the rings. I’ve seen these pumpkins before, but this is my all time favorite. Thank you for sharing.
Kathy,
Although I haven’t commented in a while, I still keep up with your posts and this idea is very clever. How many jar rings did you use and what was the diameter of the final pumpkin? It looks like about 24 rings. Just curious. Have a good weekend.
Cute pumpkin with the canning jar lids. I think I would spray paint it white and then dry brush some turquoise and light green randomly on the white. Love the cork for the stem. As always, love your ideas. Great inspiration.