Stenciled Chandelier Dresses Up A Painted Wardrobe
As an Amazon Associate, I earn from qualifying purchases.
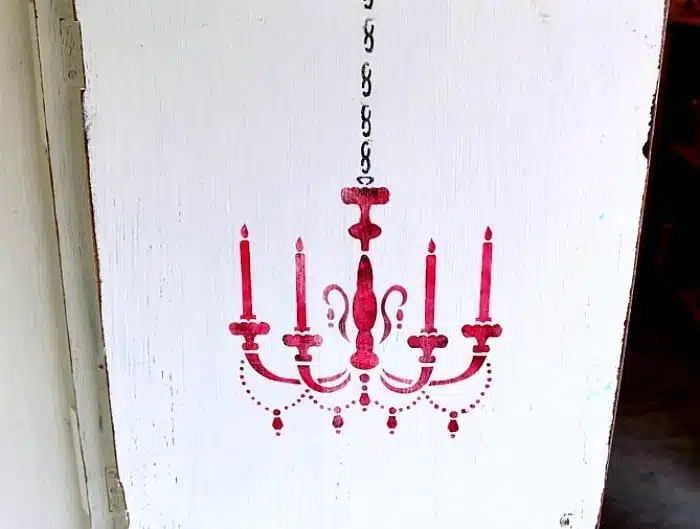
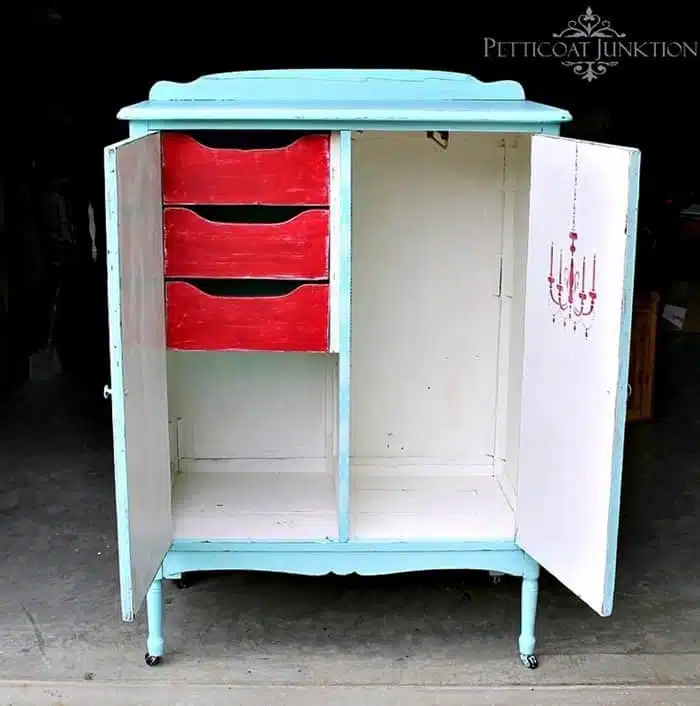
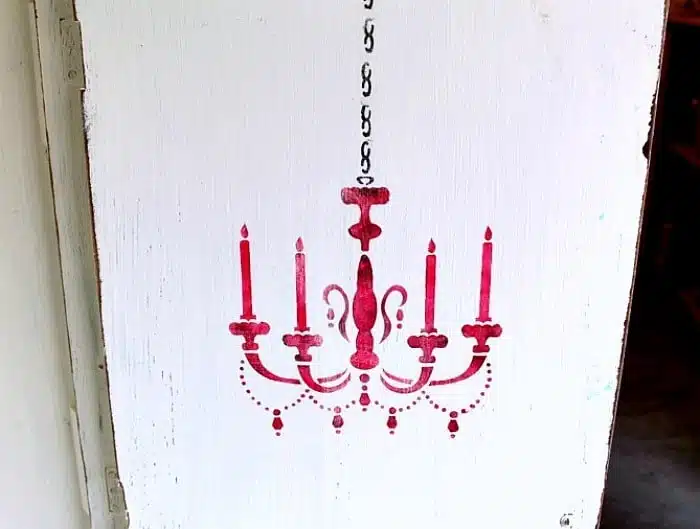
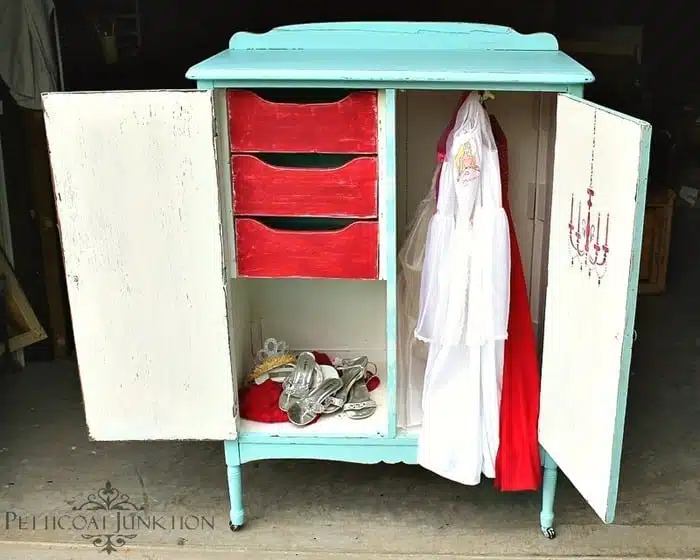
Dress up the inside of a door with a stenciled chandelier.
It’s furniture fixer upper day! My vintage wardrobe project is full of color…..turquoise and red, a great color combo. It also includes two great stencil designs, one modern geometric and one whimsical.
The furniture fixer upper team usually takes the month of December off and we share one of our favorite furniture projects from the past. Well, some of us are really industrious and have new projects this month and some of us are sharing a past project……like me.
My project is from 2013. It’s one of those projects I kind of forgot about. I’m not sure why because I really like the wardrobe after I painted it. One of the issues is the photography….not the greatest. I don’t have the original photos to re-edit either. I still think you guys will love it!
Wardrobe with Stenciled Door
As you can see it’s a girly piece, for girls of any age.
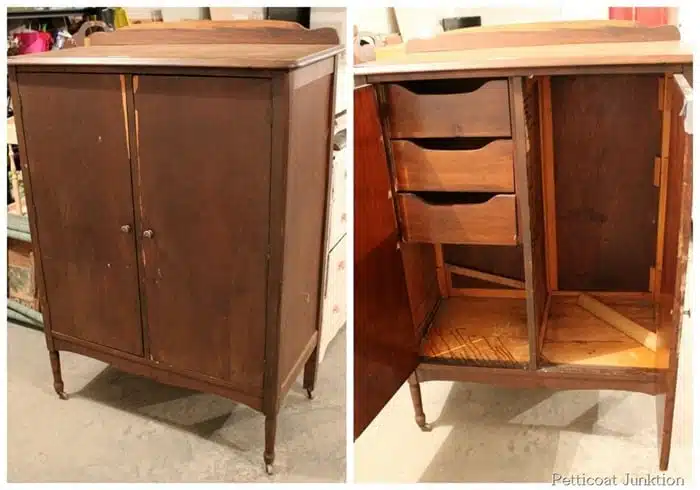
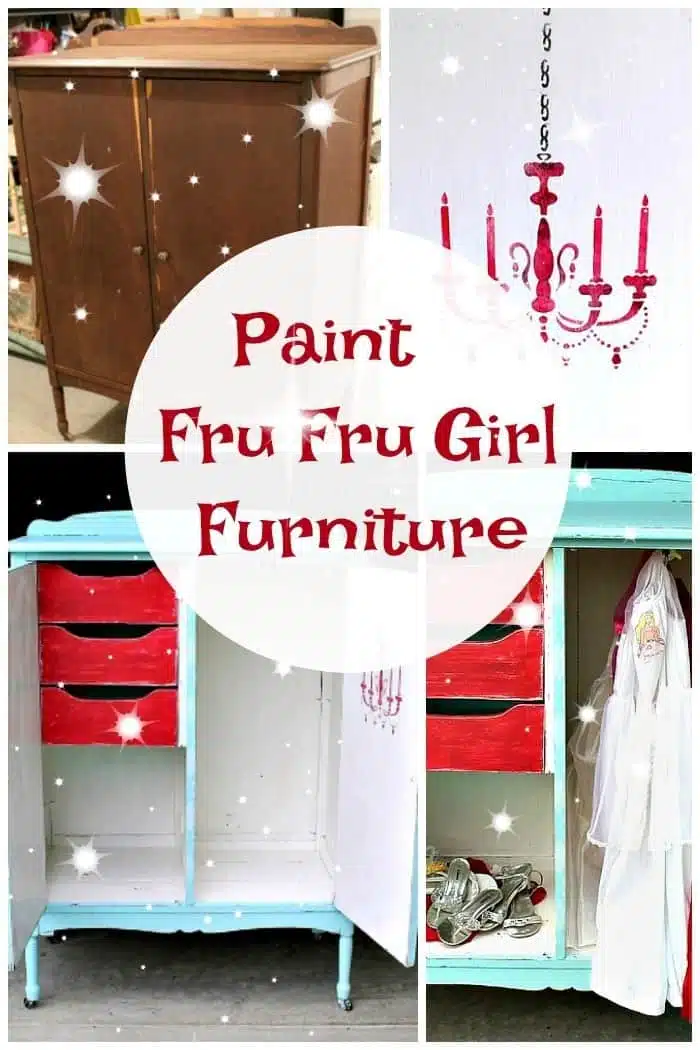
This is how the wardrobe started out. I bought it at the Nashville Flea Market for $30. The only issue was a bit of loose veneer and the hanger thing had fallen off. Easily taken care of.
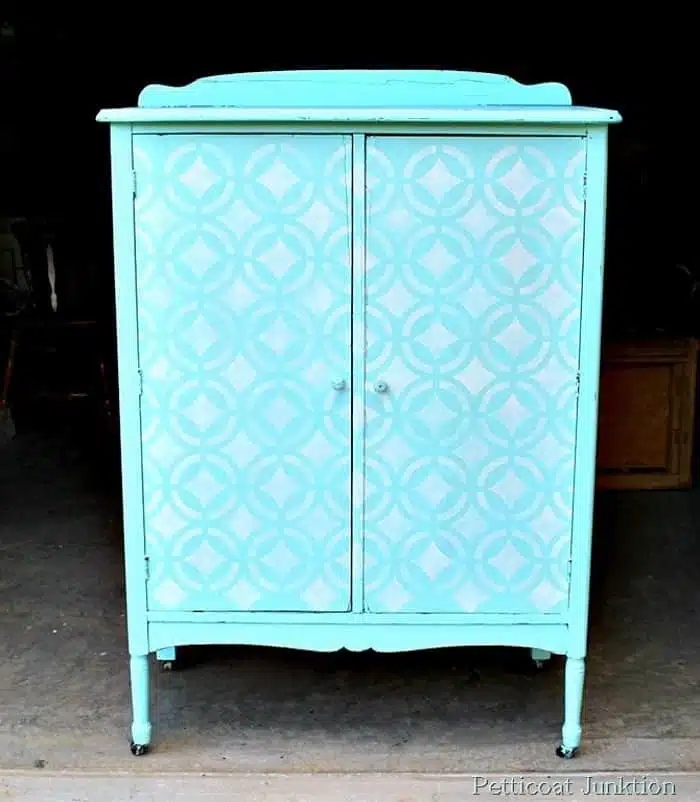
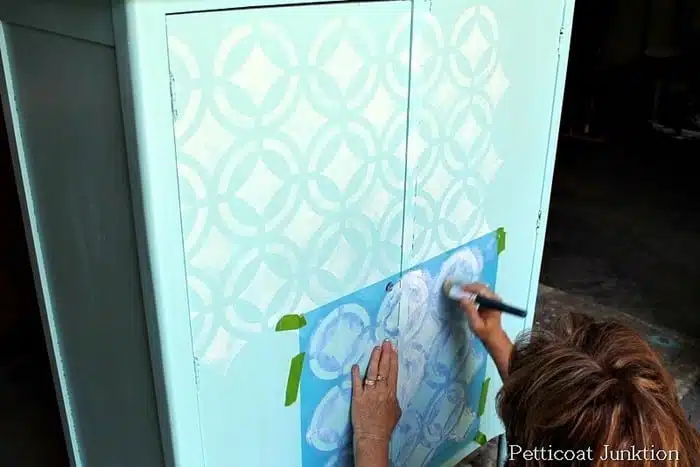
This is the final look for the outside. Turquoisey paint with a stenciled design in white.
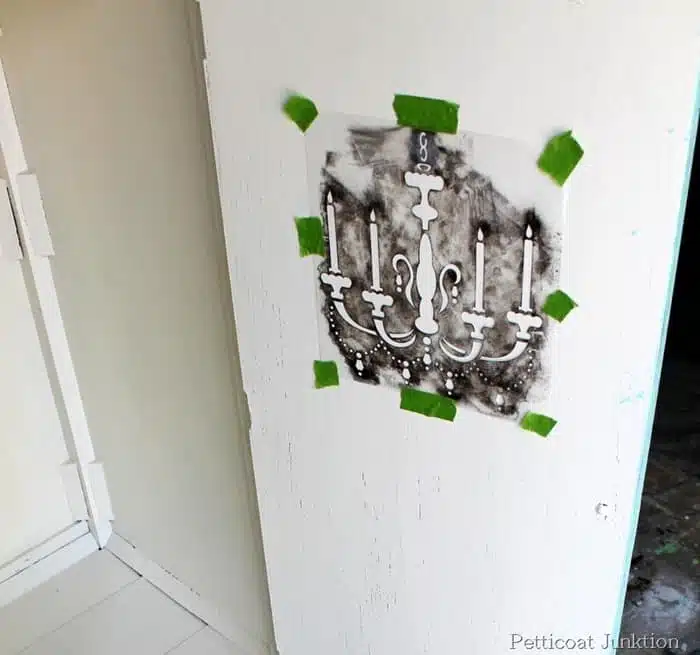
I don’t have any photos of the detailed stenciling on the chandelier. Just didn’t take any at the time. As you can tell I used this stencil before and didn’t wash the paint off before it dried. Oh well.
Stenciling is really easy once you have a quick lesson or two and learn “the secret”. I use a real brush not a sponge brush to stencil. Dip the brush in the paint and then dab it on a paper towel until the brush is almost dry, really, really, dry. You can always add more paint but it’s hard to remove big globs of paint once they are there. Next swirl your paint on by moving the brush in circular motions….do not pounce…circular motions with the brush.
Once your coat of paint is dry and you think you’re finished, you’re not. There is one more step that adds dimension to your stencil. As you can see my first color for the stencil was a cherry red. I bought the can of oops paint at a local discount store on the cheap. I’m a sucker for red.
Anyway……select another paint color……or two and dab bits of the paint colors on random areas of the stencil. That’s how you add depth and dimension. With only the red the stencil would have been blah.
As far as the paint, you can use just about any type to stencil….acrylic, latex, oil based, whatever you have on hand. Don’t go out and buy specialty stencil paint.
The paint for the body of the wardrobe was a soft turquoise and I added a large geometric design to the doors. I first laid the wardrobe down thinking it would be easier to paint the design.
And it would have been but the doors went all whomper jawed when I laid it flat so I stood it back up and painted the stencil that way. You want the stencil to line up nice and straight on your piece. White paint and a perfectly imperfect stencil job did the trick.
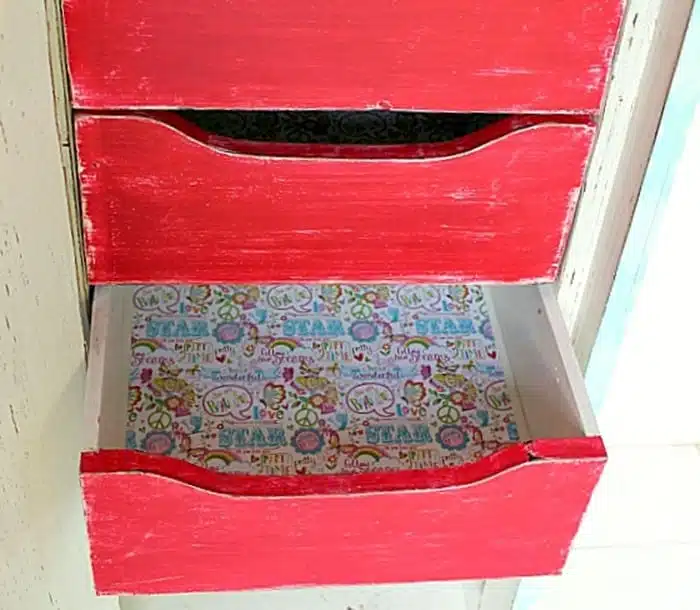
I painted the drawers red to match the stencil and distressed the paint. I also added colorful scrapbook paper as drawer liner.
How cute is this piece for holding my granddaughters dress up clothes??
Of course the wardrobe would be perfect for a grown up girl too. It’s a great storage piece. I like wardrobes with drawers.
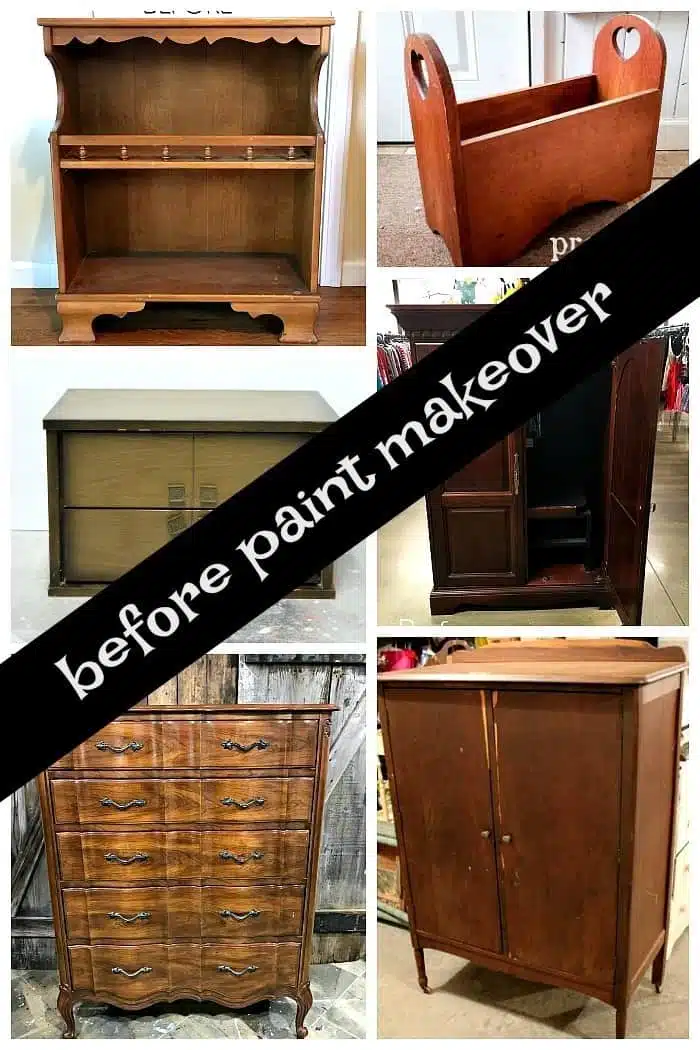
Time to visit my talented friends and see what they have for us today. Just click those pink text links below the “before paint makeover” photo collage. Leave me a note before you rush off. What do you think of the red and turquoise color combination?
Girl In The Garage
Confessions Of A Serial Diyer
Prodigal Pieces
Just The Woods
The Interior Frugalista
Petticoat Junktion (you are here)
As always, thanks for being here and have a great day, Kathy

I don’t remember this project, Kathy – I’m glad you shared it again! I love your use of colors and stencils! xo
Whomper jawed…never heard that one before ha ha! What a fun piece this is…love the color combo! XO
This is my first time seeing this makeover, Kathy. First, my mouth dropped at the sweet price you paid. Love the color combination you gave it and the new purpose. What little girl wouldn’t love to have a dress-up wardrobe in their room like this one!
how fun! love the stencil tips Kathy 🙂
Thank you very much for these clever and useful tips on stencilling – they also explain where I have gone wrong on previous projects. As my next project will have a stencil on it which is a very prominent feature and therefore very important I get it ‘right’, this post from you is especially timely. I had been worrying about tackling it, but now I have more confidence. Thanks Kathy!
What a fun new look and surprise!!