Cleaning and Prepping Vintage Sideboard Number 1
As an Amazon Associate, I earn from qualifying purchases.
Prepping and Cleaning Is The Hardest Part
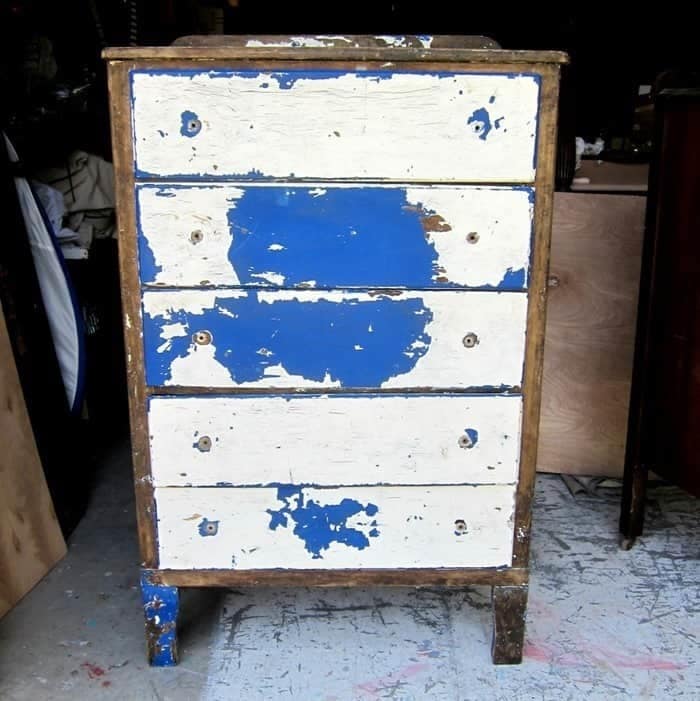
I started working on vintage sideboard number 1 from the junk shop. It needed a few repairs and a good cleaning. I decided not to paint it black like I talked about last week. Going to go with a lighter color.

I paid $75 for the vintage sideboard. Not a steal but an okay deal. These pieces are really hard to come by.

This piece was made by Union-National, Inc. Fine Furniture Company of Jamestown, NY. I dug up a bit of info on the company…..
The company was formed in 1939 from the National Furniture Co., which had been in business since the early 1890s. Both companies were owned and operated by the Nord family. Union National closed in 1994, still operated by the Nords but owned by Wall Street financier Webb Turner. The Nords made quality high-end furniture. Union National catered to many famous people, including Jerry Lewis, Lucille Ball and William Holden.The furniture was expensive and still brings top dollar. Source

The veneer and original finish on the sideboard were in pretty bad shape. Look at those drawers, solid thick wood on all sides and the bottom. They don’t make furniture like that anymore.

The first order of business was for the JTS to repair one of the back feet. The wood on the sideboard body where the foot was screwed in had split and the leg came off. When we brought the piece into the workshop we just left it standing on end.

The JTS cut out the split wood and replaced it with a wood corbel that was a good size for the repair. We have all kinds of odds and ends in the workshop that sure do come in handy. The foot is nice and sturdy now.

prepping vintage sideboard and gluing veneer
Now for the veneer. I thought about just pulling the sheet of veneer off of this door but you never know how rough the wood is underneath.

I used a single edge razor blade to trim the rough edges of the veneer.

Then I used wood glue to adhere the loose veneer to the door. It’s kind of hard to put clamps on the door without removing it from the sideboard and that just leads to more problems. I used a 1×4 with a clamp on each end to hold the surfaces together until the glue dried.

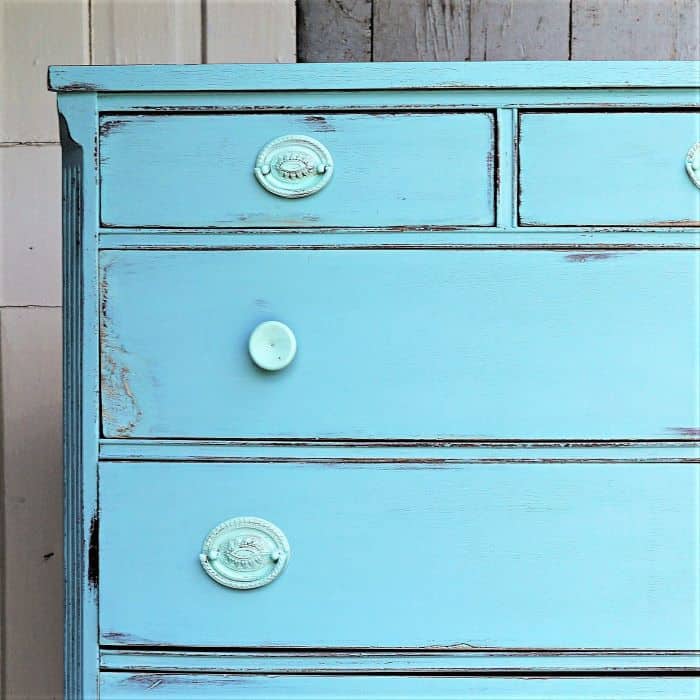
I removed the drawer pulls and am still thinking about using them or finding some that are a little less ornate for the makeover.

I started sanding the sideboard with a power sander but I didn’t like the weird marks it was leaving on the surface so I went with sanding by hand. I use 3M flexible sandpaper when sanding by hand.
I wasn’t trying to get out all the dings and rough areas because that would take forever. Just wanted to smooth out the finish a bit.

Then I vacuumed the inside and the outside, bottom and top.

Sometimes it takes a lot of stuff to ready furniture for painting.

I wiped the sideboard down with Simple Green.

I always go over the furniture to see what repairs need to be made before cleaning but things are not always obvious. When I was cleaning the inside of the cabinet I noticed a few nails were missing on the bottom of the cabinet and the board was loose. That took about 2 minutes to fix with my nail gun.

I cover the drawer pull screw holes on the inside of the drawer with painter’s tape to keep paint from seeping inside the drawers.
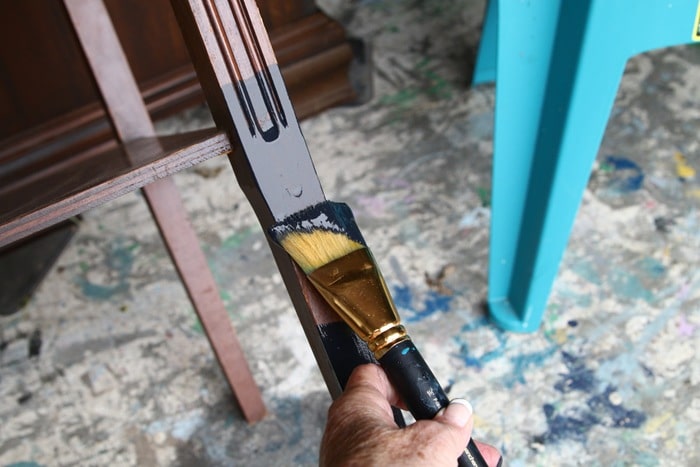
Now it’s time to paint. I’m not sharing the color I chose. Who knows, it might look bad and I have to paint over it. You guys know how it goes with me.
You can find more how-to posts below….
How To Prep Furniture For Painting
Things To Know About Distressing Painted Furniture
How to Replace Furniture Hardware
That’s all for today. Thanks for being here, Kathy

Can’t wait to see the finished product
Did you fill in broken veneer area with filler? What kind is your favorite?
Lucille Ball is from Jamestown, NY. Guess she supported her hometown business.
Must … have …. nailer …. gun ….
Wow. Cordless, no air compressor? That’s awesome!
I would love to see this completed.
When you’re all finished, a tag with the history you researched might be of interest to the buyer. It always amazes me how people pass up the really quality made furniture and buy the glued wood chip stuff that’s sold today. Can’t wait to see your finished piece!