Replace A Missing Furniture Mirror With Fabric
As an Amazon Associate, I earn from qualifying purchases.
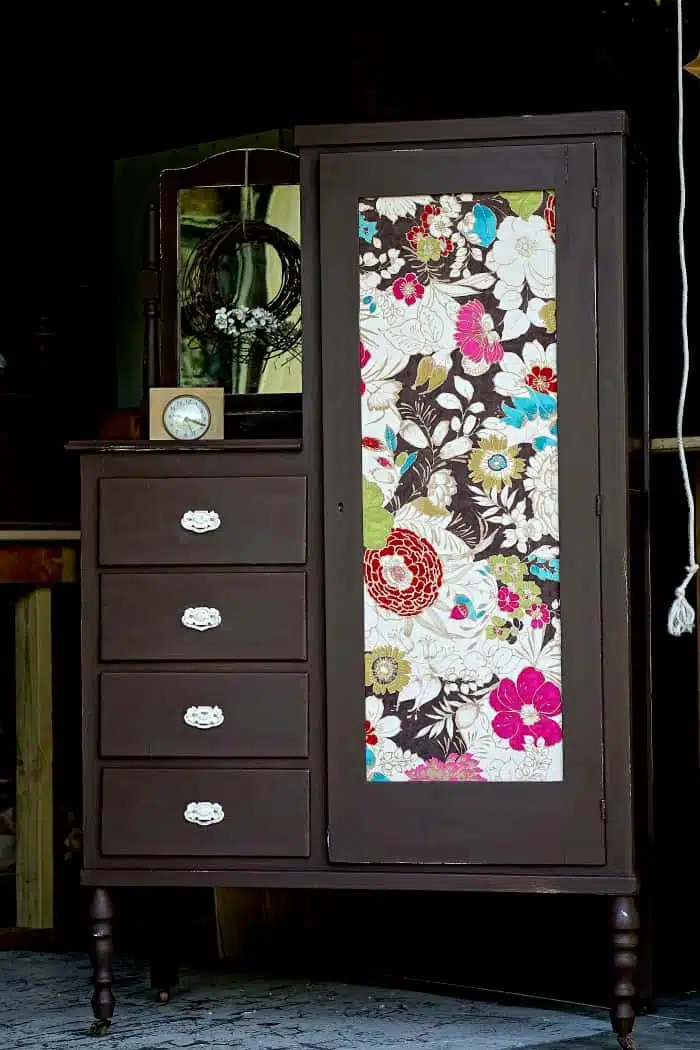
This vintage wardrobe makeover turned out great. I had my doubts. The java paint color I selected will be as much of a surprise to you as it was to me. I took all of your makeover suggestions to heart and had a plan. I was going to paint the wardrobe pink or fuchsia and go with the chalkboard idea for the missing mirror. You know how plans change. This plan change happened quite by accident. This is going to be another long tutorial with lots of photos so hang on.
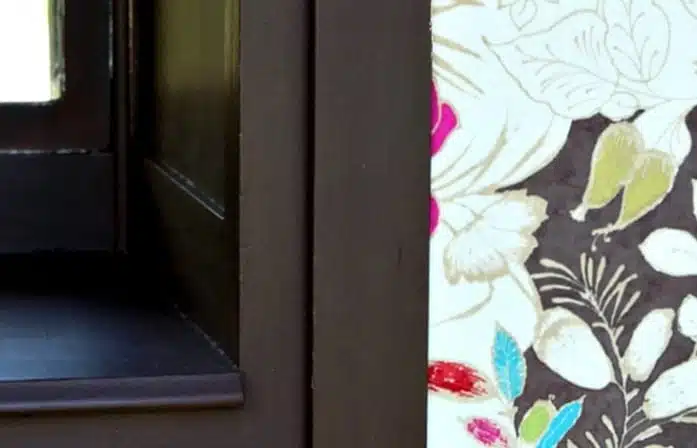
I was in Hobby Lobby a couple of weeks ago looking for furniture hardware. I didn’t get any hardware because it wasn’t on sale. Have to wait for the sale.
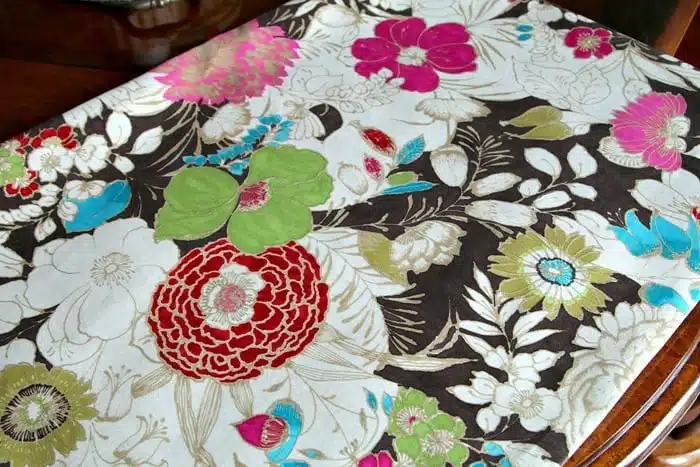
So I wandered over to the fabric department to check out the fabric and trim remnants. I fell in love at first sight with a bolt of fabric. The name of the fabric is Cisco Teak and it was on sale for $7.99 a yard, regular $27.99. There was a little over 2 yards on the bolt so I bought it all. The fabric is upholstery fabric and I think it’s micro suede. It has a feel good soft texture. One website where I found the fabric online called it velvet but I don’t think it’s velvet although it is really soft.
I didn’t plan to use the fabric on this makeover. In fact I didn’t give it a thought. I just wanted the fabric and knew I could use it on a set of dining chairs or something. I took the fabric home and placed it in a prominent place in the workshop so I could look at it everyday.
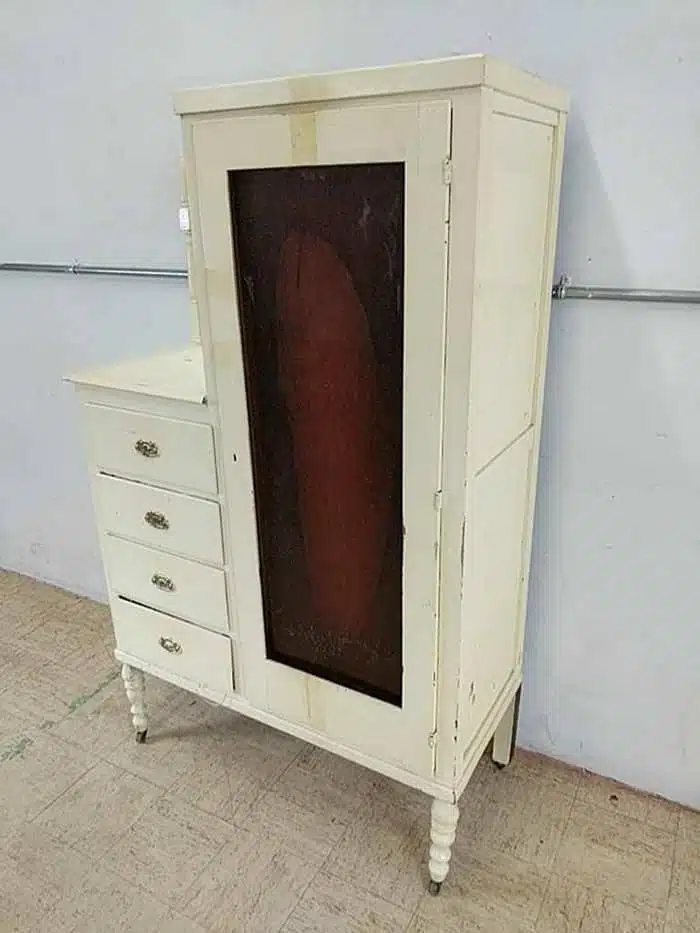
This is the auction wardrobe. You might remember the mirror had been replaced with a solid piece of wood or a wood panel. I pulled the wardrobe out and we went to work on it because it had issues.
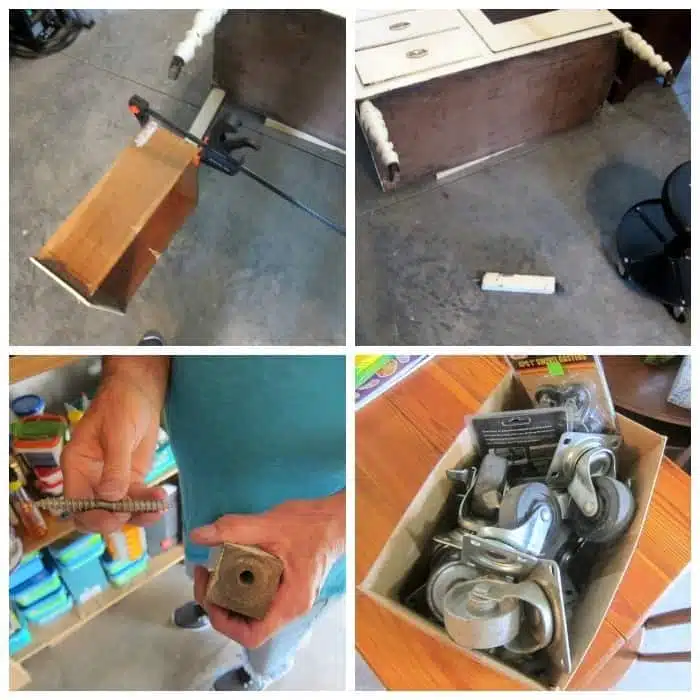
The JTS made a drawer repair where the sides were coming apart. We keep a big supply of wood glue on hand just for things like this. The legs were all loose and three of them just needed tightening. The other one was really loose and had to have major repairs.
There was also a missing wheel on one leg but I have a box of new and vintage wheels in my junk stash so that wasn’t a problem. I had one that worked just fine for a replacement.
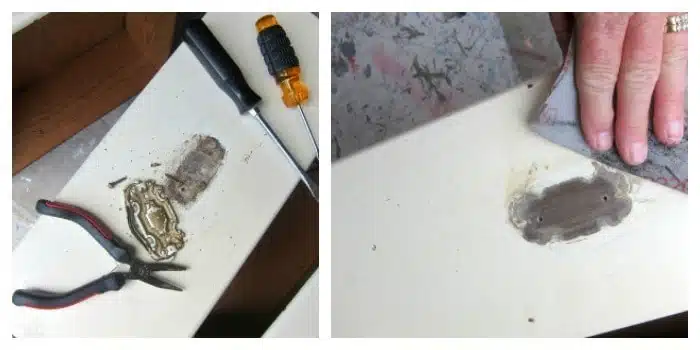
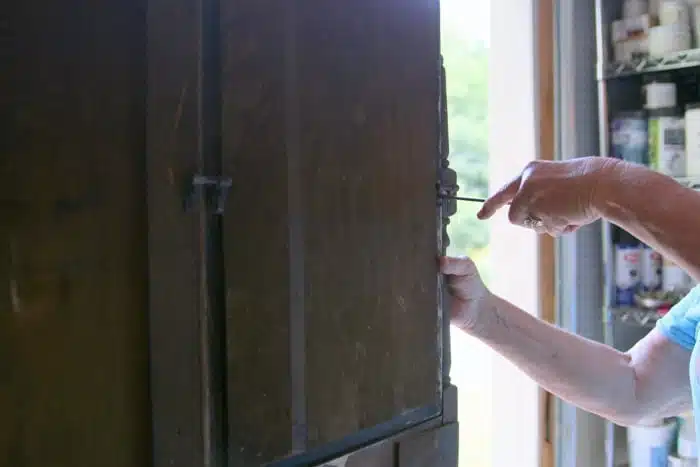
I removed the hardware to prep the wardrobe for painting. The pulls were nailed on instead of having screws that go all the way through the drawer front. Whoever painted the wardrobe white didn’t remove the drawer pulls before painting. I hate that.
Always remove the pulls. The job is so much easier and you will get much better results. I sanded the drawer pull areas where dried paint was gunked up until they were smooth. I use 100-150 grit sandpaper for most sanding jobs. And the flexible sandpaper is my favorite.
While working on the wardrobe I spotted the fabric and a new makeover plan was hatched. I decided to use the fabric in place of the missing mirror.
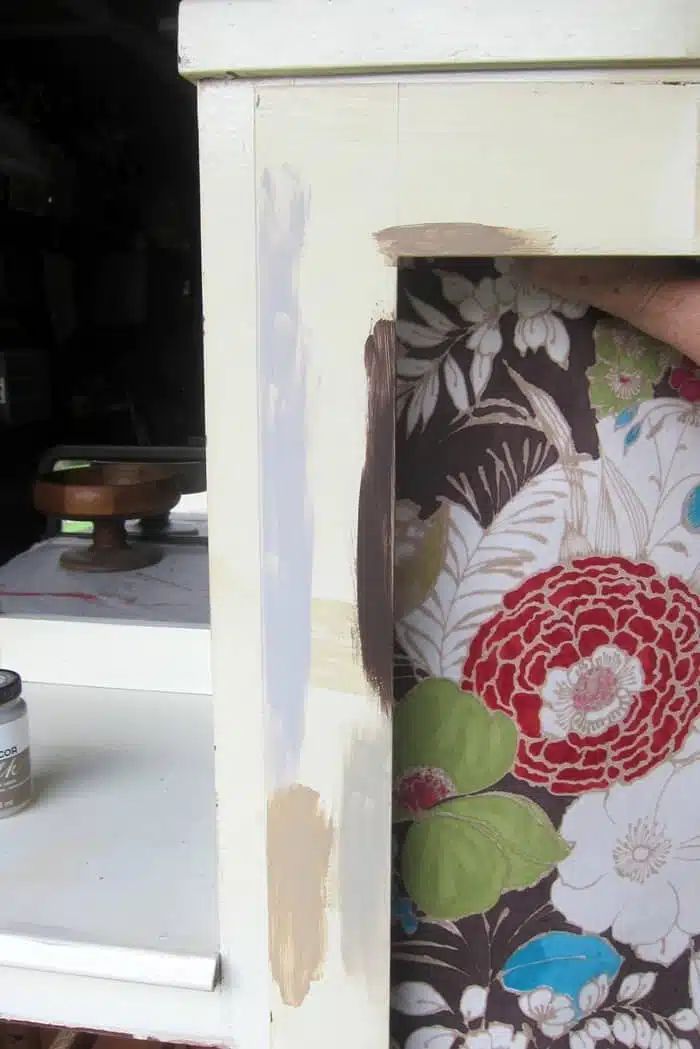
That meant I needed to match the paint to one of the colors in the fabric. My first thought was fuchsia, second thought was turquoise. After thinking about it a day or two I decided the bright colors would be too much with the busy fabric.
I moved on to some shade of off-white or brown. I brushed several small color swatches on the wardrobe and held the fabric up to see what looked the best. I finally decided on the dark brown color. That is the last color I thought I would end up with when the fabric became part of the project. You never know what is going to work and the brown worked.
Okay, since we’re talking about brown I thought I would chime in with today is National Chocolate Ice Cream Day (June 7). I love anything chocolate. Okay…to continue….
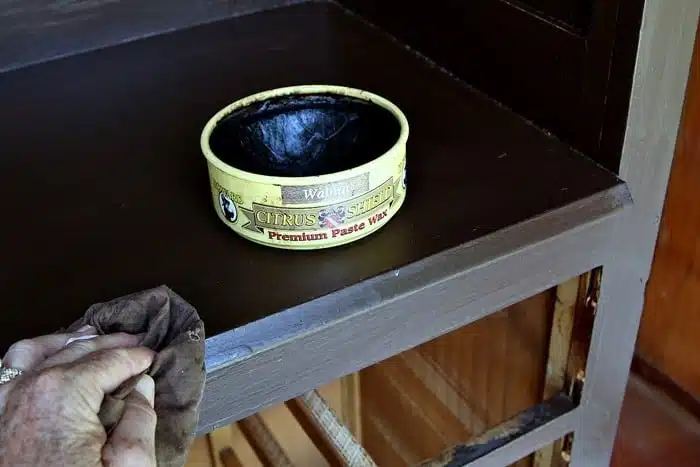
The paint is FolkArt Home Décor Chalk and the color is Java. The chalk paint needs waxing or it is definitely flat. I decided to use Howard’s Wax in Walnut to give the java paint color more depth. The wax darkened the paint, changed the java color tone a little bit, and gave the paint a nice sheen.
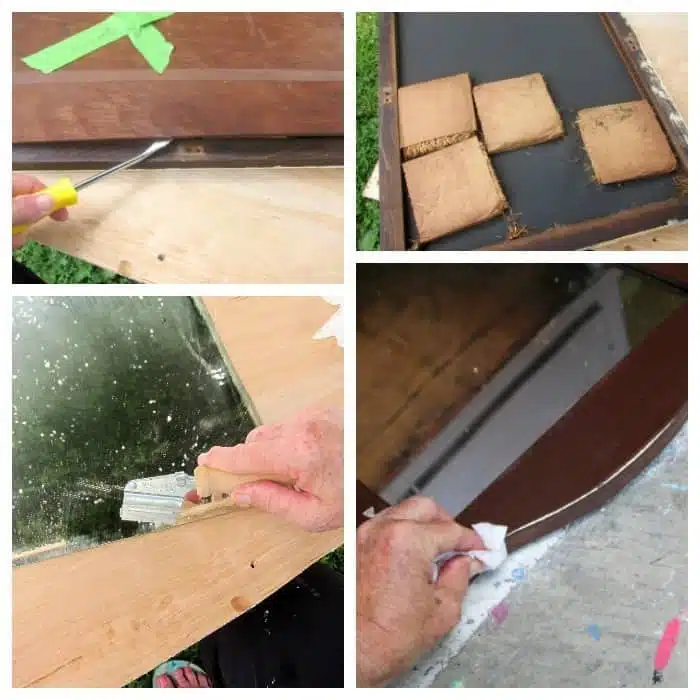
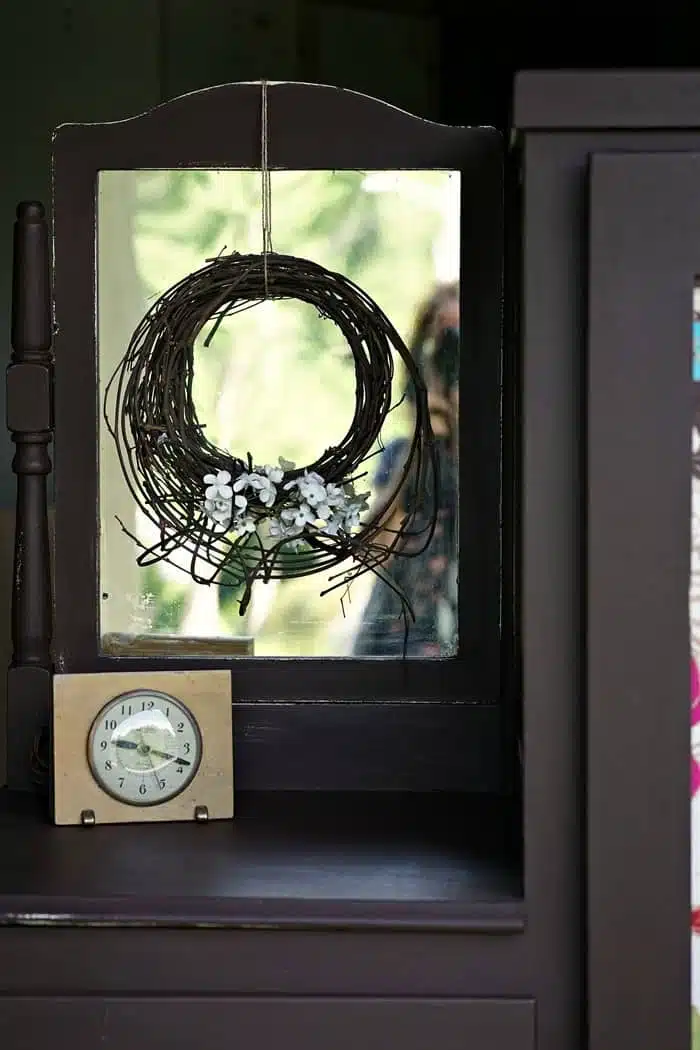
Next thing to work on was the small side mirror. I removed it for painting. The mirror was flopping around inside the frame so I took it apart. You will notice in the upper right photo above the weird little straw packets. That is what was used as padding between the mirror and the wood backing. First time I’ve seen that. The area was also a breeding ground for spiders……all dead, thank goodness. Anyone ever see packing or filler like that?
I cleaned the mirror, scrapping white paint off with a razor blade. I painted the mirror frame and then distressed the paint lightly with a baby wipe. Just a bit of wiping and the white paint appeared.
The JTS snapped a photo of me putting the side mirror back on the wardrobe.
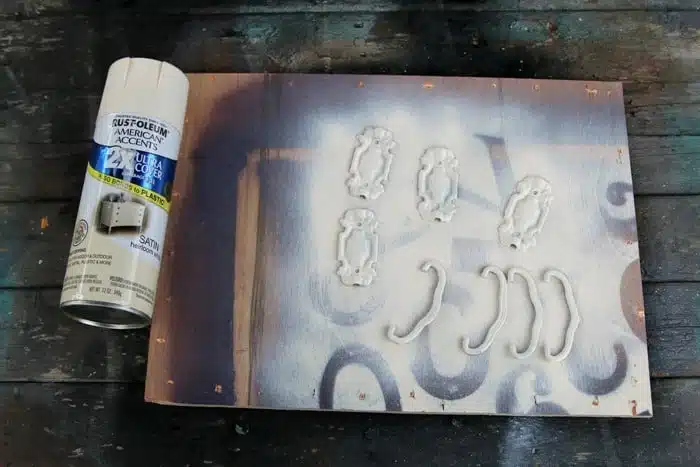
Time to work on the hardware. I decided to stay with the original hardware for a couple of reasons. The original pulls were nailed on so there are no screw holes at all in the drawers. I would need to drill holes for different hardware.
Also since the hardware was left in place when the piece was painted white I would need to brush 2 or 3 more coats of paint on the drawer fronts to hide the shadow where the pulls were. I used Rustoleum Heirloom White spray paint for the hardware. This is my favorite off-white spray paint color.
Last order of business is to cover the wood panel that held the door mirror in place. We cut the board down to size a bit so it would fit into the mirror groove instead of being nailed to the backside of the wardrobe door. There would have been about a 1/2 inch space between the wardrobe door facing and the fabric covered board otherwise.
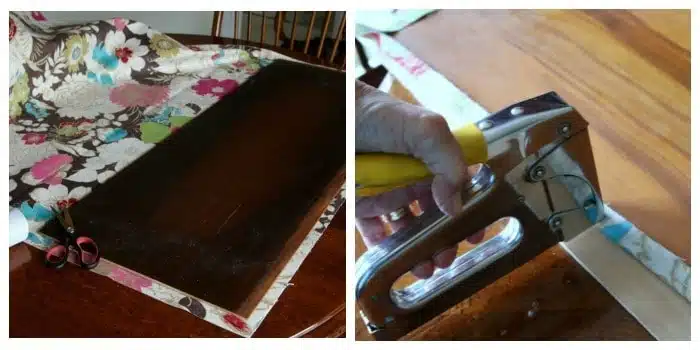
I laid the board on the fabric and cut around it leaving enough fabric to fold over and staple to the backside of the board. Then I stapled the fabric to the board pulling it tight as I went. I used a ton of staples.
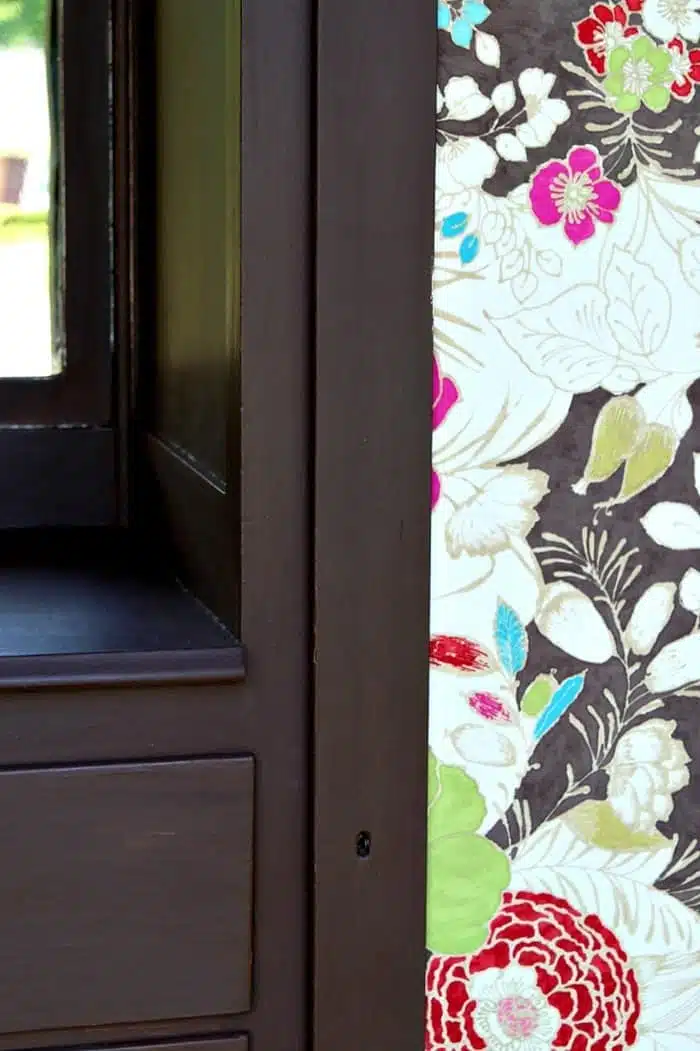
All that’s left to do is fit the fabric covered panel into the mirror groove. It was a snug fit with the fabric stapled around the edges of the panel. I went ahead and stapled the fabric covered panel to the door frame from the inside anyway.
The side mirror distorts far off images. You can look from the side of the mirror and see that it isn’t exactly flat. The green haze reflected in the mirror is trees from across the street. The image is fine if you are standing in front of the mirror and looking at yourself.
I love how the wardrobe looks now. Patting myself on the back, doing the happy dance, eating chocolate. The issue I have with furniture makeovers like this one is finding a buyer. Someone may snap the wardrobe up right away or it might sit in my booth for months. If it doesn’t sell I can always remove the fabric and use chalkboard paint on the panel or even have a mirror cut for the door.
Supplies used in this project can be found on Amazon by clicking the product list below:
FolkArt Home Decor Chalk – Java Color
Rustoleum Heirloom Satin Spray Paint
Howard’s Feed n’ Wax
3M Flexible Sandpaper
Elmers Wood Glue
Cisco Teak Floral Fabric
What do you guys think of the makeover? Bad decision or good decision with the paint choice? You may not like the fabric…….do you? Leave a quick note if you have a minute. Tomorrow is Furniture Fixer Upper Day so be sure and be here! Have a great day and see you later, Kathy

![Want to know how to layer paint using Vaseline? Watch my how to video here..... [adthrive-in-post-video-player video-id="m5Gzp7Bb" upload-date="2016-10-03T22:16:50.000Z" name="Petticoat Junktion - How To Layer Paint On Furniture Using Vaseline" description="vaseline distressed furniture,layering paint using vaseline"] Distress or Layer Paint Using Vaseline Want to know how to layer paint using Vaseline? Watch my how to video here..... [adthrive-in-post-video-player video-id="m5Gzp7Bb" upload-date="2016-10-03T22:16:50.000Z" name="Petticoat Junktion - How To Layer Paint On Furniture Using Vaseline" description="vaseline distressed furniture,layering paint using vaseline"] Distress or Layer Paint Using Vaseline](https://petticoatjunktion.com/wp-content/uploads/2018/06/Java-Paint-Color-And-Floral-Fabric-Dress-Up-Vintage-Wardrobe_thumb.jpg.webp)


I like the way you matched the paint color to the background of the fabric
I love it just the way it is.
I like this idea. I REALLY like that fabric’s bold pattern. Thank you for continuing to share great ideas.
I love this piece! You made great choices with this one.
Fabulous piece of furniture and a beautiful choice of color and fabric. I could not live with bright pinks and blues. The java is beautiful.
I agree that the super bright colors would be a bit much. The pairing of the wood color and that fantastic fabric is perfect. It is definitely something I would buy in a heartbeat. You have a great ‘eye’ for color and ‘go-withs’.
I like it. You were “thinking out of the box”. I think turquoise/fuchsia would have been too much. Hope it sells. Remember “Different strokes” !
I just love your makeover and that fabric is just perfect. How refreshing.
It turned out fine. Personally, I would have chosen the very light green. Just to be different, I guess. That fabric is wonderful!
It’s beautiful. Glad you went for it.
You are right about the color for a girl or teen. It would have been perfect.
Hi Stormee, Thank you for your honest opinion. I know the look isn’t for everyone. I just wanted to do something a bit different and I do like it. We’ll see what happens, lol.
Yes, bedroom for sure.
Thank you Cornelia 🙂
Thank you. That is the same thing I was thinking Lynn!
Hot pink was my first thought Effie. I’ve been known to be wrong! Thanks for the comment.
Sorry but I think I would have painted it a hot pink like the fabric. I think it would have made the colors pop.
I never leave comments, but I have to say that I believe you scored again with this piece. The bold fabric is gorgeous, and just the right compliment to the rich paint color. This allows potential buyers the option to pull from the colors of the fabric for their accent pieces as the mood strikes. Way to go, again!l
Wow what a great makeover! I love the color you went went with and goes perfectly with the fabric. I think a pink or turquoise would have been a bad choice, I think it will sell just like it is and if not then you might have too rethink the fabric but I would totally put this in my guest bedroom!
Thanks for Sharing ?
I think it turned out great. Taking a risk that someone will buy with that specific of a fabric. Someone should decorate a room around it. Would look great in a dining room or bedroom. ?
I like the paint color better than the fabric, but I’m not crazy about either. I usually really like how you give furniture new life but not so much this time. As was stated in a previous comment – different strokes for different folks. You are so creative. I hope this piece sells for you.
Hi! I Love the fabric! The color of the paint……not so much. Different strokes for different folks!☺ I think I would have tried a turquoise to make the turquoise flowers in the fabric pop. Might have made it appealing to a teen or college age girl . Love the instructions! Thanks!