How To Paint Furniture And Pros And Cons Paint Types, Brushes, And Rollers
As an Amazon Associate, I earn from qualifying purchases.
Painting furniture is a fun and inexpensive way to update and personalize pieces for your home. When done correctly, a painted finish is personalized, attractive, and long‑lasting.
This guide explains the basic process for painting real wood furniture with information on various types of paint.
How To Paint Furniture And Pros and Cons of Various Paint Products
Painting furniture starts with gathering the right supplies and properly preparing the piece. Preparation may include cleaning, light sanding, and priming, depending on the furniture’s condition. Choosing the right paint for your project is just as important as sealing the finish to protect it. The instructions below apply to furniture that does not require repairs.
Supplies:
- Cleaner (such as Simple Green or Murphy’s Oil Soap)
- Medium‑grit sandpaper
- Fine‑grit sandpaper
- Primer (e.g., KILZ; oil‑based or water‑based)
- Tack cloth or lint‑free cloth
- Paint (latex, chalk, milk paint, oil-based…your choice)
- Paintbrushes
- Painters tape
- Small foam roller
- Paint sprayer (optional)
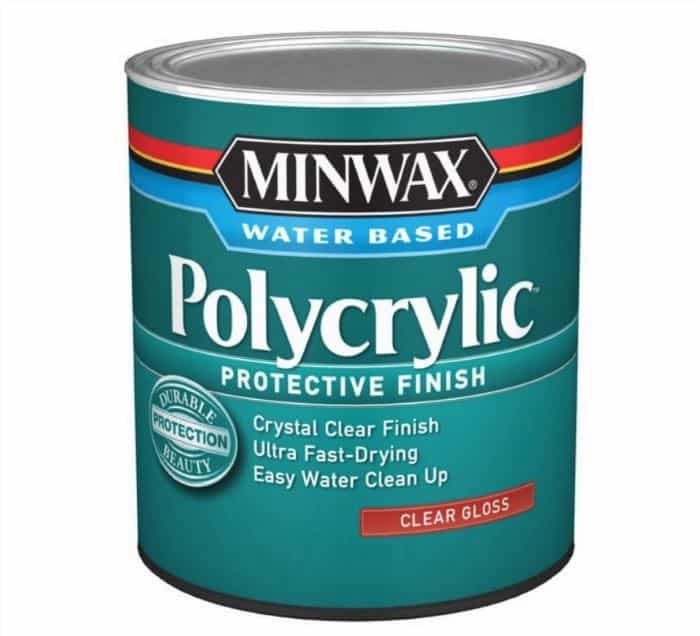
- Topcoat (such as Minwax Polycrylic, Varathane Clear Polyurethane, finishing wax, etc. )
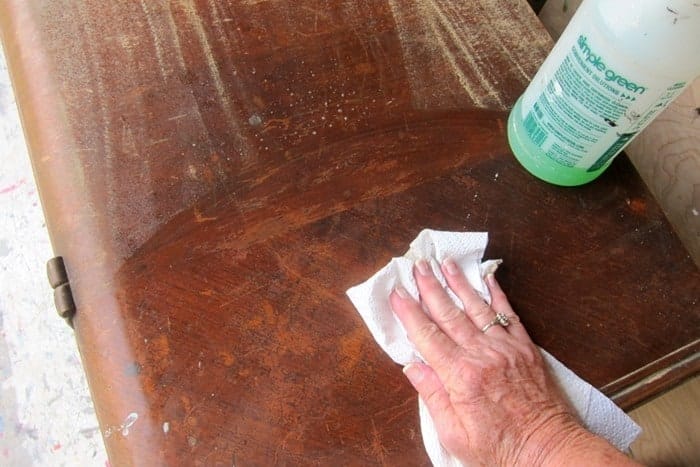
Step 1: Clean and Prepare the Furniture
Proper preparation is essential for a durable finish and is the most important step in the furniture makeover project. Skipping prep can result in peeling paint, bleed-through stains, uneven paint, and, most importantly, more work later. The following instructions are for furniture that requires no repairs.
- Remove all hardware (handles, knobs, hinges, etc.).
- Remove the drawers.
- Clean all surfaces thoroughly to remove dust, dirt, grease, or residue. A cleaner like Simple Green is suitable and safe for wood furniture. Vacuum heavily soiled pieces before cleaning.
- Apply painters’ tape over the backside of the drawer screw holes to prevent paint from seeping into the drawer.
- Tape off any areas you do not want to paint, such as the drawer sides and the inside of the cabinet.
- Allow the furniture to dry completely before proceeding.
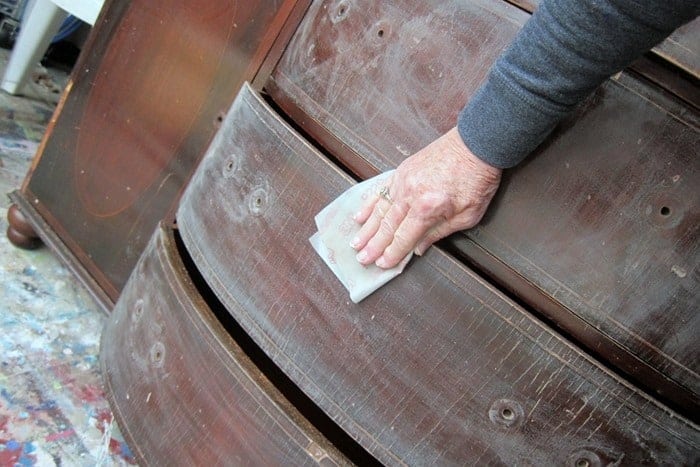
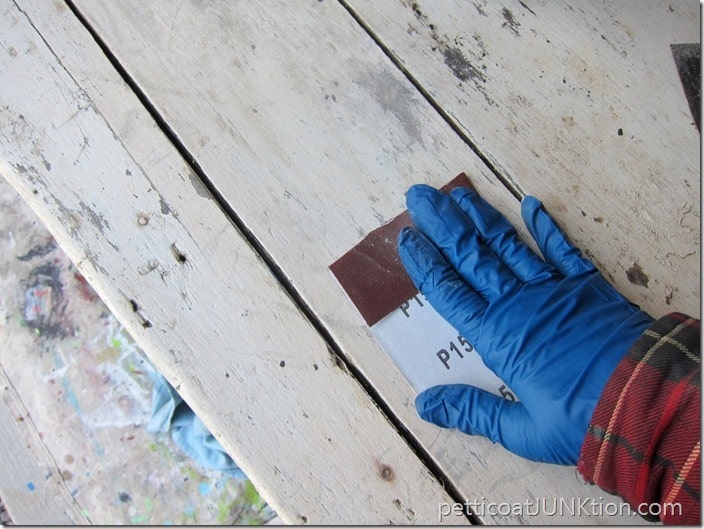
Step 2: Sand the Surface
Sanding furniture before painting makes a big difference in the final result. It removes loose or peeling paint, smooths rough spots, cuts through shiny finishes, and helps remove stubborn stains like nail polish or permanent marker. Even a light scuff sanding adds a little texture to the surface, so primer and paint can adhere properly.
- Use medium‑grit sandpaper to scuff‑sand all areas that will be painted.
- The goal is to remove the sheen, not to sand down to bare wood (unless there is damage or an existing finish that is failing).
- If the existing finish is dull rather than glossy, this step may be minimized or, in some cases, skipped.
- Depending on the paint type, sanding may not be necessary. Name-brand paints with primer included and chalk paints often adhere well to furniture surfaces without sanding.
- After sanding, wipe away all dust with a damp cloth and allow the surface to dry, or use a tack cloth to remove dust thoroughly.
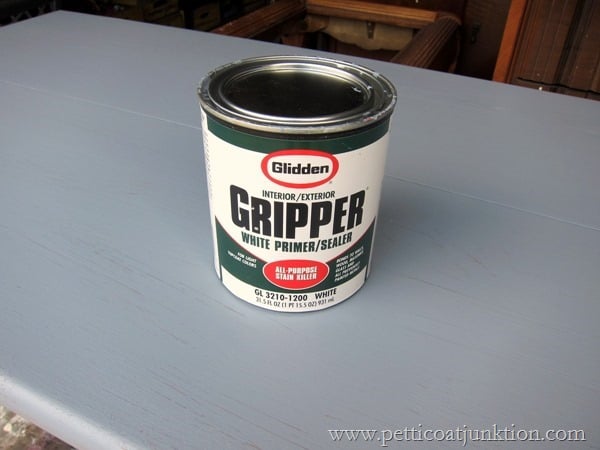
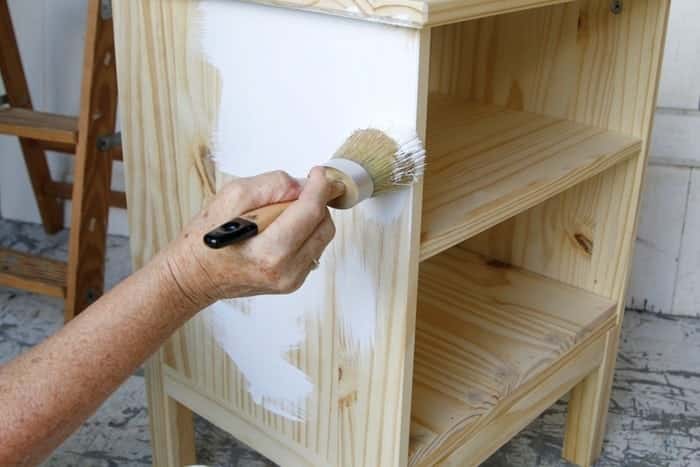
Step 3: Apply Primer
Primer improves adhesion, helps prevent stains from bleeding through, and aids in achieving a smooth final finish.
- Popular primer choices include:
- KILZ primer (available in brush‑on or spray formulas)
- PPG Seal Grip Primer
- Zinsser B-I-N (Shellac-based)
- Oil‑based primers, which are especially effective at blocking stains
- Apply an even coat of primer with a brush, roller, or sprayer.
- Primer can be tinted gray, which is easier to cover than white primer.
- Allow the primer to dry according to the manufacturer’s instructions.
- After the primer is fully dry, use fine‑grit sandpaper to lightly sand the surface.
- Remove sanding dust with a tack cloth or a clean, lint‑free cloth.
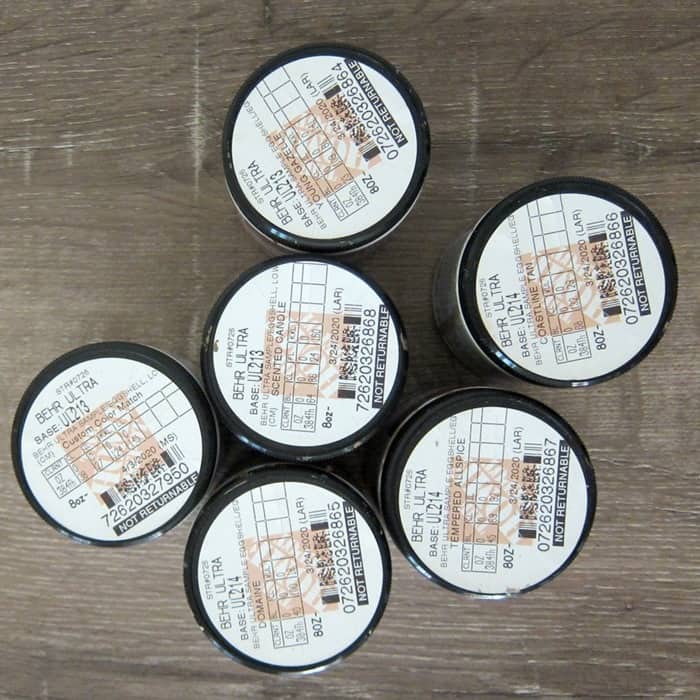
Step 4: Select The Paint
The type of paint you choose for your furniture depends on several factors, including the desired finish, the furniture’s condition, and your personal preference. Here are some common options:
-
Latex Paint:
- Pros: Water-based, low odor, easy cleanup, quick drying, and offers a wide range of finishes (flat, satin, semi-gloss, gloss).
- Cons: May not be as durable as oil-based paint on high-traffic furniture.
-
Oil-Based Paint:
- Pros: Durable, provides a smooth finish, and resists stains and chipping.
- Cons: Strong odor, longer drying time, and the need for mineral spirits for cleanup.
-
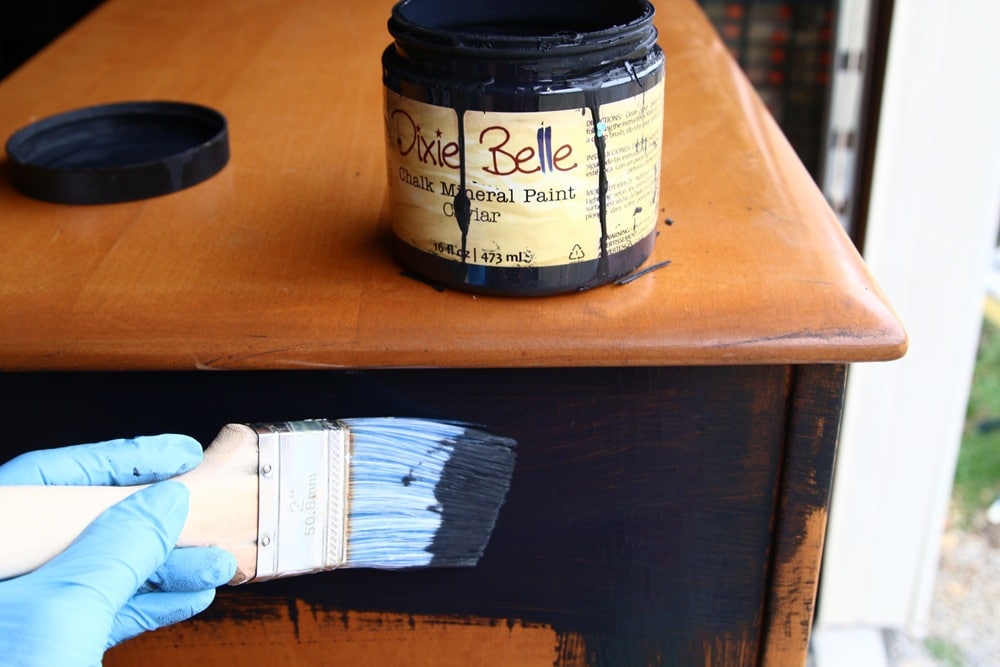
Chalk Paint:
- Pros: Easy to apply, creates a matte finish, and allows for distressing for a vintage look.
- Cons: Can be more expensive than traditional paints and may require a sealer for durability.
-
Milk Paint:
- Pros: Natural and eco-friendly, creates a soft, aged look.
- Cons: Can be challenging to work with and requires careful preparation.
-
Acrylic Paint:
- Pros: Versatile, water-based, quick drying, and suitable for various techniques.
- Cons: May not be as durable as oil-based or latex paints for high-traffic furniture.
-
Specialty Paints: Beyond Paint, Dixie Belle Paint, Heritage Paint, Etc.
- Pros: Offer unique finishes and effects, such as metallic, chalkboard, or magnetic.
- Cons: May be more expensive and have specific application requirements.

Step 5: Paint the Furniture
For this guide, we refer to painting with latex paint.
- Interior latex paint is commonly used for furniture.
- A satin finish is often recommended because:
- It is easier to clean than a flat finish.
- It shows fewer fingerprints and imperfections than high‑gloss.
Paintbrush or Roller:
For painting furniture, use a high-quality synthetic angled brush for detailed areas/edges and a 4-inch microfiber or foam roller for large, flat surfaces to get a smooth finish. High-quality synthetic brushes work best with water-based latex paint, and good-quality, firm foam rollers achieve a smooth finish without a textured finish.
Best Brushes for Furniture
Angled Sash Brushes (2-2.5 inch): For “cutting in” corners, detailed moldings, and edges.
Synthetic/Polyester Bristles: Best choice for latex, acrylic, and water-based paints because they do not absorb water and lose shape.
Natural China Bristles: Best for oil-based paints, varnishes, or shellac.
Best Paint Rollers for Furniture
4-inch Small Rollers: Perfect size for cabinets, dressers, and tables.
Foam Rollers: For ultra-smooth finishes, especially with enamels or delicate furniture.
Microfiber/Velour Rollers: Hold more paint than foam, which can cause stippling or texture instead of a smooth finish.
Application:
- Apply thin, even coats of paint rather than thick coats, which are more likely to drip or dry unevenly.
- Use a small foam roller on large, flat areas to minimize visible brush strokes.
- Use a brush for corners, edges, and detailed or hard‑to‑reach areas. It is generally easier to paint crevices and details first, then roll the larger surfaces.
- Allow each coat to dry fully as directed by the paint manufacturer.
- Lightly sand with fine‑grit sandpaper between each coat, then remove dust.
- Usually, 2–3 coats of paint are necessary for complete coverage.
Tips for Painting:
Brush and Roll Method: Apply paint with a brush to edges and corners, then immediately use a roller on large areas while the paint is wet. This blends the texture.
“Cutting In”: Use a brush to paint the corners and hard-to-reach spots first, then cover flat surfaces with a roller.
Avoiding Mistakes: Avoid overloading the roller to prevent it from sliding instead of rolling. Use thin, even coats rather than one thick coat to prevent dripping.
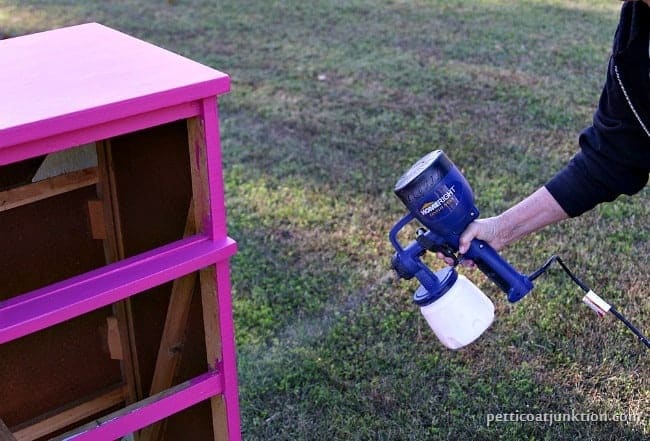
Alternative Application Methods:
- A paint sprayer can provide a very smooth, even finish if used correctly.
- High‑quality spray paint can also be used; select a reputable brand formulated for furniture or wood surfaces.
Step 6: Protect the Finish (Topcoat)
Once the final coat of paint is completely dry (generally a minimum of 24 hours), a protective topcoat can increase durability and create a surface that is easier to clean.
Topcoat Options:
-
Polyurethane / Wipe‑On Poly
-
- Provides a durable, protective layer.
- Not recommended over white or very light‑colored paint because it can yellow over time.
- Products like Minwax Wipe‑On Poly are easy to apply and work well over darker colors or stained wood.
Water‑Based Polycrylic
-
- Examples include Minwax Polycrylic.
- Suitable over most paint colors, including lighter ones.
- Tends to have fewer fumes and is easier to clean up than oil‑based products.
-
-
Furniture Wax
- Can be used over painted furniture, including white and light colors, without causing yellowing.
- Common options include products like Minwax Finishing Wax.
- Typical application process:
- Apply a thin layer of wax with a soft cloth (cheesecloth is often used).
- Allow it to dry for about 10–15 minutes (or as indicated on the product label).
- Buff with a clean cloth until the desired level of sheen is achieved.
After applying any topcoat, it is advisable to let the piece sit for at least 24–48 hours before regular use to avoid marring the finish.
Curing Without a Topcoat:
- Painted surfaces can be left without an additional topcoat, but the paint should be allowed to cure fully, which may take about 30 days.
- During curing, the surface should be used gently or left untouched as much as possible to avoid damage.
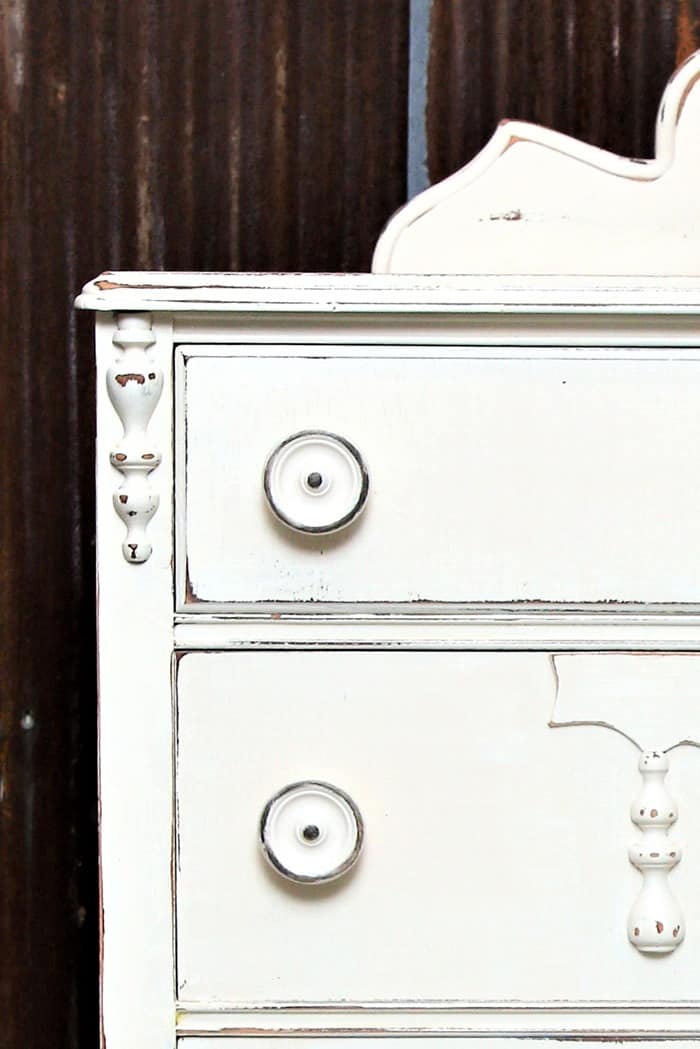
Optional Paint Technique: Distressing the Finish
For a distressed or aged look, light sanding can be done after the final coat of paint is dry and before applying wax or another topcoat.
- Use fine‑grit sandpaper.
- Focus on edges, corners, and raised details where natural wear would typically occur.
- Sand lightly until the desired amount of distressing is visible.
- Remove all dust before applying the protective finish.
- Alternatively, distress the paint using the wet distress method. More information on that method here….How to Wet Distress Paint.
Final Steps
- Reattach or install new hardware once the finish has dried and cured sufficiently.
- Reinsert drawers and assemble any remaining components.
- Allow extra curing time if the piece will be subjected to heavy or frequent use.
Additional Articles About Painting Furniture
Paint Furniture With Latex Paint: 13 Really Good Reasons
How To Antique Painted Wood Furniture
How To Distress Furniture Using Baby Wipes
How To Stencil Like A Pro Using Multiple Colors | Step by Step Tutorial
How To Use Mod Podge On Fabric Tutorial
Painted Table With Flamingo Decor Transfer For Tropical Glam

This process, when followed step by step, helps create a durable, attractive painted finish on wood furniture that resists chipping and everyday wear.