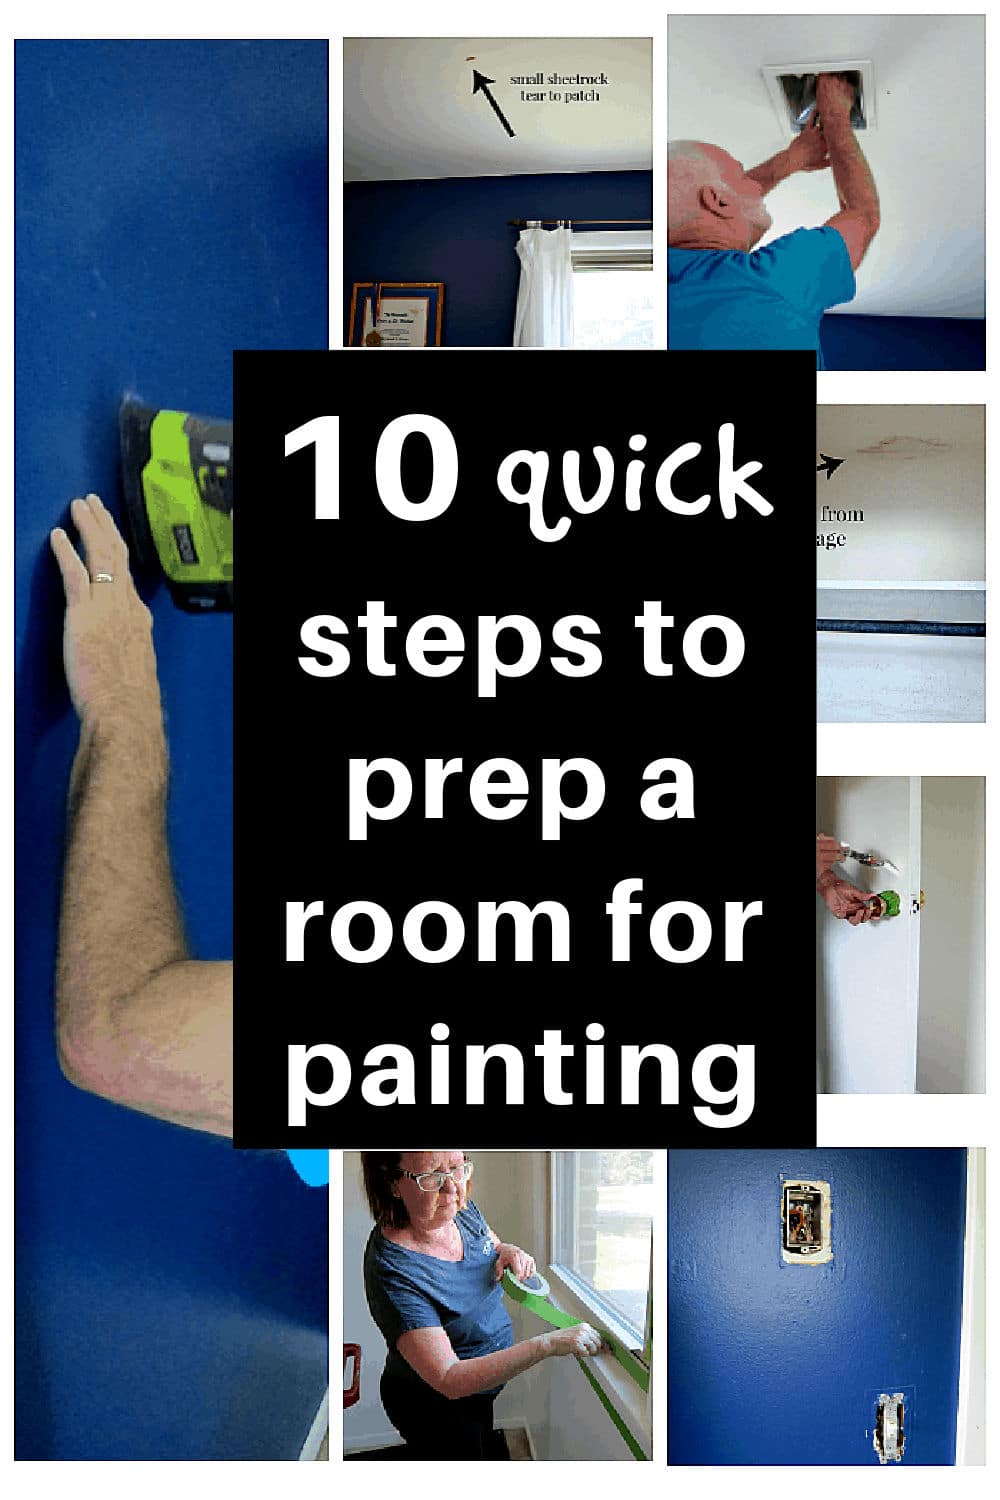
11 Steps To Prepare A Room For Painting
As an Amazon Associate, I earn from qualifying purchases.
It’s not difficult to prepare a room for painting. Certain things you can do will make painting a bedroom or any room in your home quick and easy. I’m sharing my tips to help you prepare any room for painting.
The hubby and I had our guest bedroom ready to paint in less than three hours, and those three hours included a trip to Home Depot and lunch.
We have several items on our home improvement wish list. Some of the projects we can do ourselves, and some we can’t. The JTS and I can paint, so we decided to tackle painting the interior of the house ourselves. We can do that….. one room at a time……no rush.
Why Paint A Room?
The first room to be painted is the “blue bedroom”. Our son picked out the color for the bedroom and painted it himself when he was 16……and that was almost 20 years ago. It’s time for new paint and a new color.

I told the JTS we were painting the ceiling, walls, and closet. He asked why we had to paint the closet. Well, I don’t think the closet has been painted since the house was built in 1965. The walls of the closet are dingy and stained, and they are getting painted.
You guys who visit here often will be shocked to learn we are painting the walls white. I’m ready to lighten things up and white is a blank canvas. I can always add colorful bedding and accessories. We will see how it goes.
11 Steps To Prepare A Room For Painting
We started our project about 10 a.m. There’s nothing like getting an early start. I had no idea how long it would take to prep the room to paint, and I was surprised how fast things went. The first thing we did was empty the bedroom completely.

Then we emptied the closet. All of that stuff is not going back in. This is a guest bedroom and I can find other places for the stuff (good junk).
1. Remove everything from the room to be painted.
Remove every single item from the room, especially if you are painting the ceiling. This prevents damage to the room’s contents and accidents. You don’t want to be tripping and falling over stuff while trying to paint.

We have a 3-bedroom home, and since it is just me and the JTS, we have 2 extra bedrooms. For the most part, we moved everything from the bedroom into the granddaughter’s bedroom.

It didn’t take long to empty the room. You may remember I started editing unneeded furniture and décor from the house a few years ago. The only furnishings in the bedroom were the bed, a small wood trunk, and a small side table.
Our house was built in 1965 and the rooms are small. They definitely look more open and a bit bigger without wall to wall furniture.

I got my handy dandy ladder out, getting ready for the next step.
2. Remove nails and curtain hardware from the bedroom walls.
Grab a hammer and screwdriver and remove nails and curtain rod holders. When you remove curtain rods and such, be sure to bag all small items, like screws, rod holders, etc., together.
3. Remove the switch and outlet plates.
Remove the light switch plate covers and outlet covers. Do not remove the outlets themselves. Put screws and plates in a plastic bag so you can find them when it’s time to put the room back together.

4. Remove obsolete thermostats, wall phone boxes, unneeded outlets, etc..
Remove anything installed on the walls, baseboards, etc. that you don’t need anymore.

We had a very old telephone line outlet on the baseboard and the JTS took it out.

We also had a thermostat on the wall for a heating system installed when the house was built. Has anyone ever heard of radiant heat from the ceiling?
I would hate to see what those electric bills looked like. We never used the heat, and it has been disconnected for a long time.

The JTS removed the thermostat.

It also left a huge hole in the wall. In a later post, I’ll share how we covered the hole.
5. Patch holes in walls and ceiling before painting.
Purchase a tube or tub of patch filler at your local hardware store and putty or fill the nail holes and screw holes using a putty knife or your finger. It’s easier to smooth the filler with a putty knife.

There are all kinds of products you can use for this job. I like the patch filler because it is soft and easier to work with.

We had an area on the ceiling where the sheetrock paper was torn. A bit of filler covered the area without a problem.

We also had many wall dings and holes from wall decor, a full-length mirror, and more stuff.

Once the patched areas were dry we sanded them flush with the wall using an electric sander. You can also use a sanding block or a sheet of sandpaper. Also sand any bumps or rough areas on the wall.
6. Remove ceiling light or glass cover.
Removing the light fixture makes it much easier to paint the ceiling, plus you don’t have to worry about taping the fixture or getting paint on it.

We planned to install a ceiling fan so we removed the original light fixture. The fixture was a recessed box, and as you can see, it left a really big hole. We might have a problem installing that ceiling fan. More on that later.
7. Cover the floors from wall to wall.
Cover the floor with plastic sheeting or heavy drop cloths.

Lay the plastic out nice and flat with no lumps or bumps. You may need to readjust the plastic as you paint around the room.
8. Dust walls and ceiling.
Dust the ceiling and walls to remove particles from sanding and dust that has accumulated over the years. Don’t forget to wipe down the tops of the window trim.
9. Remove closet doors.
If you plan to paint the closet doors and main door with a paint sprayer,, remove them before you start painting.

Remove the pins from the door hinges and slide the door off the hinge. The pins should just slide right up out of the hinges.
10. Apply a stain blocker over water stains.
If you have water damage on the ceiling or walls, paint will not cover those areas. The discoloration from the water damage will bleed through. We found this out the hard way.

We had one area of old water damage in the closet and it bled through two coats of paint. Select a good stain blocker and give the stain a coat or two of blocker before painting.
11. Tape areas you don’t want to paint.
Last but not least, it’s time to grab the painter’s tape and tape off anything you don’t want to paint. Areas could include door knobs, outlets, etc.

At some point in the paint process, you will want to tape off the ceiling, wall, or trim. or all of them!

Your painting process and the paint colors will determine what and when to tape. You will know when you need to tape. Trust me.
I will share all the details on painting the ceiling and walls, installing the ceiling fan, covering that big old thermostat hole, and more, in a post coming soon!
Who does your house painting, you or a hired professional? How long since the interior of your house has been painted? Don’t be afraid to do it yourself. As you can see the prep was not hard at all.
It helps not to be on a time schedule. The JTS and I decided before we even started the project to take our time and if we didn’t feel like working on the room one day or if we got a little stressed (fussy) we would call it a day. So far, so good.
Reveal of this room…..Inexpensive Total Bedroom Makeover Before And After
Looking for more home improvement projects? Click these links to see…..
how we painted our front door……
how to paint exterior shutters the easy way.
If you are new here you may not know I paint furniture. Here’s a video on priming to get the perfect paint finish…..
Selecting the Perfect Primer And Primer Color
Find these handy products on Amazon:
FrogTape
3M Patch/Filler
Flexible Sandpaper
Plastic Sheeting
Zinsser Primer/Stain Blocker
As always, thank you for being here and have a great day, Kathy

Always enjoy your projects…gets me motivated! Thanks! 😊
Wow Naomi, you have quite a job if you have your two 8 year old grandsons living with you. Maybe you could move half of your furniture out of the room and paint one or two walls at a time. I know that’s not the best way to do it…..but might work.
I have painted lots of rooms since I was a child of 10 or 12 painting with my mother. But the last time my living room was painted I hired someone. That was quite a few years ago and I am enough older that I wonder if I could actually do a room again. I desperately want to paint my bedroom but just thinking about it makes me tired! Clearing it out seems like the biggest job to me. My house is small, too, and the bedroom is small and has wall-to-wall furniture. I don’t even know where I would put the furniture if I tried to move it all out as the rest of the rooms are not very big and also have quite a bit of furniture. I also have my two 8-yr.-old grandsons living with me and they are all over the place. I’d have to ban them from the house as there wouldn’t be any room for them to run around. But, it needs doing and I am determined. Planning is the key, I think. LIne up the help and send the boys to their dad’s!
Anyway, thanks for the reminders about the beforehand prep. I’ll let you know when/if my room gets done!
Thank you Kay. I bet that hot pink room was pretty.
Yes, good paint is a must. I’ll be sharing my paint products for the project in a later post. I think your hubby did that on purpose, lol.
Hahaha, the JTS said thanks! It actually stands for Junktion Technical Specialist but I like your name better. If you click on the JTS that is highlighted (usually pink) it will take you to a blog post that tells about the JTS. Yes, our home was built in 1965. The rooms are small the closets are small the bathrooms are small. I love it thou and make changes occasionally. Thank you for the kind comment about the blog, Kathy
I need to ask! What does JTS stand for? “Junk-tion Technical Stud”? I have other guesses but cannot figure out the initials, unless they are your hubby’s initials! And I love your post because you have a house like mine. I DON’T have beautiful baseboards and crown moulding like other bloggers. Or great trim around the doors and windows. Your home was probably made in the same era as mine. Just the basics with no glamour. And paint is the best transformation device for any room. Love the blog!
I do the painting in my house. I let my husband paint once, he did it at night and pressed too hard on the roller. Next morning the wall was a mess. I wonder if he did that so he’d get out of painting forever 🙂 I take my sweet time when painting. I’m an antique white girl myself. Rooms and closets look so fresh and clean after a nice new coat of paint. As I get older I’ve also learned not to select paint by its price. I wait for a good sale at Lowes or Home Depot and then buy the better paint.
Lots of work but worth it. I just painted a bedroom from hot pink to white. Thank you to your husband for his service.