Make A Love Letter Sign With Reclaimed Hardware
As an Amazon Associate, I earn from qualifying purchases.
This DIY love letter sign is made completely from salvaged wood and reclaimed hardware. The letter blocks stand on their own like shelf sitters. That means the hubby did a good job of cutting the wood.

I gathered the boards from a construction site a couple of years ago. Better to be used than to go to the landfill…right. I used a sanding block to smooth the rough edges on the wood.
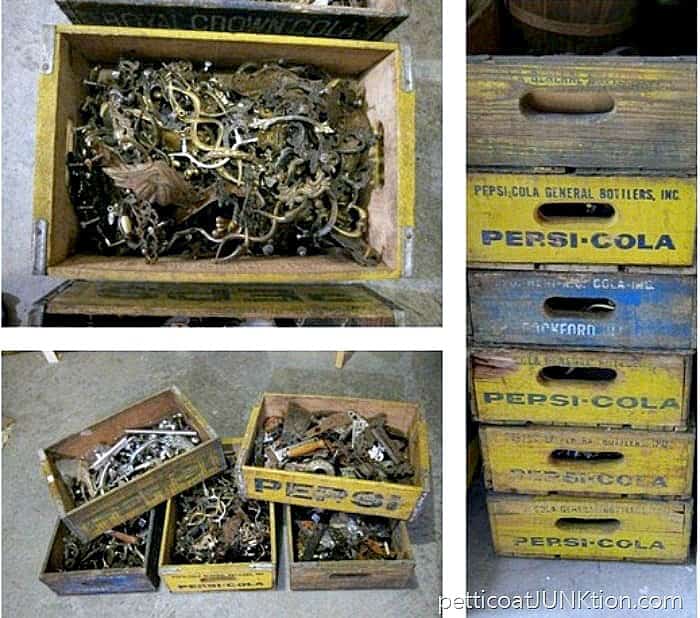
Now to find just the right combination of hardware to make the love letters. As you can see I have a large stash of reclaimed metal of all kinds.

After digging through my junk stuff I came up with these pieces to make my “love letters”.

The letters needed a colorful background to showcase the dark rusty metal pieces. I pulled a couple of colors from the paint shelf and decided on the deep turquoise color

And then I dry brushed a the light aqua over the wood. See how it highlights the coarse areas of the wood?

love letter sign
Finding screws just the right size is sometimes the hardest part of this type project. The screw heads have to be large enough not to slip through the holes and the screws have to be short enough not to come through the back of the wood.
I first adhered all the hardware pieces with hot glue. The glue held everything in place so no slipping up when I drilled the holes for the screws.

I’m a hot mess when putting these projects together. The workshop is always a disaster.

The love letter blocks make me smile. I can see them on my fireplace from my seat on the couch.
For more reclaim ideas check out my horseshoe and quilt sign here…..A Horseshoe For Good Luck And Red Hearts For Love.
Also take a look at the stenciled heart sign. Later this week is Furniture Fixer Upper Day and wait until you see the sideboard makeover! Thanks for being here, Kathy
Ohhhh Kathy, you know this rusty junk LOVE sign has my entire heart! Love the mix of hardware on scrap wood! It looks like a fun one to try!
Pun very much intended, I LOVE this! Featuring when my link party opens. Thanks so much for linking up!
Crushing on these love blocks and that stash.
I love these unique pieces you create from such odd things.
Love the love!
How ingenious is this! You never cease to amaze me Kathy!
love this!
Totally amazing! I have an infatuation with turquoise and love the rusty pieces you added to spell LOVE. So beautiful and fun!
Good eye for detail Andrew. The L and E were font heavy. I added the little bolt inside the hinge on the E and the head of the bolt was just the right depth to make the E stand up. For the L I had to add some glue dots to the bottom to make it stand up. Thanks for the comment!!
Wonderful. Great job!
Did they stand up on their own? They seem like they may be front-heavy. Is there a trick to making them stand without falling forward?
I really like this, Kathy! I have lots of wood but that’s it — otherwise, I would try this in a heartbeat! 🙂
Thank you Christy!
I love these, Kathy!! Pinning and sharing 🙂
Love this! It’s fantastic!
This is so darling! LOVE it!! 😎
i love these they are adorable with out being all cutesy like them better than the heart xx