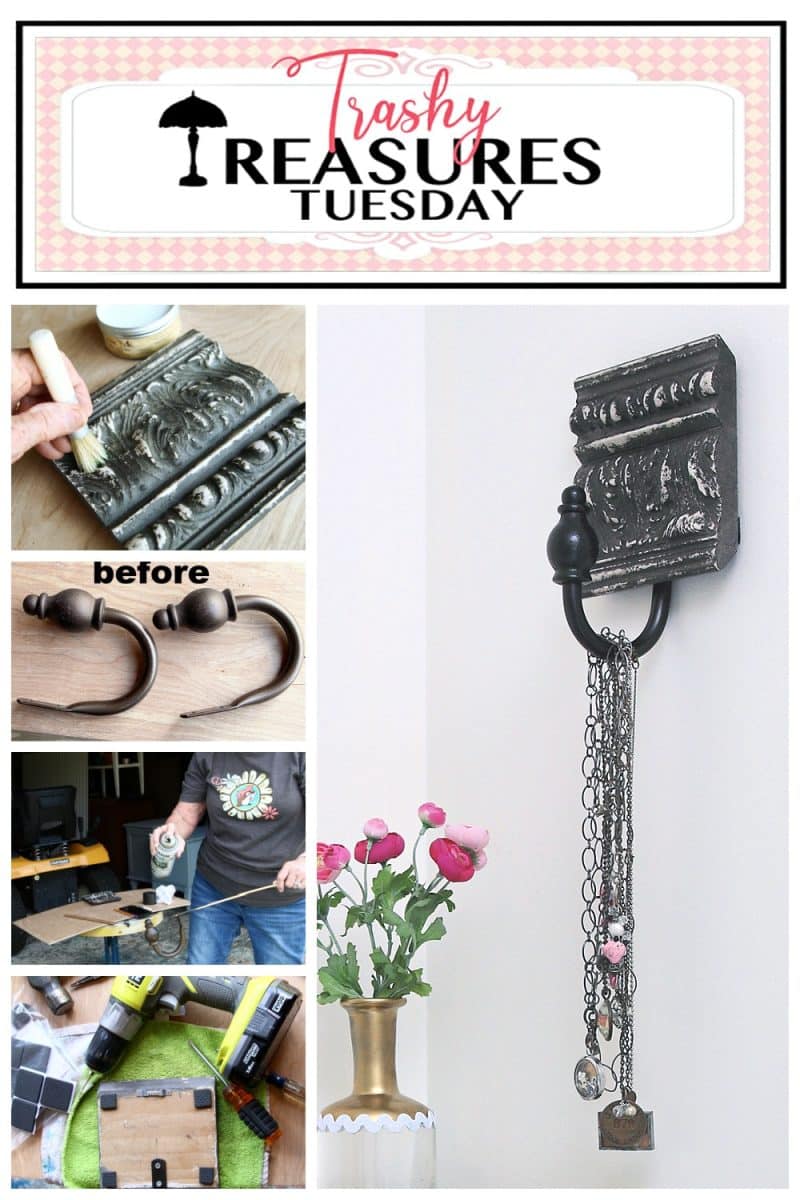
How To Upcycle Curtain Holdbacks Into Necklace Hangers
As an Amazon Associate, I earn from qualifying purchases.
How to make a necklace hanger using old curtain holdbacks and decorative wood trim.
Do you have a stash of old curtain holdbacks gathering dust? The hook-style holdbacks are perfect for hanging things. Hanging them onto a piece of decorative wood trim creates a one-of-a-kind jewelry organizer. While I made this one specifically for necklaces, they are strong enough to hold towels, robes, aprons, or even lightweight garden tools.
Today is Trashy Treasures Tuesday, one of my favorite days of the month! My friends and I are sharing tutorials on how we repurposed our latest “trashy” finds to help inspire your next project. You can find the links to their upcycles at the bottom of this post.
Upcycle Curtain Holdbacks Into a Necklace Hanger
")
Supplies and Tools
To recreate this look, you’ll need:
-
Decorative wood trim (salvaged or new)
-
Curtain holdbacks (the hook style works best)
-
Furniture wax (I used Dixie Belle Best Dang Wax in Clear)
-
Metallic spray paint (Oil Rubbed Bronze is my go-to)
-
Sawtooth hangers and screws
-
Drill and bits
-
Dowel rods (for a clever painting hack!)
-
Small foam wall protectors
1. Select the Project Pieces
While organizing my workshop, I found a piece of ornate wood trim I had painted years ago during an Annie Sloan or Amy Howard workshop (can’t remember which). The colors are beautiful, and the natural distressing gives it so much character.
")
When I painted the trim, I also wrote my name on the backside.
")
The inspiration for this project actually came from a beautiful necklace hanger I bought years ago. It was made of heavy vintage wood trim and a flower-shaped curtain tieback. My version is a bit different, but the idea is the same: using a heavy-duty hook and wood trim as a decorative hanger.
")
After digging through my hardware drawer, I found a pair of metal holdbacks that complemented the trim perfectly.
2. Prepare the Wood Trim
")
Since the trim had been sitting in a salvage box for a while, it Technique To Refresh Old Wood Furnitureneeded a quick refresh.
")
I applied The Best Dang Wax from Dixie Belle to the surface……..
")
using a stencil brush to work the wax deep into the intricate carvings. Once the wax dried, I buffed it with a lint-free cloth to get a lovely soft sheen.
Tip: If you are starting with raw wood, simply paint it your favorite color and let it dry completely before waxing.
3. Paint the Curtain Holdbacks
")
Initially, I thought the original gold of the holdbacks would work, but they felt a bit too “rustic” against the moody gray trim.
To give them a more sophisticated look, I reached for my favorite Metallic Oil Rubbed Bronze spray paint.
")
To avoid the hassle of painting one side and waiting for it to dry, I used a simple workshop hack: I slid a skinny dowel rod into the screw hole of each holdback. This allowed me to hold the rod and spray 360° around the hook for a perfect, even finish.
The JTS, Junktion Technical Specialist, aka hubby, took photos since both of my hands were tied up.
")
I then stuck the dowels into a gap in one of my storage shelves so the hooks could dry without touching anything!
4. Layout and Hardware
")
When I laid the hooks out on the trim, I realized two of them looked a bit “off.” In design, odd numbers—like one or three—wood look more balanced. But I didn’t have three.
")
I decided to stick with a single, centered hook for this specific piece of wood. Before attaching the hook, I flipped the wood trim over to work on the back:
")
- Hanging: I nailed a sawtooth hanger into the top center.
")
- Wall Protection: I added sticky-back foam protectors to each corner.
")
- Budget Tip: Cut large foam pads into smaller squares to make them last longer!
5. Attach the Hooks
")
After measuring to find the exact center of the trim, I used a small bit to drill two pilot holes.
")
I decided on two screws to secure the holdback firmly so it wouldn’t pivot or slide.

The oil rubbed bronze was just the right color, and one hook was better than two.
6. The Finished Necklace Hanger

I hung the new necklace organizer in Sofi’s bedroom.

I love how the detailed molding makes it look like a designer piece. The wax really brought the paint color back to life.

I have some lovely necklaces in my costume jewelry collection, and this is just a small part of them.

I don’t wear necklaces very often, just my rings and earrings, and those are the same ones every day.

This hook hanger would look just as nice holding a tea towel in a farmhouse kitchen or a fluffy robe in a guest bathroom.
What do you think? Do you have any spare hardware in your junk drawer that could be turned into a hanger? Let me know in the comments!
Take the Trashy Treasures Tuesday tour by clicking the links below the “before makeovers” photo collage…..

Trashy Treasures Tuesday Tour
Check out these amazing transformations from the team:
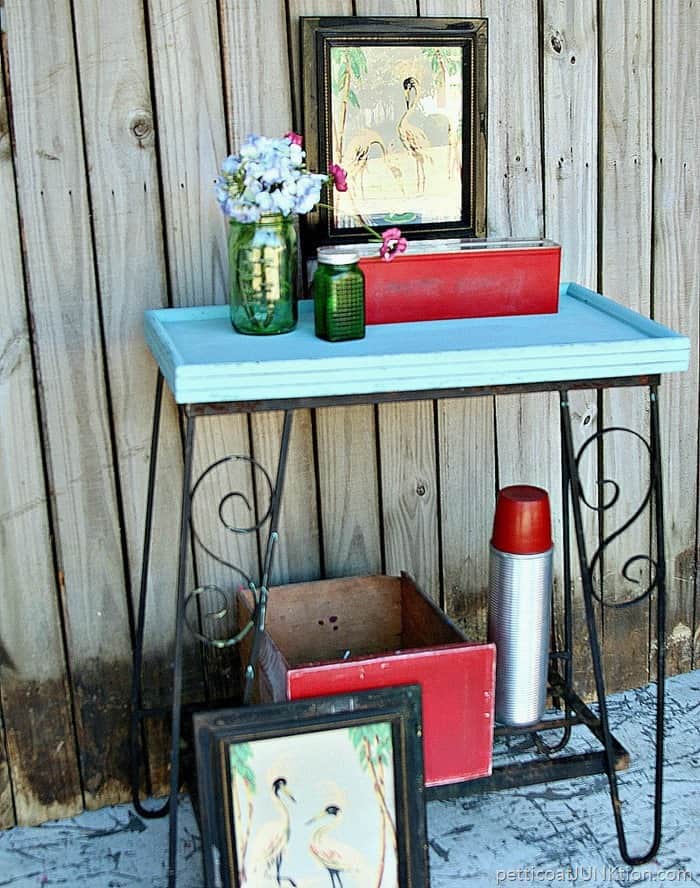
Repurpose a Tray into a Shelf – Confessions of a Serial DIYer
How to Resize Thrift Frames – Salvaged Inspirations
Vintage Bench Update – Artsy Chicks Rule
Necklace Hanger – Petticoat Junktion (you are here)

As always, thanks for being here, Kathy

Que bonito reciclaje. Gracias por ompartirlo
This is a great repurpose!! I need a few of those!! xo
Very cute idea for those hooks ! Thanks for the creative idea.
What a great repurpose for those tie back holder thingies! I pass these up at the thrift store often, but I’ll think twice now. This is so pretty! And I remember that piece of trim… Amy Howard was demoing her aging dust or whatever she called it lol. I have no idea what happened to mine! XOXO
Very clever and very effective – looks really classy!
I have a ton of hooks and hardware I could do this with – great idea! 😃 Pinned and have a great week, my friend. XOXO