Hanging Necklace Holder | Upcycled Project
As an Amazon Associate, I earn from qualifying purchases.
Make a hanging necklace holder or organizer to hang on the wall.
This little upcycle project was such fun and it reminded me how much I enjoy putting old junk stuff together to make something unique.
As usual, the project took a few twists and turns, such as changing hangers (more than once), but I’m happy as a pig in mud with the way the necklace holder turned out.

I started my project with a wall sign I made earlier this year using Chalk Couture. Time to do away with that sign and make something new. I often change my home decor and make new projects using my old ones—a great way to recycle and save money.

The first thing I did to the sign was distress the paint…..a lot. I sanded off all the words and then some of the white paint using my Ryobi sander.

And the new distressed finish is just perfect for my purpose. Even though the board is white and the paint is distressed, I wouldn’t call this project shabby chic. I’m going for a Farmhouse style hanger.

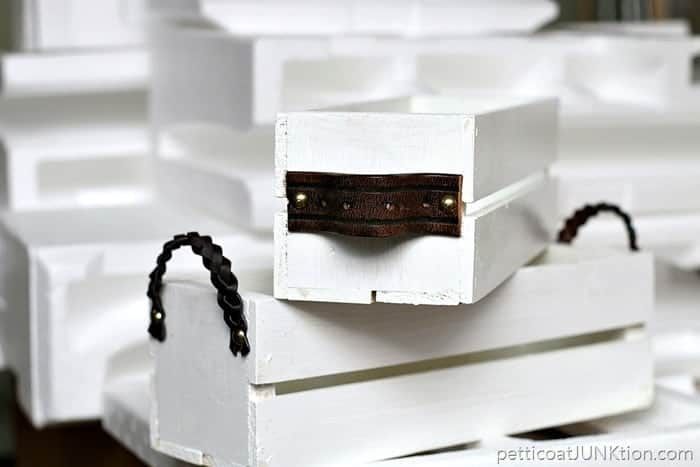
I selected a few pieces from my stash to use as hangers on the wood sign.

I put a little white paint on them to match the sign then decided the standard type hangers were not unique enough.
")
This blue metal cabinet I bought at an auction in Arkansas stores all my old drawer pulls, rusty hardware, new drawer pulls, and miscellaneous junky metal stuff. The cabinet is 2 1/2 feet by 3 feet so it holds a bunch of stuff.

I went through the cabinet and found these three pieces. Much better. I shined them up a bit before putting them on the wood sign.

It can be difficult to attach a drawer pull like this to a wood piece because the drawer pull has two screw holes, and you have to be sure to drill the two holes so they line up perfectly with the screw holes on the pull.
If the holes are the least bit off, you have to wallow them out with the drill until the screws can go through the wood into the drawer pull.
I ran a black permanent marker over the screw holes on the pull, then pressed the pull against the board. The black marks were very faint and incomplete because, of course, everything was not perfectly flat, so I went over them with the marker.

Then I drilled the holes. I love power tools!

After I attached the middle pull or necklace holder to the wood, I moved on to the second drawer pull, which just had one screw hole. No big deal, except I needed to add some depth to it because it was a lot shorter than the piece I was going to place on the opposite side. I found two metal pieces in my stash and added them to the base of the pull. Just right.

I’m not sure what the third and final piece is or once was, but it makes a good hanger, and I didn’t have problems with the screw holes because these screws went in from the front.
I just marked them with a pencil and drilled tiny holes for the screws. At this point, I thought I was finished with the jewelry organizer but I didn’t like the sisal rope hanger at all.

The original hanger was stapled to the raised piece on the back, and when I hung the organizer on the wall, the top of the necklace hanger tilted away from the wall. I needed to move the rope hanger close to the top backside. I completely changed the hanger and went with a heavier, darker sisal rope.
In the photo of the back of the hanger, you can see the screws for the drawer pulls and where I placed wall protectors on all four corners. I always add wall protectors to my DIY wall decor.

This is how the finished hanging necklace holder looked at that point. Still not liking the rope hanger.

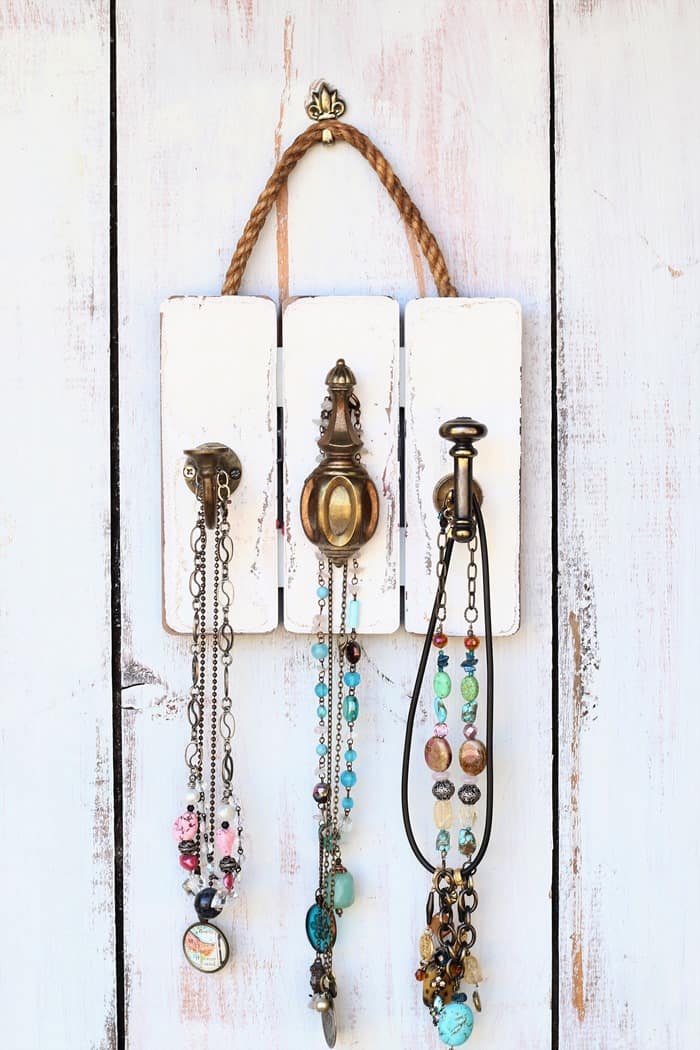
I replaced the rope hanger with a sawtooth hanger and the necklace holder looks so much better.

The rope hanger took away from the beauty of the piece. My eye was drawn to it instead of the hanger and the necklaces hanging from the holder.

Patting myself on the back for sure. I have the newly finished project hanging in the master bedroom.
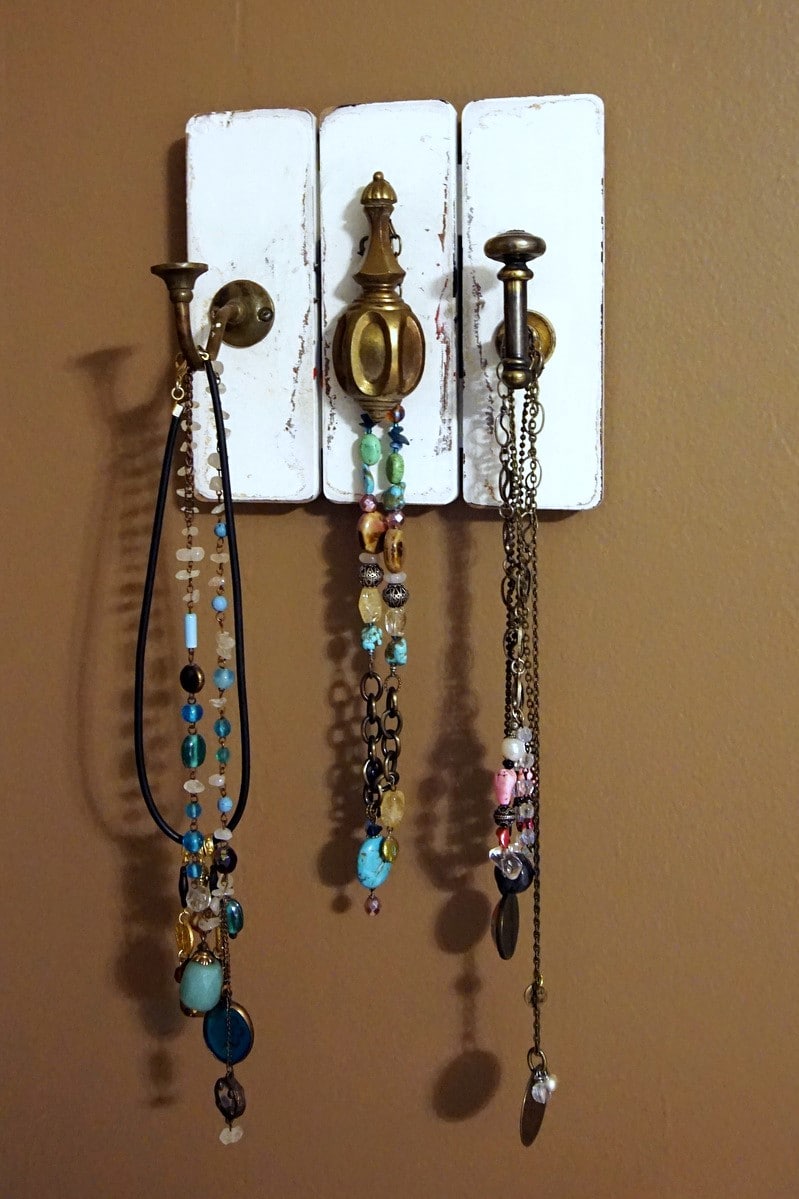
It looks great against the brown wall. The jewelry in this photo is mine.

I staged the piece on a couple of old doors I keep in the workshop. The white distressed paint really pops against the blue door.

So, what do you guys think of the necklace hanger/organizer/holder? Do you like the hardware I used for the hangers? Leave a note if you have time before heading out on the tour. Click the text links below the “before” makeovers photo to take the tour……..

How To Hydro Dip Using Spray Paint My Uncommon Slice of Suburbia
Vintage Jewelry Projects Shop At Blu
Updating and Decorating with Thrift Store Art Our Southern Home
Get Organized With an Updated Magazine Rack My Repurposed Life
Updated Rattan Wicker Lamp Domestically Speaking
Washboard Cabinet Makeover Organized Clutter
Hanging Necklace Holder Petticoat Junktion (You are here)
Wooden Sleigh for Winter Decor Sadie Seasongoods
Upcycling Junk – 3 Easy DIY Ideas Reinvented Delaware

As always, thanks for being here, Kathy

Thank you Naomi! You’ve given me something to work on….a white jewelry hanger. Thanks for the comment, Kathy
I do really like this project, Kathy. I was thinking I would also like one using some more delicate-looking metal pieces for hooks painted white and distressed to match boards. I’m kind of into white on white lately! But I do really like the whole idea of the necklace hanger. I really need to make one and get all my necklaces untangled from the box they are in! Thanks for sharing this great idea!
Janna from New England – I actually found this a solid read, and inspired to take this on for my own jewelry. Thank you taking all the time, materials, and labor to create and teach us all this!
GORGEOUS upcycle, Kathy!
I’d love for you to join us over at the Creative Crafts Linky Party every Wednesday through Sunday
Followed and Pinned!
Creatively, Beth
And I am from Arkansas and live there now as well!
This is EVERYTHING! I don’t normally comment on blogs but just had to take the time to respond to this lovely invention!! You could sell these on Etsy for $25 and people like me who are creative but simply don’t have time during this season would pay good money for these! 🙂
Thanks Donna!
Well now isn’t this the coolest jewelry holder I’ve ever seen! Love the texture, and it looks so good with or without the rope! Neat project, Kathy!
I *REALLY* love the misfit trio of mismatched hooks on your re-repurposed necklace hanger! It’s so fun and whimsical.
It’s a work of art Kathy! The jewelry adds to the whole look perfectly. That blue cabinet that holds all of your hardware is a treasure! Pinned 🙂
ah, Baroque, I like that!
Thanks!
Kathy,
I’m glad you kept going… I love the end result (without the rope).
I can see Hob Lob (or Target) copying this.
pinned!!!
gail
You’ve got quite the stash of special parts to make your special projects!
I love the look of the finished jewelry hanger, Kathy. I’m glad you took the rope off–it just didn’t match the style of the rest of the piece. The hangers themselves give it a rather baroque look which I like. Good job!
You are always so creative, love how this turned out!
That’s great and so creative!