How To Repurpose A Metal Toolbox Into A Jewelry Box
As an Amazon Associate, I earn from qualifying purchases.
This repurposed metal toolbox can be used for any number of things. I’m using it for a jewelry box! Take a look at the project and tell me how you would use the yellow-painted and stenciled toolbox.

Do you think this yellow is bold enough? I used two shades of spray paint to give the color dimension. Then I distressed the paint.
")
I spray painted the inside of the toolbox too. It was a rusty mess. I’ll show you everything I did. Today is Thrift Store Decor Tour Day so be sure and check out all the other projects at the end of the post.

I bought the toolbox at my favorite junk shop a few months ago. I took it to my booth to sell but it just set there. So, what should I do with it.

I brought it home and the first thing I did was clean it up. What a mess inside.

Before taking the Simple Green to the box I used sandpaper to remove as much rust as possible.

For the first coat of spray paint I used Rust-Oleum Ultra Cover Spray Paint in Summer Squash.

Once that coat of paint was dry I sprayed on a coat of Rust-Oleum Gloss Spray Paint color Tuscan Sun.

The toolbox looks better already but I’m not done with it.

I found this Hallmark stencil in my stash of craft supplies and really love the designs. I’ve had it for a while and tried to find it on Amazon for you but it’s not there. You can find other FolkArt adhesive stencils here.

I selected FolkArt acrylic paint color parchment and grabbed some of my favorite stencil brushes, FolkArt Fabric stencil brushes (you can use them on other things besides fabrics!).

I have an in depth tutorial on how to stencil like a professional but I’ll tell you the big secret right here…..a very dry brush. Pour your stencil paint on a paper plate. It doesn’t take much. Then dip your brush in the paint and wipe almost all of it off on a paper towel. Now you’re ready to stencil.

I chose one of the designs from the stencil package, stuck it to the box and started stenciling. You can use the brush in swirling motions or pouncing motions. The technique I use depends on the stencil. I pounced this one.

One thing I really like about the adhesive stencils is the ability to pull them up part way to see what the paint looks like and then lay them back down in place.

Of course I didn’t quit with one stencil. I choose different designs from the pack and stenciled both ends of the box.

Then I stopped. You don’t want to overdo it. Too much of a good thing and all….

And now to the distressing. You knew I was going to distress the paint didn’t you? I used 3M flexible sandpaper and distressed the box all over.

After distressing the paint I applied a coat of Howard’s Paste Wax color Walnut all over the toolbox. It gives the paint a slightly aged look and the perfect sheen. In the photo above you can see where I applied the wax to the bottom half of the toolbox and how the finish is darker than the top half of the toolbox. I let the wax dry for about 20 minutes then buffed it with a lint free rag. You should also apply the wax with a lint free rag.
")
And that’s all there was to that little project. It wasn’t time consuming at all. I sprayed the toolbox with the two colors of spray paint and let it dry overnight. The second color spray paint was a gloss finish and it was really tacky until it dried. So let your paint dry well before distressing or stenciling.

I forgot to mention I lightly distressed over the stenciled areas too. This piece makes a great jewelry box!

I have a ton of costume jewelry and I hardly wear any of it. It sure is pretty to look at though.
")
That’s it for my project today. Leave a note if you have time before heading off on the Thrift Store Decor Tour. And if you didn’t get a look at the new website look you can visit the home page here and the category page here and let me know what you think!
Take the tour by clicking the text links below the “before makeovers” photo collage…….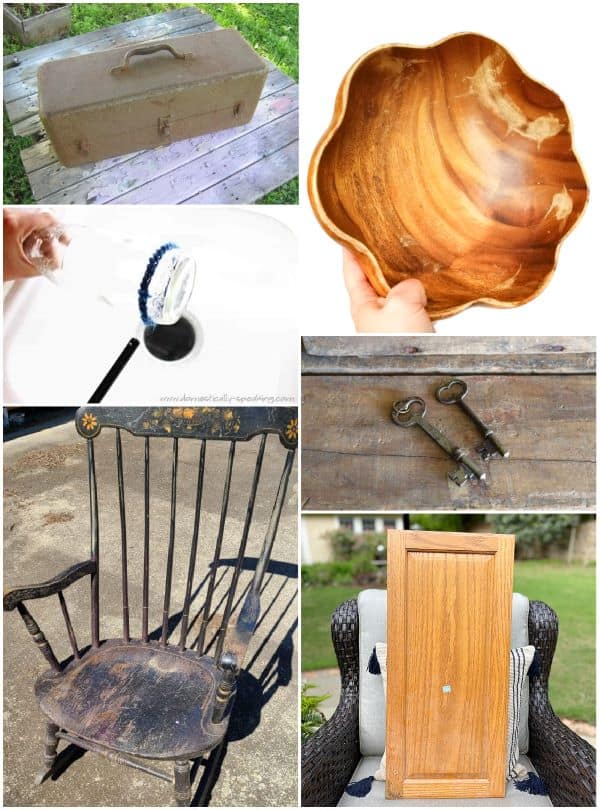
Repurposed Toolbox Jewelry Box Petticoat Junktion (you are here)
Cutting Glass Domestically Speaking
Clam Shell Bowl With Baking Soda Sadie Seasongoods
Wooden Rocking Chair Makeover My Repurposed Life
Antique Skeleton Key Makeover House of Hawthornes
DIY Lake Sign Our Southern Home
As always, thanks for being here, Kathy
Great idea and love the make-over!
Wow! What a great way to utilize an old toolbox. I love the choice of the sunny yellow and the white stencil for a little pizzaz! Great job and always!
Hi Kathy, Absolutely nothing wrong with a sunny honey yellow toolbox ! I love those toolboxes and think you asked what someone would do with it. Let me count the ways!
I have any number of crafts that would work in one like it, Stamps and Ink pads, beading and all the tools , sewing, cake decorating tips and tools. and the list goes on. Honestly, one of my favorite finds at a yard sale of a tool rep was actually a cowboy themed tool box as my husband wore his much used tool belt and could pull his hammer out quicker than a gunslinger. He’s actually a cowboy movie buff so it became a Father’s day gift for him. Loved your stencils too ,lovely touch. thanks for sharing.
Sara
It’s perfect as a jewelry box- what a great idea!!
Kathy,
I love the color and the stencil. 🙂 Awesome job.
pinned!
gail
Love the yellow – such a fun makeover!
You are truly a very creative person. Love your turotials!
I love this idea. Thank you for sharing.
What a great idea! It’s adorable ?
I like this idea a lot. I would have glued felt to the bottom of each section to help protect the jewelry pieces, however. Maybe you said that somewhere in the article and I missed it. Adorable idea doing this!
This is a great idea, Kathy! A vintage lover like me would love to have this sitting on my dresser filled with jewelry.
Your jewelry box it too cute! The stencil gives it just a little bit extra!