How To Distress MDF Furniture And Plastic Furniture
As an Amazon Associate, I earn from qualifying purchases.
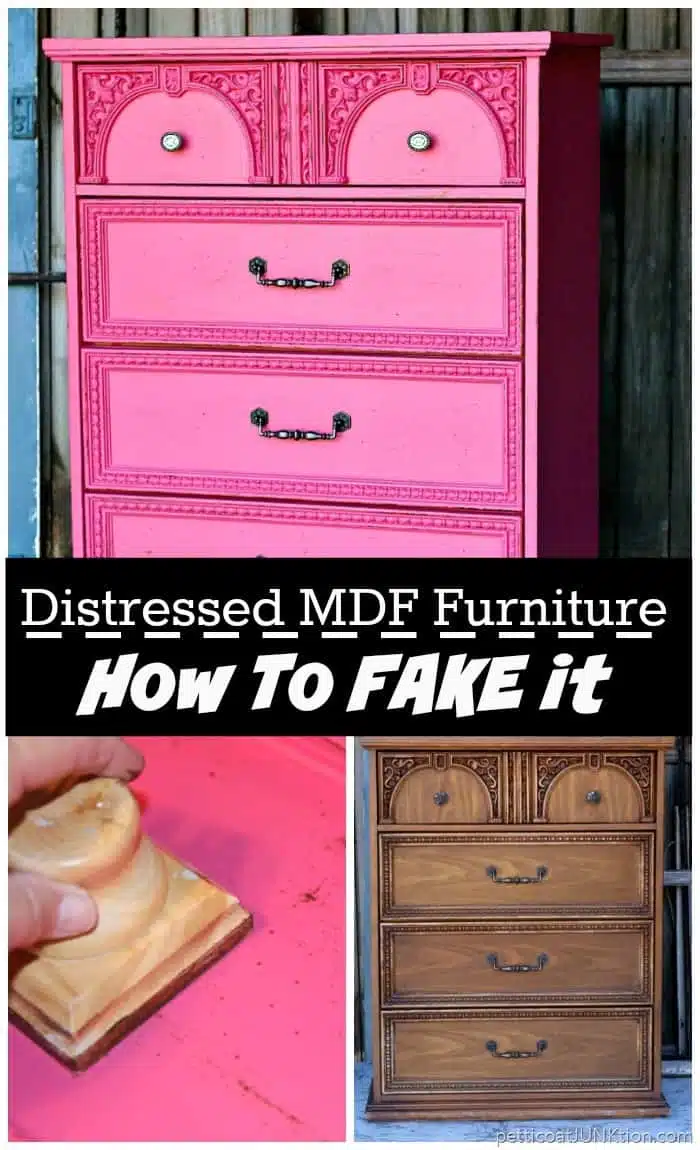
In this tutorial I’ll show you guys how to distress mdf furniture (fake wood) and give it a layered paint look. I made a video too!
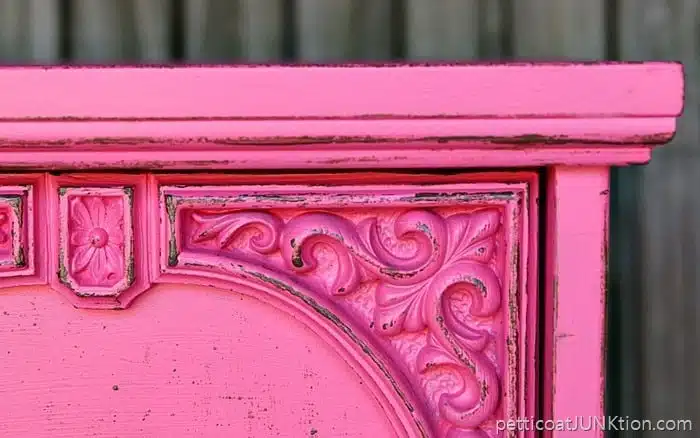
I think all of us at one time or another have had experience with mdf furniture. Probably not a good experience. My video shows how to use a layering block to get this look.
If mdf furniture is in good condition, meaning no water damage or major scratches, this technique will turn the piece into a real beauty. You’ll never know it’s mdf masquerading as wood.
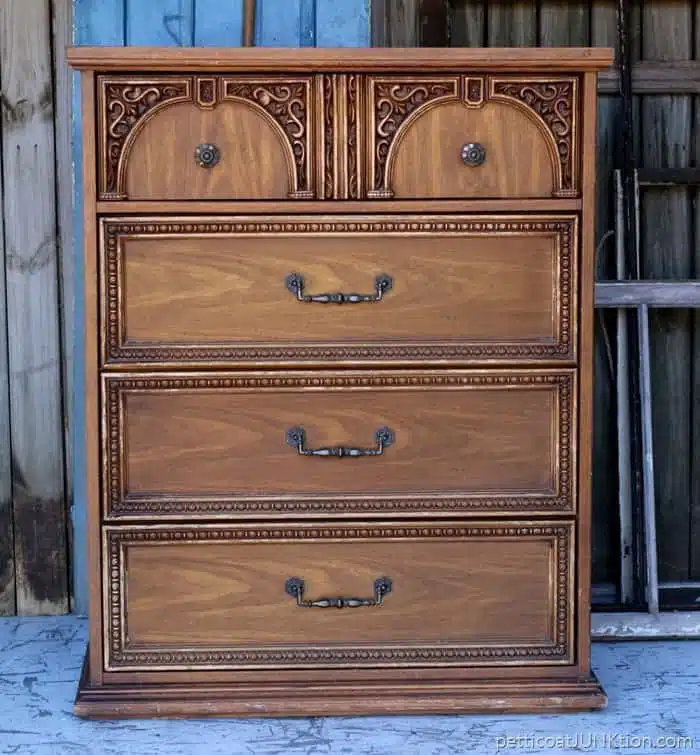
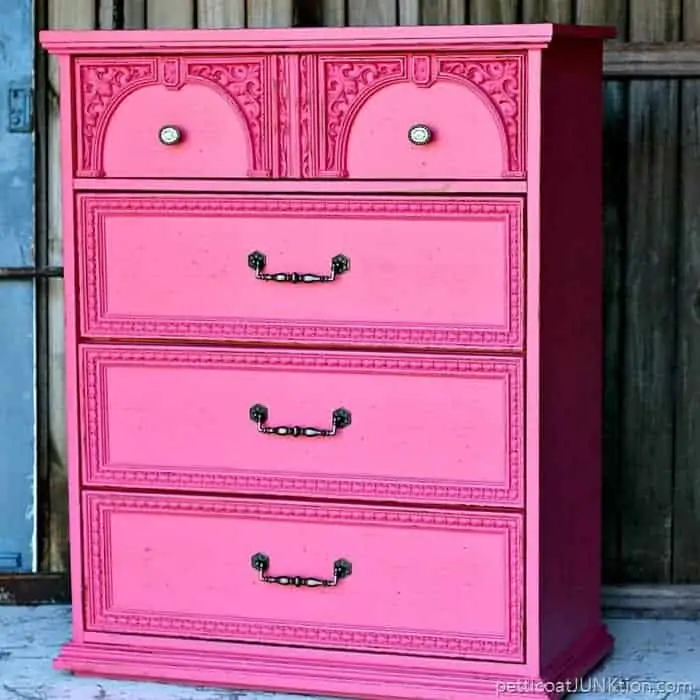
A bit of paint can work miracles. I knew the details would pop if I could figure out a way to highlight them.
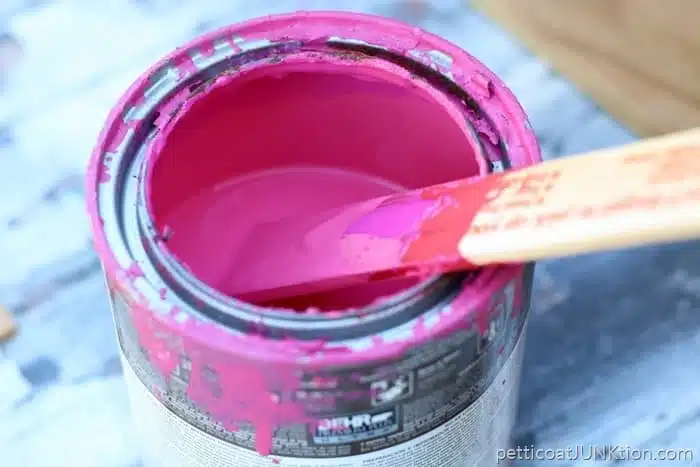
The paint is a custom mix….by me. I wanted to paint the chest a pretty coral then realized the coral paint can was mostly empty. I found a can of hot pink in my paint stash and added the tiny bit of coral paint I had left over. The coral cut the pink, pink, look.
As I’ve repeated many times “Don’t be afraid to mix paints together, even different sheens”. The experts will tell you not to do that. Be a rebel.
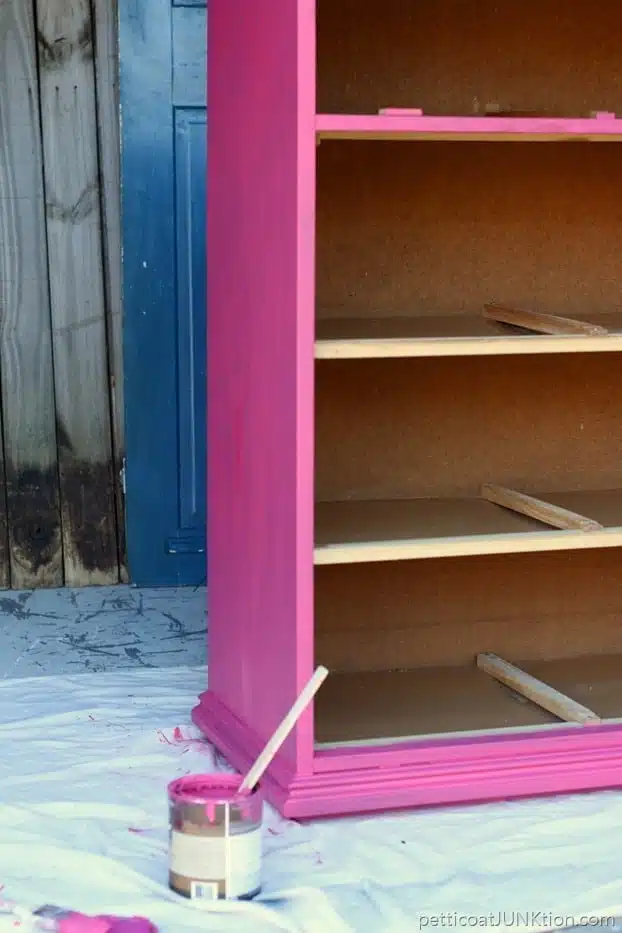
This is what the chest looked like after one coat of paint. Two coats of paint did the trick.
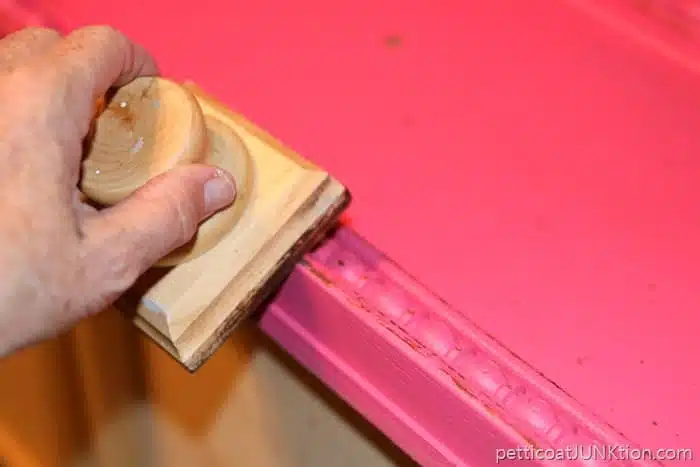
Once the paint was dry I pulled out my FolkArt layering block. I have to admit I had my doubts about the block….before I used it. It’s one my favorite paint tools now.
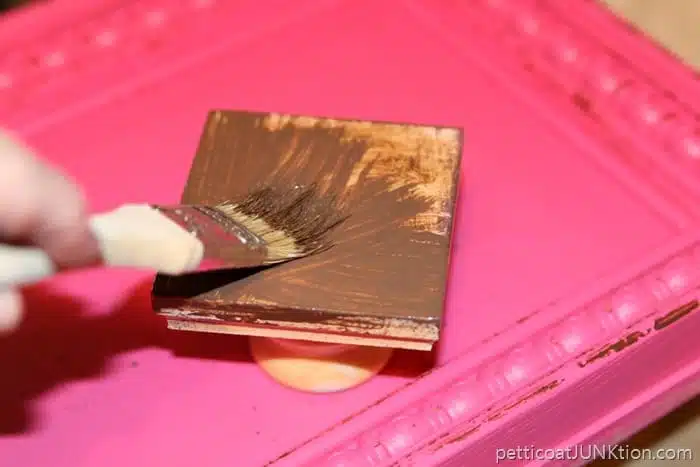
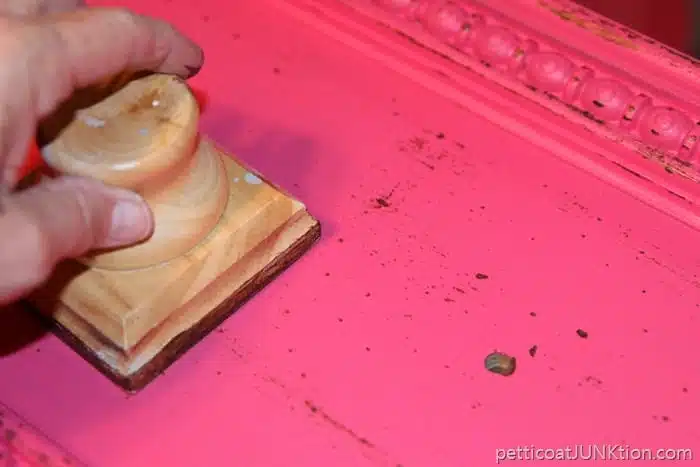
How to use the layering block…… apply a thin layer of paint to the block using a paint brush then run the block over the areas you want to look distressed. This would be the drawer edges, the corners and edges of the chest body, and all of that rippled or bumpy trim.
Then for good measure if there are uneven areas on the top of the chest or the drawer fronts run the layering block lightly over these areas too.
I reapply paint to the layering block as needed. The detailed beaded areas were a little iffy. I ran the block over the top of the beaded trim and then down the sides. Remember there is no need to make the “distressing” or layering look perfect.
Now this is the cool part. I brushed paint onto the block then wiped most of it off until there was a really thin layer of paint. Next I ran the block over the surface of the drawer fronts.
We all know that there are little imperfections in just about everything. The places on the drawer where there were bumps or unevenness picked up the brown paint.
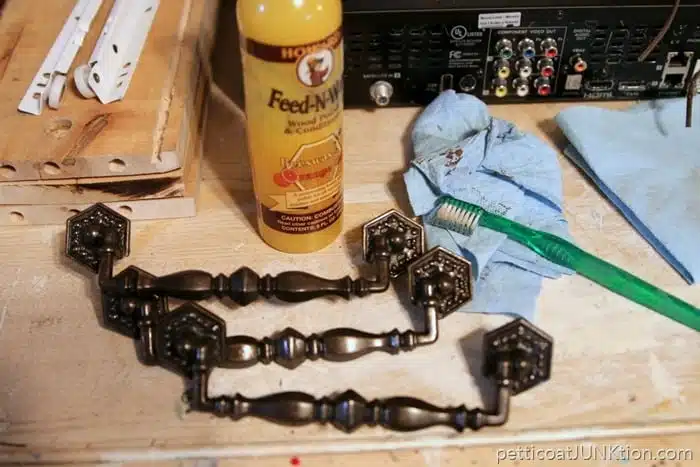
With the paint job finished I moved on to the hardware. I decided to use the original pulls on the bottom three drawers. A cleaning with Howard’s Feed n Wax shined them right up. The wax is for wood but it shines up metal too.
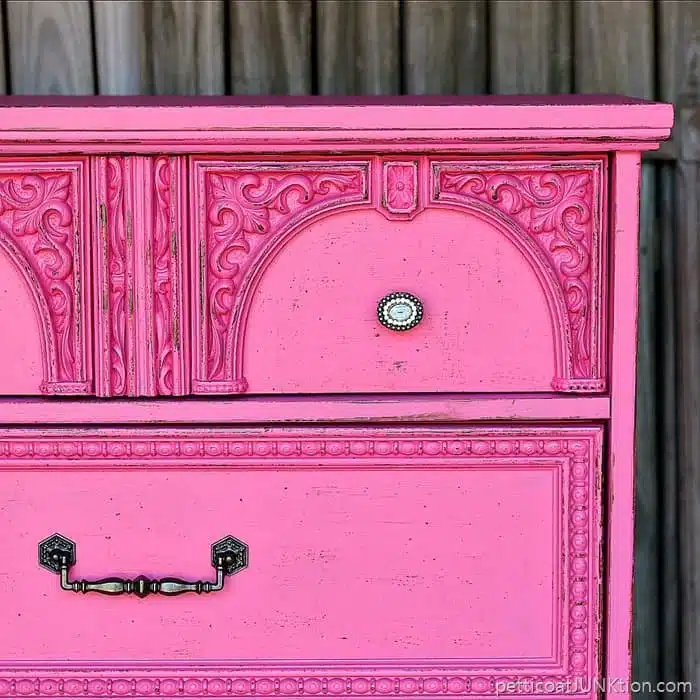
For the top drawer I bought fancy pulls at Hobby Lobby. I love how the “distressed” details turned out. This piece is a really beauty now.
I wish you guys could see the chest in person. The details really look distressed and the specks on the drawer fronts look like worm holes.
I made a video using the layering block on another project. It shows the technique really well. See it below…
[adthrive-in-post-video-player video-id=”CwCn18JL” upload-date=”2017-11-29T16:58:39.000Z” name=”How To Paint Problem Furniture” description=”special technique, paint,painting,gray,distressed, layering paint,aged, antiqued”]
How To Use A Layering Block
If you have water damaged mdf furniture I have a technique for that to. You can see it here…Painting Damaged MDF Furniture.
How to Distress MDF Furniture And Painted Plastic Furniture
What do you guys think of the paint project? Do you have any mdf furniture? I took the chest to my booth and it sold in just a few days. Wish my projects always sold that fast.
I have another post using the distressing block here….How To Fake Distressed Paint.
Have a great day, Kathy
Products used in this project:
FolkArt Layering Block
Howard’s Feed n’ Wax

