How To Use Vaseline To Distress Furniture
As an Amazon Associate, I earn from qualifying purchases.
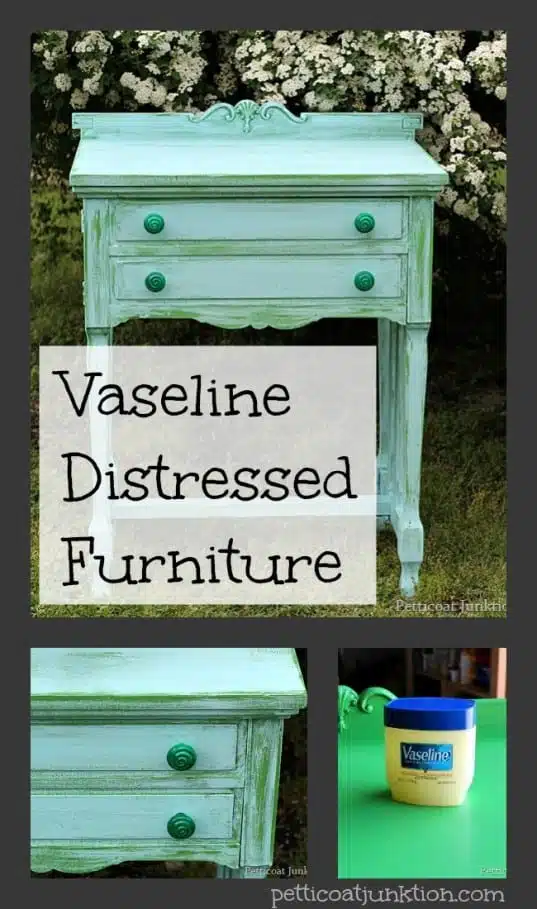
Use Vaseline to distress furniture and create a layered paint finish. The technique is super easy.
Furniture distressed is furniture with character. My new saying! And I’ve gotten in front of the camera to do videos finally. At the bottom of this post is a great video on how to use Vaseline to layer and distress paint. It’s a must see.
You guys know I love bright, bold colors. Well, this project includes two bold colors. The two colors Vaseline sandwiched between them. The trick is getting the right amount of Vaseline between the layers.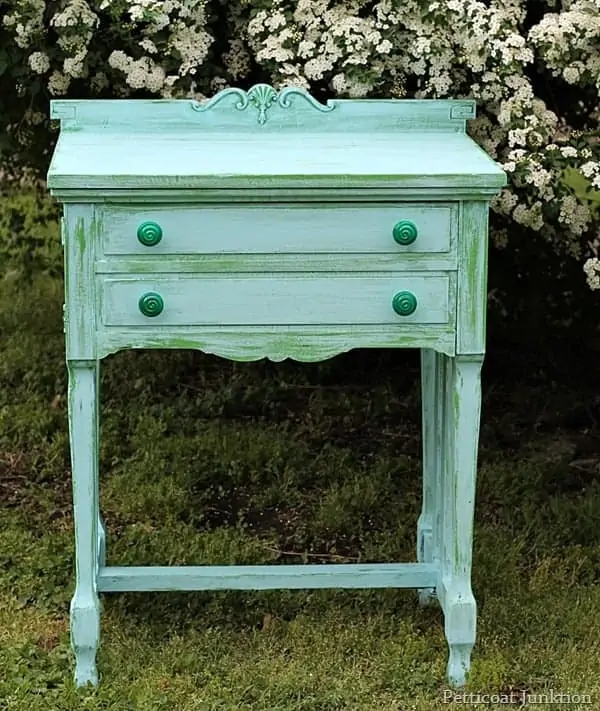
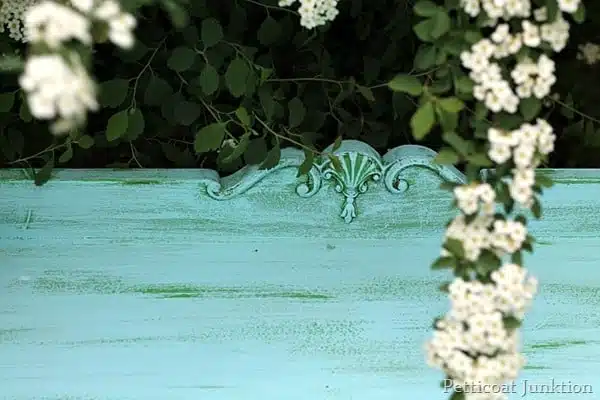
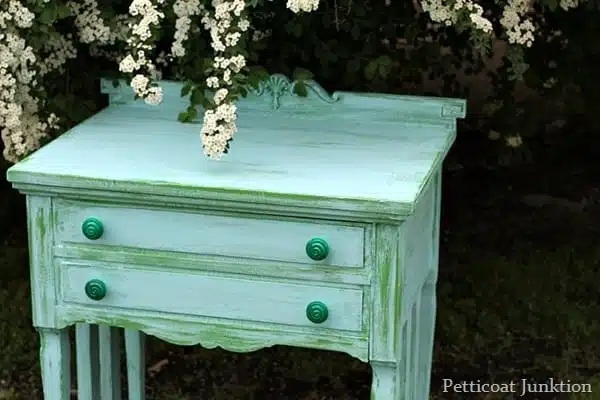
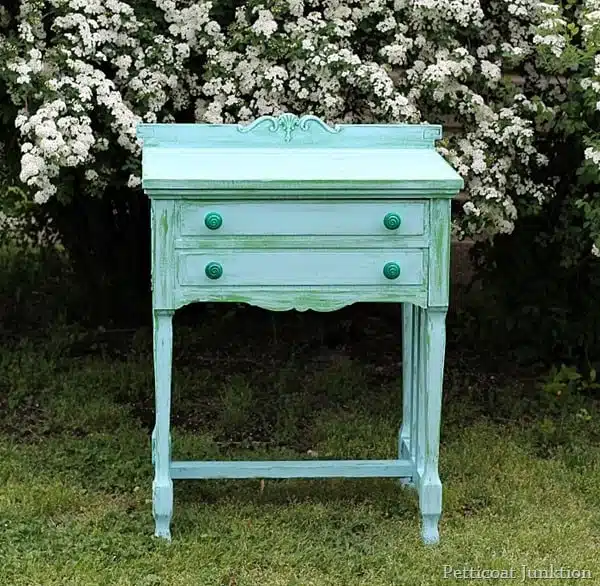
Turquoise Furniture Finish Layered With Green
What a fun color combination. And those green knobs!
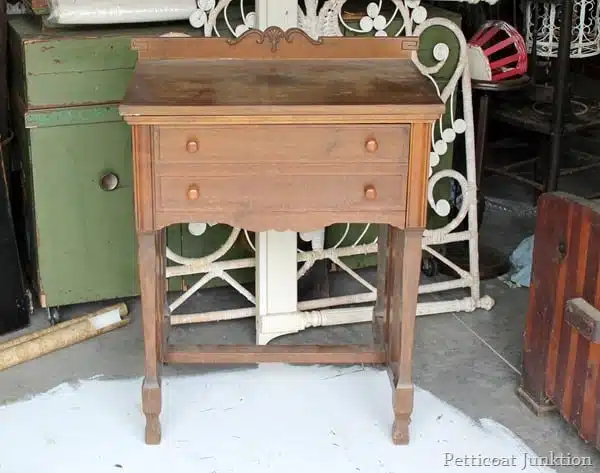
I got this piece at the Nashville Flea Market . It’s a sewing cabinet and it still had the sewing machine inside…minus electric cord and foot pedal. The JTS removed the machine for me and I started painting. I’m lucky to have the JTS. He does so much of the prep work on my furniture projects.
Use Vaseline To Distress Furniture
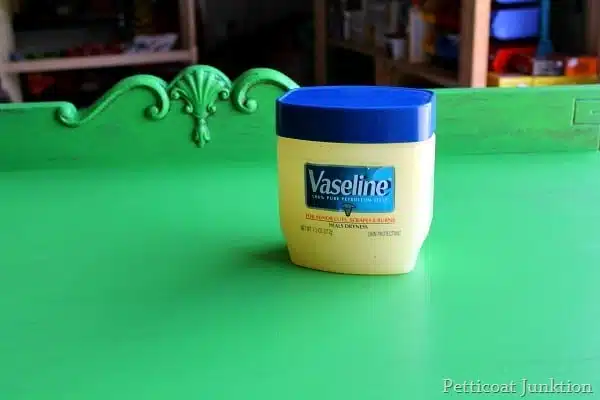
The paint girl at Lowes mixed some custom paint for me. wow Love that bright green! I applied two coats of paint and moved on to the next step once the green paint was dry.
I pulled on a pair of latex gloves and put a thin layer of Vaseline on areas of the table. Then I painted on a layer of turquoise paint.
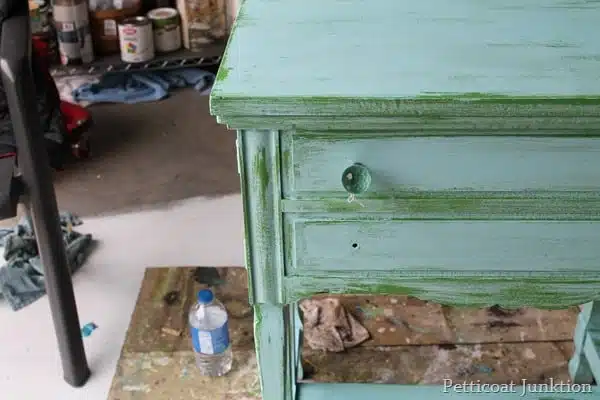
As soon as the turquoise paint was dry I used a shop towel…those that come in the can and have a cleaning product on them….and started wiping off turquoise paint. I either didn’t rub on enough Vaseline or that paint is good stuff because I had to rub and rub to get that paint off.
The reason for using the wet distress technique is to keep from removing the paint down to the original furniture finish. If you want to use sandpaper start out with something like 220 grit and see how that works.
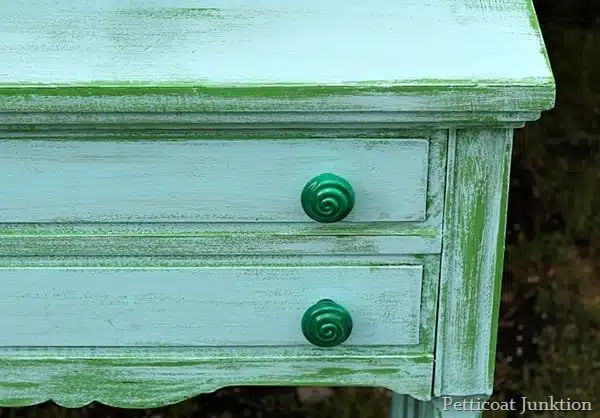
Here’s how it looked after the wet distressing. I bought the knobs at Hobby Lobby but they weren’t doing it for me…not bright enough…not much of a statement. I’ve used these knobs on a piece before and I love them but not for this table.
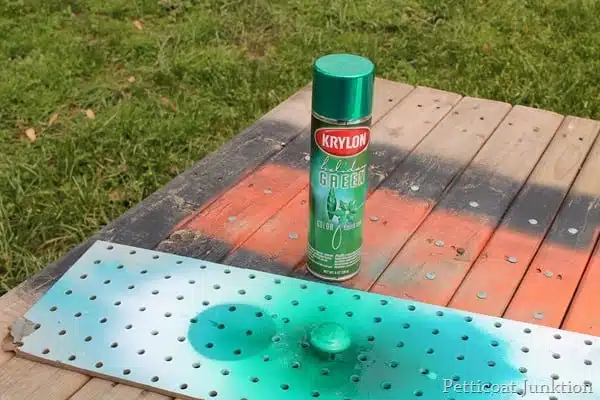
I grabbed some white porcelain knobs from my stash and this Krylon spray paint. The paint has been in my workshop for several years. I bought it at a thrift store and it was in a package with a can of silver paint.
The name on the paint is holiday green. I’m sure they don’t make it anymore but I wish they did. It’s the brightest, shiniest, prettiest green. The photos don’t do it justice.
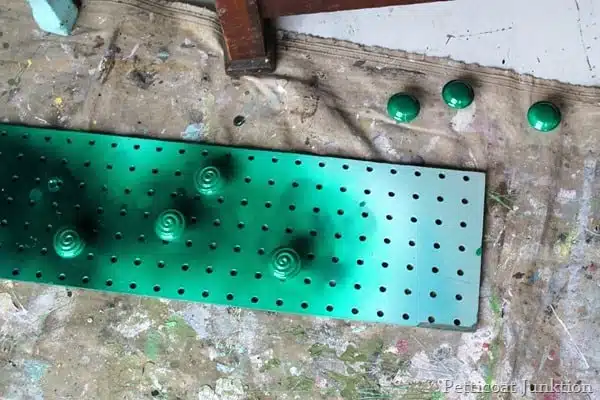
When I started putting the knobs on the table I noticed one of the knobs was missing the screw threads inside……it’s always something! I found 4 more porcelain knobs with the swirl design and I painted them. See how shiny the top three are? The others have the same sheen but they were still wet when I took this photo.
Turquoise and green are one of my favorite color combinations.
Furniture with details are the best for distressing the paint. The details really pop!
It’s been cloudy and rainy here for days.I took photos of the table inside but when the sun popped out for 30 minutes yesterday me and the JTS hauled the table outside and I started taking photos.
What did I learn from this project? The amount of Vaseline applied between the layers of paint is key. I’ve had projects before where I applied too much Vaseline and when I brushed on the second layer of paint I had a gooey mess. Too little and like this project the top layer of paint is almost impossible to distress.
Sure I could use sandpaper but that might take off all layers of paint down to the original finish. So the takeaway is it’s a bit of trial and error and learning experience. I finally found the right mix. I made a video tutorial you can find at the bottom of this post!
Video Tutorial on how to use Vaseline to distress furniture…..
[adthrive-in-post-video-player video-id=”X0mOX7C9″ upload-date=”2019-05-23T02:50:20.000Z” name=”Vaseline Paint Layering Distressing Technique for Furniture” description=”Video showing the Vaseline paint distressing technique to layer paint on furniture. The Vaseline is a paint resist and is applied between the layers of paint.”]
Use Vaseline To Distress Furniture
I have another tutorial where I used Vaseline to distress the paint on a side table. It is so pretty see the side table/nightstand here…..Layering Paint Using Vaseline.
Check out my first Vaseline distressed project, it’s a doozy……Red And Turquoise Stenciled Chest.
As always thanks for being here and have a great day, Kathy
This project first appeared on Petticoat Junktion in 2014. It has been updated with new info and photos. If you missed the project the first time around I hope you enjoyed the tutorial.

It’s important that you wipe on the proper amount of Vaseline. It doesn’t take very much at all. It’s hard to tell you how much is the right amount. I’ve put on too much before and it did smear and it was a disaster. Try applying the Vaseline with your fingertips. Also just apply the Vaseline where you want to distress the paint. I believe I need to do an in depth tutorial on the Vaseline trick. Thanks!
I have a similar question… When you’re putting the second color on after the vaseline…doesn’t the brush smear it to other places? Does the vaseline goop-up the brush ??? Love the color combo! I tend to like turquoise with blue, but this is also lovely!
This turned out to be beautiful! I am not a color green person, but done this way, it is lovely. The red blanket cabinet at the bottom of the blog is awesome! You do magic with your creativity … keep it up!
The Vaseline does not smear. The only time I had that problem is when I wiped on way too much Vaseline. If you put on the right amount of Vaseline you will never know it was there. It does take a bit of a learning curve. It doesn’t take much Vaseline at all.
I have a question that may have been answered already does the vaseline smear on the top coat when wiped and how do you clean it off?
Love the way this looks. A great pc. As sways your work is beautiful.
i have never been a fan of painting wood, but i think i’m getting there! thanks for the inspiration! just maybe if i paint a piece or two, i’ll be able to let go of them!
Kathy, This is my first time on the site and I feel so lucky that the frist thing I got to see was your beautiful sewing table such a great job. May I ask where you found the nobs, my Daughter.
is expecting her first child and I am trying to surprise her with all the furniture she will need for the nursery and I think they would be perfect on the dresser/changing table. Again awesome job.
I love green and turquoise too and you did a great job on this piece. Have a great weekend!
What a gorgeous transformation, Kathy! I love it with the green knobs. You are so talented! It’s lucky you got a break from the rain, it looks perfectly at home outside! 🙂
The two greens look so nice together and I adore those bright knobs!
Nice redo. Love the colors. Would not have thought to use the bright green with the turquoise. Will be looking for a piece like this one. The details are incredible.
Wow, I’ve seen a lot of sewing tables at secondhand stores but none with the detail that yours has – and your paint technique is perfect! I love the colors you chose and the green hardware too. 🙂
Love it Kathy! The 2 colors look fabulous together!
Very nice~ Love the knobs too!
Tami
Oh my gosh! Blue and green together! my favorite colors. Super big fan of your work Kathy! Love this!
I love bright colors also. This looks awesome!!
Great colors for Spring, Kathy! Can’t wait to find an old sewing machine like this so I can try your technique! Great job!
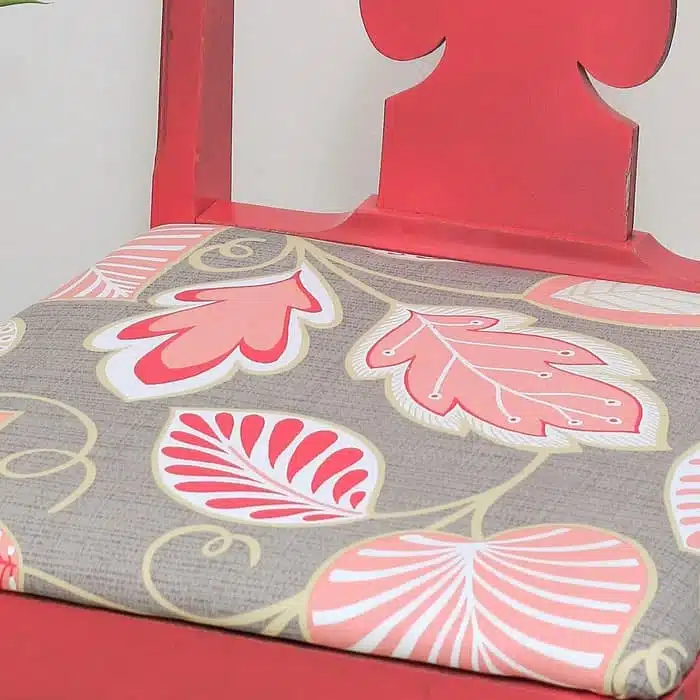
the $5 chair makeover was cool and your little sewing table was very nice i just had to look at it a while if that makes sense lol xx
NICE!!
I LOVE the way the two colors look together! Beautiful piece Kathy!