How To Remove A Sewing Machine From The Cabinet And Prep For Painting
As an Amazon Associate, I earn from qualifying purchases.
Today I’m taking something apart… kind of. We’re talking about how to remove a vintage sewing machine from its cabinet so you can repurpose it as a bedside table, side table, foyer catchall, or wherever you need a table.
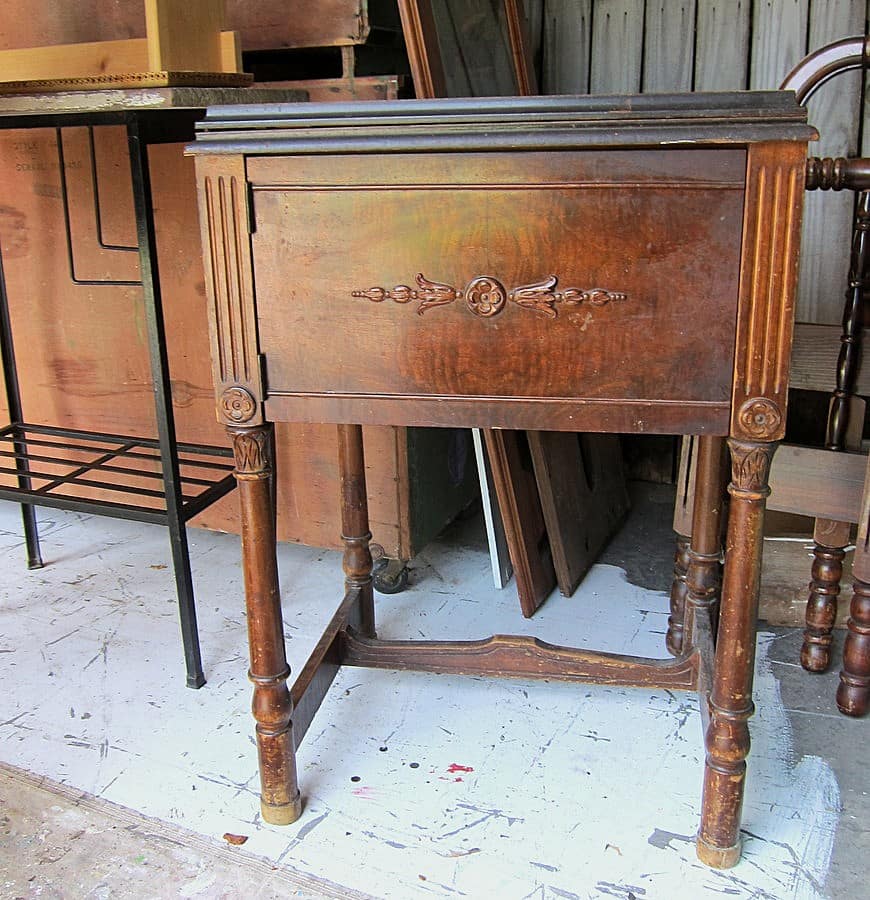
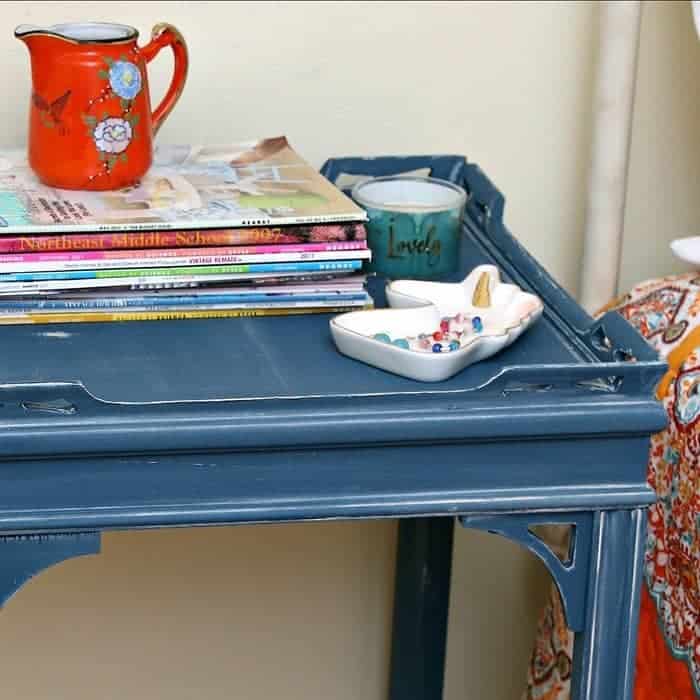
The JTS bought this particular sewing cabinet at an auction. I decided it would make the perfect bedside table — great height, pretty legs, and those little curlicues I love so much. I think he paid $5 for it!
How To Remove a Vintage Singer Sewing Machine from the Cabinet
No one wants these old machines anymore, and they do not want to go to the trouble of removing the sewing machine from the cabinet. It really isn’t difficult, and this cabinet still houses the sewing machine.
You could use the cabinet as a table without removing the machine, but the piece is so heavy, and it is difficult to move around. Just take the machine out!
Tools & Supplies
- Screwdriver (Phillips or flathead, depending on your screws)
- Small container or zip‑top bag for holding screws
- Work gloves (optional, but nice if the machine is heavy)
- Drill
- Simple Green or Household Cleaner
Step 1: Get The Cabinet Ready
First things first, let’s get set up.
- Unplug your sewing machine if it’s still plugged in. (assuming this is a working machine in your home).
- Clear the area around the cabinet so you can move freely from front to back.
- Open the cabinet top all the way to see the sewing machine and the hardware that holds it in place.
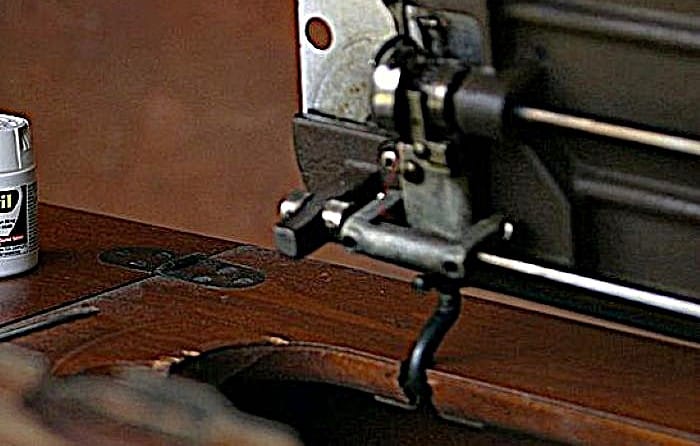
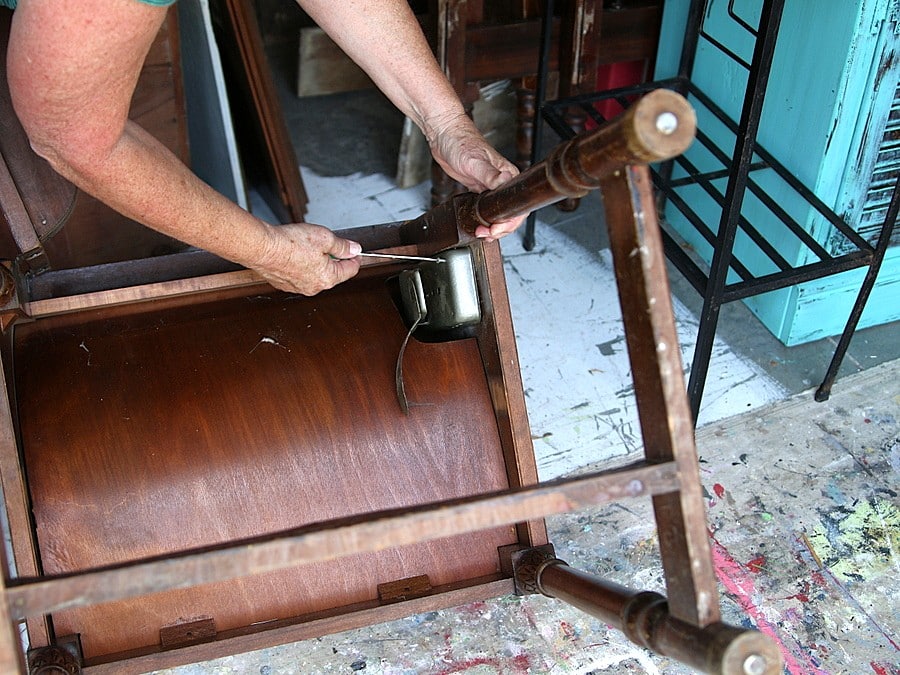
Step 2: Find The Mounting Screws.
- Lift the machine and look underneath the sewing machine head where it rests in the cabinet opening.
- You should see two screws, one on each side, that hold the machine to the cabinet.
- If you’re unsure how everything is attached, take a quick photo with your phone. You would be surprised by what you can spot in a photo but not see right in front of your eyes.
Step 3: Support The Sewing Machine
Before you start unscrewing anything, make sure the machine is supported.
- Place one hand under or around the machine to support its weight.
- Vintage machines are heavy, so you may need a helper.
In our case, I did the heavy lifting since the hubby was recovering from an illness, and he handled the photography. Until he gets to feeling a little better, that’s our new arrangement.

Step 4: Remove The Mounting Screws
Now we’re ready to take the machine out.
- Using a screwdriver, remove the two mounting screws that attach the machine to the cabinet.
- Drop the screws into your little container or bag so they don’t get lost.
Once the screws were out, the machine was no longer bolted to the cabinet, but it was still attached in another way.
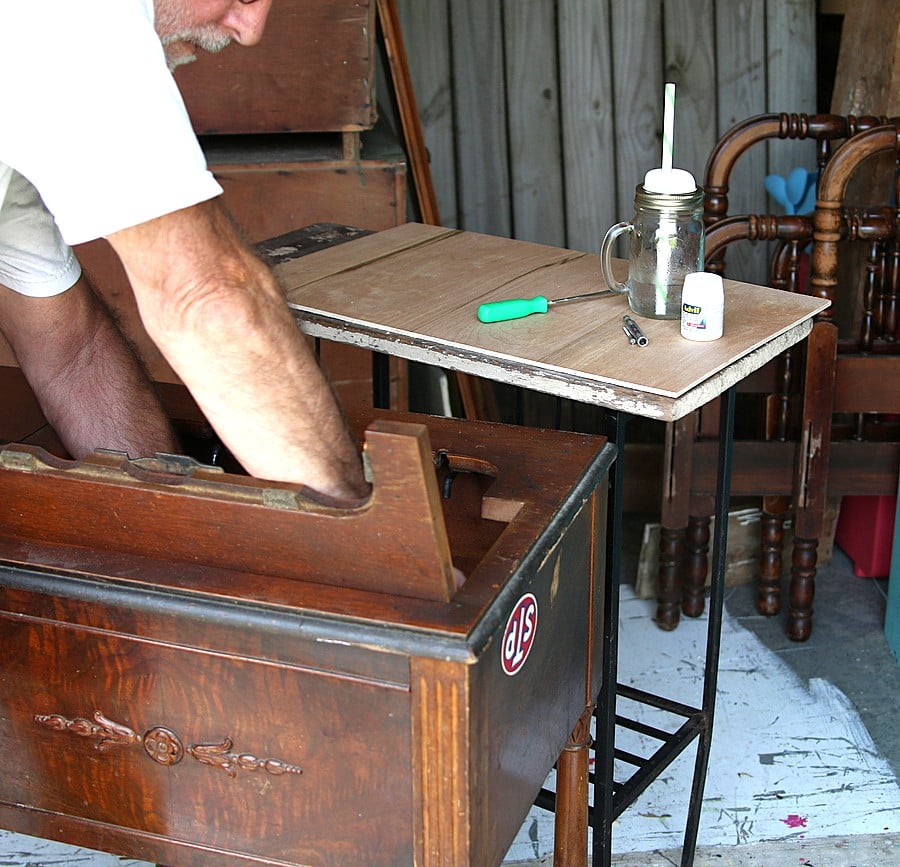
Step 5: Unhook The Sewing Machine
Most vintage machines in cabinets like this also have hooks at the back.
- Look along the backside of the machine for two metal hooks or brackets, one on each end.
- Gently lift and slide the machine forward or up so it slips off those hooks.
- Carefully lift the machine out of the cabinet (it is heavy) and carry it to a sturdy surface.
The machine slipped easily off those hooks after I removed the screws.
Step 6: Remove The Knee Pedal Mechanism
This machine used a knee pedal instead of a foot pedal. You pressed your knee against the bar to make the machine run. I actually used a machine like this in my younger days. We also had a treadle sewing machine.
- Gently flip the cabinet onto its side or back, whichever way makes it easier to reach the pedal.
- Find the knee pedal mechanism and the screws or brackets holding it in place.
- Use your screwdriver to remove the screws and detach the knee pedal and any related hardware.
- Put all of the little parts into your container.
When I was in school (1972 high school graduate!), we had classes like Home Ec where you were taught how to sew and other wifely things. Of course, the wifely things are frowned upon these days. I made several articles of clothing for that class.
The JTS couldn’t resist getting hands-on. I think he was tired of me giving him photography lessons. Plus, he’s hard to keep down.
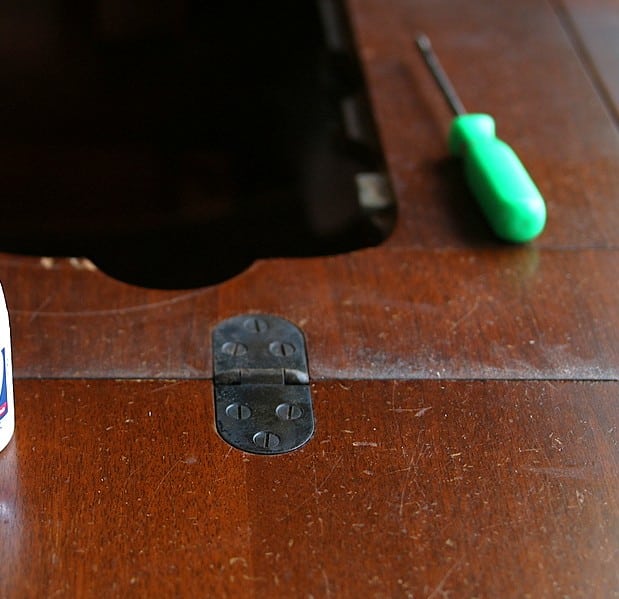
Step 7: Close And Secure The Cabinet Top
- Turn the cabinet upright again.
- Close the top so it lies flat, just like you want it to be when it’s a bedside table.
- Drill holes on each of the four corners and use a few wood screws to secure the top in the closed position so it doesn’t fly open when you move it.
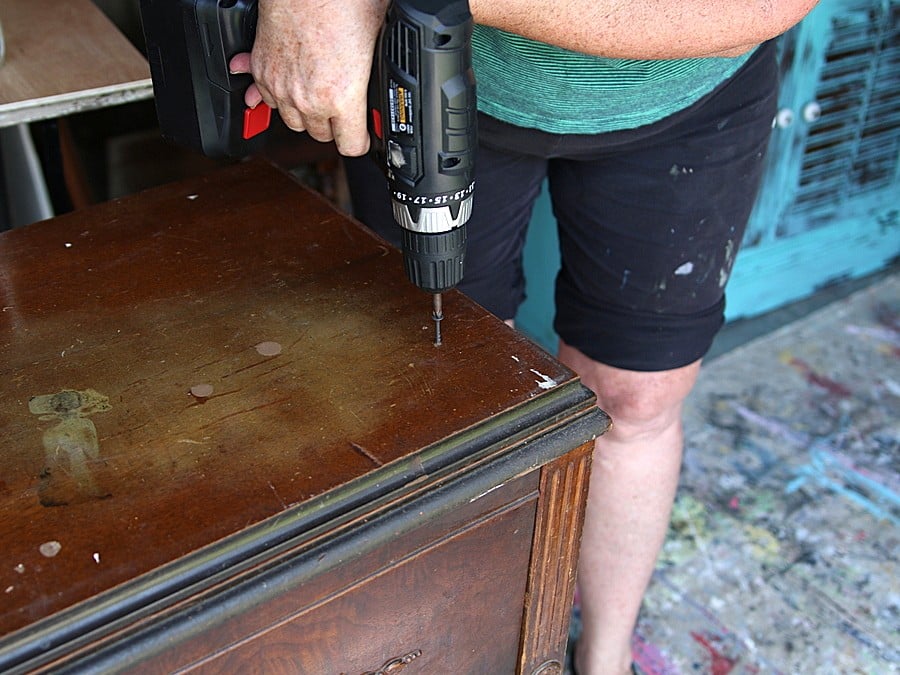
That’s exactly what we did — closed the top and screwed it down so it wouldn’t pop open accidentally when the cabinet is moved.
Step 8: Get Ready to Paint the Cabinet
After removing all the parts and screwing the top in place use your household cleaner to wipe the cabinet down so you can move on to painting it.
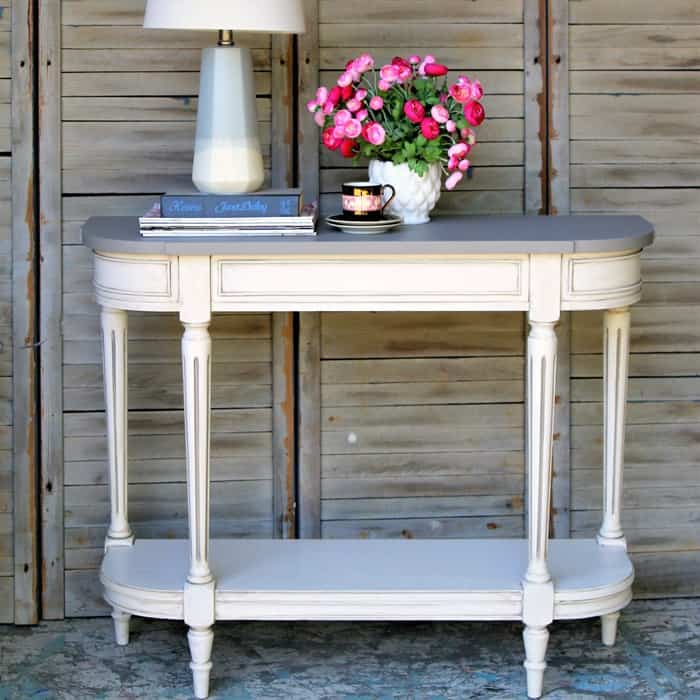
My plan for this piece is to paint the cabinet off‑white and distress all those lovely details on the legs and trim. It’s going to make a beautiful bedside table. (The sewing machine paint tutorial is here)
On this particular day, I had a couple more projects that needed finishing touches, so I saved the painting for another time. You don’t have to finish a project in one day.
Removal of Sewing Machines from Different Cabinet Types

Taking a look at the photo above showing all the parts and pieces removed from this sewing cabinet might make your head spin. Some of these old machines have many attachments on the cabinet and extra parts to make them work.
When preparing to remove a sewing machine from the cabinet, first study the cabinet’s construction and all points where the sewing machine and its components are attached. Plan a course of action and take it slow by removing one piece at a time.
Remember that the sewing machine itself is very heavy, so be ready to support it when unhooking it, and ask for an extra hand if needed.
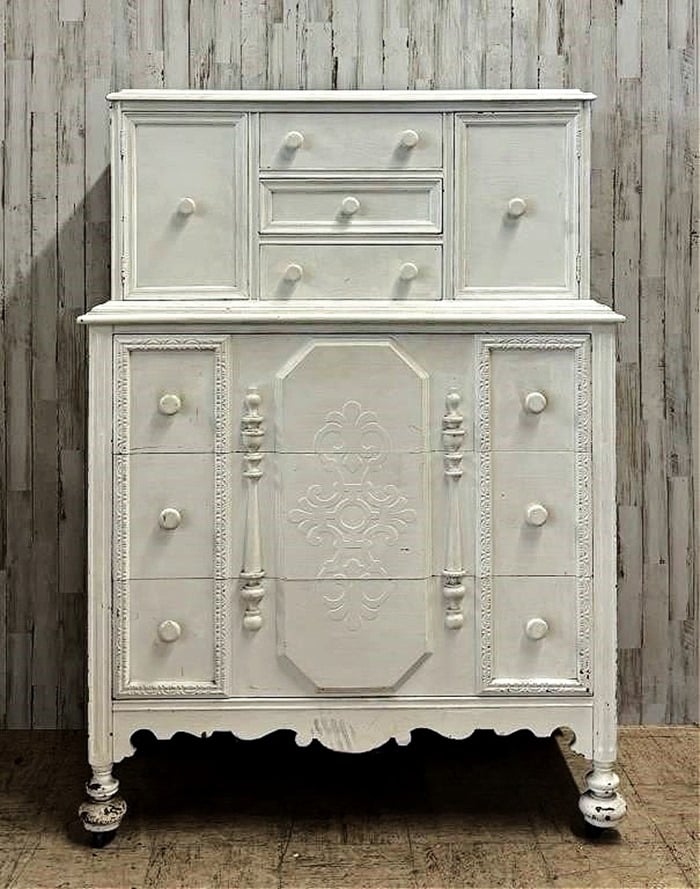
If you’re repurposing a vintage sewing machine cabinet, this simple process will help you safely remove the machine and give you a solid wood cabinet for your next DIY project. You can turn the cabinet into a bedside table, a side table, or even a small entryway piece.
Thanks for being here, Kathy