How To Clean Cloudy Headlights And Make Them Shine Again
As an Amazon Associate, I earn from qualifying purchases.
How To Clean Cloudy Headlights
You can clean cloudy headlights and they will look like new. The step by step process is easy to follow.
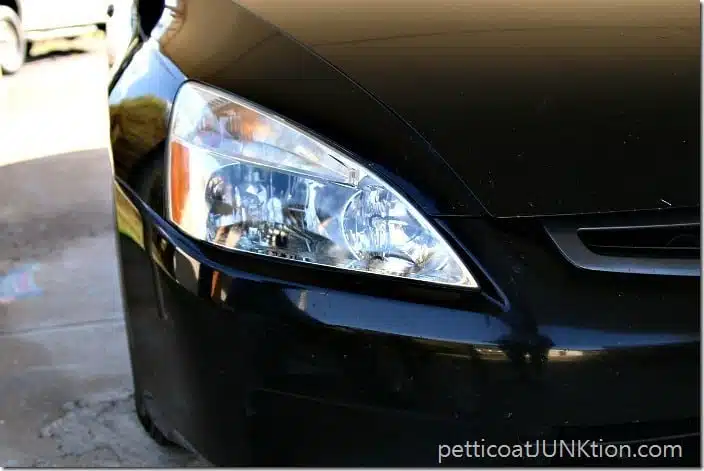
AutoRight 4” Buffer and AutoRight Headlight Restoration Kit Project
This post about cloudy headlights is 100% a JTS project. The JTS, aka Junktion Technical Specialist, aka hubby, is the car specialist at our house. He takes care of the cleaning and the maintenance. All of our automobiles are over 10 years old. They just keep going and I’m good with that.
The JTS has been trying to remove the cloudiness from my car headlights forever. He’s tried several specialty kits and also a few techniques he found in online forums. One of those techniques was the use of bug spray containing Deet to remove the cloudiness. Didn’t work.
So needless to say when I received an email from HomeRight asking if I would like to try the 4” AutoRight Buffer I checked it out. The buffer is great for applying wax and for buffing my furniture. I love it.
I ordered the AutoRight Headlight Restoration Kit to use in conjunction with the buffer. The JTS was so anxious to give it a try that he started working on the headlights and I didn’t get any before photos or photos of him applying the tape. In his defense I was in the workshop working on a piece of furniture.
How To Clean Cloudy Headlights:
Supplies Needed To Clean Car Headlights
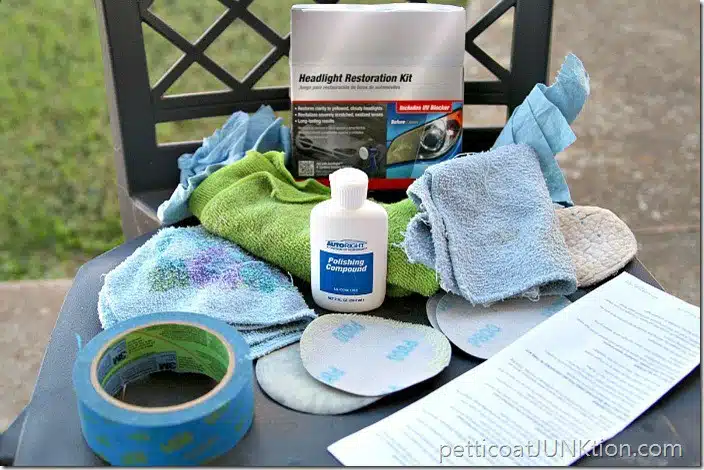
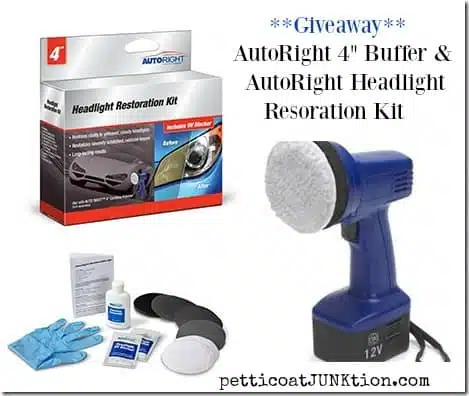
The AutoRight Headlight Restoration Kit
What’s included in the kit:
- (2) 400 Grit Sanding Discs
- (2) 800 Grit Sanding Discs
- (2) 1500 Grit Sanding Discs
- (1) Interface Pad For 4″ Detailing Polisher
- (2) Cotton/Poly Polishing Pads for 4″ Polisher
- (1) 2 oz Bottle of Polishing Compound
- (2) Headlight UV Blocker Packets
- (1) Instruction Sheet
To Clean The Headlights
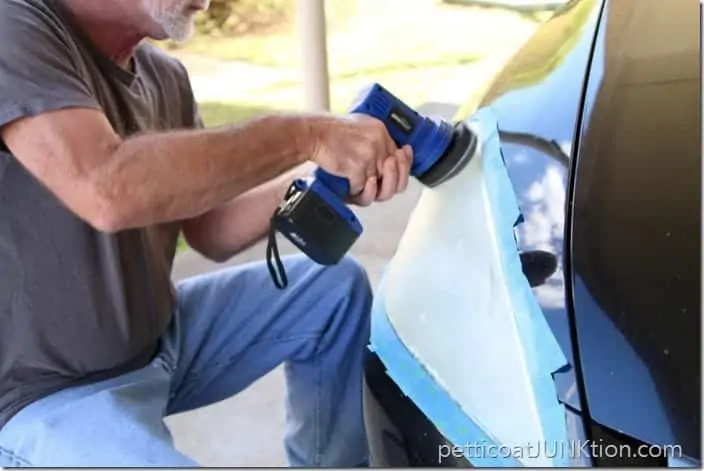
Step 1. Apply painters tape
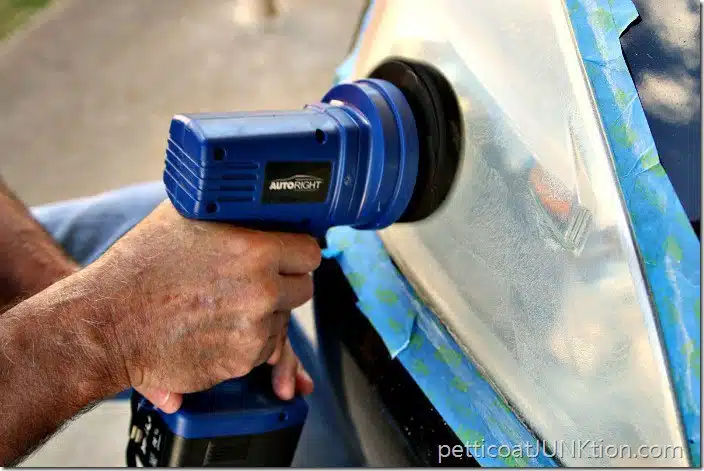
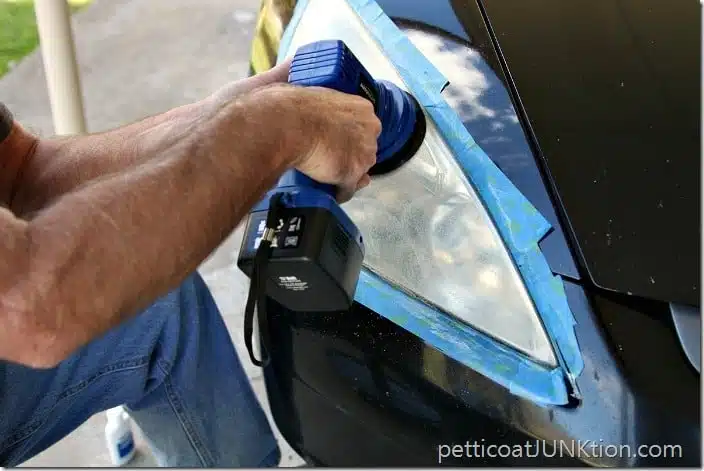
Protect the cars paint by taping around the headlight with painters tape.
Step 2. Sand The Headlights
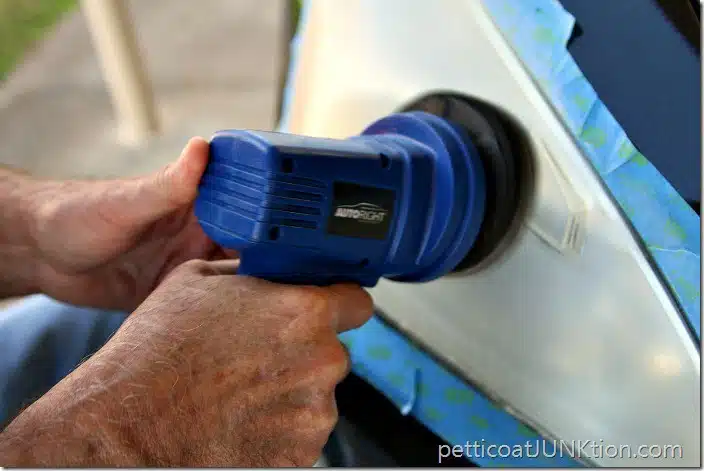
Attach the 400 grit sandpaper to the interface pad and attach to the buffer.
Sand the headlight 3 or 4 minutes or until the headlight is completely white with a frosted look over the entire surface. Then attach the 800 grit sandpaper and sand to remove the marks left by the 400 grit paper. When the 800 grit paper isn’t sanding effectively anymore it’s time to move on the the next step.
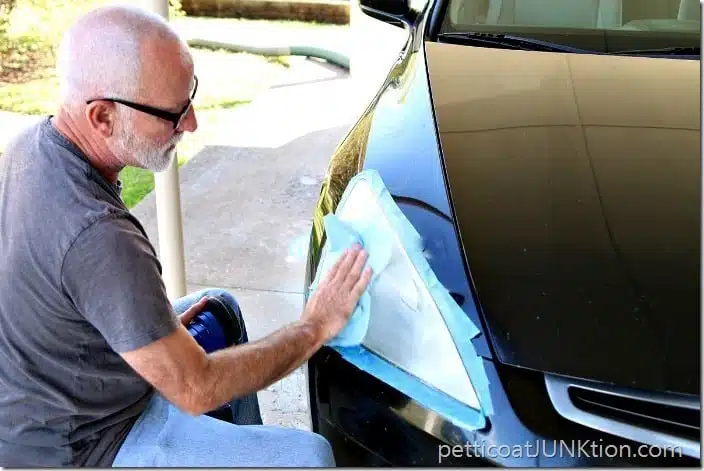
The sanding disk and headlight will need to be wiped with a paper towel periodically during step 2.
Step 3. Wet Sand The Headlights
Attach the 1500 grit sandpaper to the buffer and wet the sandpaper and headlight with water until just damp.
Buff the headlight until you begin to see white residual or slurry then continue buffing for 3 minutes. Continue to add water to keep the headlight and paper damp. Don’t let the headlight get dry. Use paper towels to wipe pad and headlight during the process.
When finished with the sanding wipe the lens clean.
Step 4. Polishing The Headlights
Apply the polishing compound to the headlight and to the cotton polishing pad.
Remove the interface pad from the buffer and attach the polishing pad to the buffer. Buff until the cloudy haze is gone.
Rinse and wipe the headlight dry.
Step 5. Protect The Clean Headlights
Wipe the dry headlight with the UV towelette.
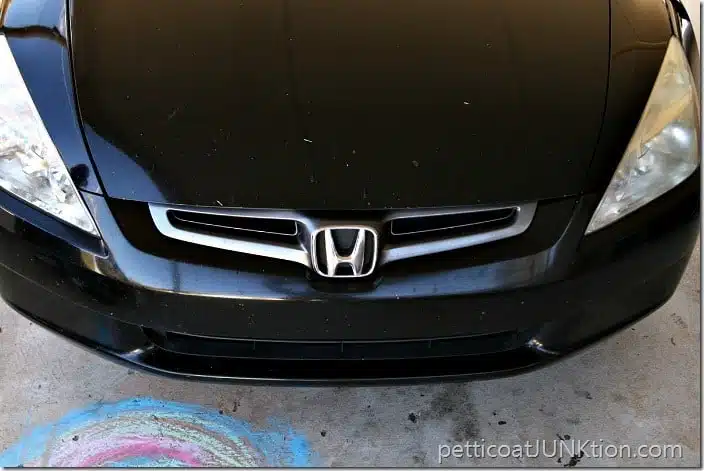
Do this process in a shaded area. The JTS worked under our carport. You can see the girls’ chalk art on the concrete.
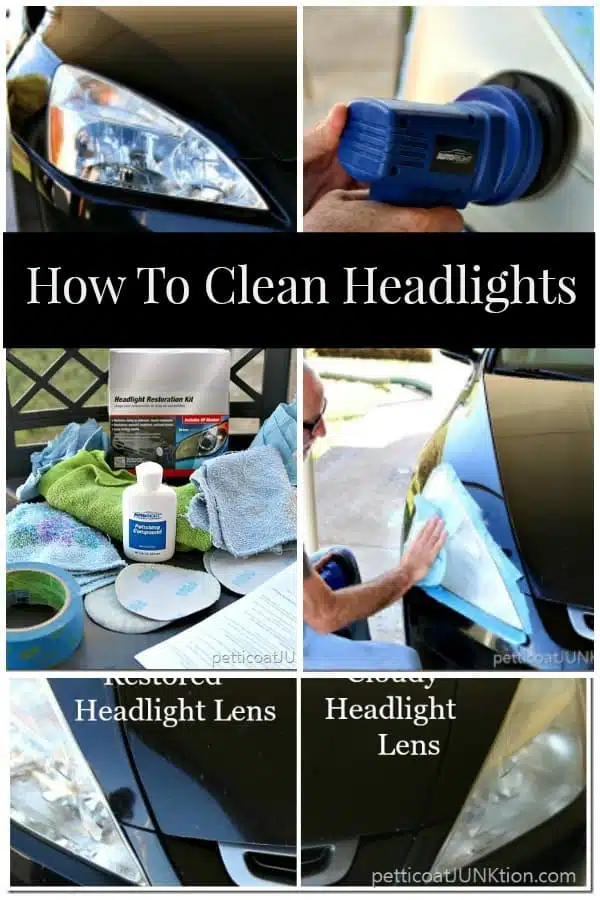
This is a photo of the Headlight Restoration kit after the project was finished. The JTS even read the directions. I read the directions too and I admit to being more than a little worried about the process. I mean, using sandpaper on the headlights. Doesn’t sound right. I could only see problems ahead. Wouldn’t that scratch the headlights? I needn’t have worried.
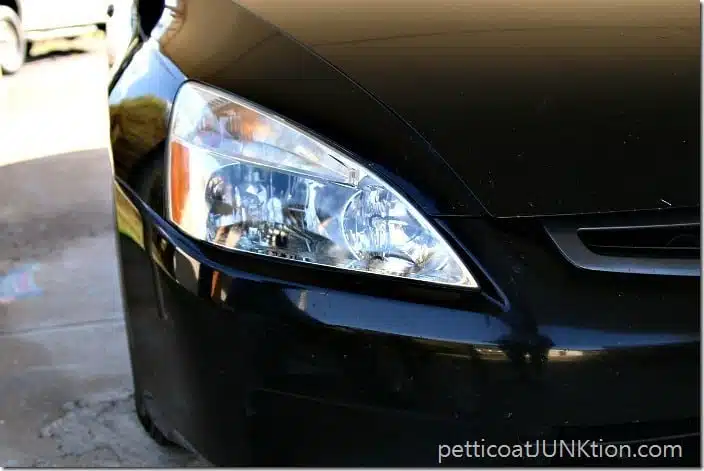
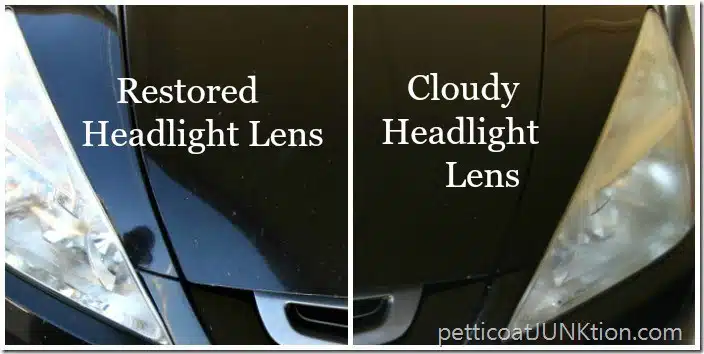
No More Cloudy Headlights !
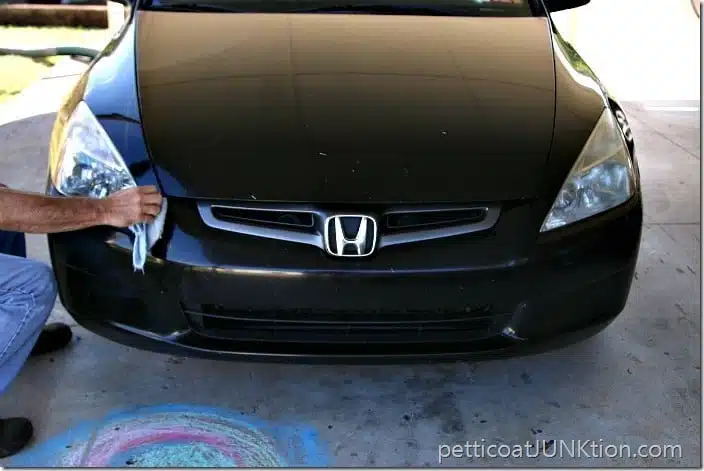
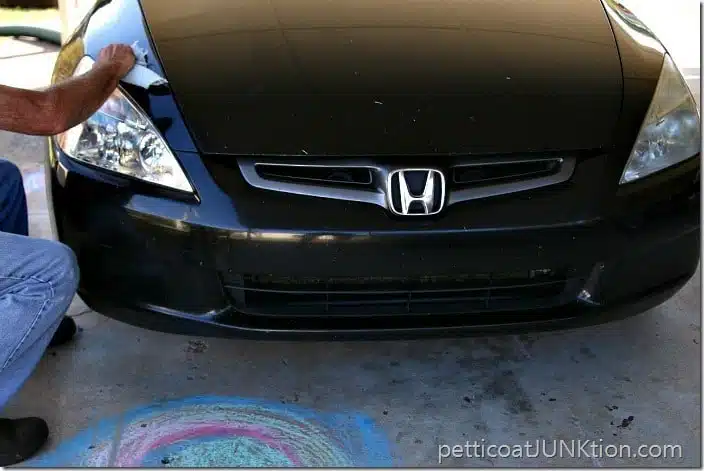
The headlight looks brand new! My car is a 2003 Honda Accord and you can tell from the paint it’s been through a lot. We lived near the coast in Florida for 3 years. The sun, sand, and wind are hard on a vehicle.
The headlight on the left is finished and the one on the right is next…..you can see the how cloudy and yellow the lens is.
The process sounds lengthy and complicated but it’s really not. The JTS estimated the project at 45 minutes. Sounds about right. He also had downtime while waiting on me to take photos.
You guys know what comes next, right? I have a giveaway for you. There will be one winner and the giveaway includes the AutoRight Headlight Restoration Kit and the AutoRight 4” Buffer (The buffer is great for waxing furniture or whatever!). Giveaway closes December 21, 2015 at midnight CDT. Open to US residents 18 and older, void where prohibited. Winner will be chosen at random and contacted via email. The winner will have 48 hours to respond to the email
To enter the giveaway answer the question “What is your dream car?’’ You can enter once per day until the giveaway ends.
Buy the buffer and cleaning kit on Amazon. Just click the photos below. (affiliate disclosure)
Product was provided by HomeRight and AutoRight. All opinions and project ideas are my own.



I would love something with 4 wheel drive!
That’s how you do it right! It won’t need to be redone every few months! Way cool!
Hi Gloria, It’s not really that much work to it. I was surprised at how fast the project was finished! And I love the results 🙂
It’s a lot of work. At a local car wash I noticed they can clean them up. I might have it done next time