Crate Bench On Wheels Still Needs Work
As an Amazon Associate, I earn from qualifying purchases.
Crate Bench
Starting the new year with a crate bench project. The JTS and I teamed up on this one meaning he was most of the team. I could have put the project together myself but you know how men are around power tools.

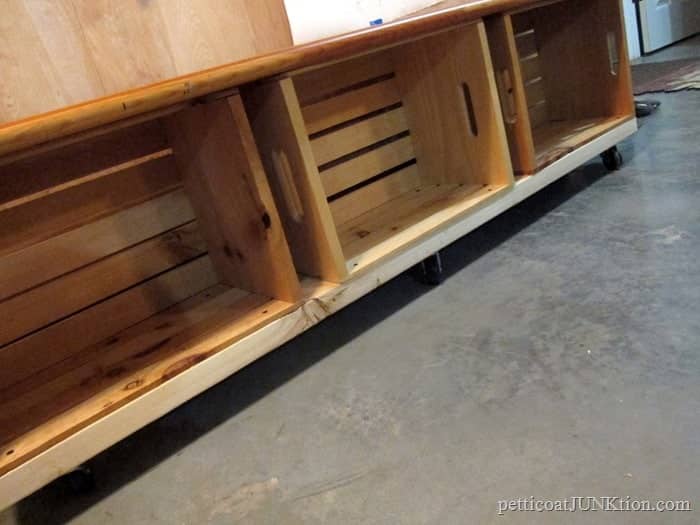
crate bench on wheels
The project idea came to me as I was putting away the Christmas items in the workshop. I’m trying to use things in my stash to make projects instead of buying more junk. That isn’t working out to well for me. The fun part of being a junker is finding and bringing home the good stuff. Anyway I spotted the three crates and went on the hunt for a table or bench top.

I found the perfect bench seat all ready to go. My brother-in-law who just retired from managing a flooring mill gave the hubby and I a box of these wood slabs a year or so ago. We made a few items out of the wood then put it away. The wood slabs were the perfect size for a bench seat. I found the casters in my junk stash too. More on those later and an observation. I had everything I needed for the job except a 10 ft. 2×4. The JTS went to Home Depot and picked one up for me.

First thing to do was lay the crates and bench seat out and plan how to best put everything together.

The JTS measured everything to make sure it was nice and straight.

Then he drilled starter holes in the crates and bench seat and screwed the pieces together.

The 2×4 is used to support the crates at the base of the bench. The bench is 5 ft. long and we cut the 2×4 to just the length of the bench.

We got smarter after the first few steps and set up the sawhorses for the last bit of work. The sawhorses were a Christmas present for hubby. We drilled holes and secured all of the crates to the 2×4’s.

Last bit of work is to attach the wheels or casters. I call them wheels. My favorite power tool is the drill…..a cordless drill.

The hubby and I both tried out our handy work. I don’t plan to paint the bench. I like the unfinished wood look. What about you guys?

We were both complimenting each other and patting ourselves on the back. We had no problems or issues putting it together. That isn’t always true. It is never true. When working with wood there’s always something that has to be reworked or rethunk. At least in my experience.

It wasn’t until I was looking at this picture of the JTS (aka Junktion Technical Specialist, aka hubby) that I realized we had no support for the middle of the bench….and it is long. See how it’s sagging a little in the middle.

We will be adding more wheels to the middle of the bench. That should do the trick. I don’t think I have anymore wheels in my stash so have to run to the store today.
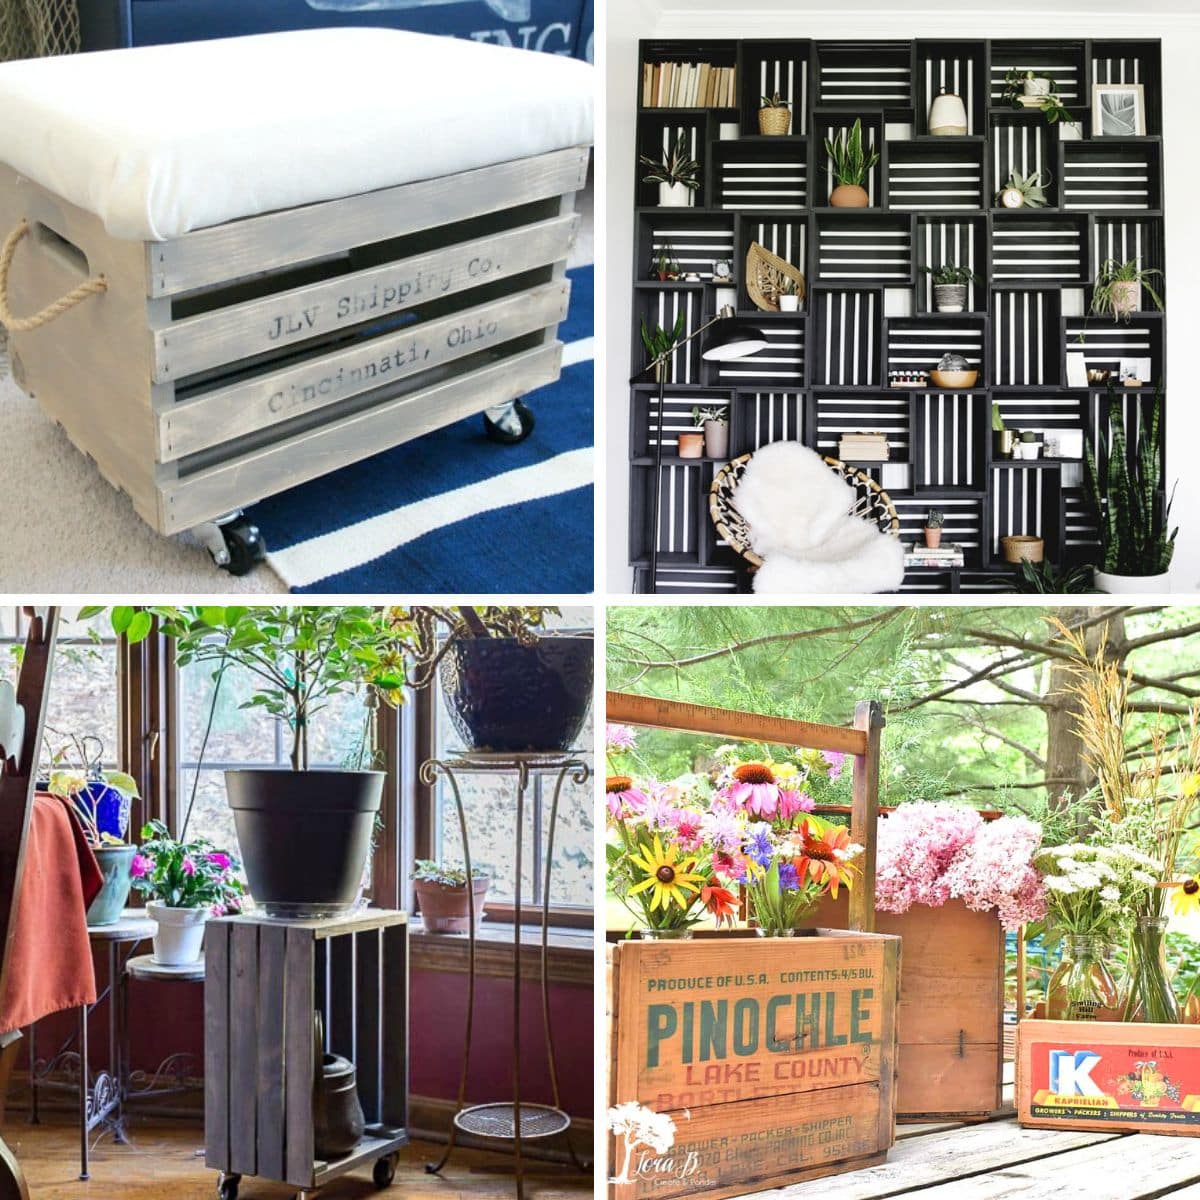
We made a crate table for the kids a couple of years ago and it is just the cutest. You can see it here….Kid’s Crate Table / Workstation.
update 1/3/2018: Hubby added wheels to the center of the bench. All set now!
I really am going to share the Art Deco Chest redo/remakeover with you . I made a video of the process and have to get it finished up first. Stay tuned! Have a great day, Kathy
awesome
I love this idea! I would paint the wood except for the top. With the different wood tones, I think it looks unfinished. Kathy, happy new year to you and JTS. You are such a good team.
Very clever, Marie and JTS! If is wasn’t going to paint the bench I would stain the crates and supports to match the top, I think. And I’m curious about why you left the spaces between the benches. Because you wanted them to come to the ends of the top? Otherwise, I would have butted them up against each other. I don’t like crevices that collect dirt and dust! I do really like things made out of crates, though. Or pallets.
Can’t wait to see the makeover of the Art Deco Chest. And looking forward to all the other 2018 projects! Happy New Year!
Love the top, but the insides would look better painted, as would the 2/4s. Specially because of that big knot. Having just two colors would accentuate the beauty of the top.
Good project! I was thinking I would like a wagon made from a crate to help me bring groceries up the ramp to my house!
Great job Kathy, you and the JTS work so well together!! I like the bench left in the wood tones too!
Nice crate bench. I have a thing for crates. And yes, I do like the wood left as is. Thanks for the post. Happy New Year!
Very, VERY cool bench! Useful and I adore that you left gaps between the crates. 🙂
I would tend toward painting everything, but the seat part, an old white with a tiny bit of distressing.
Thanks for all the details from one Ryobi loving recreator to another. 🙂