

DIY Gold Seashell Candles With Driftwood: Easy Coastal Decor
Displaying seashells from your beach vacation is a simple way to keep those special memories fresh. Turn a few of the large shells into pretty seashell candles, then arrange them with pieces of driftwood for an easy coastal display that brings a little bit of the beach into your home.
Hey friends! I just returned from a beach vacation with 28 members of my family. Some of you may be wondering why I would even consider doing that, but trust me — it was a lot of fun, and we had a great time. This year was our second annual family beach vacation.
While I was there, I found several small pieces of driftwood on the beach, and I already had a large collection of shells. So I had everything I needed for a quick DIY and an even quicker coastal display.

It’s Trashy Treasures Tuesday tour day, and we have 4 great makeover ideas for you. The tour links are at the bottom of this tutorial. Now it’s time to show you what I did with my beach finds.
How to Make Seashell Candles
Making candles isn’t difficult at all, but I definitely learned a few lessons from my first attempt! I’m sharing my tips and tricks with you today.
Project Supplies:
-
- Large seashells (deep enough to hold wax)
- Candle wax kit (or soy wax blocks & wicks)
- Rust-Oleum Metallic Spray Paint (Gold)
- Dixie Belle Gold Gilding Wax
- Hot glue gun & glue sticks
- Wooden skewers, pencils, or chopsticks (to hold wicks in place)
- Display items: Driftwood, starfish, cork mat, etc.
Seashells and Driftwood
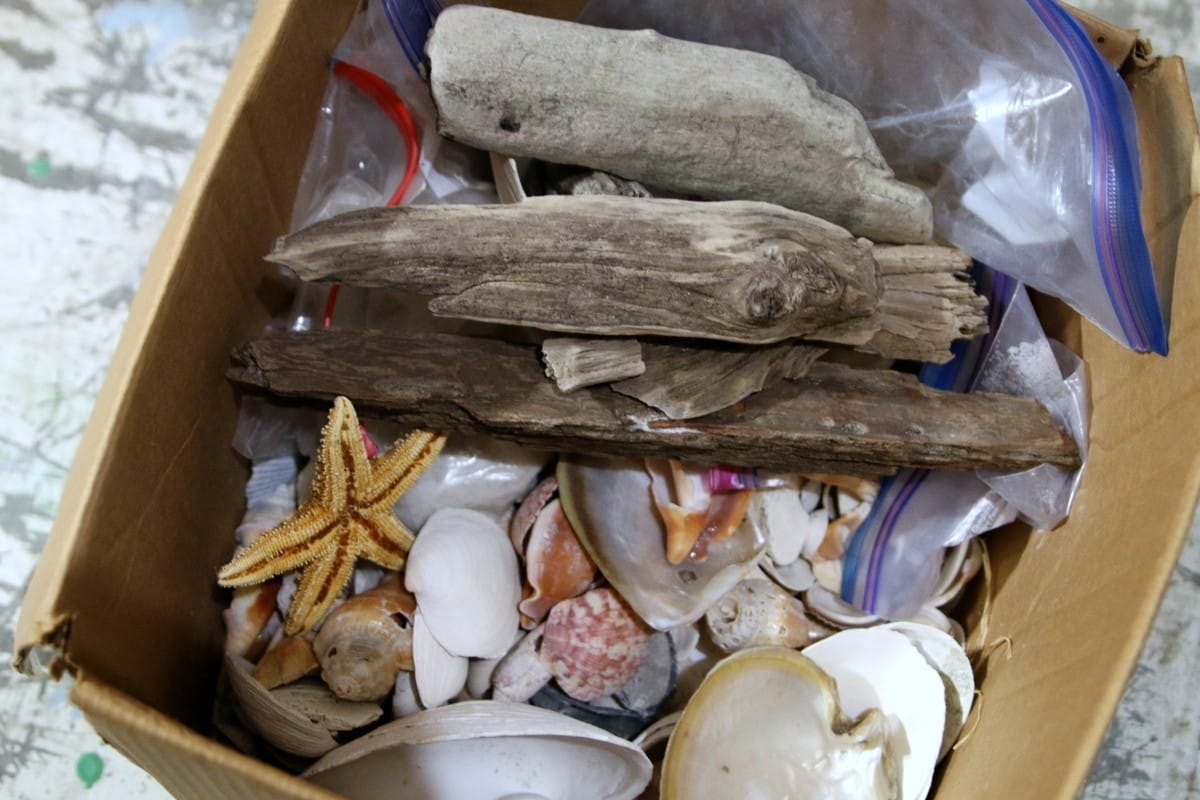
I love decorating with seashells, and I’ve made several projects with my beach finds over the years. My stash is dwindling because I often sell the projects in my booth. Maybe it’s time to start gathering shells again. I would hate to run out.
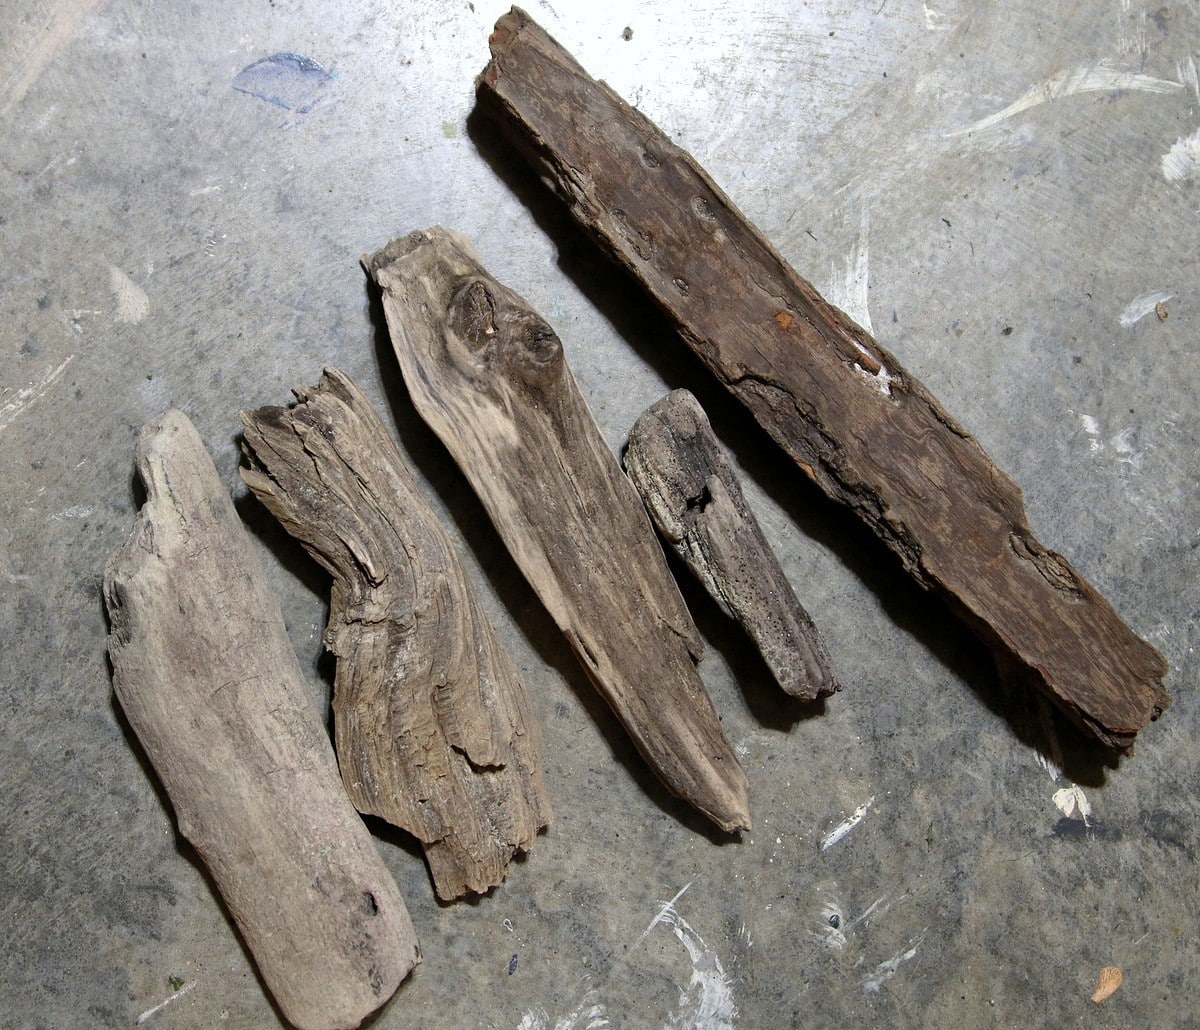
There was a major storm in the Gulf the week before we hit the beach, and I found a cool piece of driftwood the first day. After that, I walked the beach daily and found a few more pieces.
I was doing a bit of research on driftwood for this blog post and learned that you are not really supposed to remove driftwood from the beaches in Alabama. Maybe we should keep this on the down-low. I promise not to do it again.
Spray Paint The Shells
Seashells really don’t need any prettying up; they’re beautiful in their natural state, and that’s how I usually display them. But you guys know me. I love the glitter and glam.
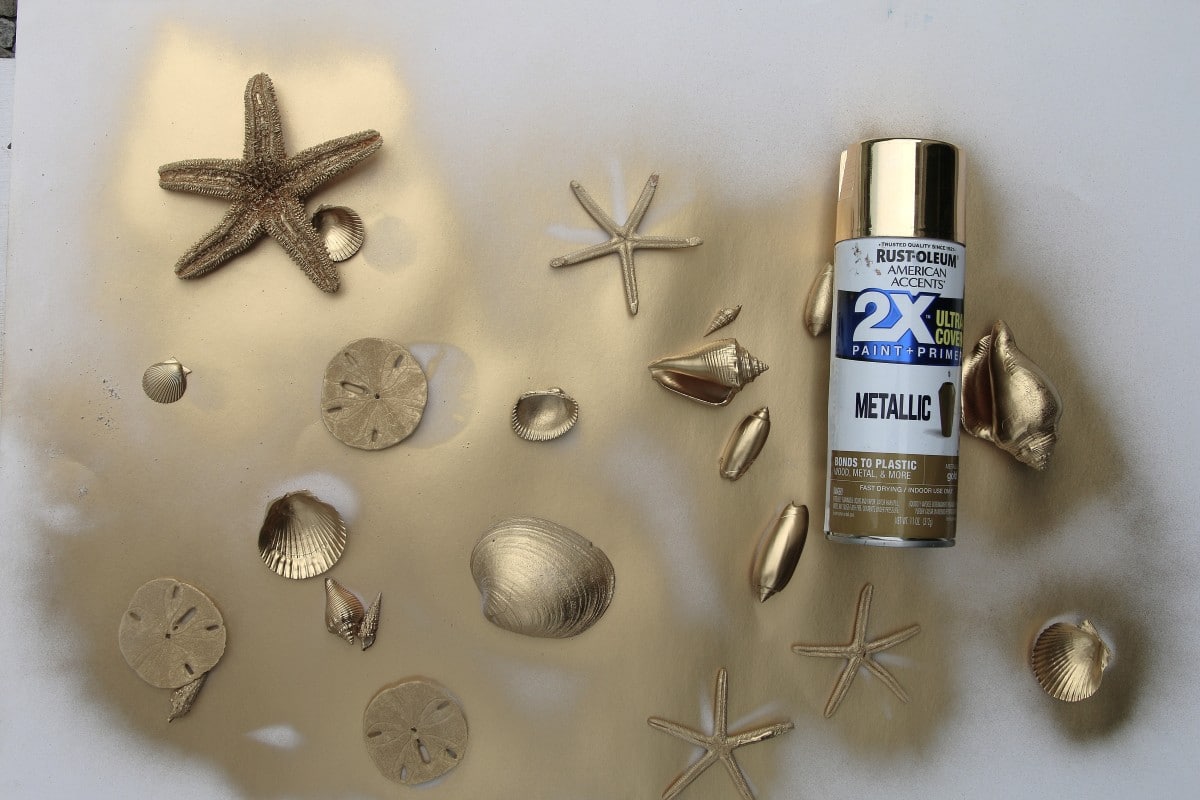
I chose my favorite Rust-Oleum metallic spray paint for the shells. Spraying the shells takes less than 2 minutes, and the spray paint dries in less than 10!
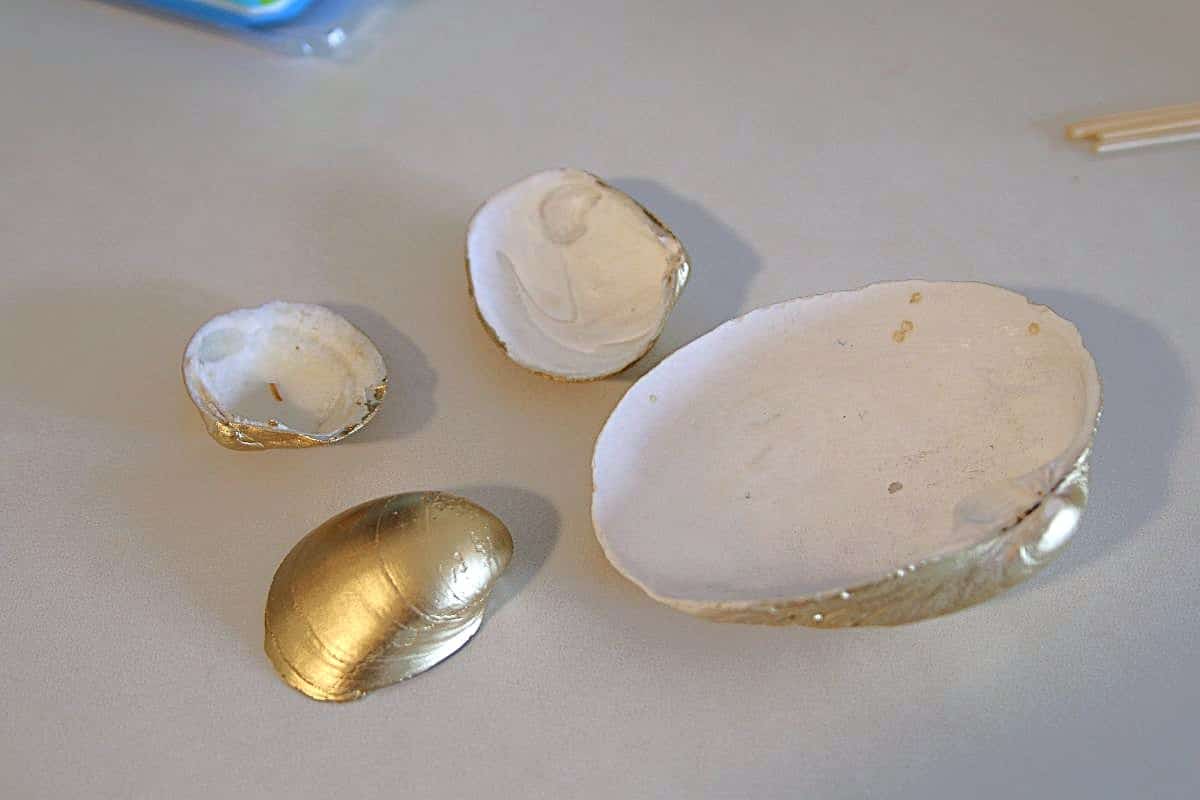
I selected the largest and deepest for the candles. We found the really large shell on Kodiak Island.
Prepare and Melt the Candle Wax
I had leftover supplies from my first candle project, so these candles will be very inexpensive to make. You can see the silverplate goblet candle here.
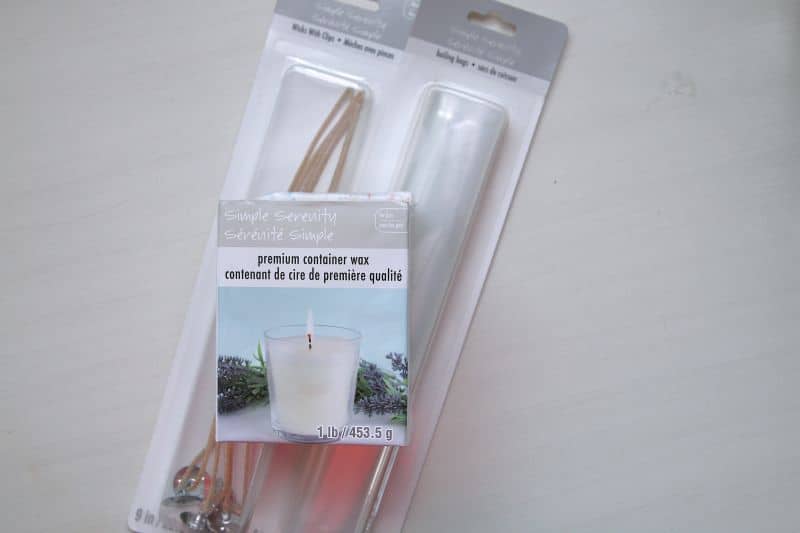
When I made candles 6 years ago (time really flies), I thought I had purchased a candle-making kit, but looking back at photos and the candle post from 2020, I see I bought the wax, wicks, and bags separately.
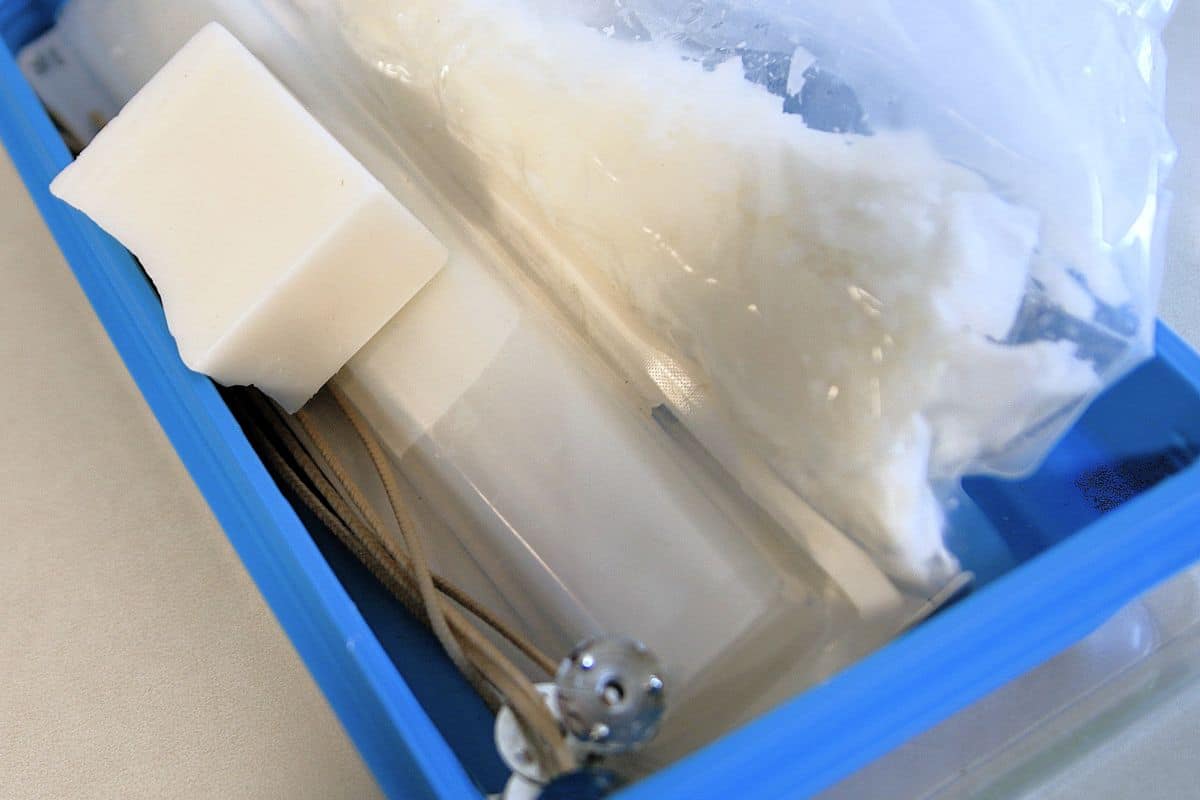
I love using soy wax for these projects. If you don’t have a double boiler setup, don’t worry! You can easily melt wax in a heat-safe plastic bag placed in a saucepan of simmering water, or even in a microwave-safe measuring cup.
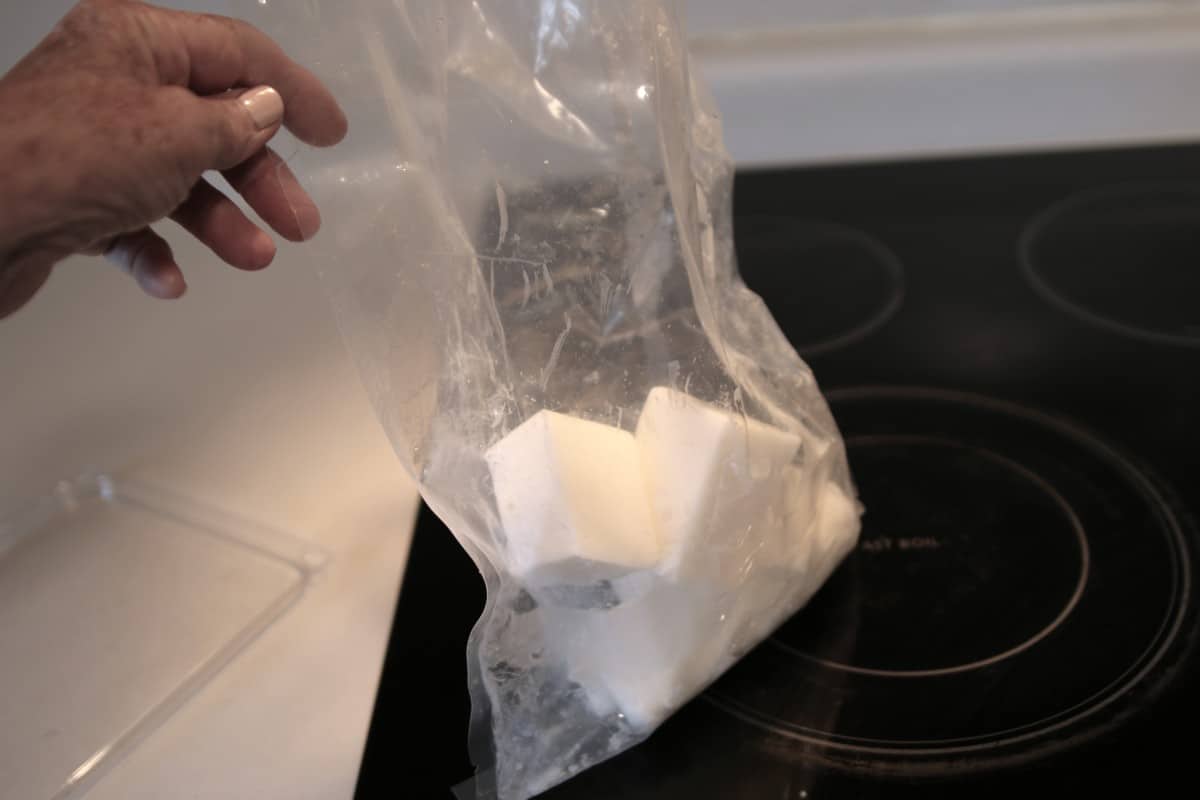
Since I didn’t use all the melted wax from the last project, I saved the bag, so this time I just cut more wax blocks and added them to the bag.
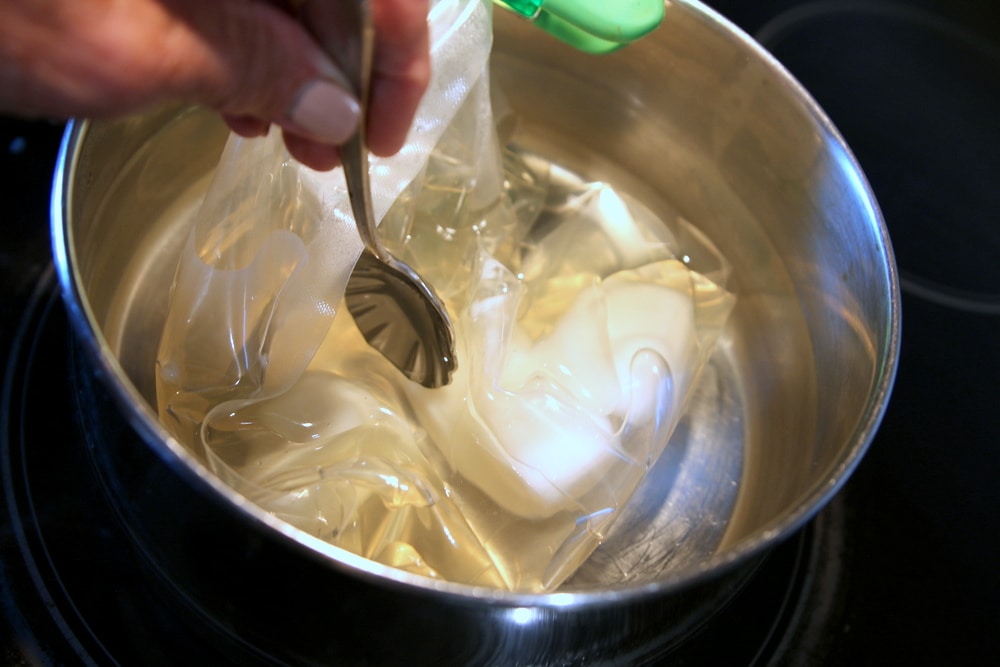
To melt the wax on the stove: fill a medium saucepan with water and bring it to a gentle simmer. Place your heat-safe bag of wax in the pot (make sure the top is sealed tight!) and let it melt for about 15 minutes, using a spoon to break up the blocks as they soften
Prepare the Seashells and Set the Wick
While the wax was melting, I turned on my Ryobi Glue Gun and placed the wicks in the shells.
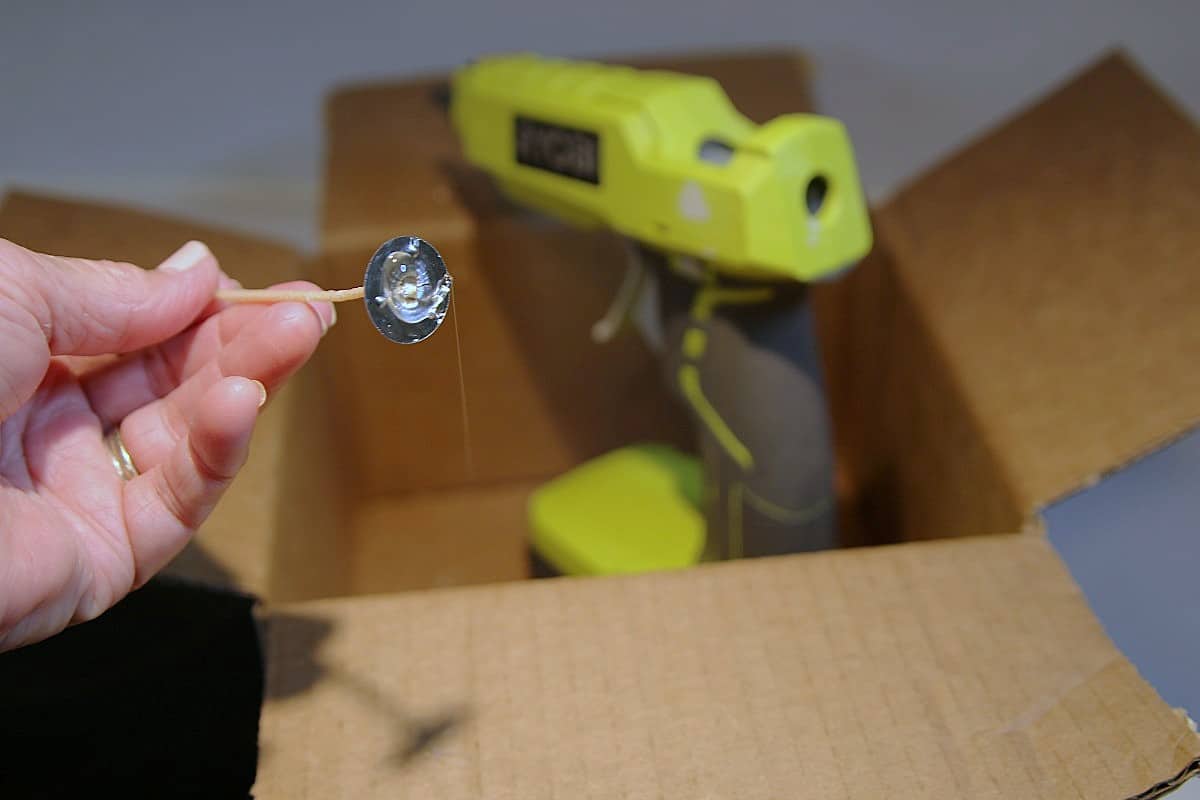
You could also use quick-dry super glue, but for me, the hot glue works best. I usually end up with super glue all over my fingers, and that stuff doesn’t come off.
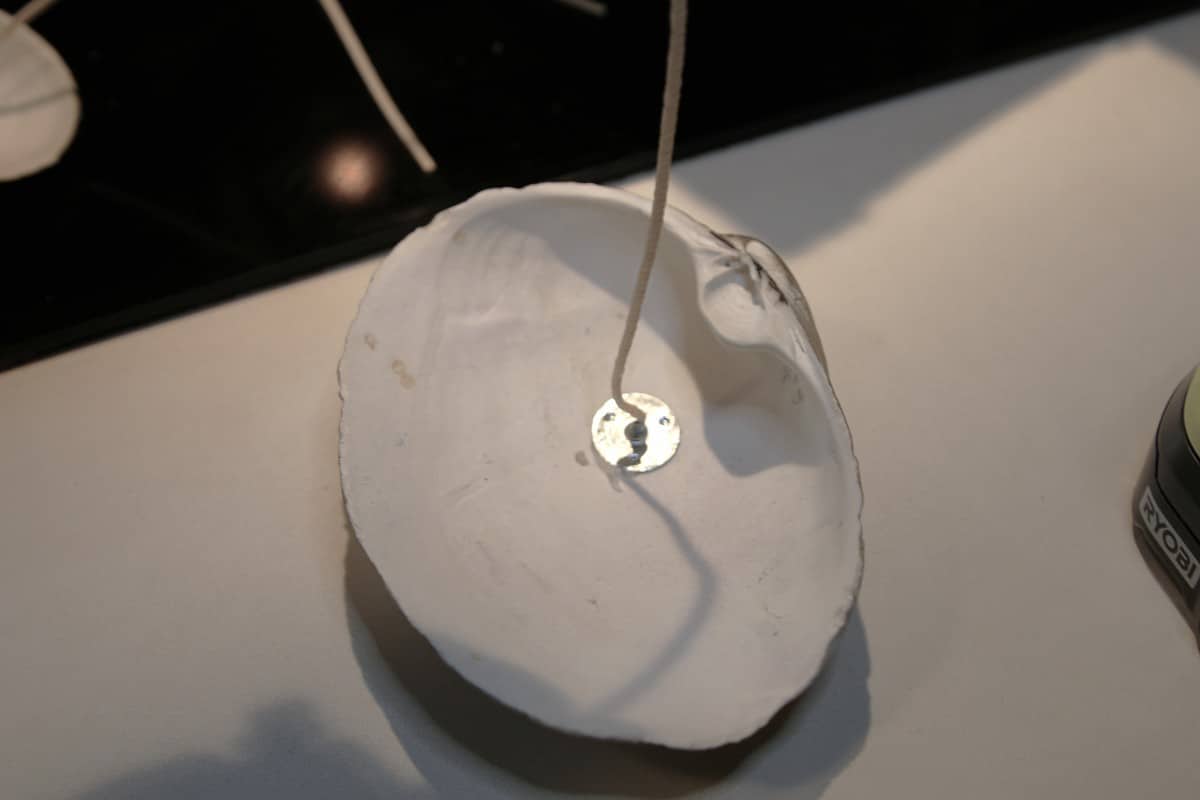
Add a small dab of hot glue to the metal base of your candle wick and secure it to the deepest part of the seashell.
Quick Tip: Hot glue sets fast and keeps the wick in place, but watch your fingers—that glue gets hot!
Stabilize the Wick
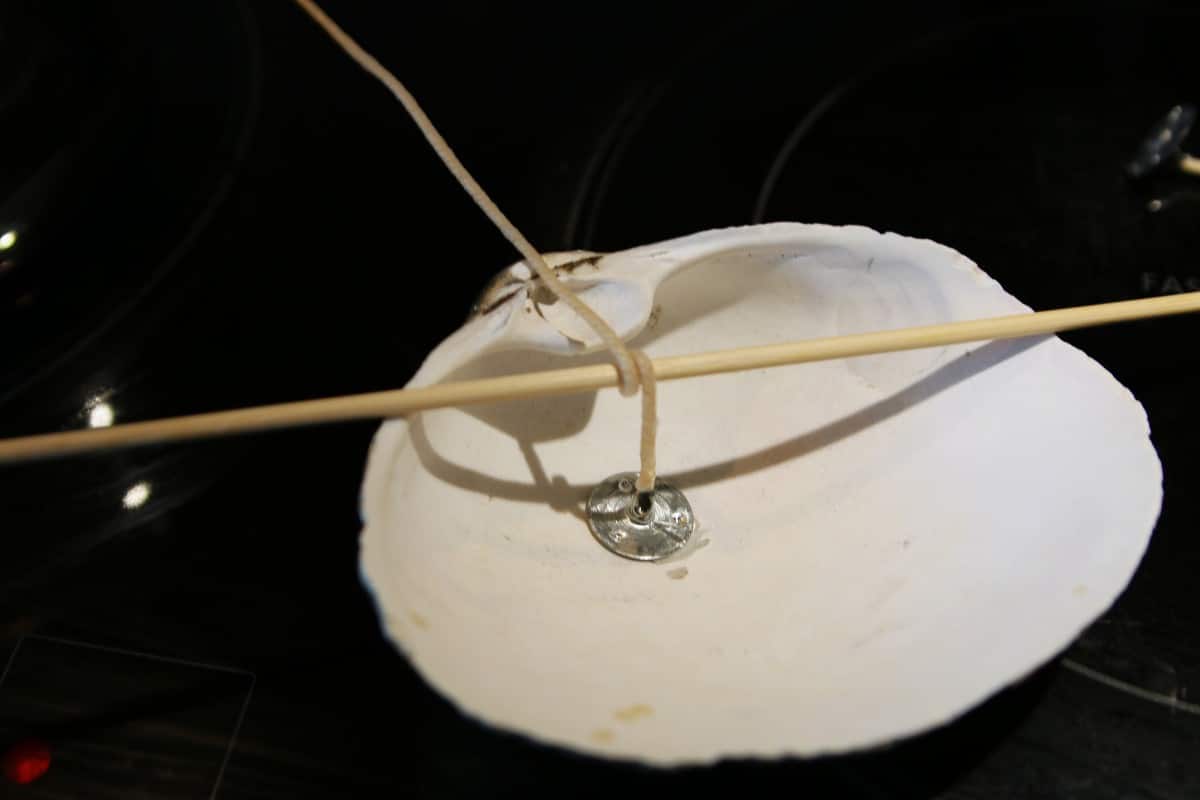
To keep the wick upright while pouring wax into the shells, wrap the top end around a pencil, a wooden skewer, or something similar laid flat across the top of the shell.
Pour the Wax into the Seashells
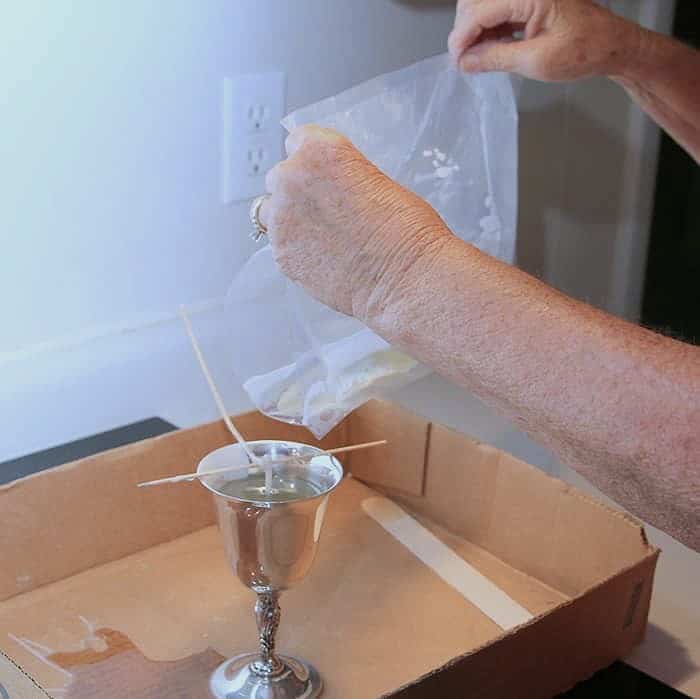
I didn’t have the hubby around to take photos, and it is impossible to pour hot wax and aim a camera with only two hands. The above photo is from my first candle project.
Believe it or not, the bag wasn’t too hot, so I could hold it with two hands on one side. I tilted the bag to pour the wax into the shells (goblet in photo).
TIP: Pour the hot wax slowly, or you will overshoot the seashell or object you are aiming for. The bags are flexible, which makes it tricky to control the flow. It helps to place your shells inside a cardboard box or on a tray lined with wax paper to catch any stray wax.
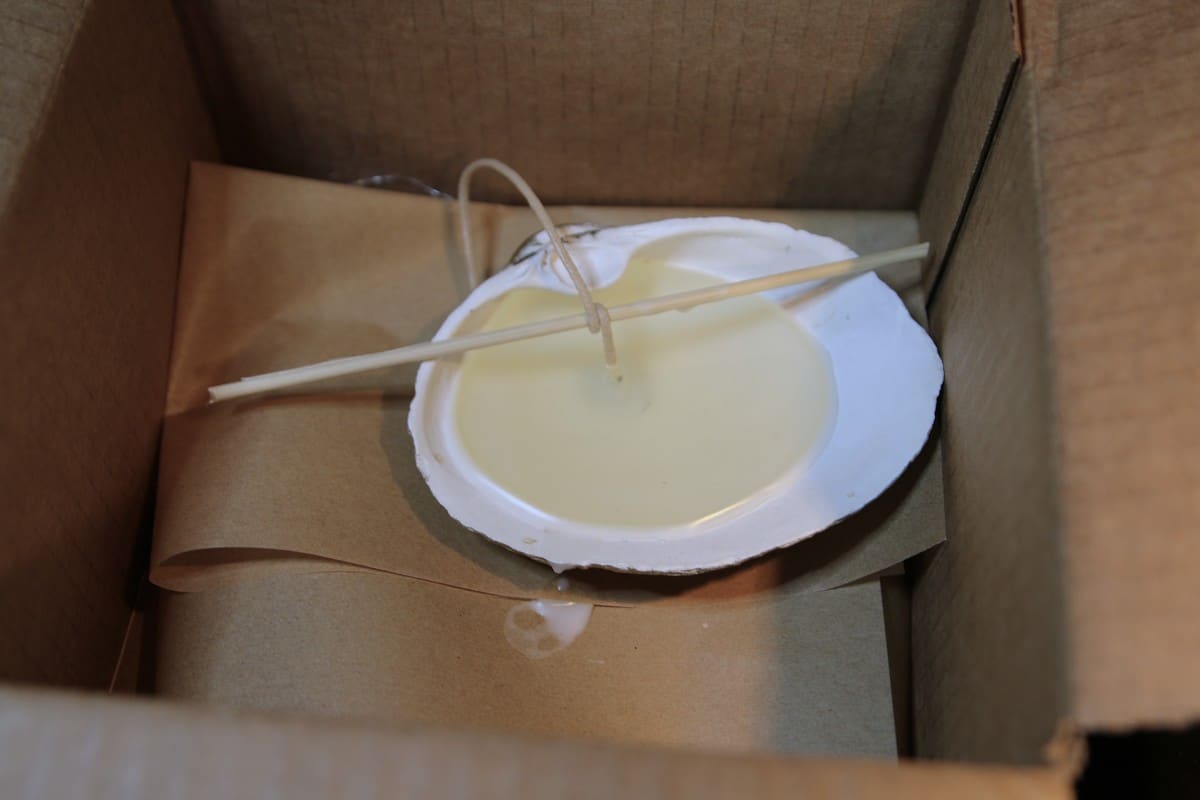
The large shell with wax.
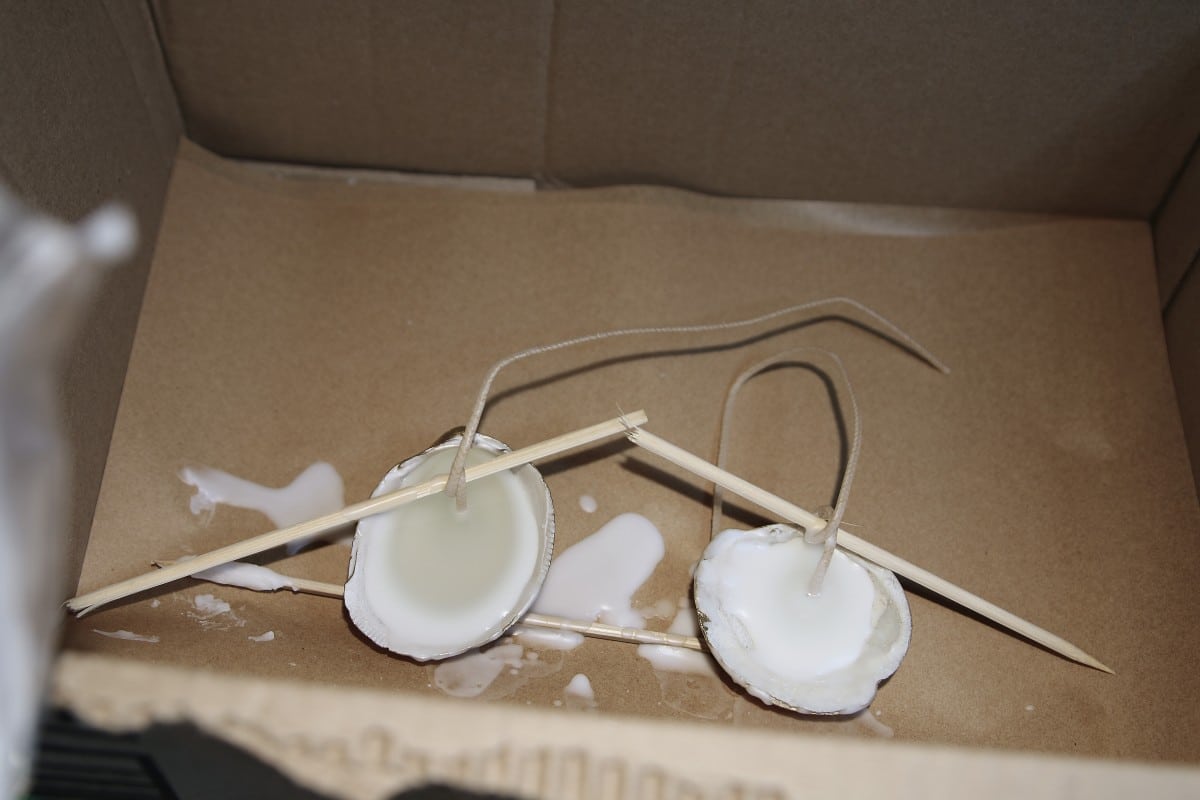
And the two smaller shells with wax. As you can tell from the photo above, I got a little wild with the wax again.
Apply Gilding Wax
Since I only spray-painted the outside of the shells, the inner edges looked blah.
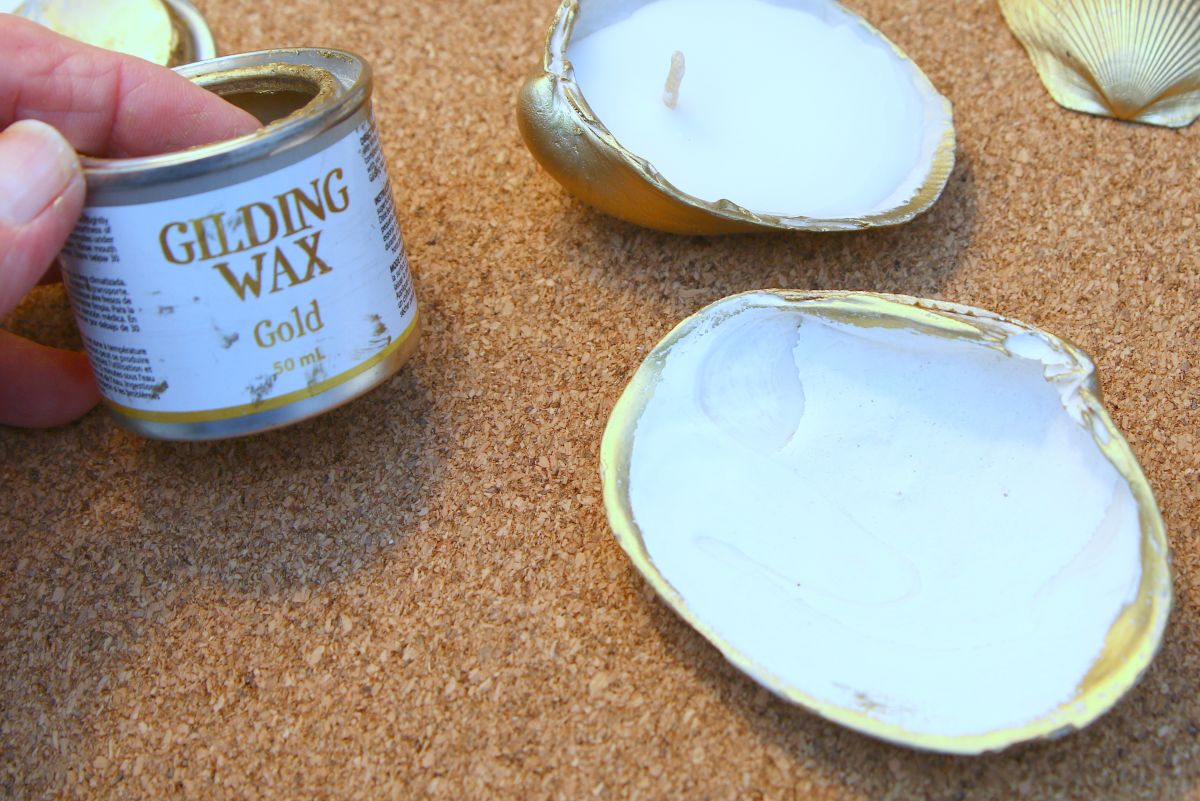
I dipped my fingertip into a bit of Dixie Belle Gold Gilding Wax and ran it along the inside rim.
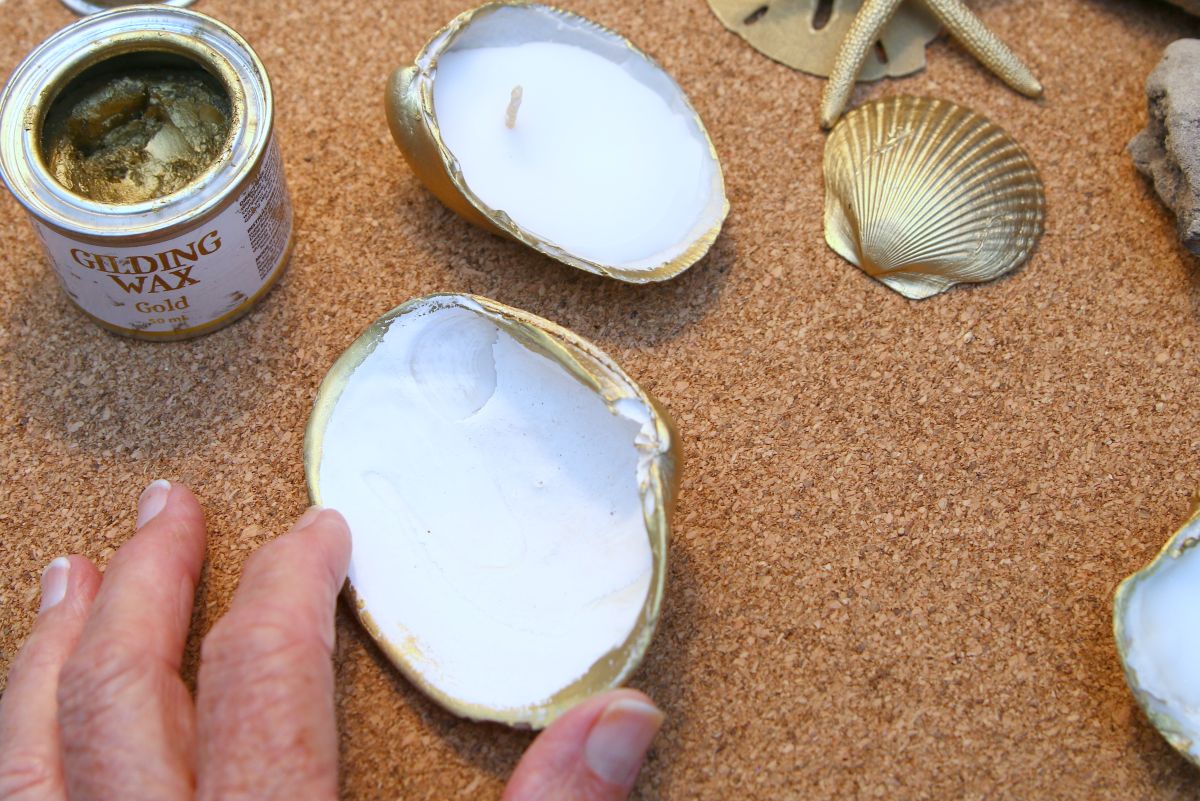
Once it dried, I gave it a quick buff with a soft cloth for a gorgeous, shiny finish!
Trim the Wick
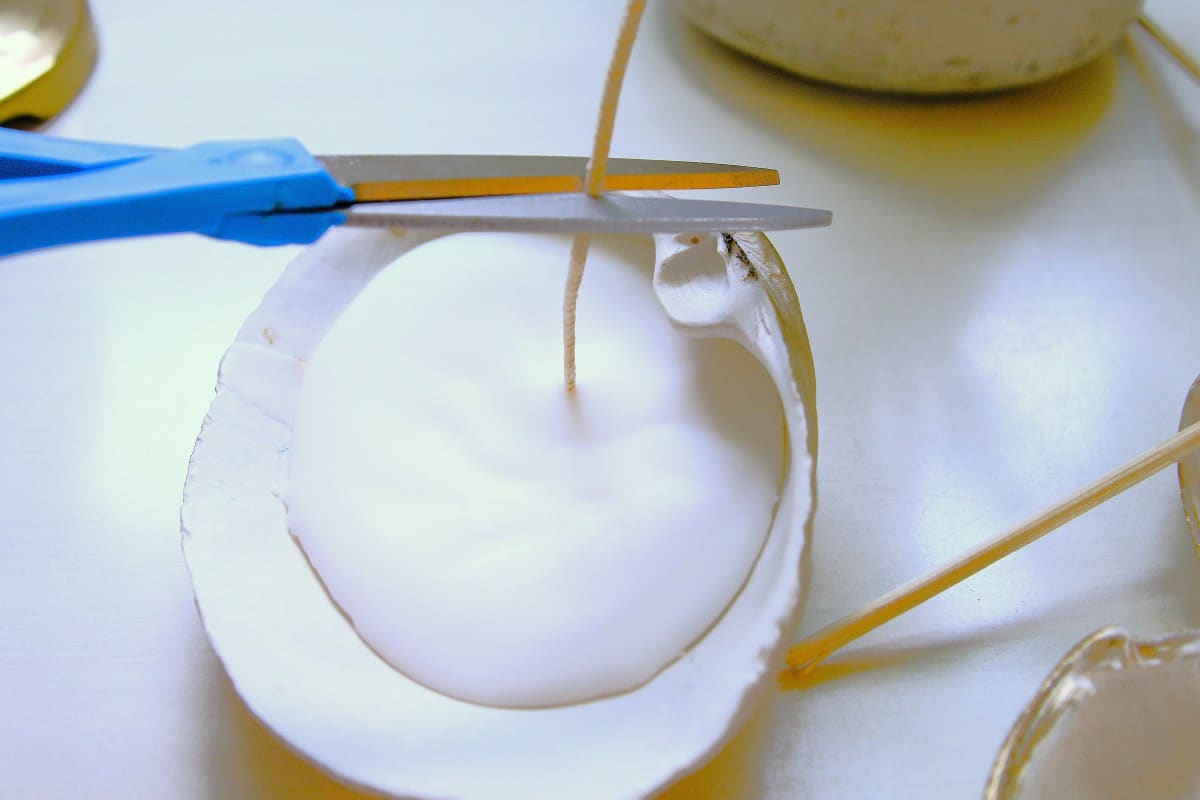
Once the wax sets completely, trim your wicks to about 1/4 inch.
Display the Seashell Candles
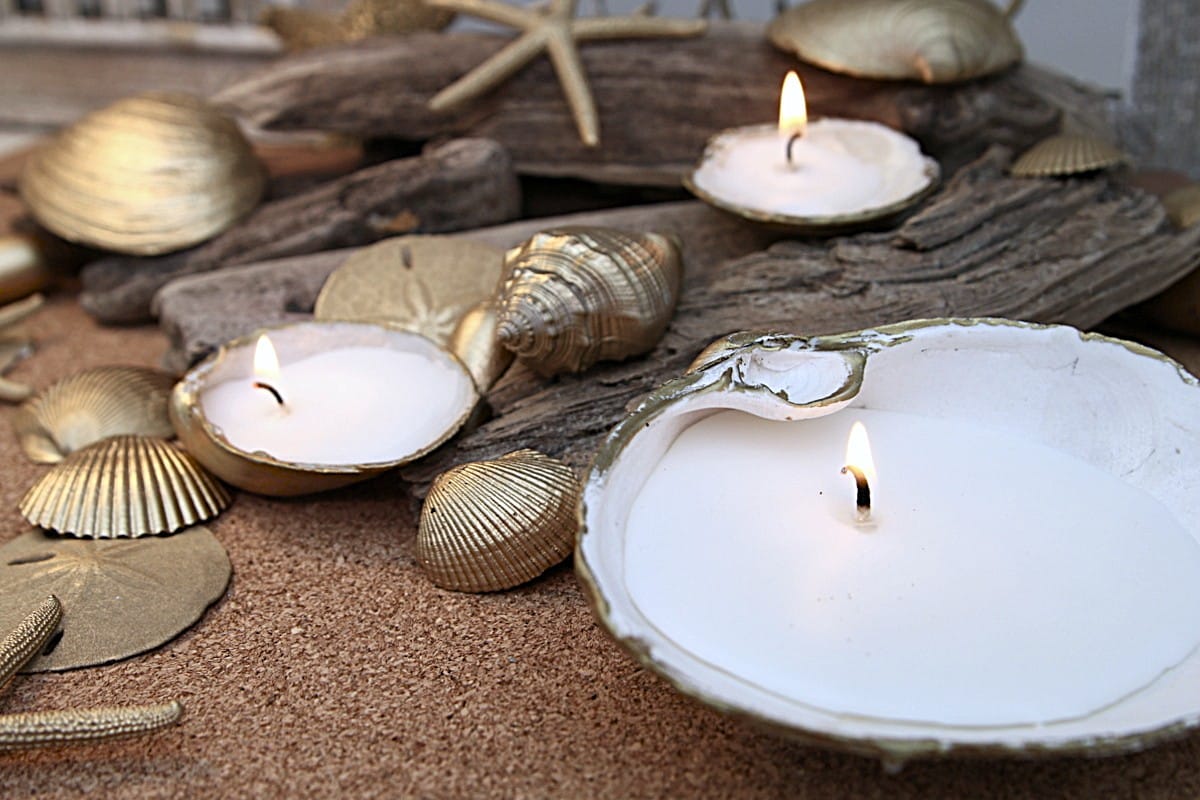
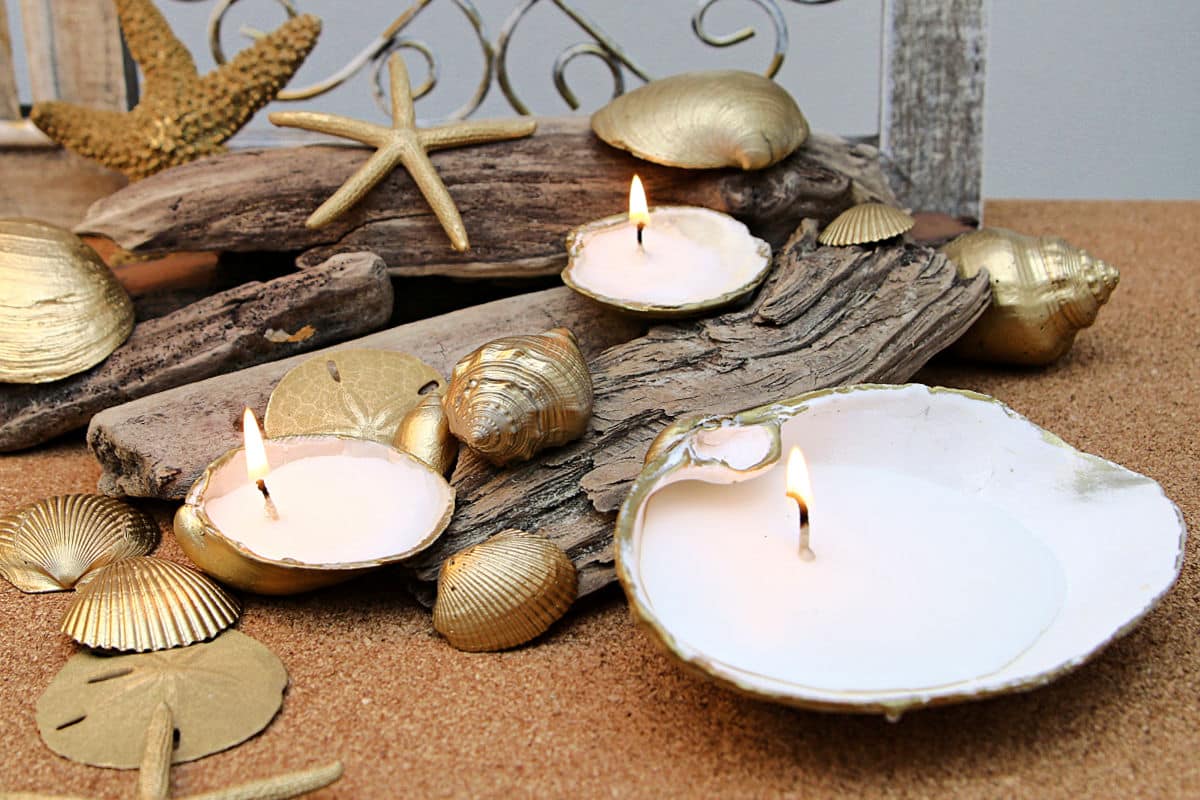
Group your new gold seashell candles with pieces of driftwood on a cork runner or decorative tray to bring that calm, coastal vibe into your space.
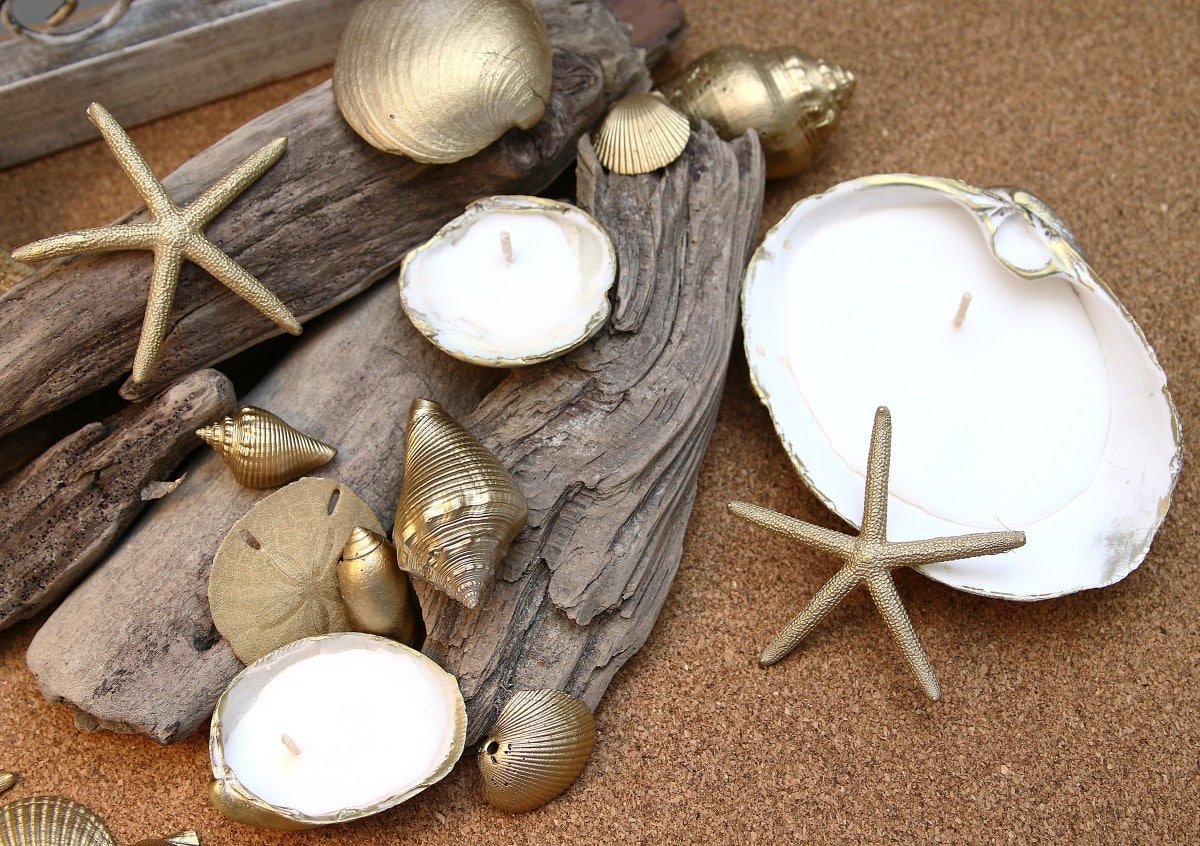
I can’t get enough of the gold. Do you remember when gold was out of style for home decor, jewelry, etc.?
Coastal Decor Ideas
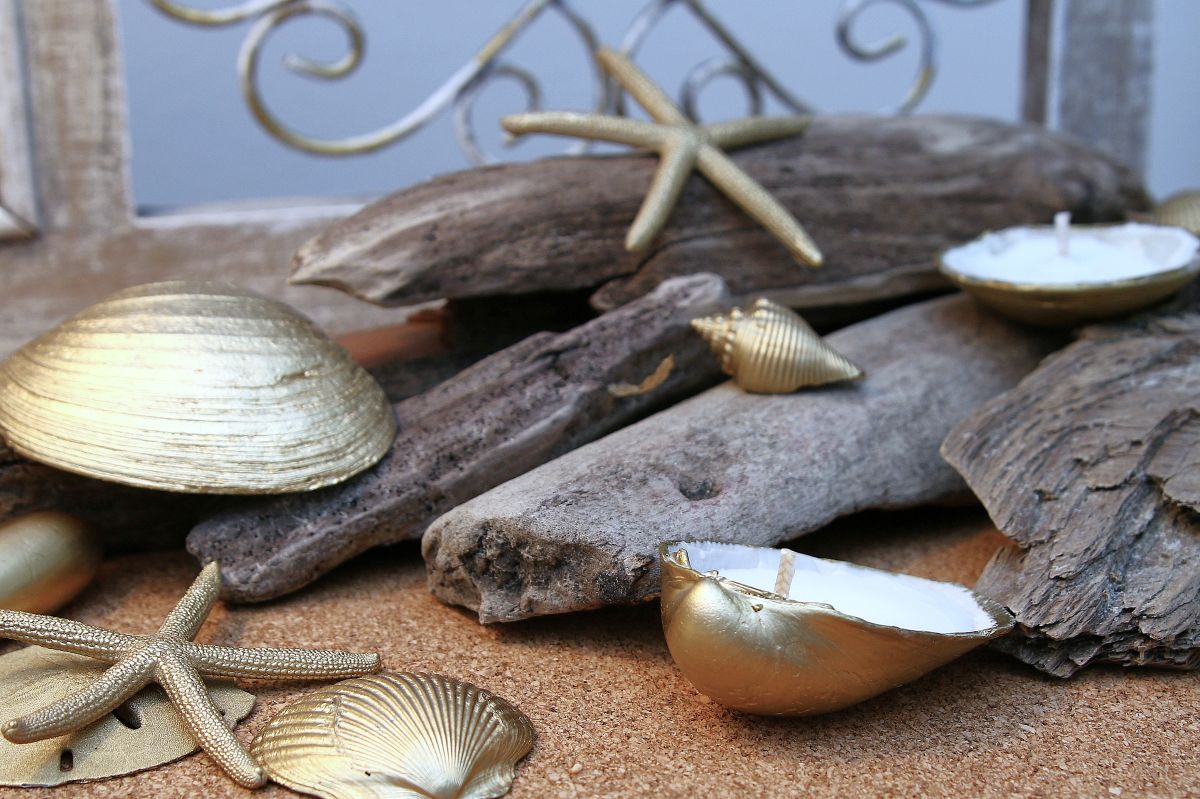
The driftwood adds different texture and color to my coastal display.
I laid a large cork mat over the small dresser in our spare bedroom to serve as the base for the display.
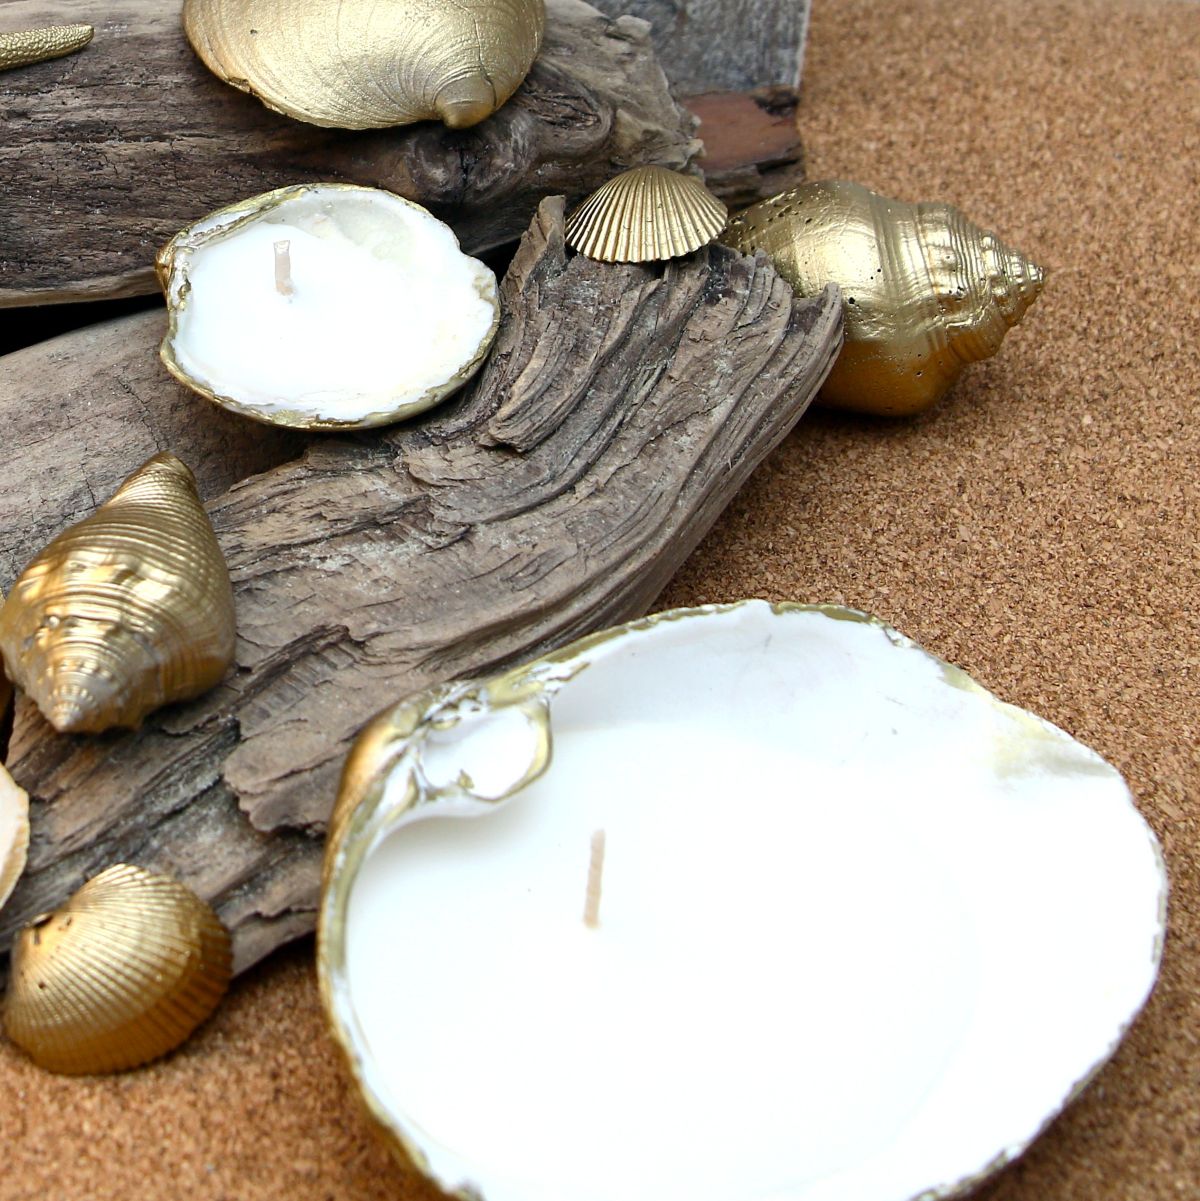
My first thought was to pour a bag of sand as the base. Not a good idea. I do have some sand I brought home from the beach a couple of years ago. I guess we should keep that quiet too.
Color Ideas for Seashells
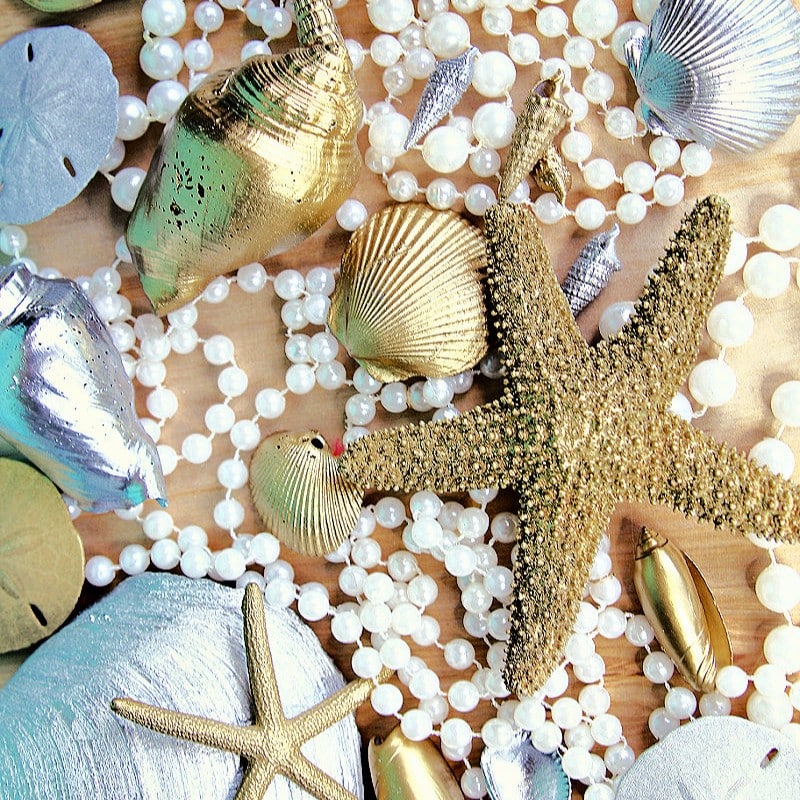
Any and every metallic color works for me. I painted all of these seashells a couple of weeks ago. Silver and gold go together like peanut butter and chocolate! The shells look nice displayed with the white beads, sisal rope, or……..sand.
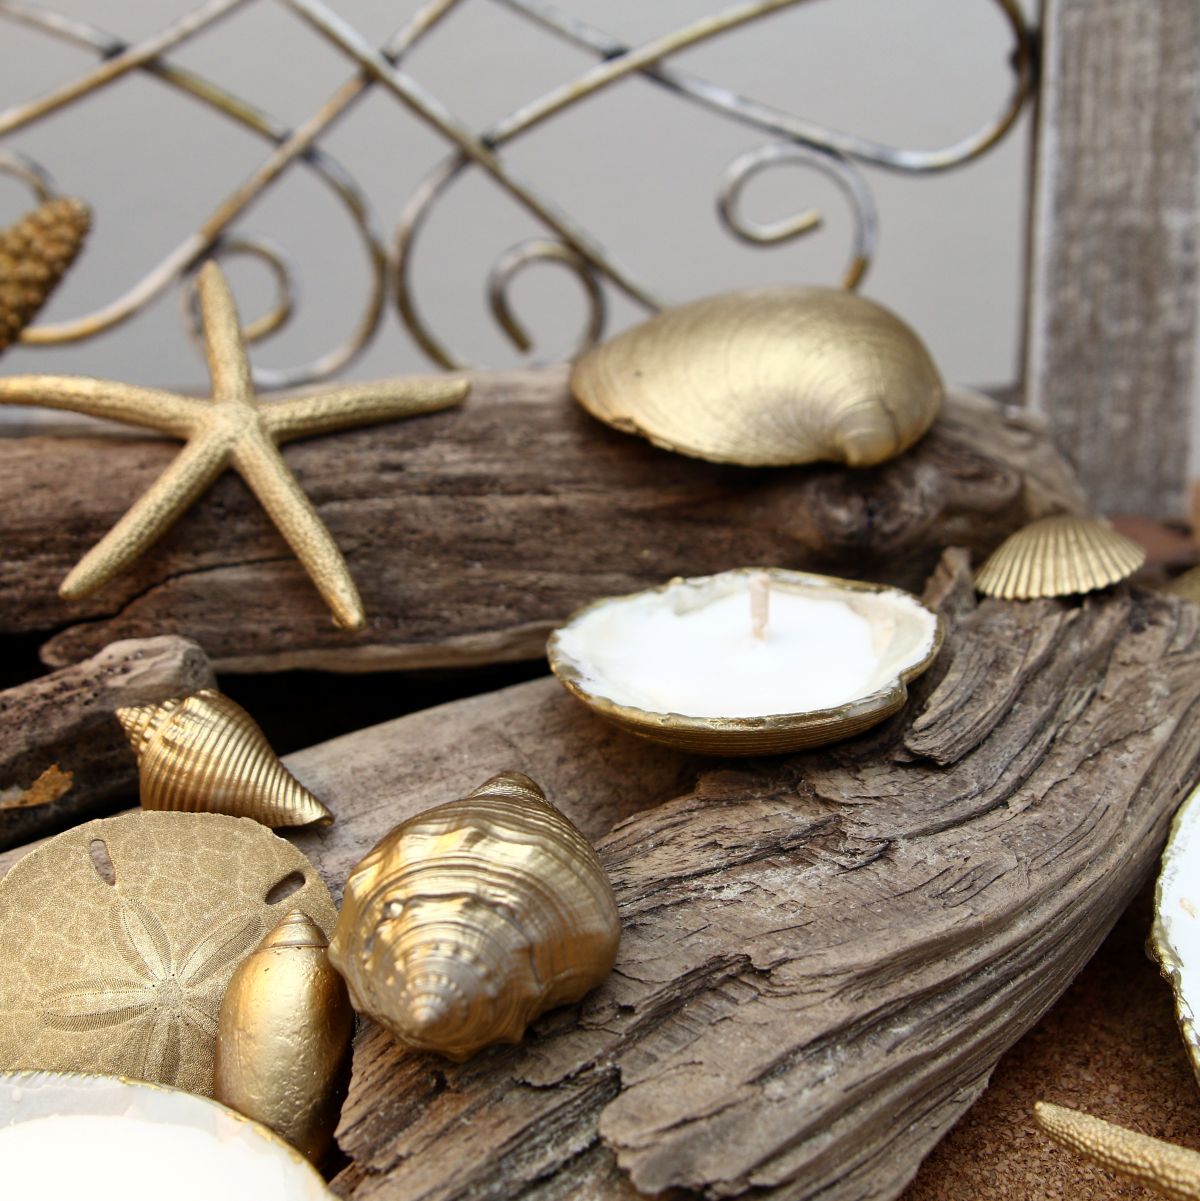
The many shell shapes make displaying them fun. I love the starfish and sand dollars too.
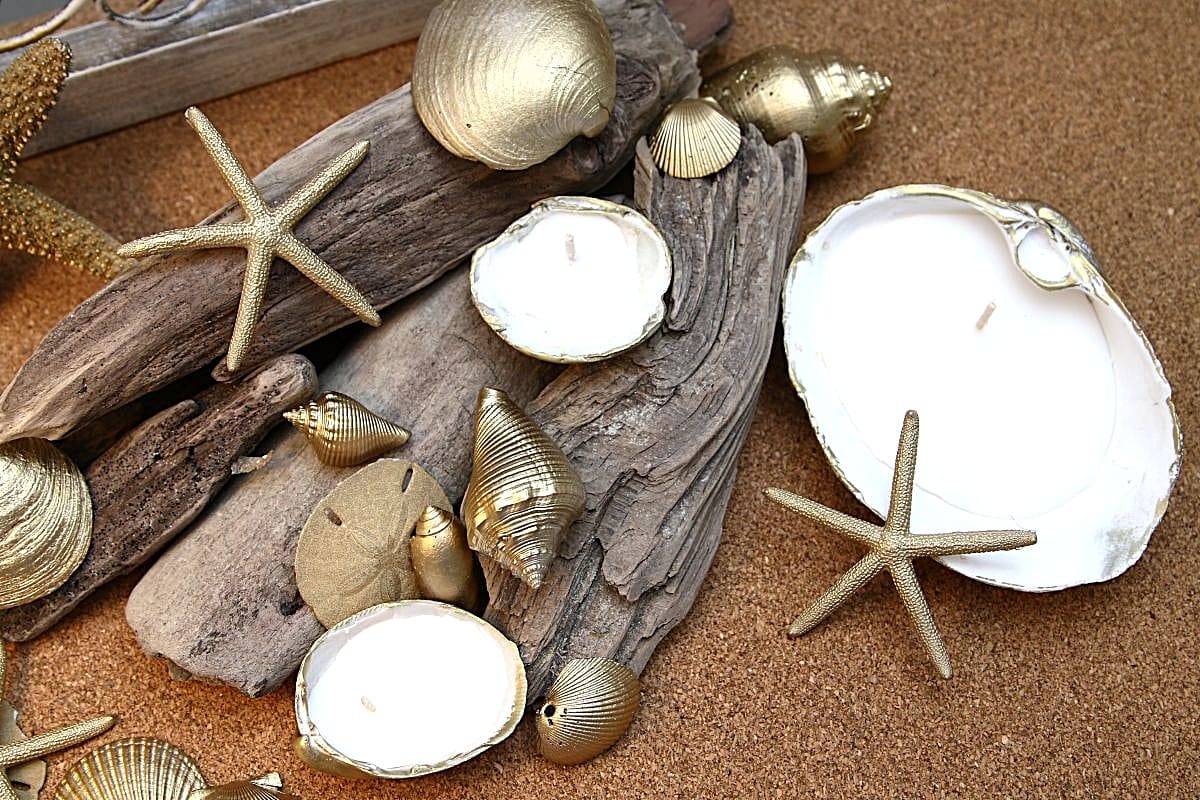
The seashell candles are a nice way to save your beach vacation memories. Do you collect anything on your travels? My sweet mother-in-law collected salt and pepper shakers.
The Trashy Treasures Tuesday Tour
Now it’s time to take the tour. My friends are looking forward to your visit and your feedback. Just click the text links below the “before makeovers” photo collage…..
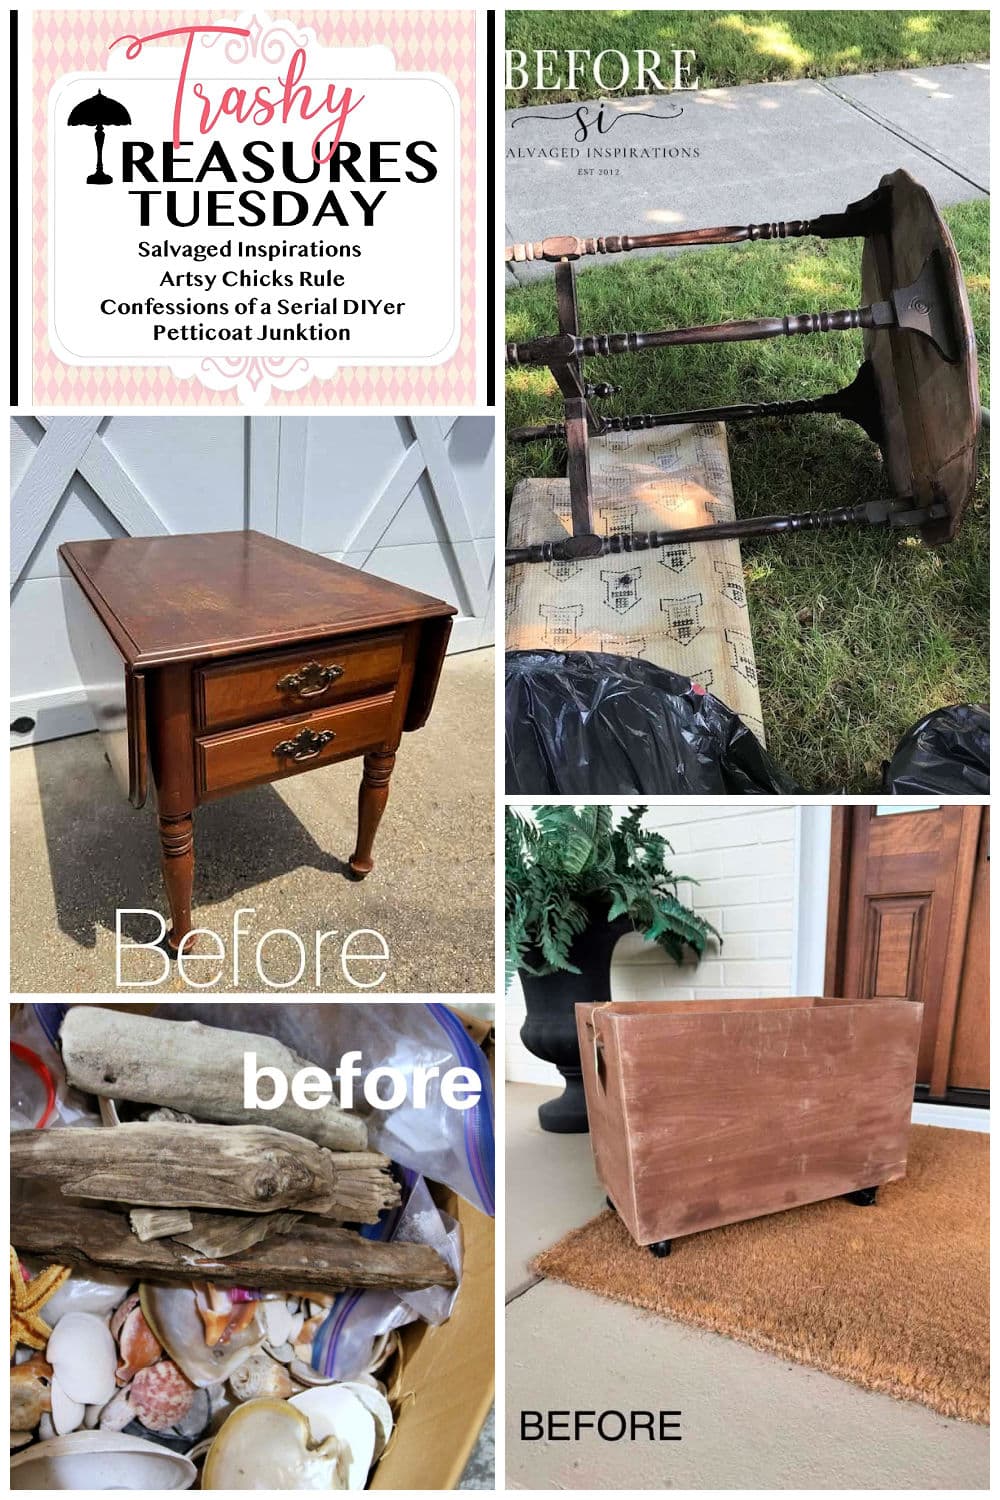
Trashy Treasures Tuesday Tour:
Vintage Drop Leaf Side Table Makeover – Confessions of a Serial DIYer
Apply A Transfer Over Raw Wood – Salvaged Inspirations
Harvest Crate For Fall Decor – Artsy Chicks Rule
Easy DIY Gold Seashell Candles – Petticoat Junktion
As always, thanks for being here, Kathy

We enjoyed and featured your post on Full Plate Thursday 811. Thanks so much for sharing with us and come back soon!
Miz Helen
Kathy, I love this!!
I’m delighted to be featuring your seashell candles DIY at Create, Bake, Grow & Gather this week and pinning too.
This is fun and a great tutorial. I’m not particularly fond of shiny gold, but antiqued these would be precious. Reminds me of the 100+ candles we poured for my son’s wedding in miscellaneous glass pieces we purchased and decorated as gifts. Great ideas here. Sandi
Whoops! I know, you can’t keep everything!
I love this project so much, Kathy!! The cork looks just like wet sand. I could see this as the perfect table centerpieces for a beachy wedding!! Gorgeous! XOXO
What an awesome idea Kathy! I’ve never tried making my own diy candles but this looks fun! XOXO
I love the gold with the driftwood, Kathy!! And the candles are perfect! xo
I love these! Too bad I got rid of about 500 shells recently. 🙁