

Wall Decor: Rustic Candle Holder Makeover
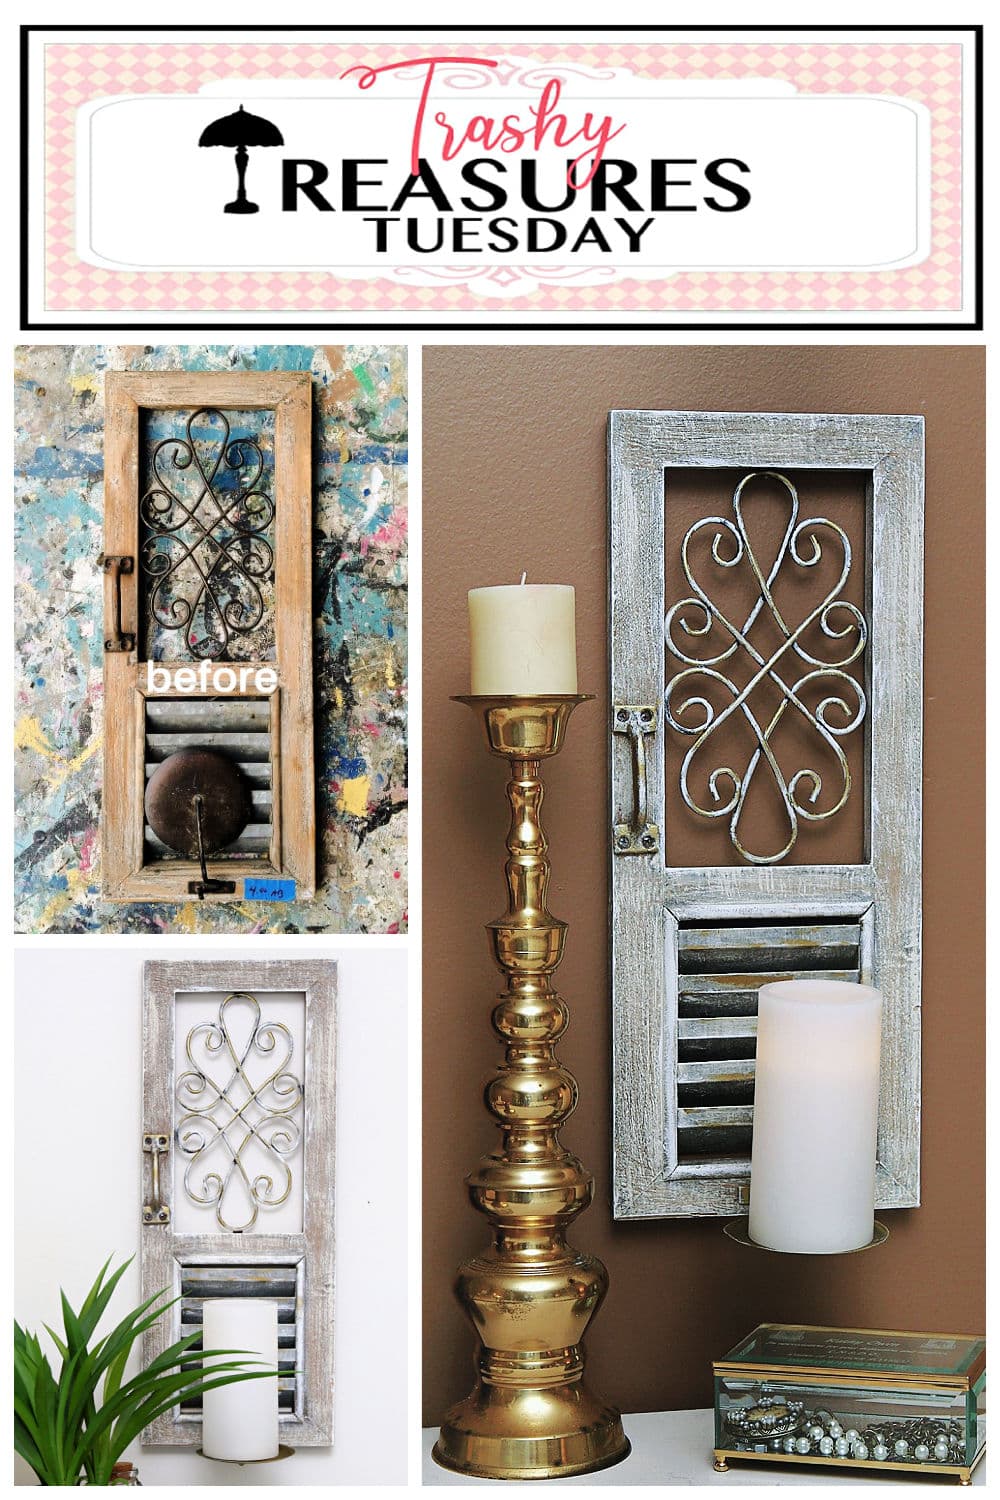
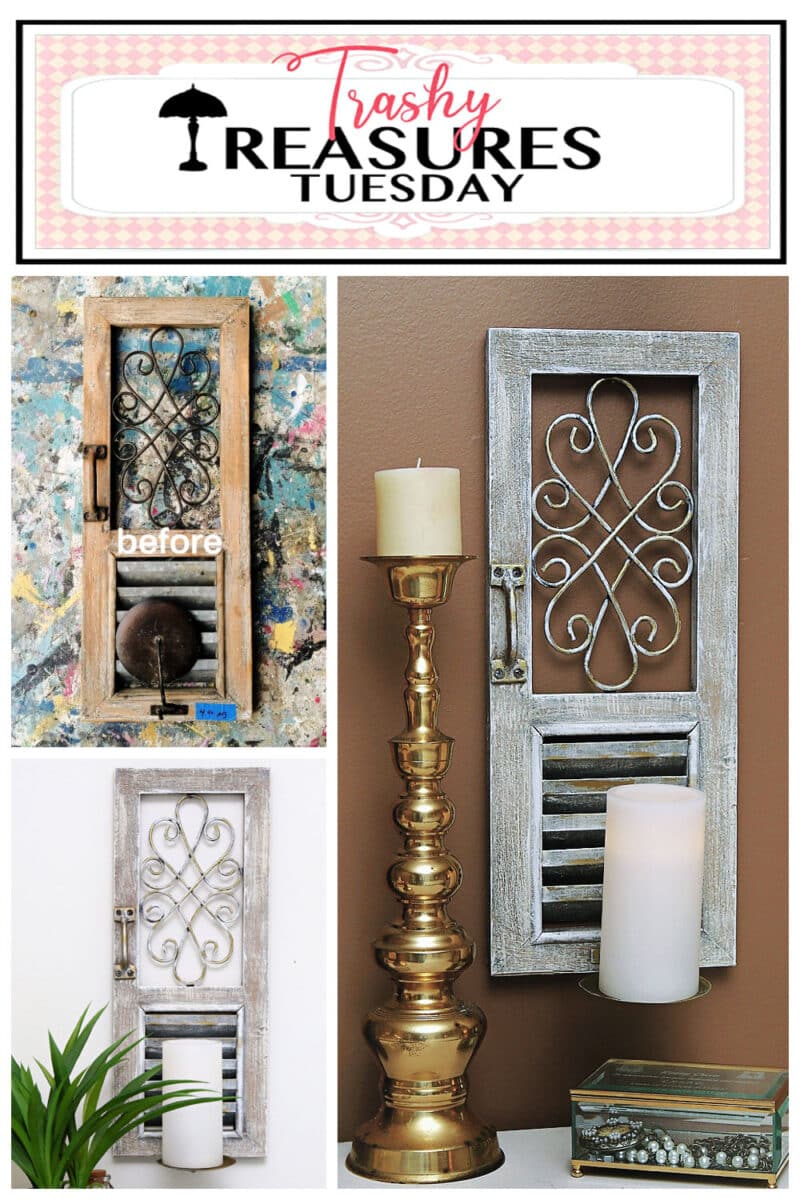
Here’s how I turned a $4 rustic candle holder into charming wall décor with dry-brushed white paint and gold gilding.
Hey Friends! I’m glad you’re here for our monthly Trashy Treasures Tuesday Tour. I just love giving old stuff a new look, and I get so much inspiration from my tour mates. I need it. Seems lately, my creative ideas have dried up. Is it the heat, lol?

Rustic Candle Holder Makeover
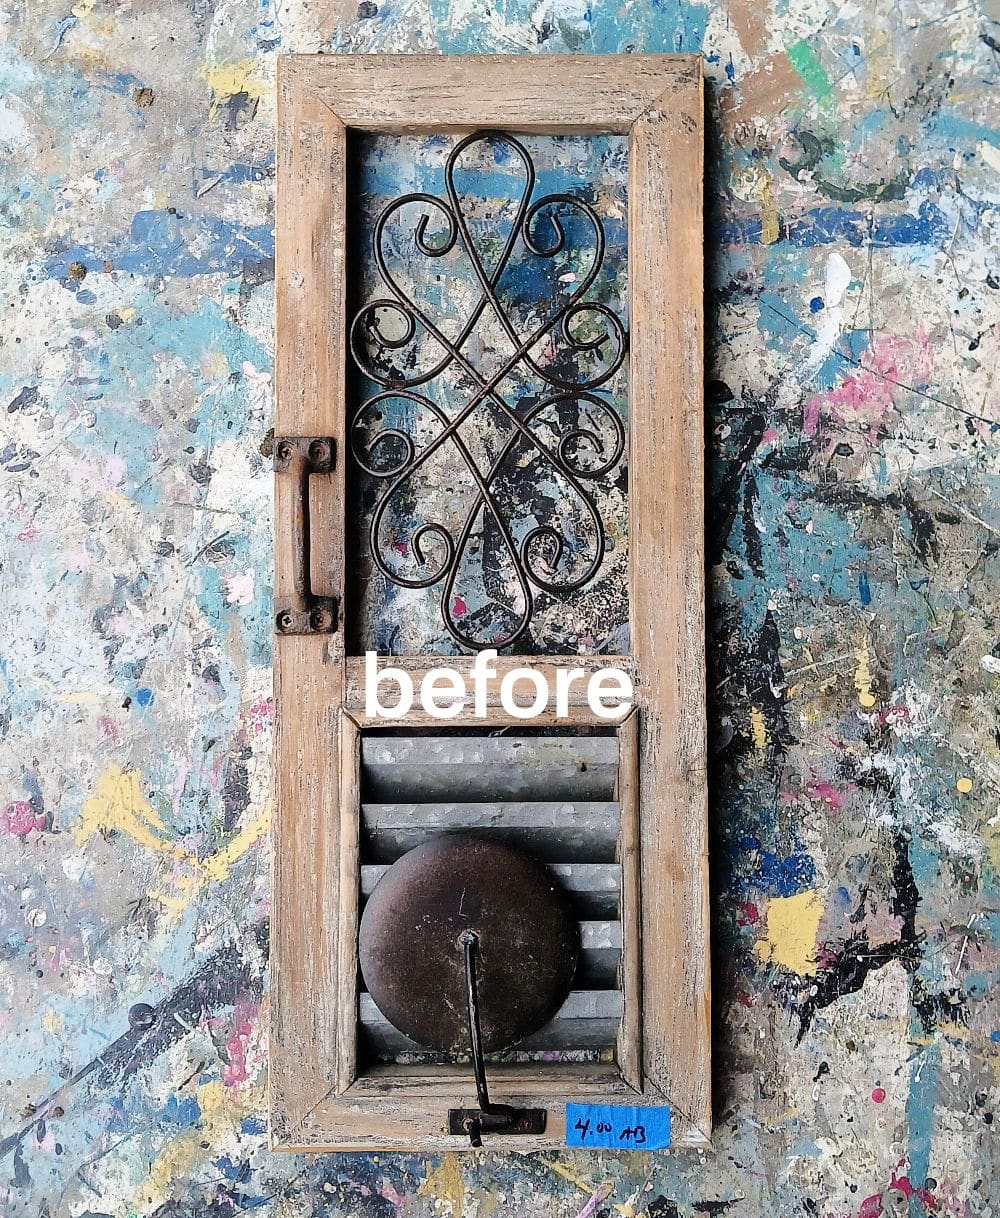
I bought the candle holder when the hubby and I shopped the 400-mile yard sale in southern Kentucky. We only traveled a small part of the sale, but I found some project pieces along with pretty potted flowers for our deck.
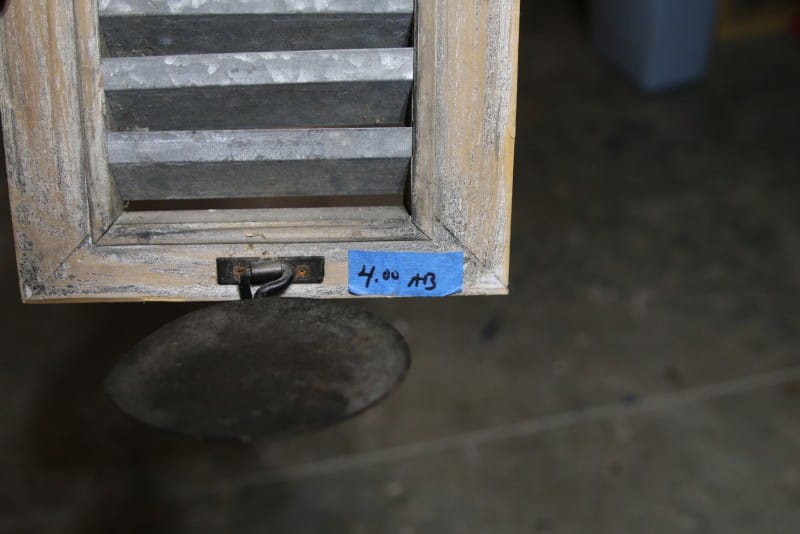
Four dollars seemed a fair price for the wall candle holder display.
Supplies for this Candle Holder Makeover:
White Paint
Chip Brush
Gold Gilding Wax
Sawtooth Hanger
Household Cleaner
Lint Free Rags
Step 1. Prep the Candle Holder
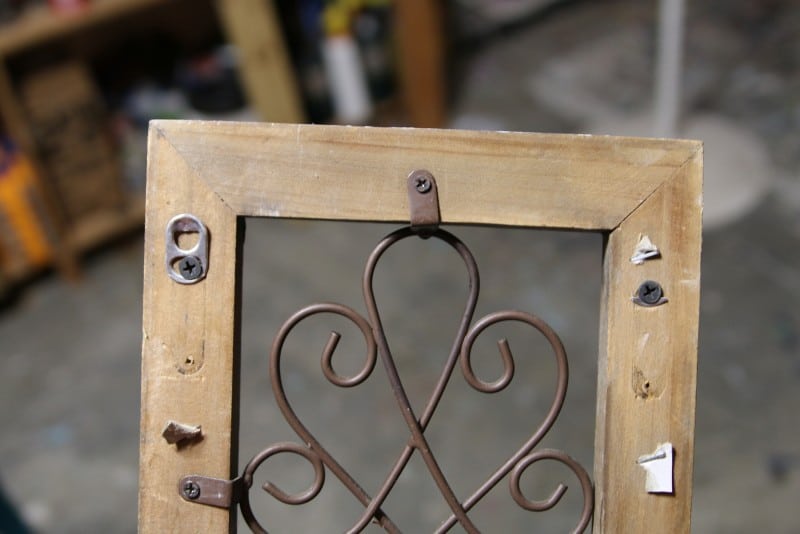
Have you seen pop-top can tabs used as hangers? I’ve actually used them on small pieces. A great way to recycle!
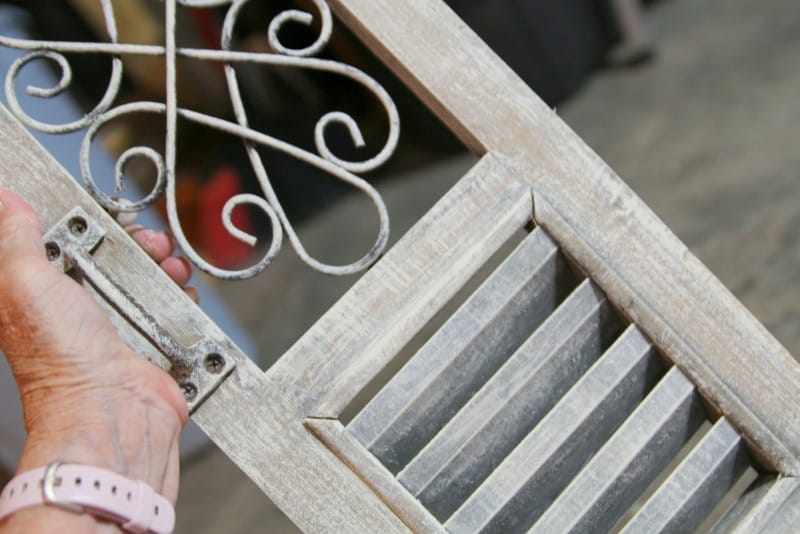
This piece had lost one of the tabs.
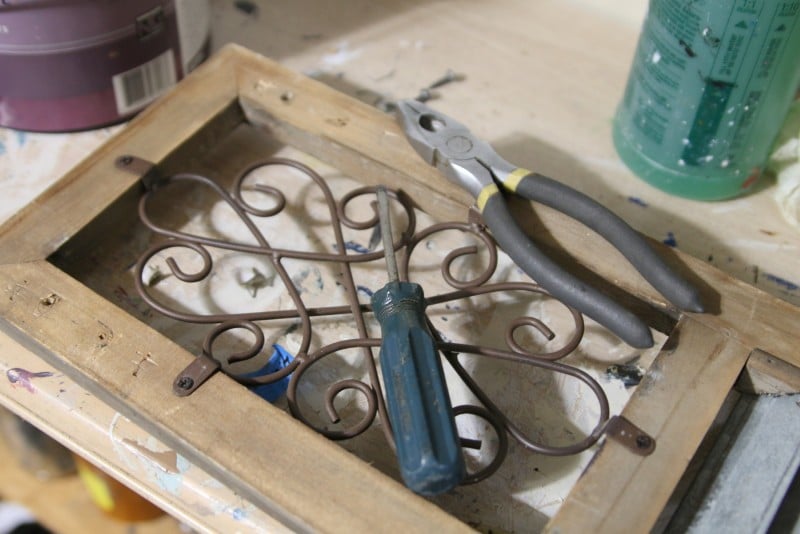
I removed the other tab along with a few unneeded staples.
Step 2. Add a Sawtooth Hanger
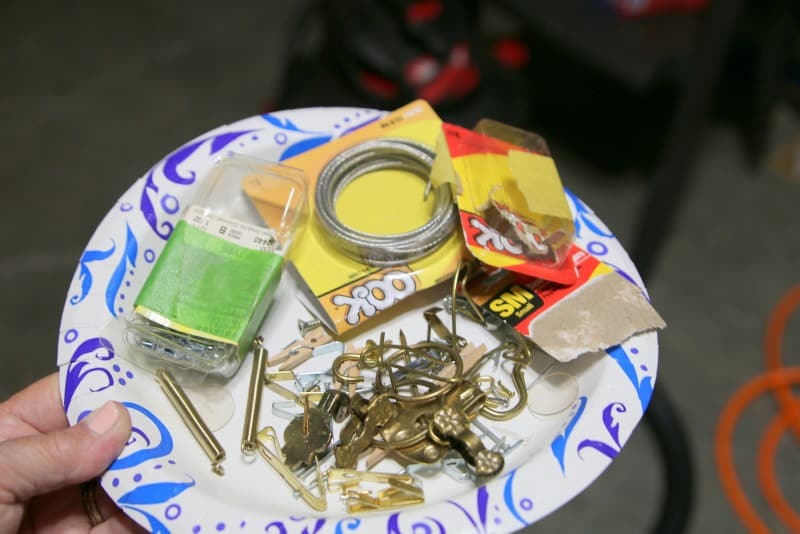
Since this piece was rather narrow, I thought a simple sawtooth hanger in the top middle would be a good option.
I really dislike using two hangers because I have to line up two nails at the same height on the wall. That never works out. I usually end up with multiple holes because I can’t get the height right. Then I have to fill the extra holes with putty and touch up the paint. I don’t like to string a wire between two hangers either, because the piece tends to lean out from the wall at the top.
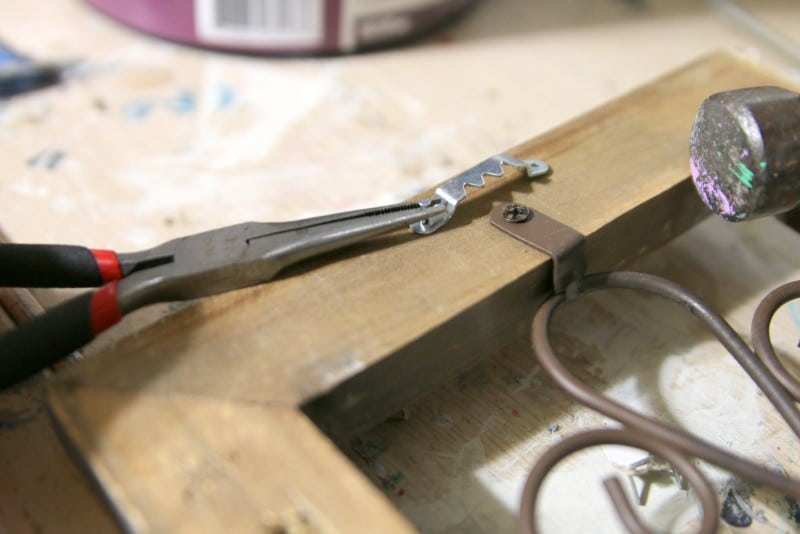
I keep supplies for hanging pictures just for projects like this. The JTS ( aka Junktion Technical Specialist, aka hubby) taught me this trick. When using tiny nails, grab a pair of needle-nose pliers to hold them while hammering them into place.
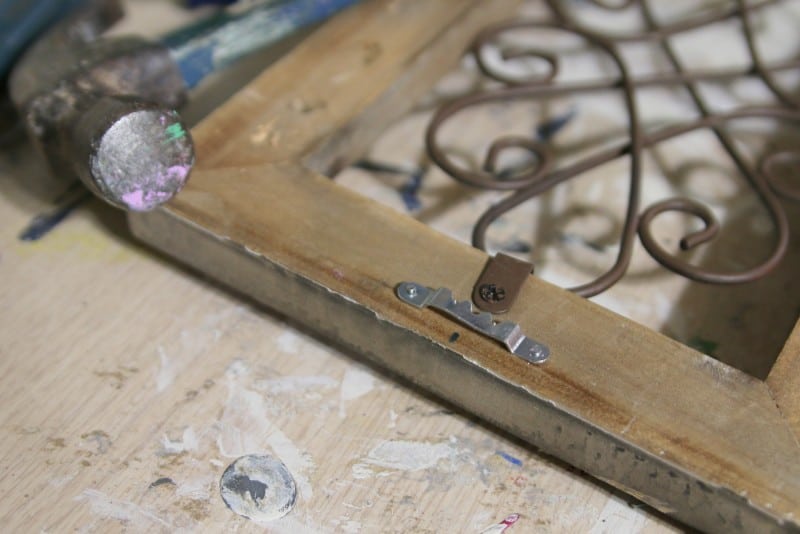
You might notice the small black mark I made to center the sawtooth hanger.
Step 3. Clean
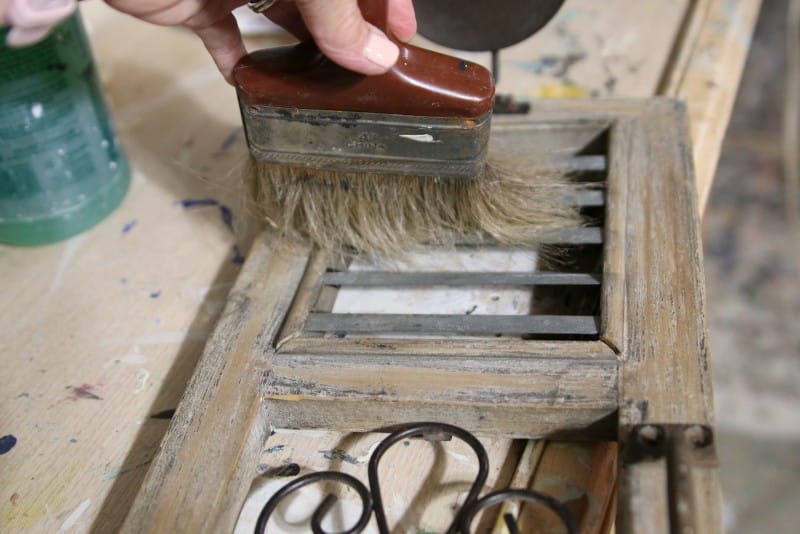
There were webs, lint, and dust in between those metal louvers, and a large paintbrush made quick work of them.
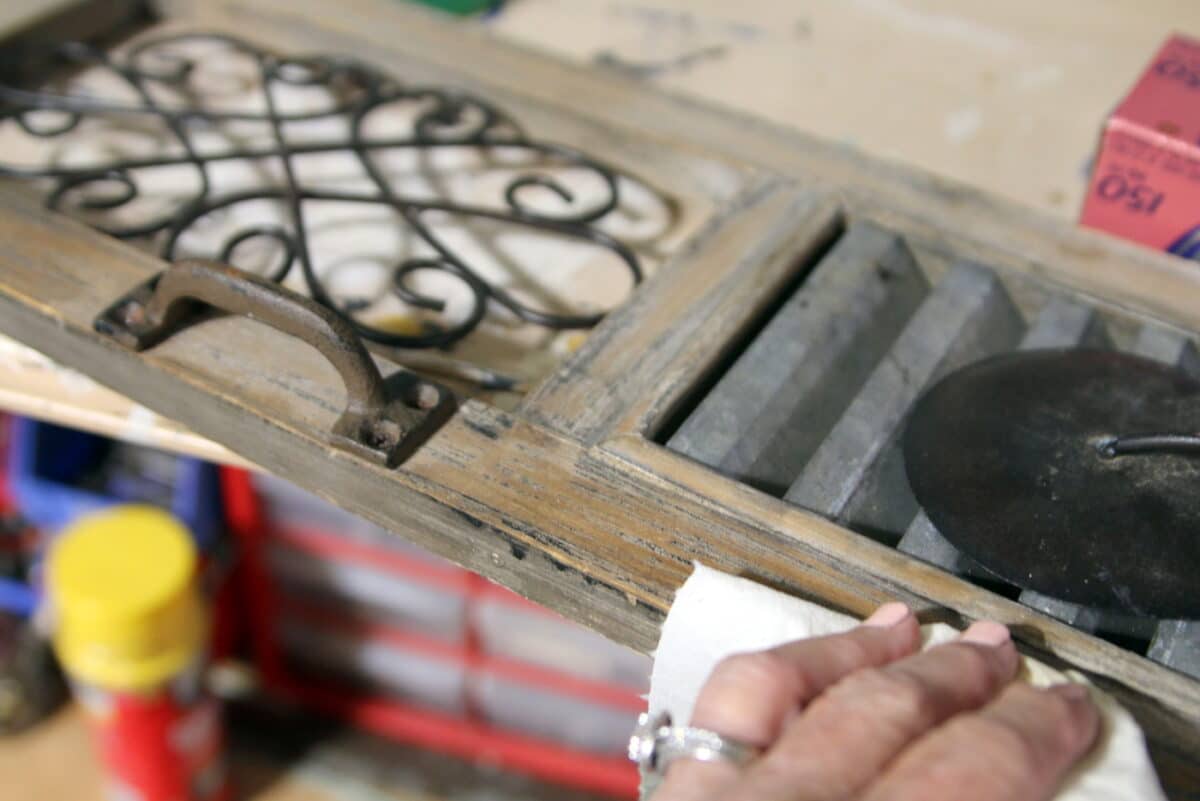
Next, I cleaned the piece completely with a lint-free rag and Simple Green.
Step 4. Dry Brush with Chalk Mineral Paint
The candle holder needed a refresh, and dry-brushing white or off-white paint onto the wood would give it a clean, light feel.
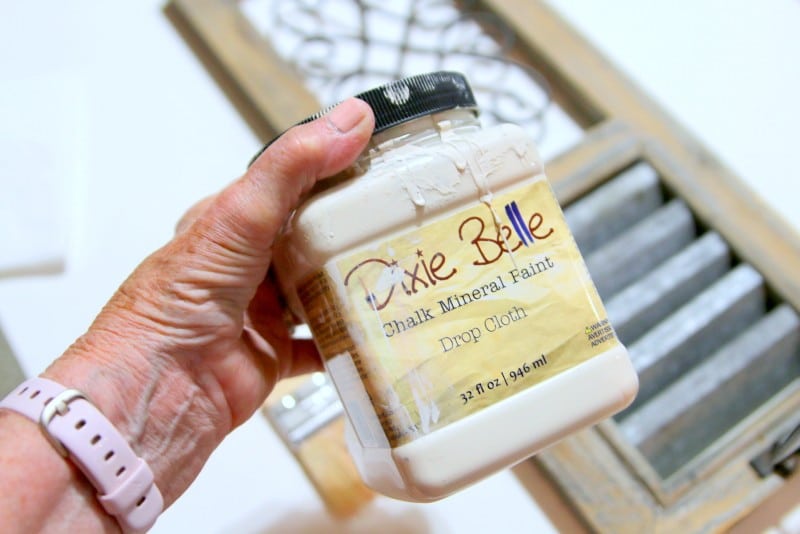
I selected Dixie Belle Chalk Mineral Paint in Drop Cloth for dry brushing. This is one of my favorite paint colors.
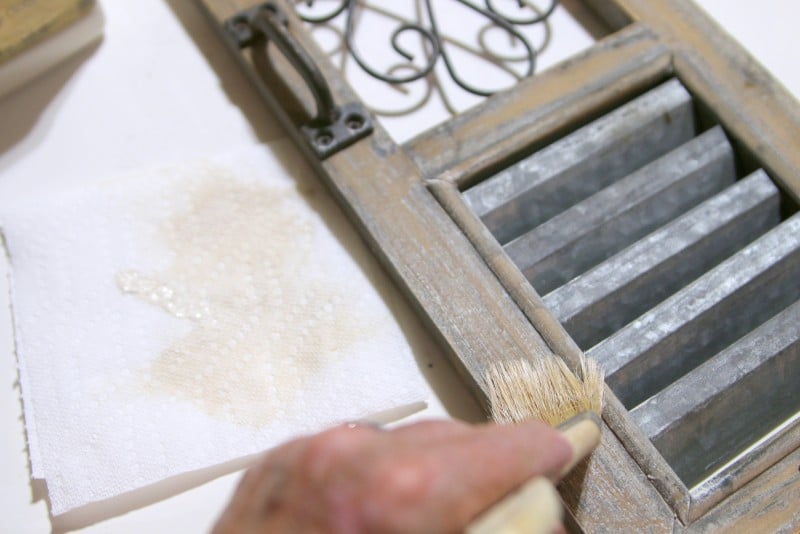
Dry Brush Technique
Dry brushing paint is just what it sounds like. You dip the tips of a paintbrush in paint, then wipe them almost clean with a paper towel before running the brush across the surface of the project.
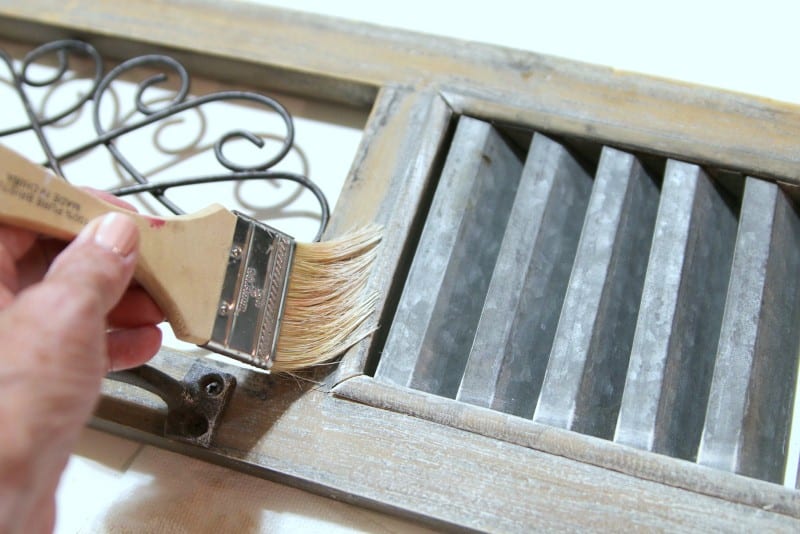
Repeat the process of applying paint to the brush, wiping it off, and running the bristles across your project until you get the desired look.
If your brush is too wet and deposits too much paint, it is difficult to remove. Start small and build the paint. On this piece, I actually started too small and had to repeat the process more than usual.
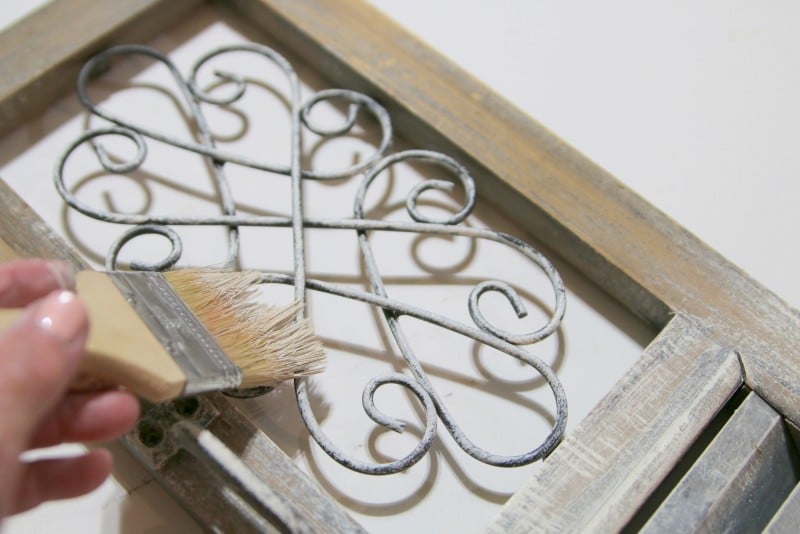
I dry-brushed the metal insert just like I did the wood surround.
Step 5. Adjust the Color and Add Depth
After dry brushing the candle holder, the look was too flat or one diminsional.
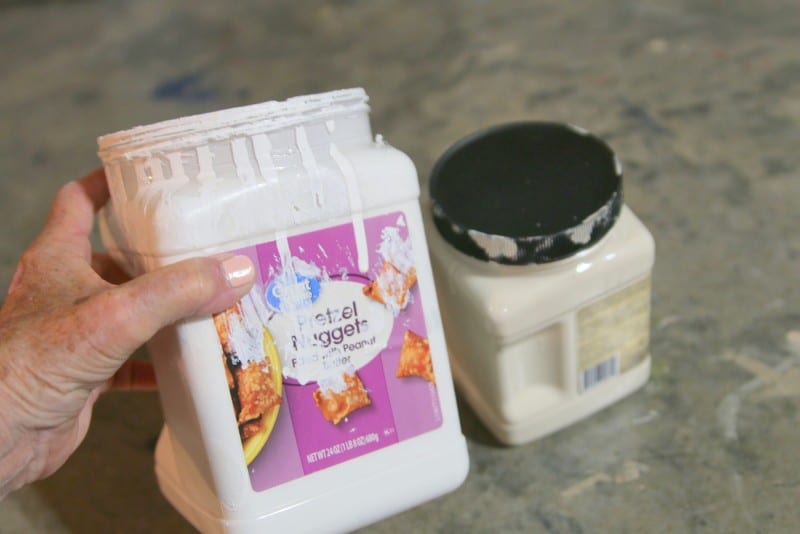
I pulled out a white paint from my stash and used it to dry-brush the raised areas on the piece and the metal insert.
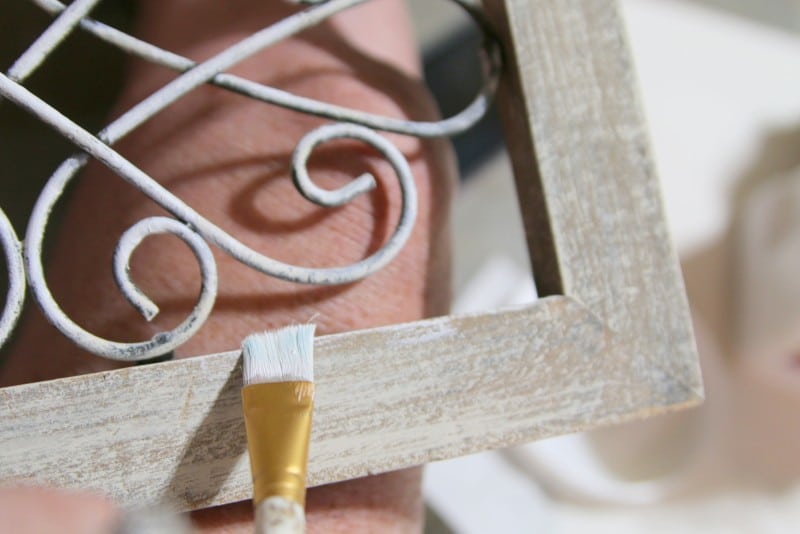
This step added depth.
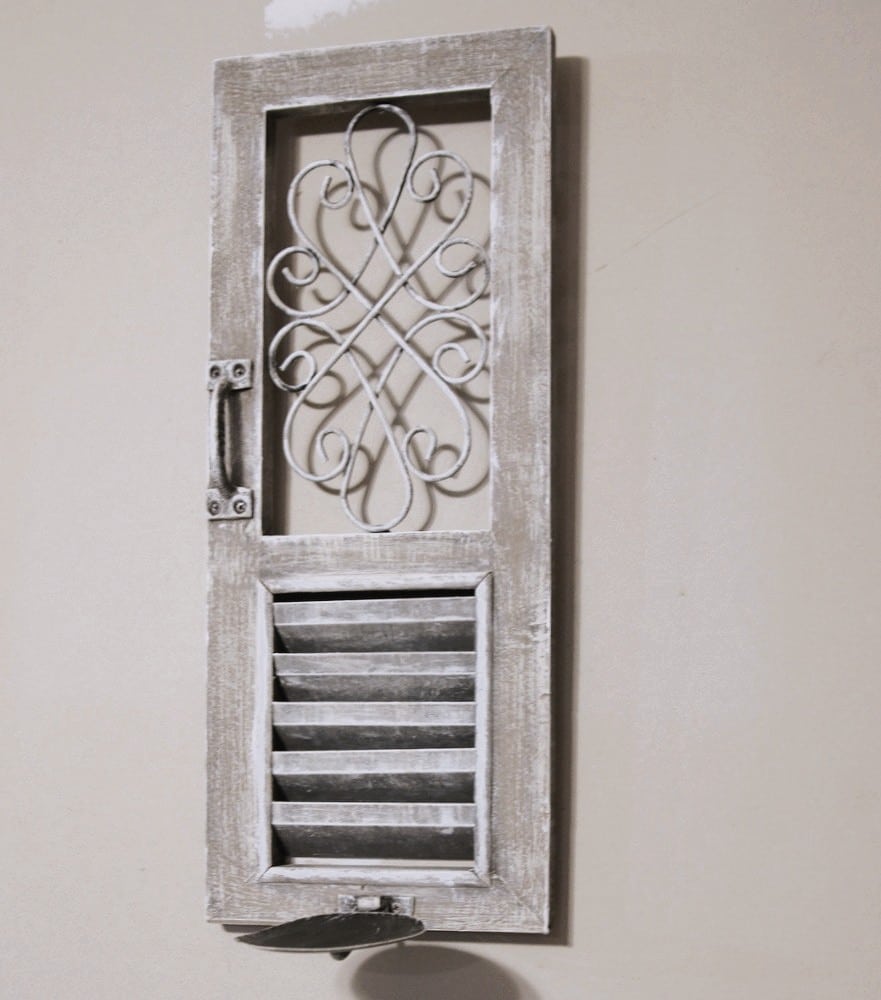
I still wasn’t happy with the color. The photo above shows the candle holder hanging on our workshop wall. The photo color isn’t good but you can tell the piece still needs some work.
Step 6. Add Gold Gilding
You can never go wrong with metallic gold, right?
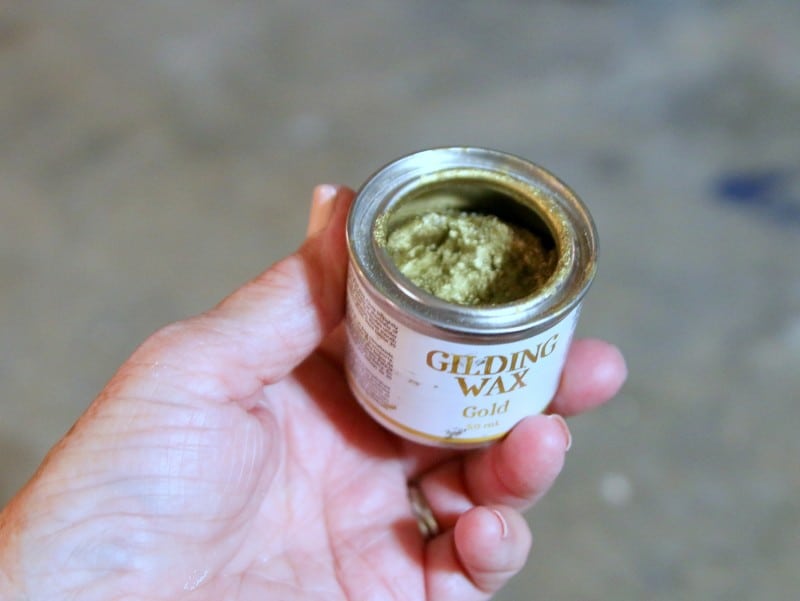
I pulled out my favorite product for adding pizazz to decor….. Dixie Belle Gold Gilding Wax
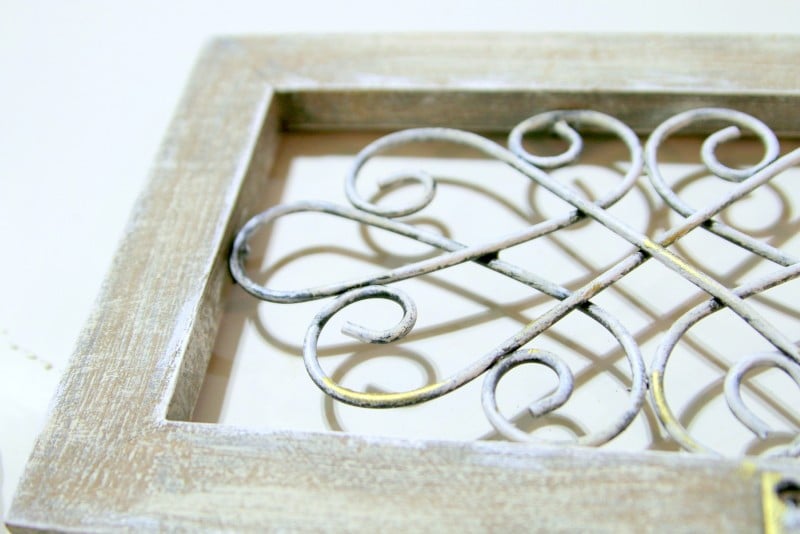
The gilding wax can be applied with a soft, lint-free rag, or you can do what I do and use your fingertips.
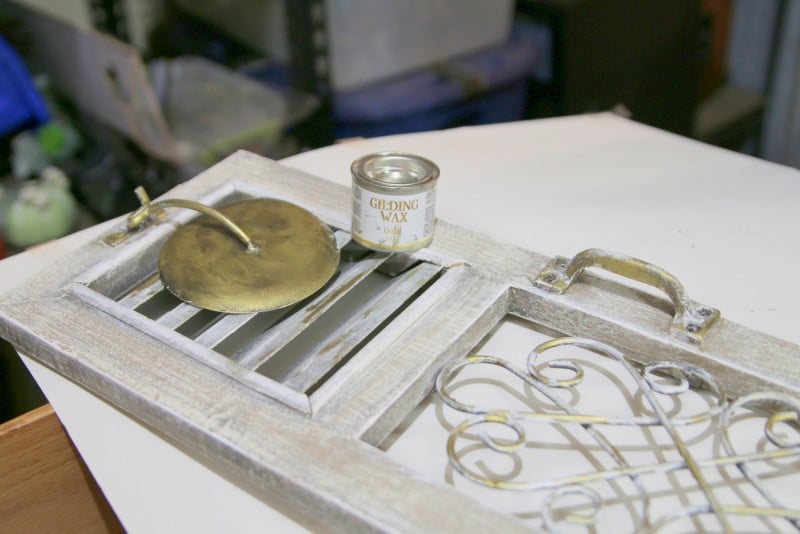
I covered the metal candle holder plate top and bottom with gold wax. As you can see I wan’t going for perfection. Perfectly imperfect.
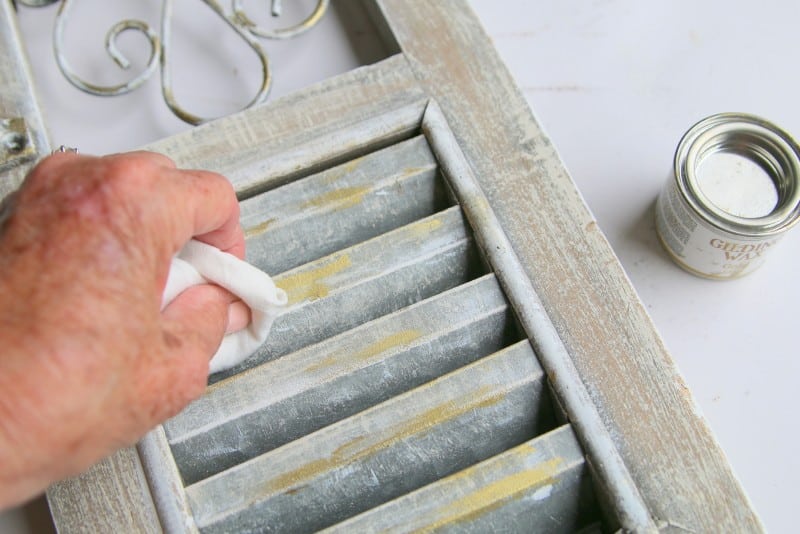
Once the gilding wax is dry it should be buffed to get that soft metallic sheen.
Step 7. Style the Candle Holder
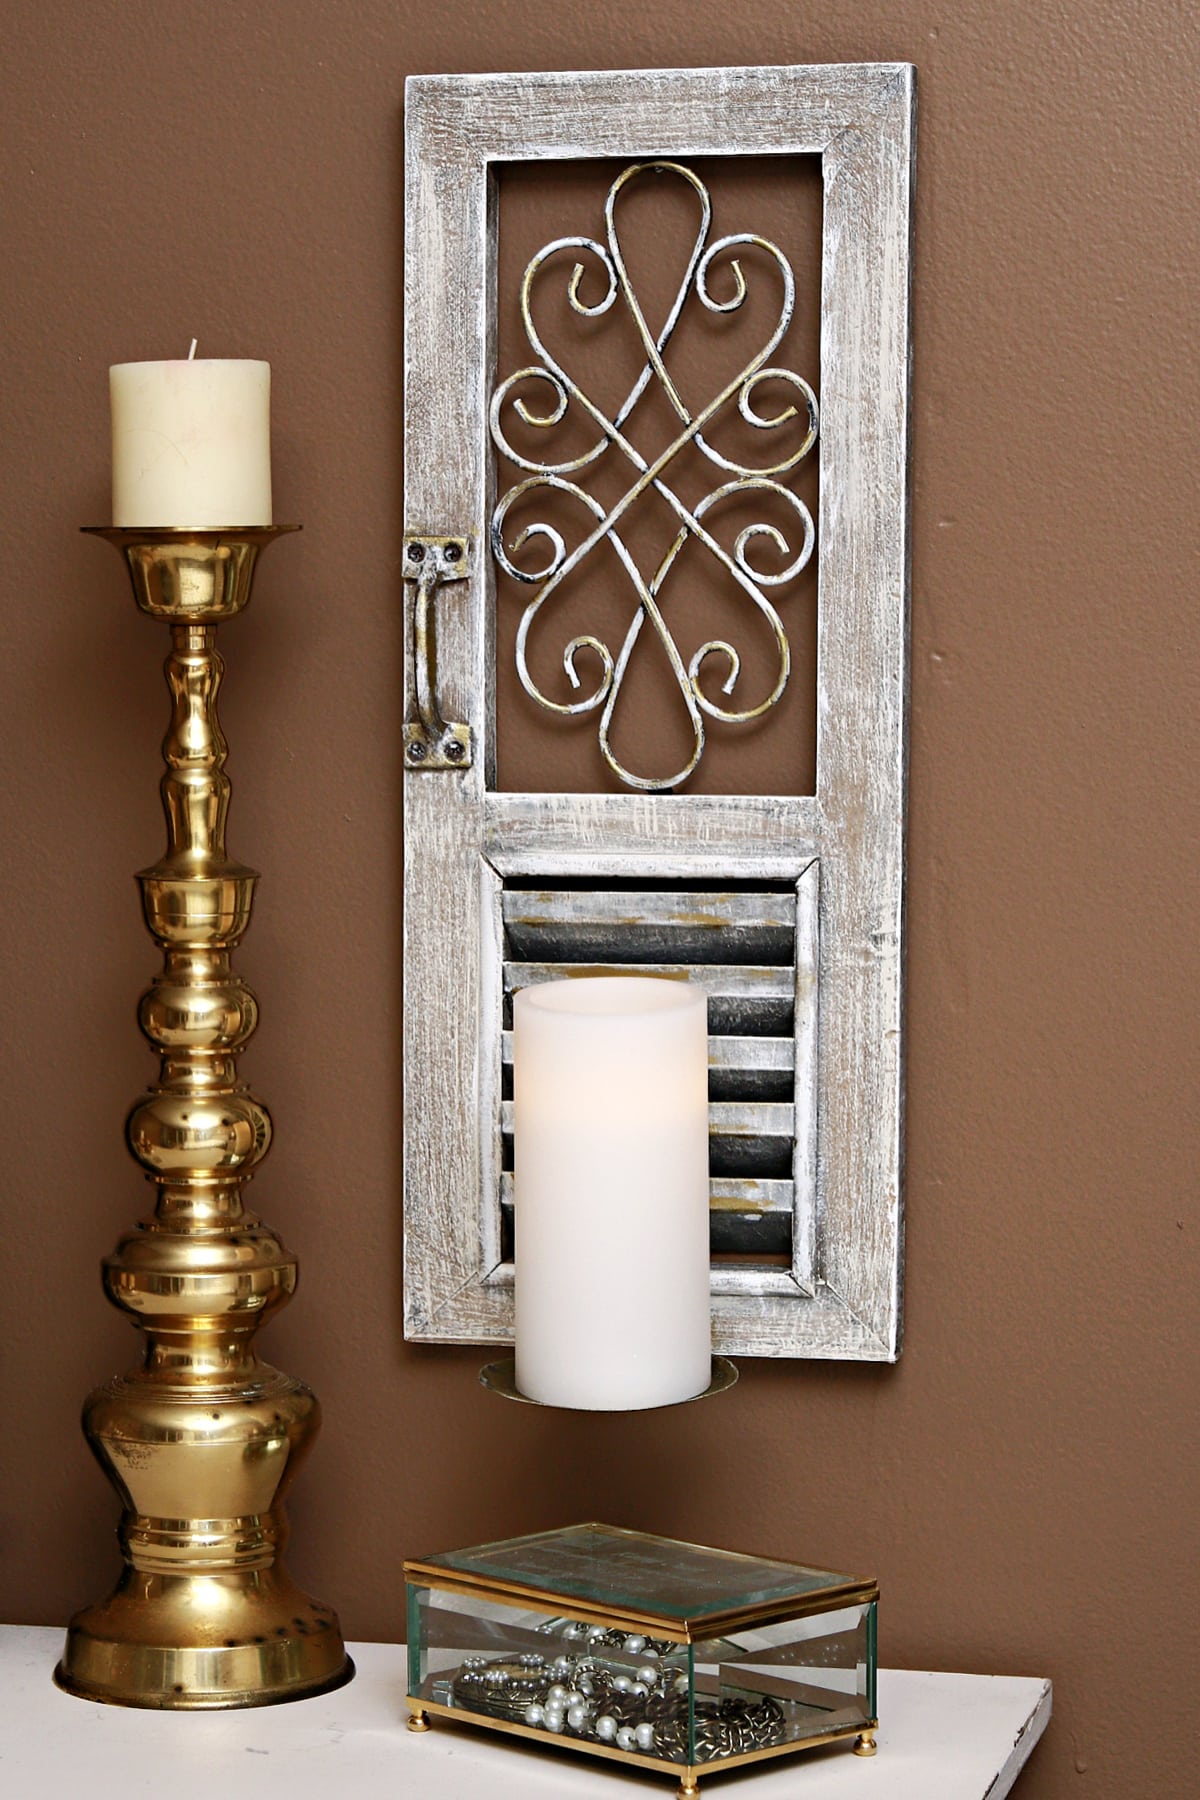
OK…..I’m finally done. I hung the candle holder in our master bedroom. The brown walls make a great backdrop. This photo was taken with just the bedside lamps turned on so you can see the LED candle glow.
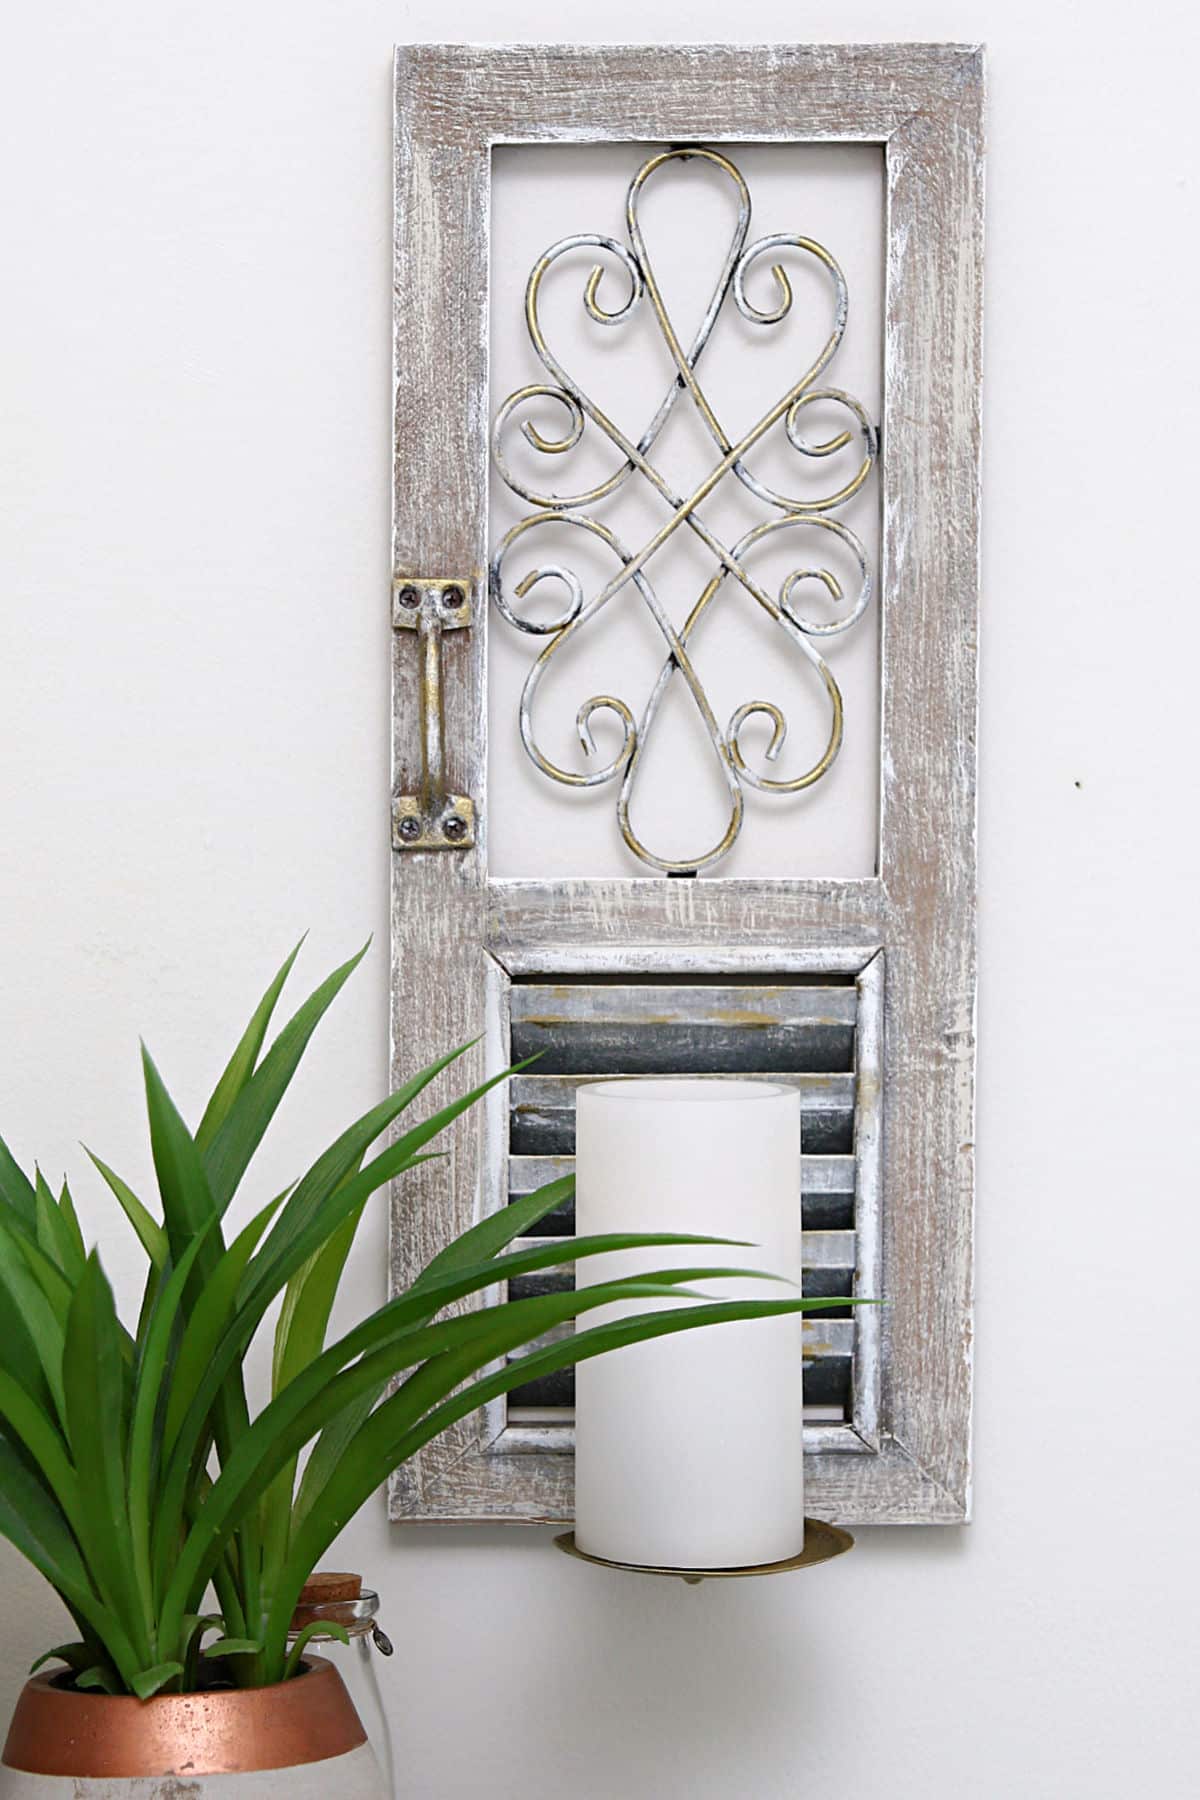
This photo was taken in the guest bedroom we refer to as “Sofi’s Room.”
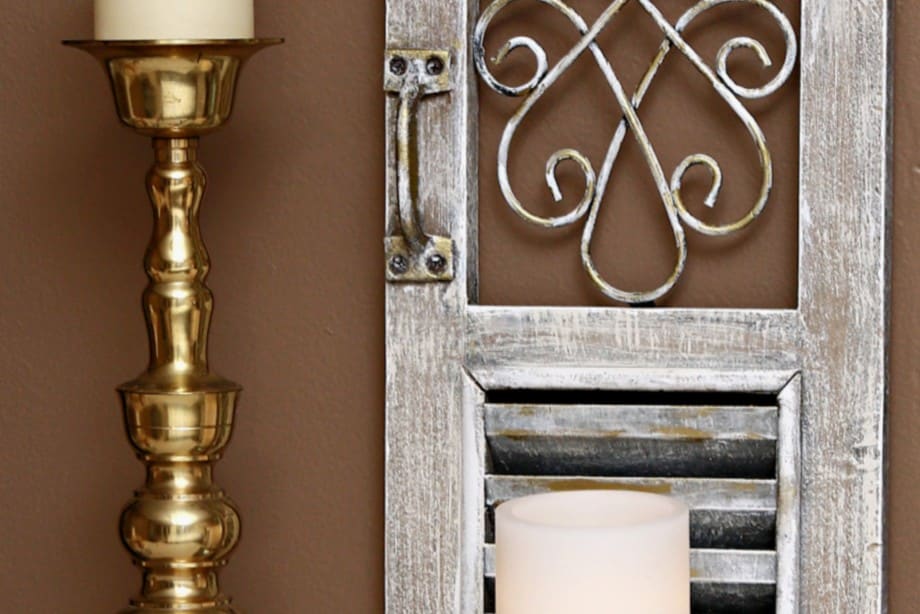
The candle seems a tad white for the holder, except when the lights are dim and the candle is turned on.
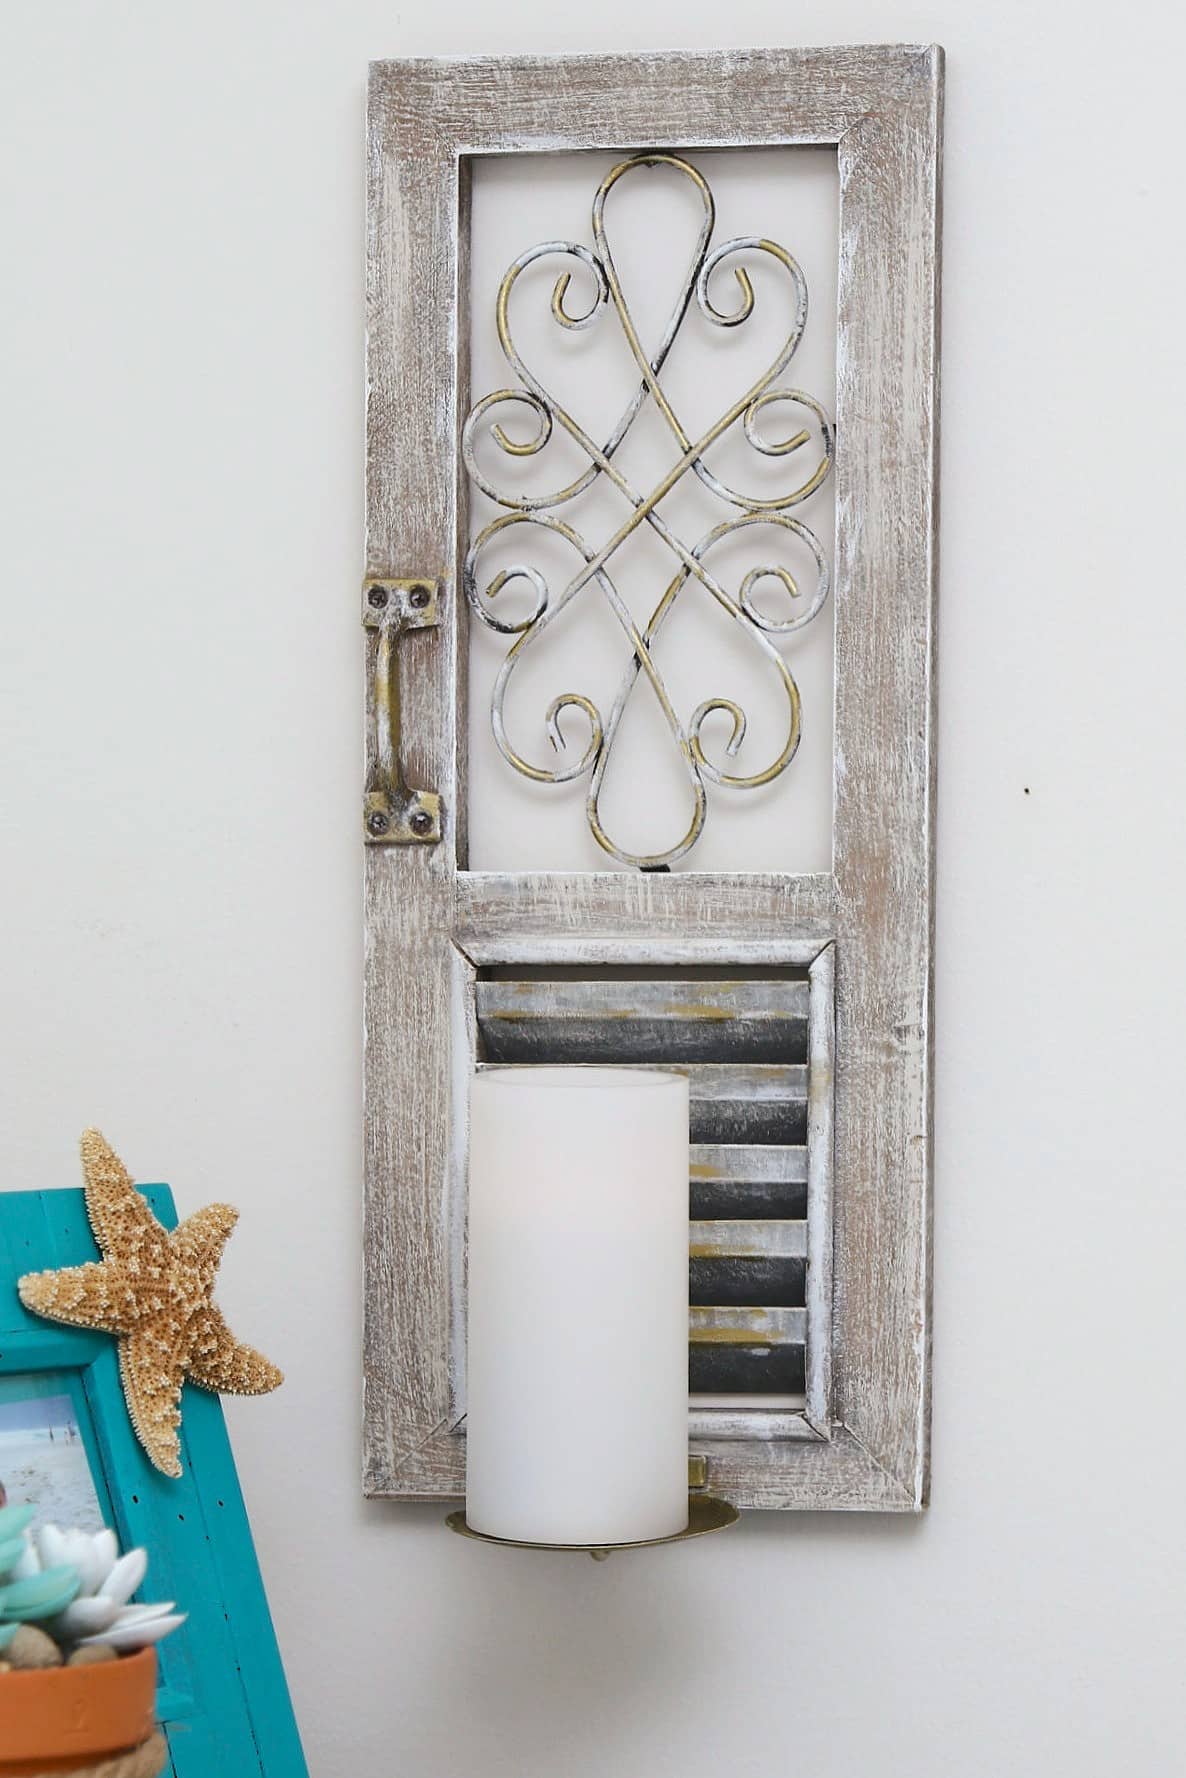
Those gold details were the perfect touch.
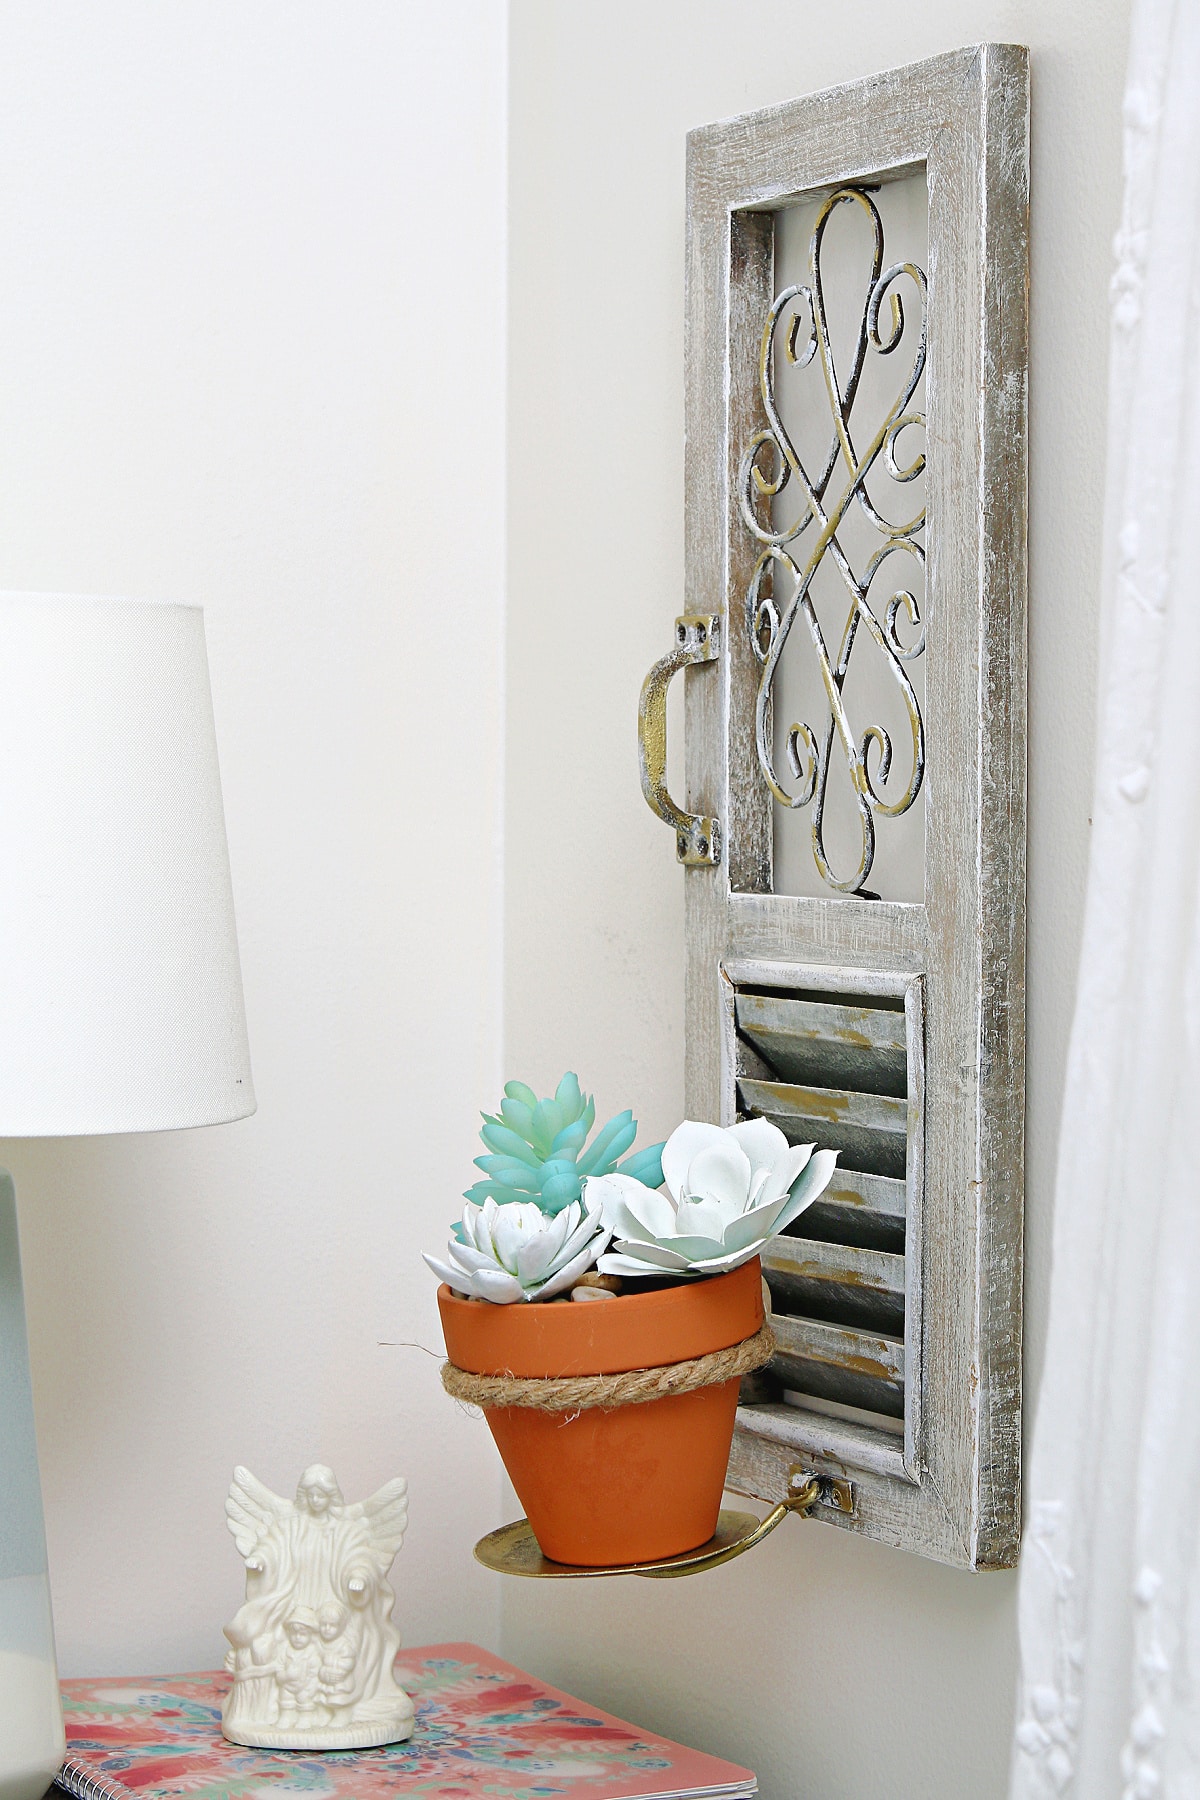
How about setting something else on that spot instead of a candle? More on the terra cotta pot next week, along with a fab seashell DIY.
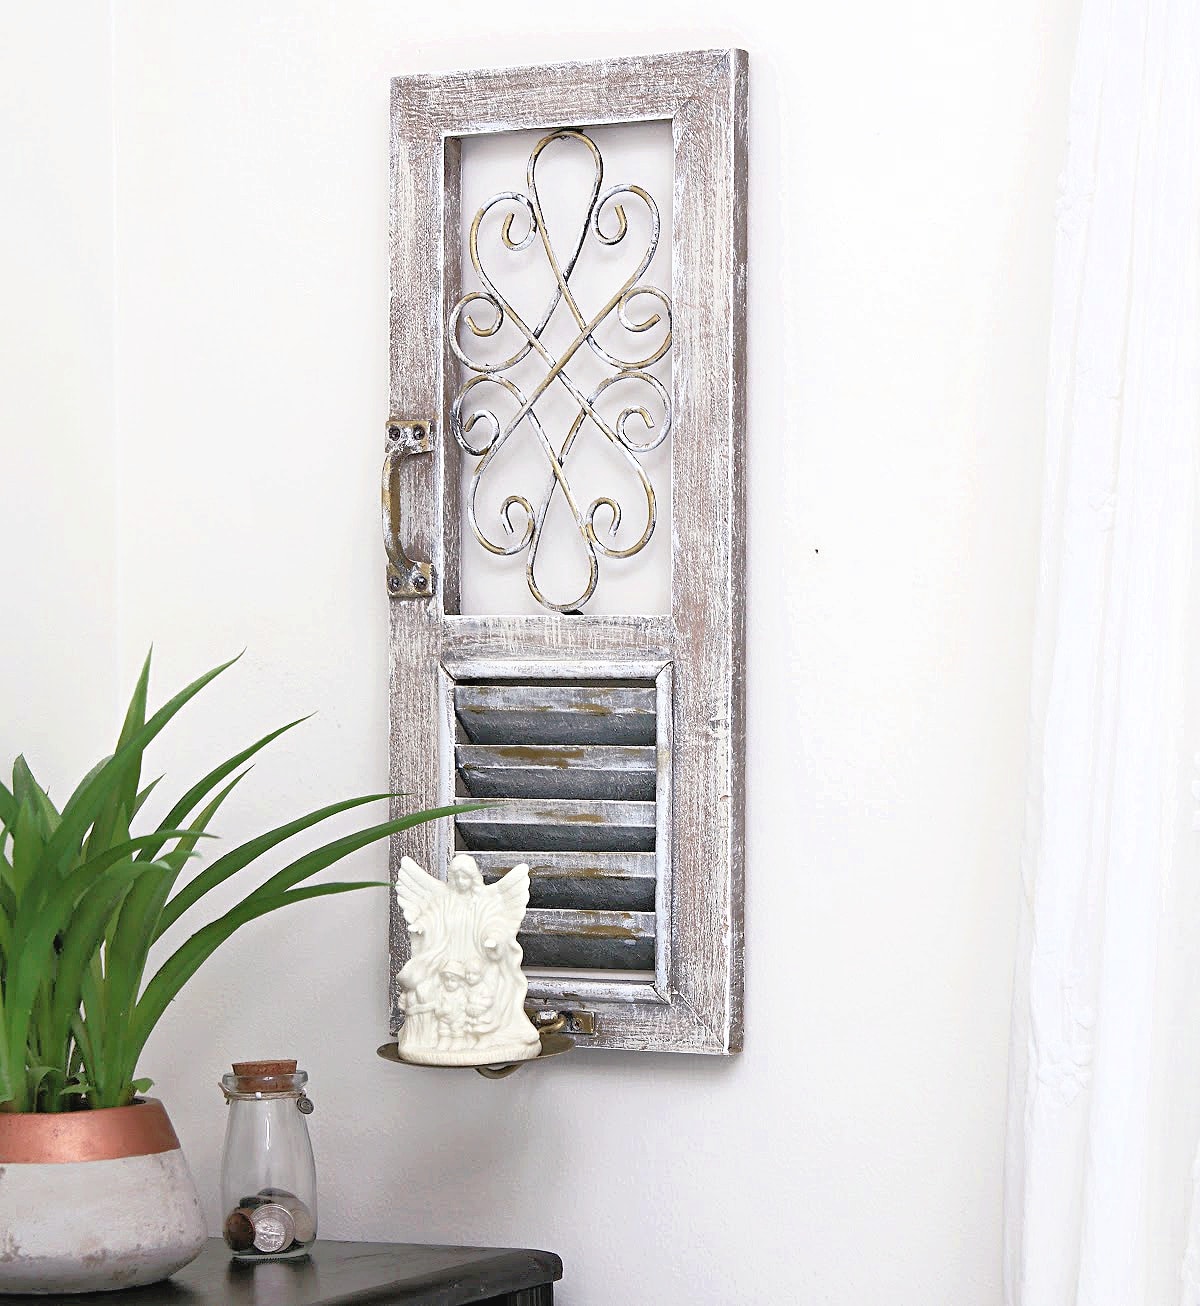
I also set a small ceramic angel on the metal holder. This might be my favorite display idea because the area where the wall decor is hanging overlooks Sofi’s bed.
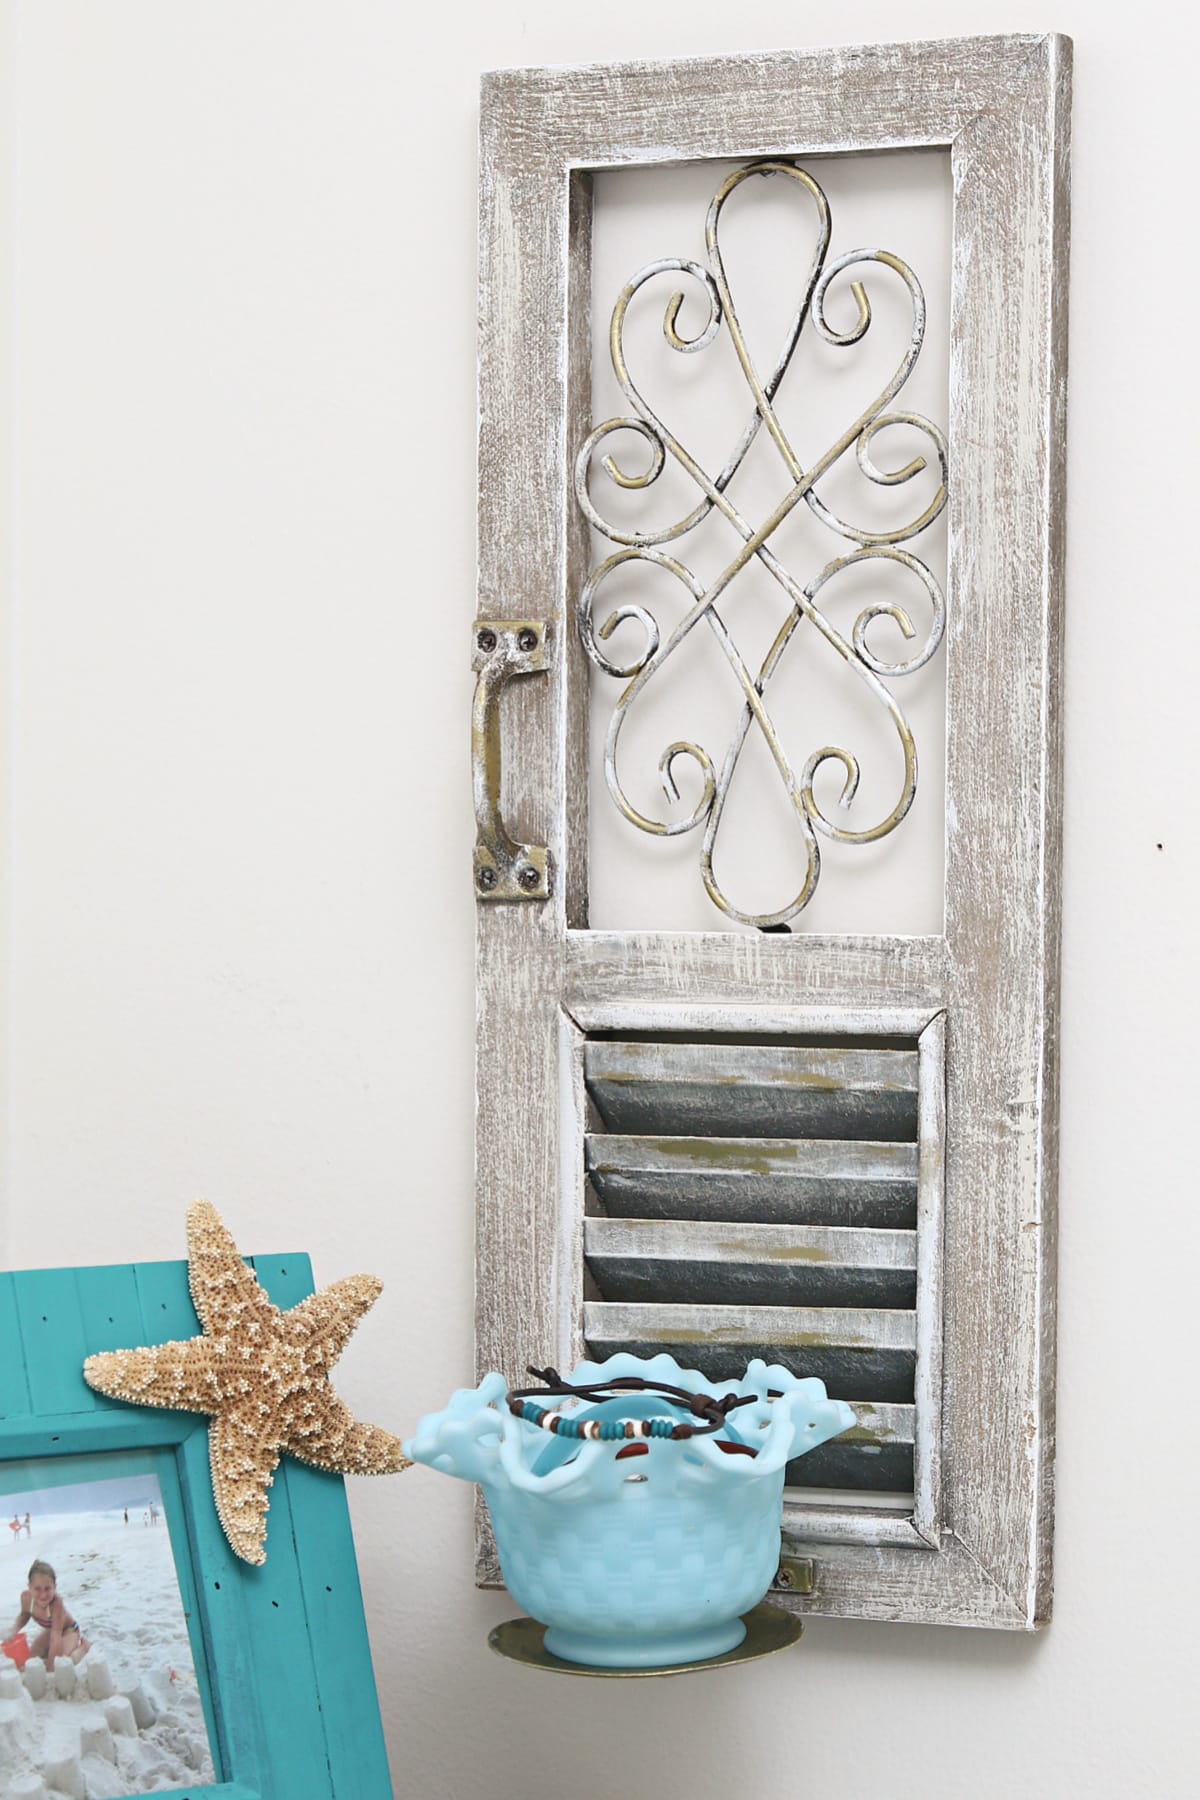
How about a vintage dish filled with bracelets? Do you have ideas for that candle spot?
Have you ever given a tired candle holder a makeover? Tell me what colors you’d use on this piece in the comments.
The Trashy Treasures Tuesday Tour
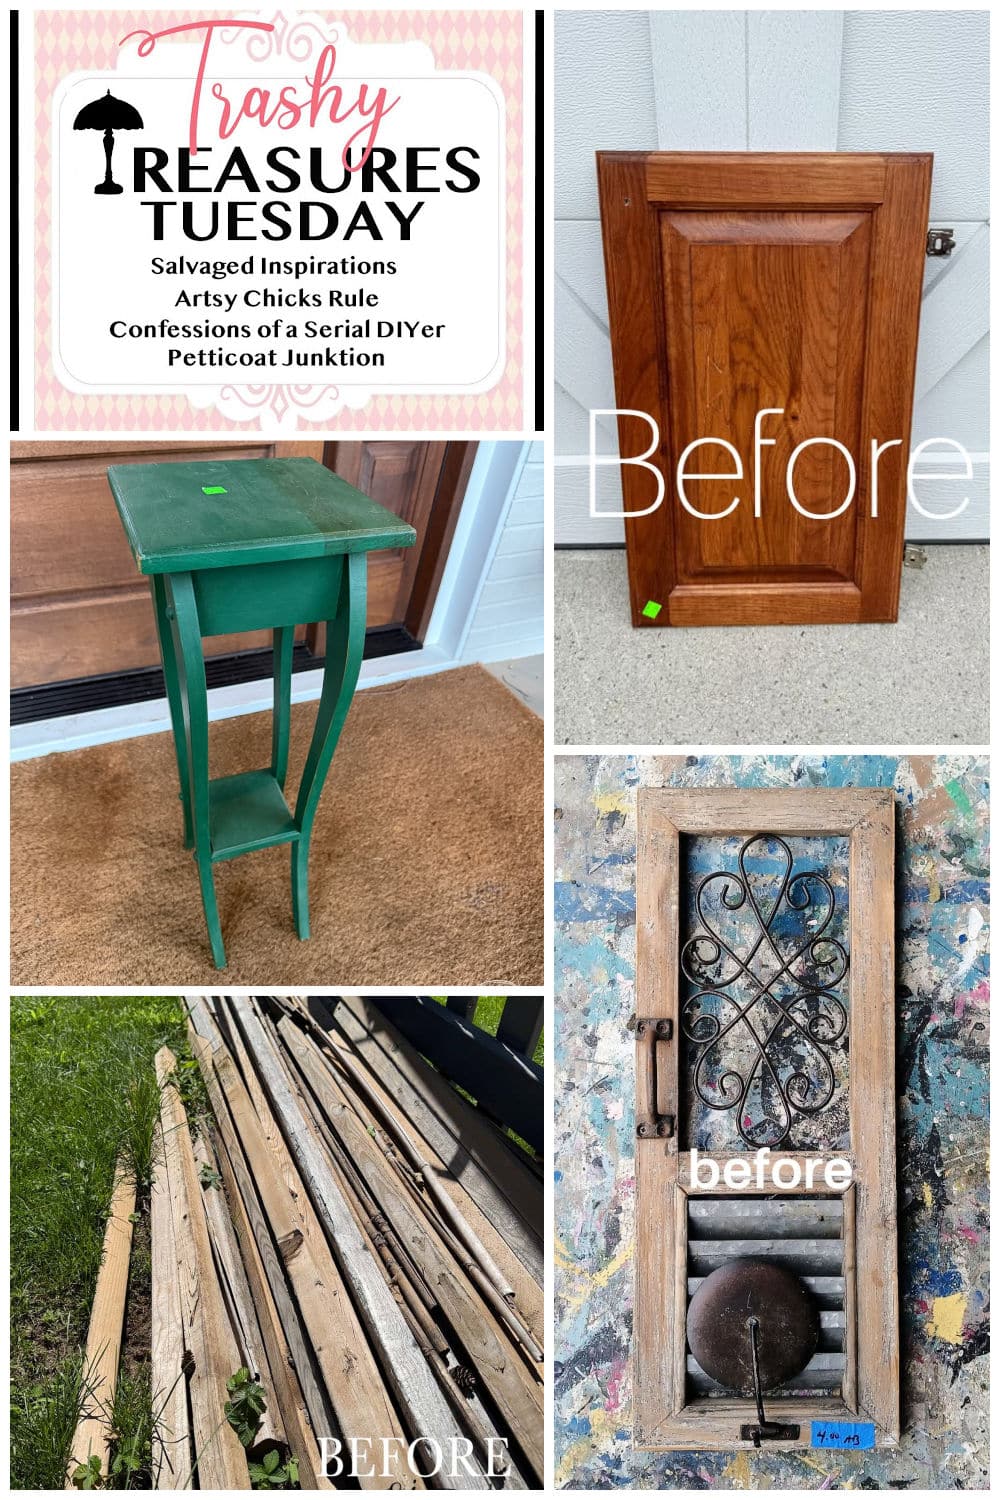
Now it’s time to take the tour. My friends are looking forward to your visit and your feedback. Just click the text links below the “before makeovers” photo collage…..
Trashy Treasures Tuesday Tour:
Cabinet Door Upcycle to a Shelf – Confessions of a Serial DIYer
DIY Scrap Wood Garden Trellis – Salvaged Inspirations
Petite Table Makeover – Artsy Chicks Rule
Candle Holder Makeover – Petticoat Junktion
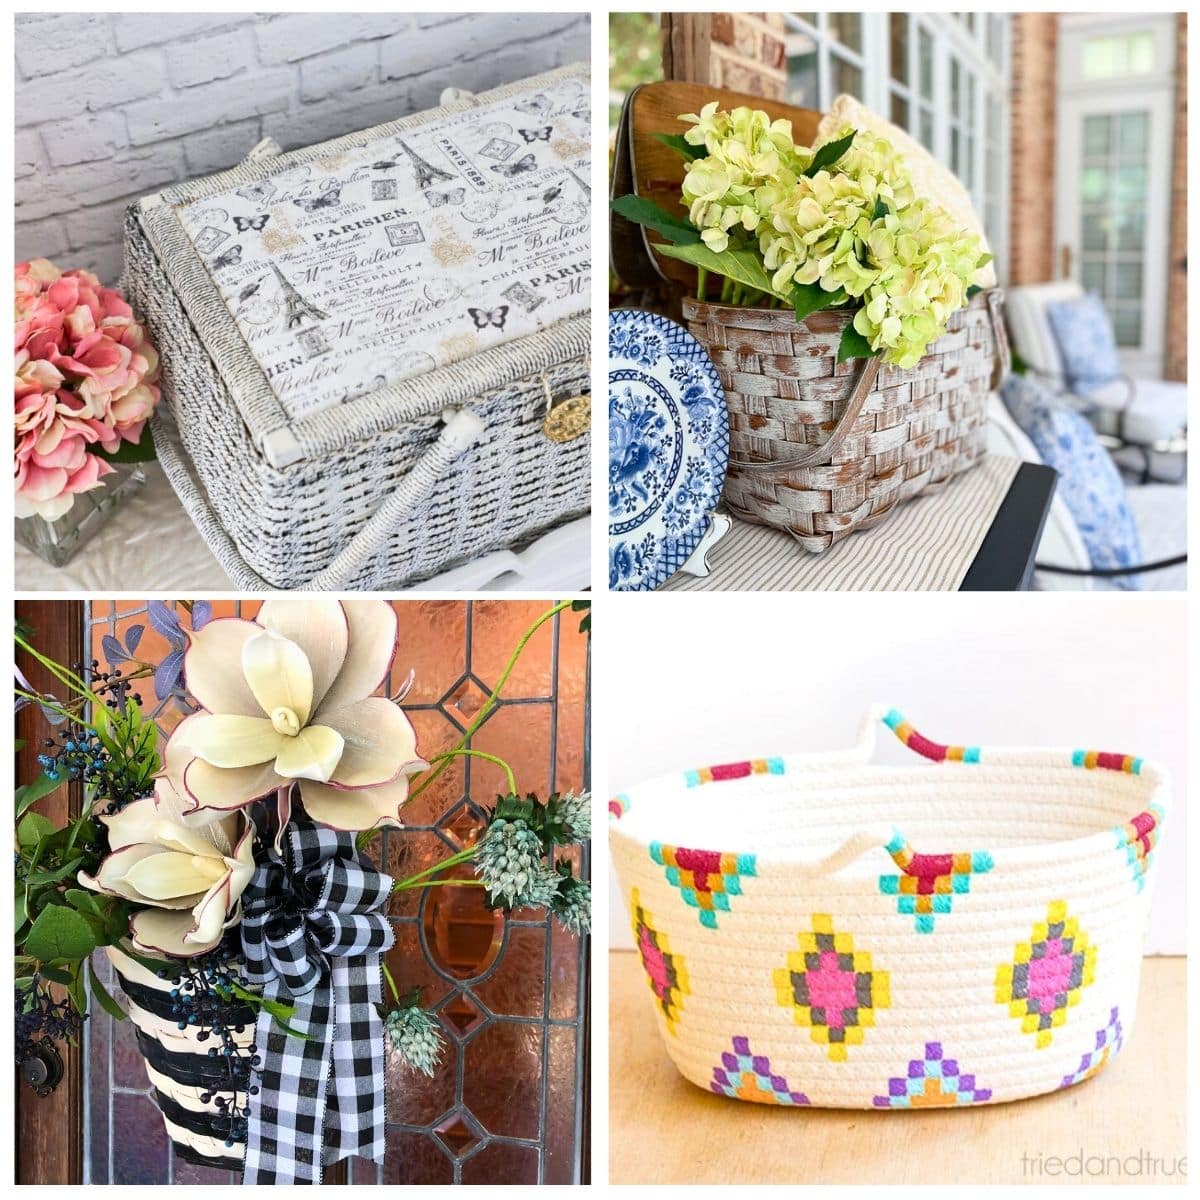
More candle projects for you….
How To Make A Silver Plate Goblet Candle
White Farmhouse Style Upcycled Candle Holder
Metallic Copper Spray Paint Candleholder Centerpiece Makeover
As always, thanks for being here, Kathy

This is very glam shabby – I love it!
I do love a good makeover and repurpose project! This one came out beautifully. Your post will be a feature this week. #HomeMattersParty
Brilliant, what a lovely makeover.
How fun!! So much better now, Kathy!! xoxo
Awesome makeover!! Love the colors!!!’
That turned out really pretty, Kathy. I like it with the candle, but I could also see it with a small bowl and a floating fresh bloom or possibly with a glass dish and one of those small air plants. Such a lovely transformation. Thank you for sharing.
I bet you had a ball stopping at all those yard sales! This turned out so well, and I love that you gave several ideas of how to use it! XOXO
Hey Kathy. I’m catching up on your posts and I know I’m a little behind but I love the way you always find creative things to do with “stuff” that most would give, sell or throw away. Keep it up. The candle holder is so cute. Love the gold touches. I love how creative all of you girls are. I also like how easy your website is to use and find what I’m looking for. Take care.
Super cute and I really like the addition of the gold gilding wax as well! Pinned XOXO