Spray Paint A Table Top Organizer Tray For The Bedroom
As an Amazon Associate, I earn from qualifying purchases.
Make a table top organizer tray for your bedroom. Thrift store shelves are filled with brass, glass, or wood pieces that would make perfect organizers with just a bit of prettying up.
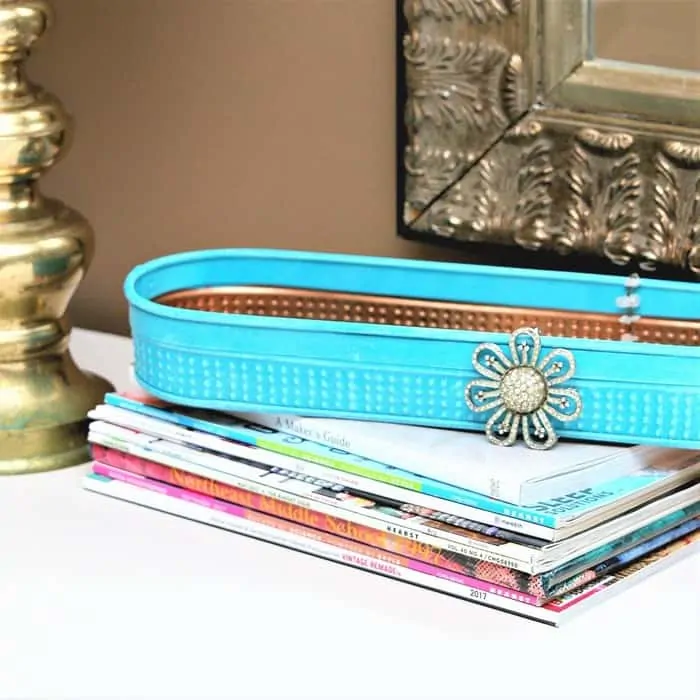
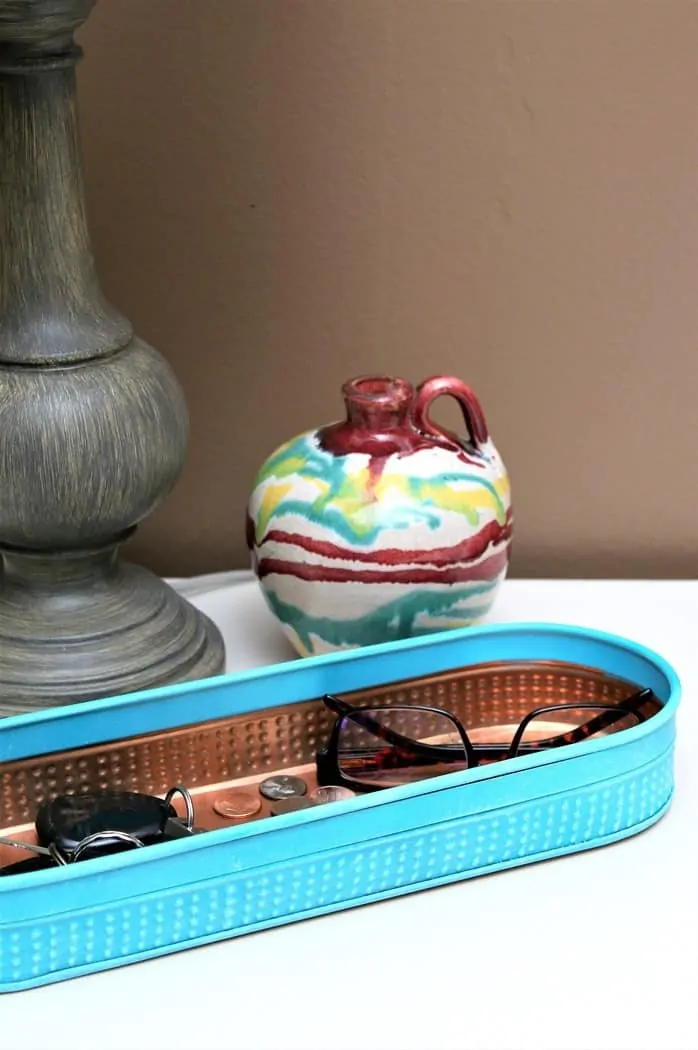
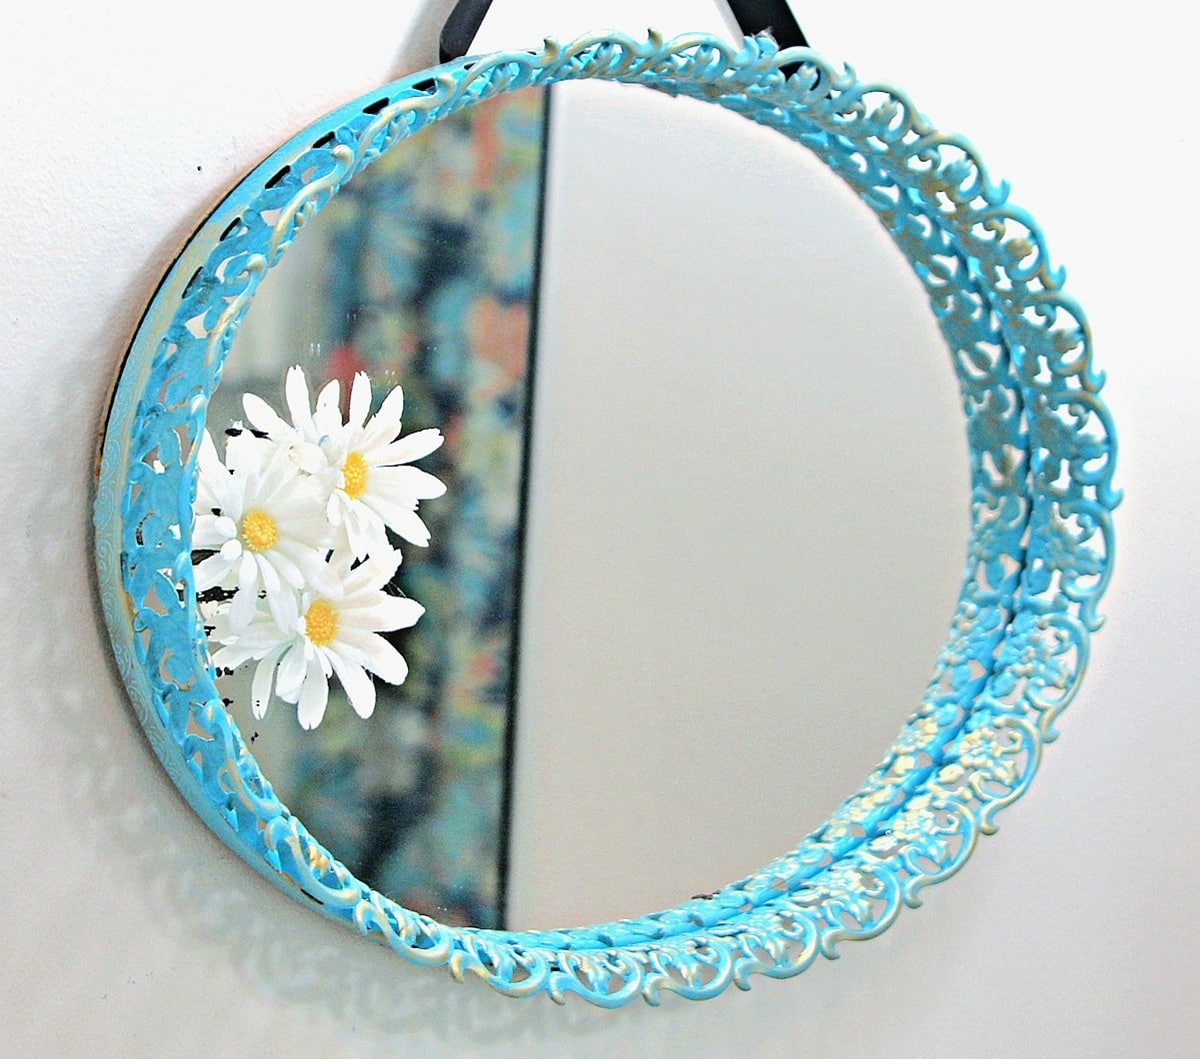
I found a nice brass tray and spray painted it in two shades of turquoise and then dry-brushed a bit of paint on it too. Sounds like overkill but it looks great. The whole process only took minutes.
Today is Thrift Store Decor Day and the girls, as usual, have some amazing projects. You can find the links to the makeovers at the bottom of the post.
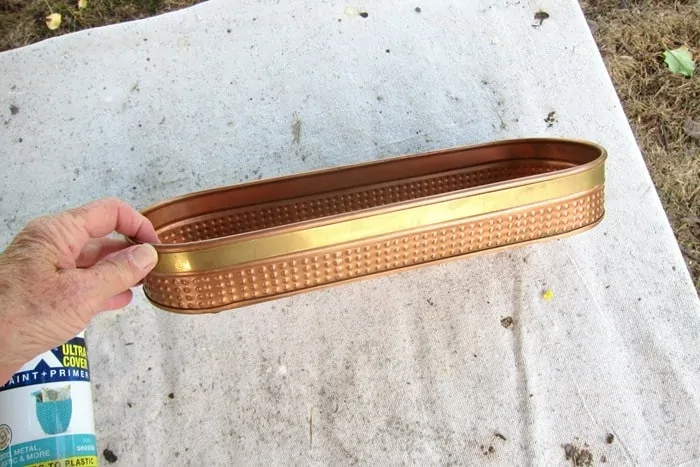
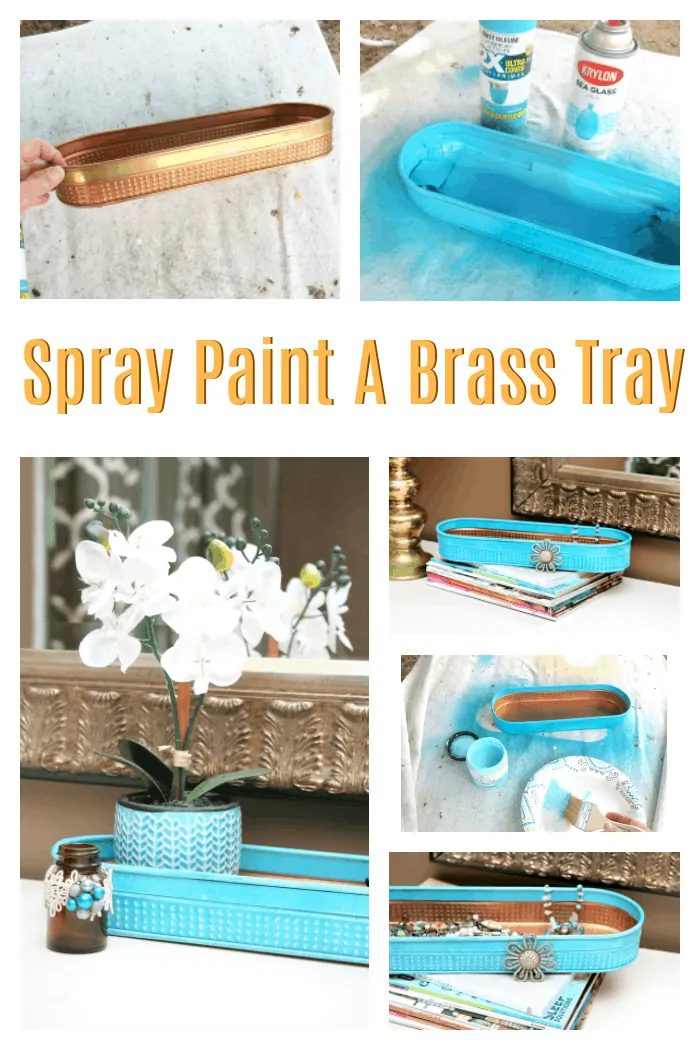
My project started with this brass, copper colored tray. The shape is unique and I like all the texture!
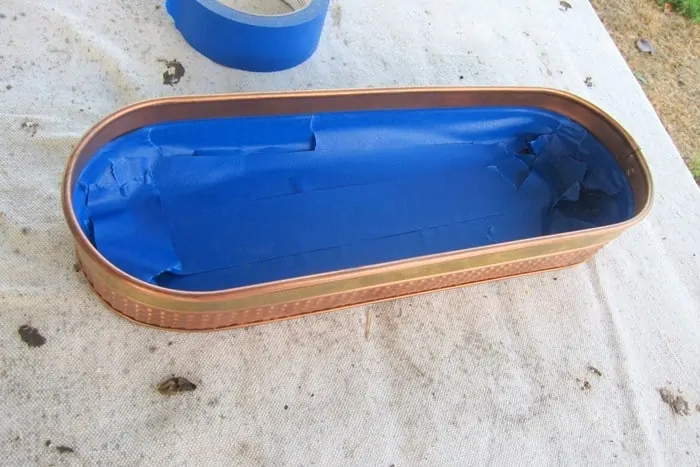
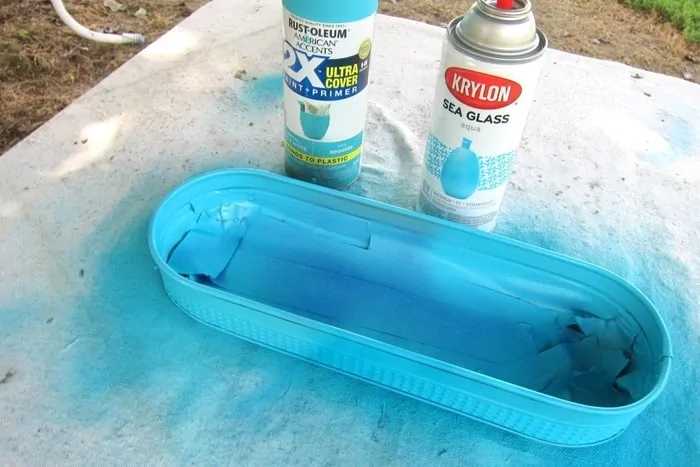
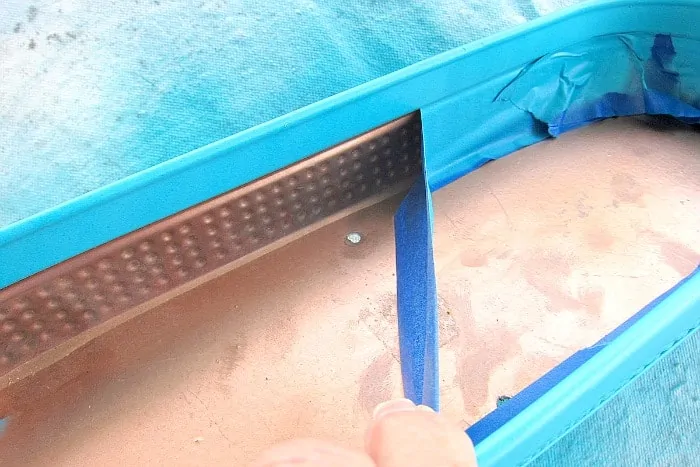
I really did like the copper color so I saved the inside. The contrast with the turquoise paint will look soooo nice. I used painter’s tape to completely cover the inside of the tray below the short inside rim.
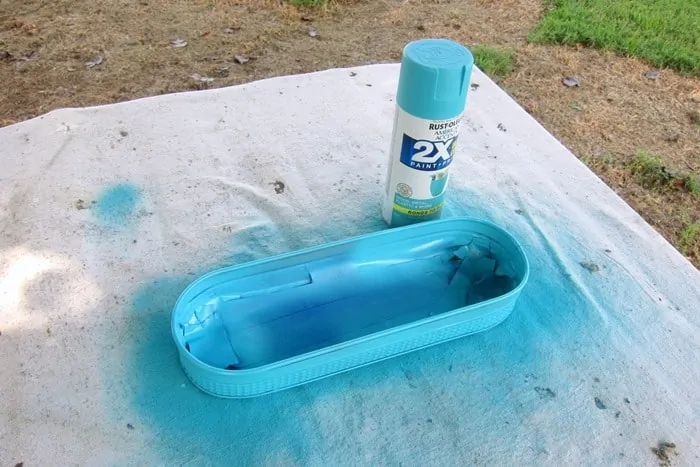
I choose Rustoleum Spray Paint, color Seaside satin finish, to give the brass tray a new look. Only the new look was too flat or one dimensional for me.
I went on the hunt for more spray paint and found the Krylon Sea Glass paint, aqua color, in my stash. I’m an equal opportunity paint brand DIY’er. If the product is good I use it.
I lightly sprayed the sea glass color on the tray without getting complete coverage. That gave the tray a subtle two-tone look.
Don’t you just love painter’s tape. Those nice straight, no blob, paint lines always look so cool.
Next I thought about distressing all those lovely details but that wouldn’t lighten the look and the two-tone turquoise color was still a bit darker than what I was going for.
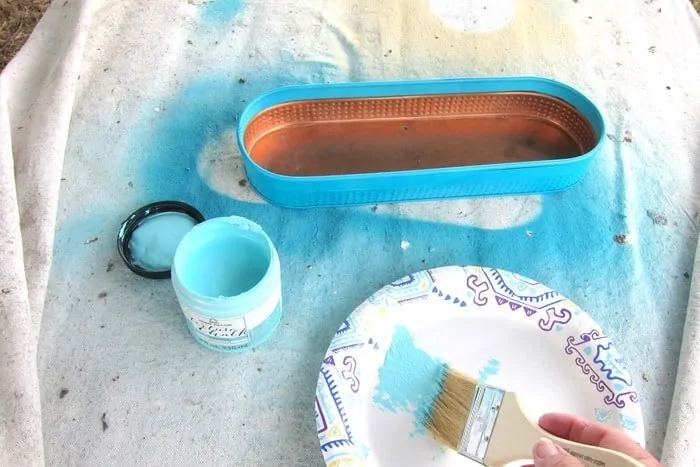
In the end I decided to dry-brush the raised details with even more paint. I used FolkArt Texture Chalk, color Paradise, to lighten the look.
Dry-brushing is so easy. All you do is dip the very tips of your paint brush in the paint then wipe off almost all of the paint on a paper towel or paper plate.
Next you run the brush lightly over anything you want to dry-brush, preferably an item with a lot of raised details. That’s it!
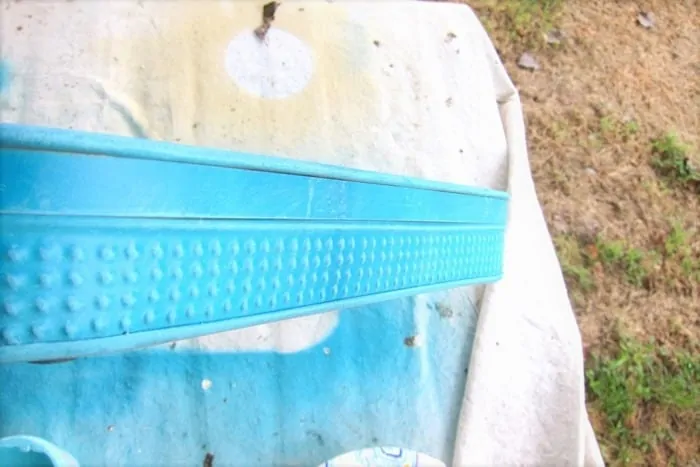
You can go over and over the details with the brush and really make them stand out or you can go light with the dry-brushing which is what I did.
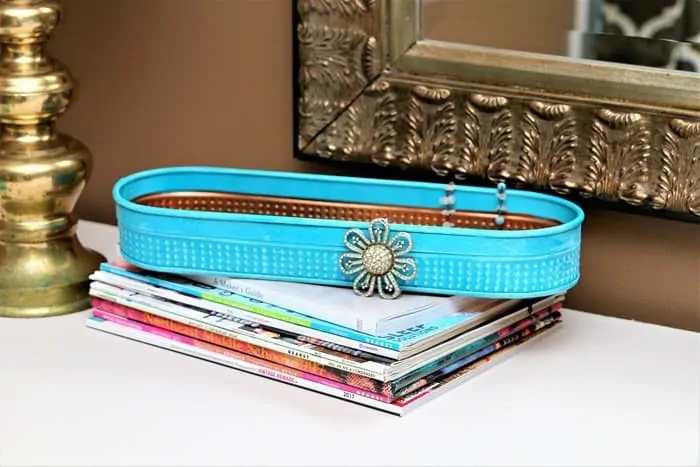
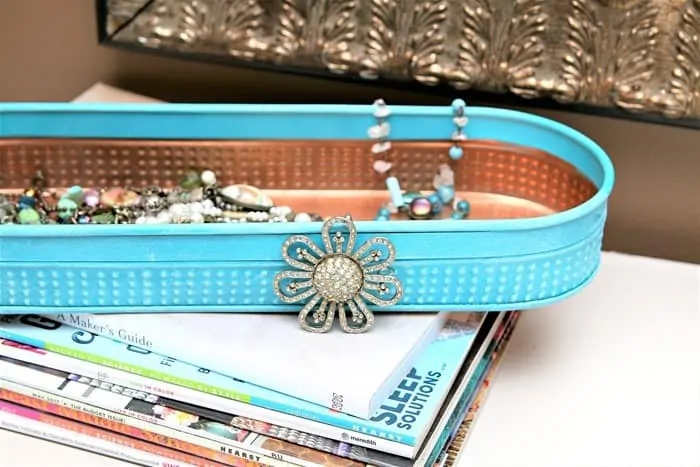
See how those little dots pop? And what do you think about hanging my blingy rhinestone pin over the side of the tray. Pretty cute huh.
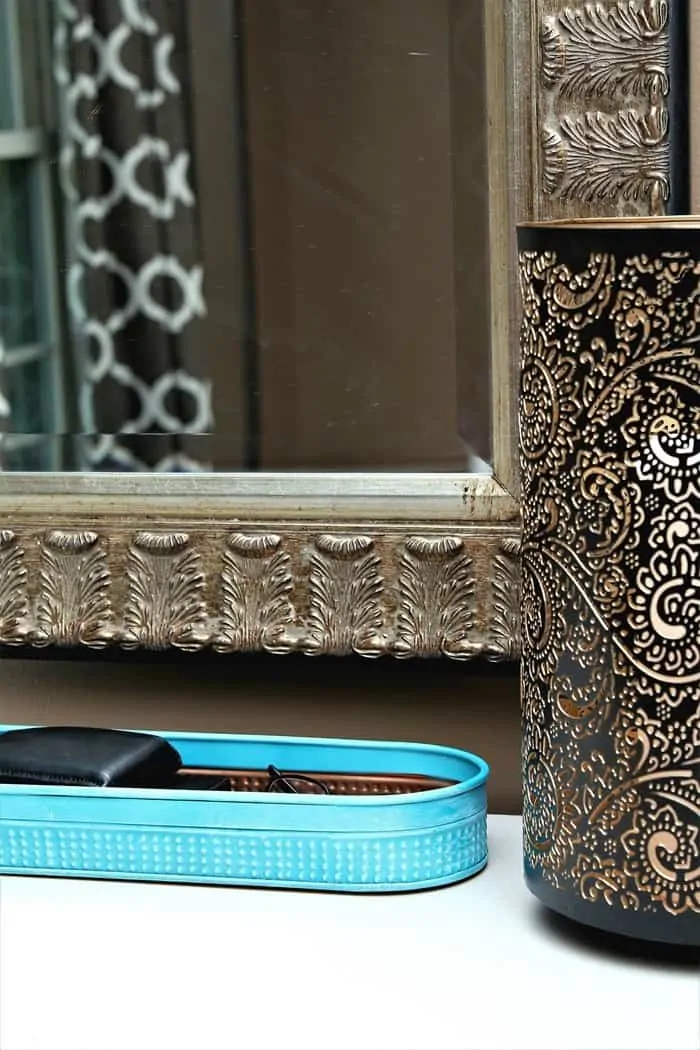
I got the tray so hubby would have a place to throw change, keys, glasses, whatever. Before the bedroom makeover he had a decorative cup he tossed his change into and the other stuff just set on top of the chest. Now it’s all corralled.
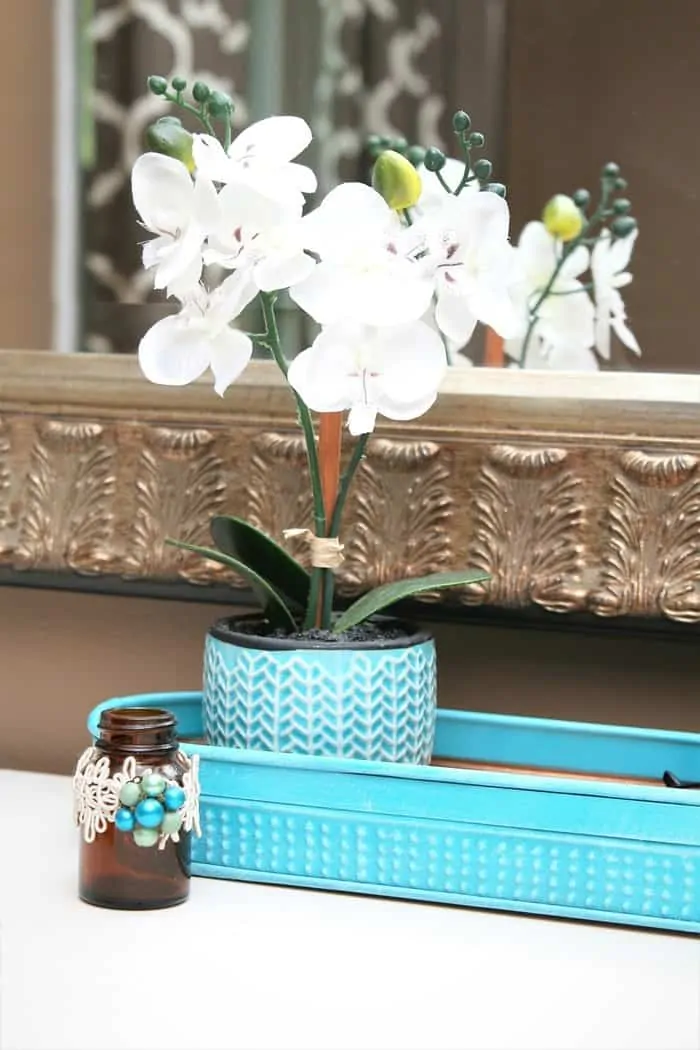
But, the tray does look cute holding decorative items like the small pot of faux orchids and my costume jewelry. You can find how to decorate miniature bottles with vintage jewelry here.
The copper finish inside the tray really stands out too. I think this tray might have originally been part of a gift set, holding some kind of goodies.
I took a photo of the bottom of the tray with the brand on the bottom but can’t find the photo to save my life. I even looked in the recycle bin. I might find it one of these days.
Ah, here it is finally on the nightstand on hubby’s side of the bed. Handy. I guess I’ll let him use it for his stuff.
Find These Paint Products on Amazon:
FolkArt Texture Chalk-Paradise
Table Top Organizer Tray
What do you think of all the layers of paint? If you missed the whole brown bedroom makeover (so fabulous) you can see it here.
Want more easy spray paint projects? Find them here.
Want a quick tutorial on dry-brushing. I have a video I made for you…..
[adthrive-in-post-video-player video-id=”a4LD2Vb4″ upload-date=”2018-07-19T13:02:06.000Z” name=”Dry Brush Paint Technique” description=”Detailed tutorial showing how to paint furniture using the dry brush paint technique.” player-type=”default” override-embed=”default”]
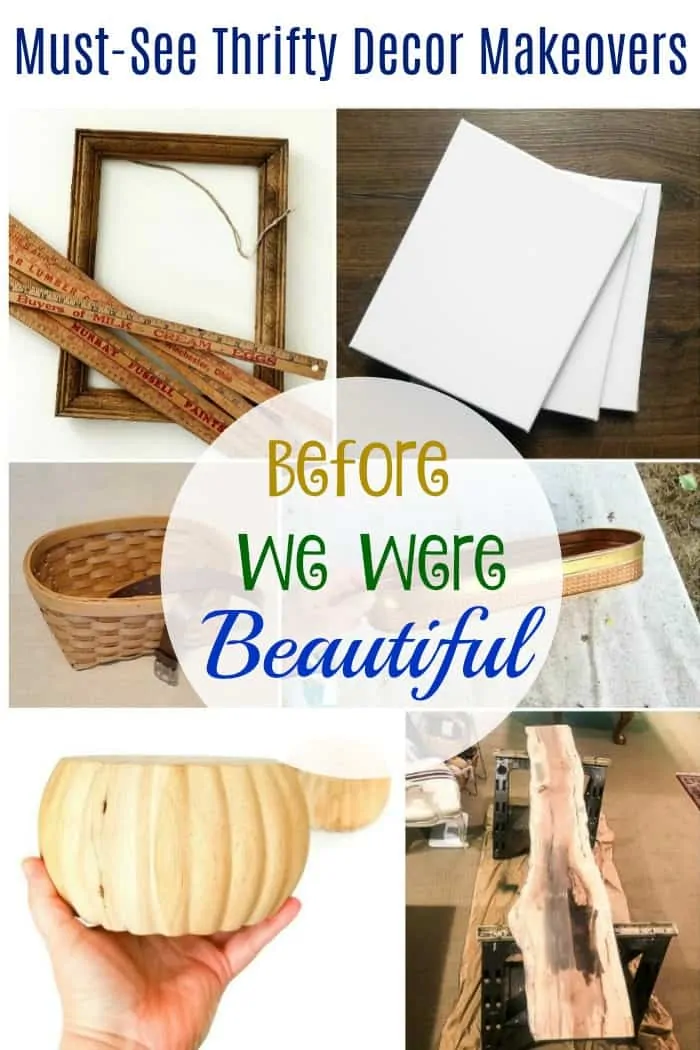
Time to see what my friends have for us. Just click the text links below the “before” makeovers photo collage….
Fall Tissue Paper Art Domestically Speaking
You are here…. Petticoat Junktion
DIY Painted College Sign Our Southern Home
Repurposed Yard Stick Craft Idea House of Hawthornes
Bun Feet or Sofa Feet As Wood Pumpkins For Fall Sadie Seasongoods
Thrift Store Basket Leather Belt My Repurposed Life
As always, thanks for being here, Kathy

This turned out great, thanks for joining the Linky Party! Please be sure and join us again this Wednesday (9/23) for our linky party.
Very pretty upcycle, Kathy, love the combination of the pretty turquoise and copper! Pinned
Copper and Aqua is my favorite color combo!! I’d love for you to share over at our weekly Wednesday Creative Crafts Linky Party
Have a great week!
Creatively, Beth
Hi Kathy! Great project and great colors
Woohoo Kathy! I love that new tray. I like that you left the copper on the inside and LOVE the tiny bit of dry brushing! It’s perfect in every way.
pinning!
gail
Very pretty- you’re right, the dots really pop now which I just love!
I love that blue!!!
So cute. I love the blue and copper together. Thank you for sharing.
I love the way it turned out. It’s so pretty, and useful!
Love, love, love the blingy pin! I was thinking of using copper and turquoise on my porch this year for fall decor!
I love the combo of the blues and copper! So many uses for a container of this shape. I could so see it with some adorable baby pumpkins for fall!