Stenciled Christmas Wall Decor
As an Amazon Associate, I earn from qualifying purchases.
Stenciled Christmas Wall Decor In Turquoise And Red
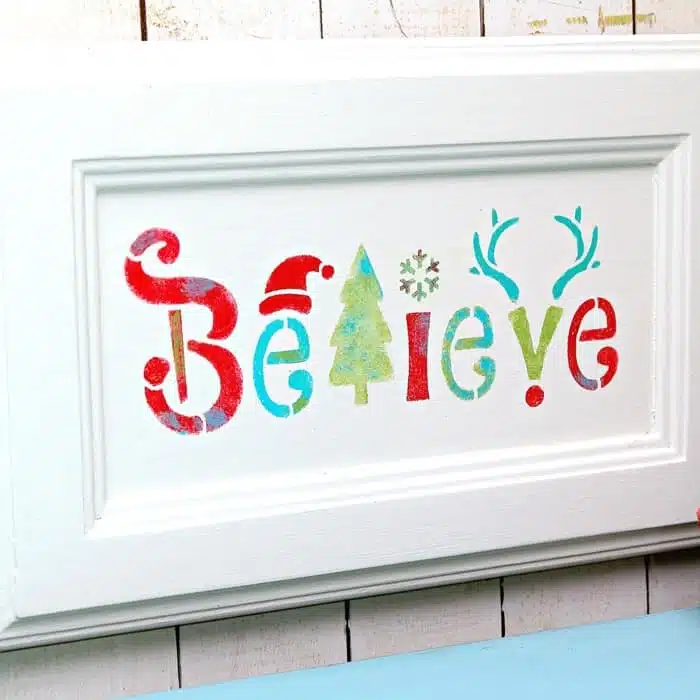
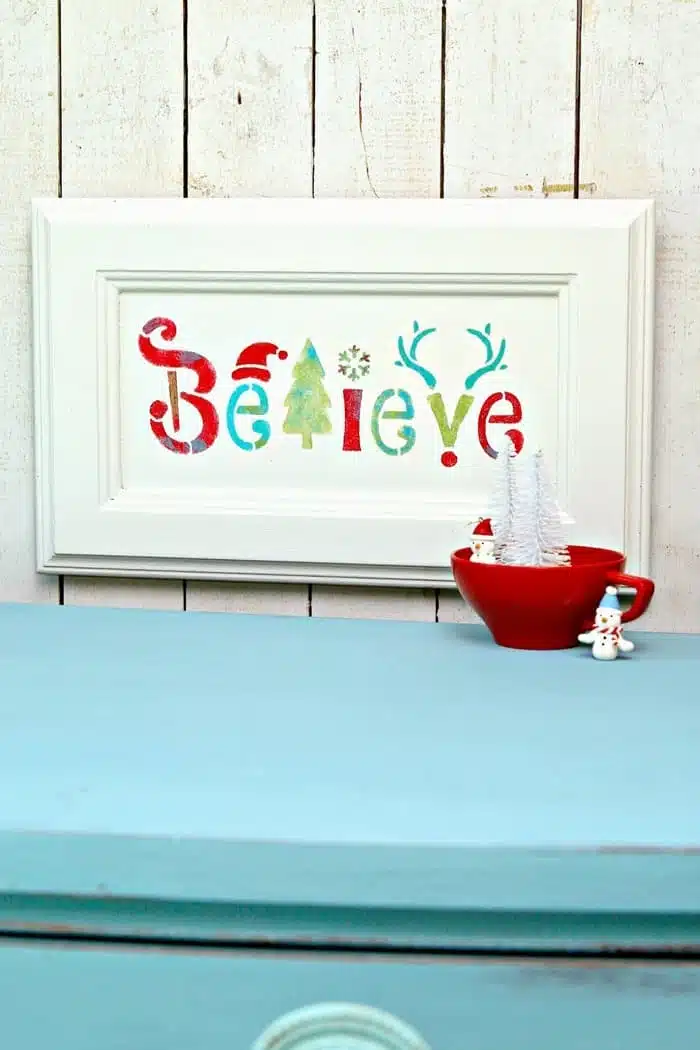
This stenciled Christmas wall decor is a Believe sign that’s perfect for any room.
It’s awful hot here in Tennessee. The Believe wall sign I made this weekend had me believing in a cool down. And it happened. Did it cool down a bit where you are? For this easy project I pulled out all the stops with pretty paint colors and a fun stencil. I made a video too, always an adventure.
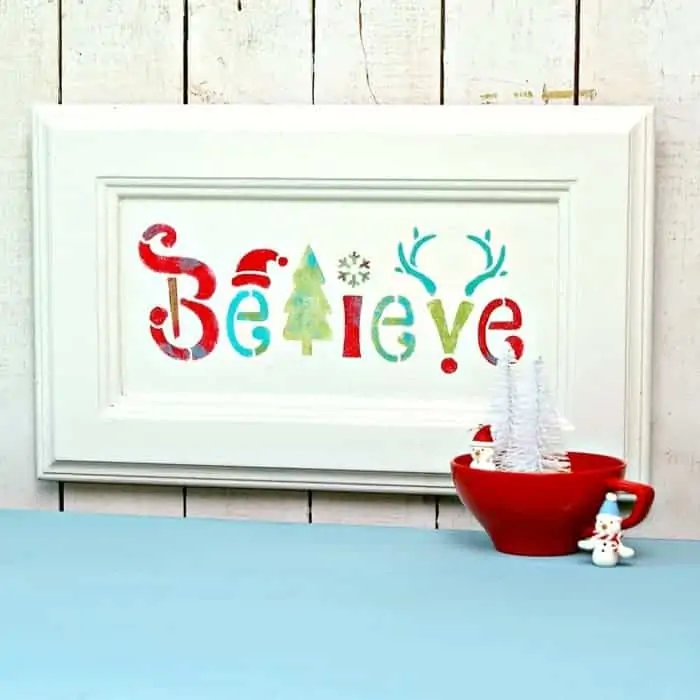
How about those colors. I selected lime green, turquoise, and red for my color scheme. I’ve been going non traditional for Christmas the past few years. I love red and green and these colors are just a slight variation on the traditional.
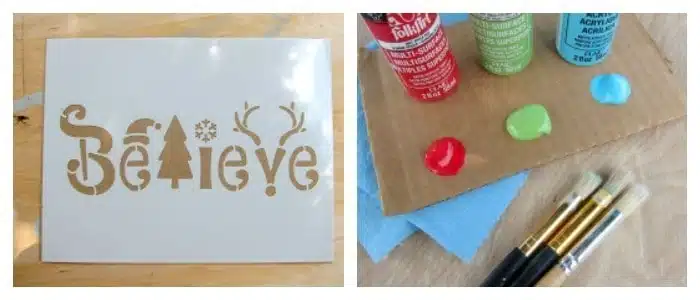
Believe stencil from Stencil Revolution
The letters of the Believe sign were made from different items that symbolize the magic of Christmas like the Santa hat, a snow flake, the cute Reindeer antlers and red nose, and of course the Christmas tree.
I used FolkArt Acrylic paints and stencil brushes. You don’t have to have a bunch of stencil brushes. Just wash them off when moving on to another paint color.
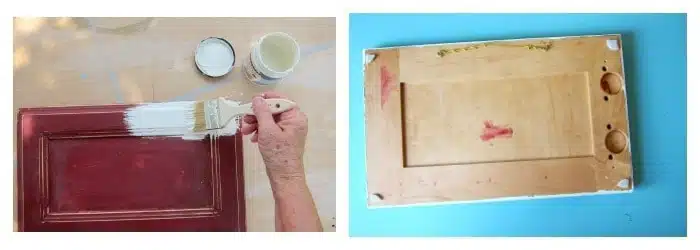
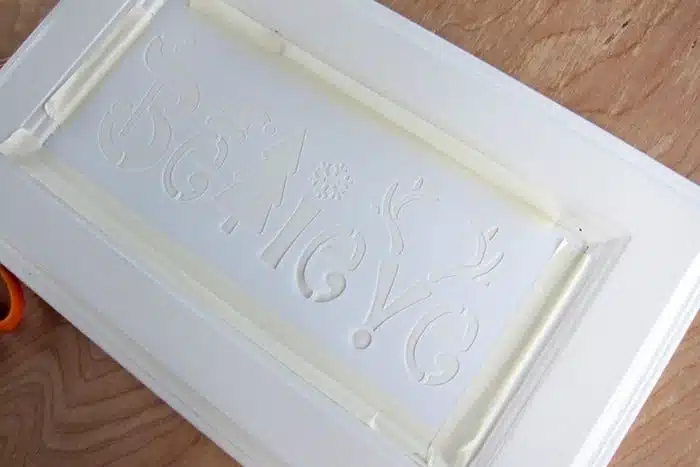
I cut the stencil to fit into the inset part of the cabinet door then taped it down with stencil tape.
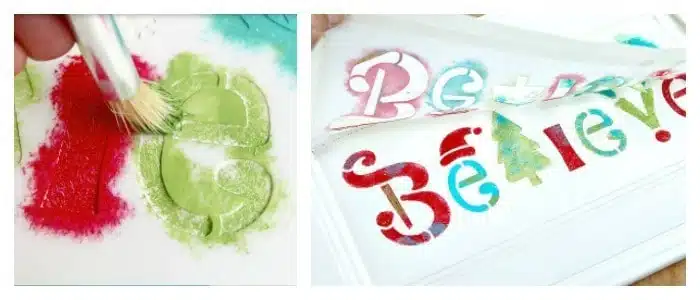
Then I started stenciling. You guys have seen me do this a bunch. I have tutorials and also videos of the process. A dry brush is the secret to stenciling and the secret to a beautiful professional looking stenciled design is to layer the paint colors.
I decided what the main color would be on each letter and stenciled them. Next I highlighted the letters with a second color just all willy nilly. I didn’t give it a lot of thought. I knew the green tree would look cool with bits of turquoise here and there and the snowflake would look nice with dabs of all of the colors.
It’s hard to explain but you just have to think about it and go with what colors you believe will work together. If the colors don’t look right then paint over the stenciled design and start over. I’ve done this before. It’s nothing to be embarrassed about. Mistakes or bad color combinations happen a lot around here.
What do you think about the color combination. I can think of others; red, green, black…….orange, turquoise, lime……fuchsia, metallic gold, lime green. I bet metallic silver and metallic gold with a touch of pink would be pretty. What’s your favorite color combination?
I almost forgot to mention that you can put this stencil on anything. A simple white canvas would work or any reclaimed piece of wood, or maybe buy an 8×10 picture frame and stencil a piece of mat board. I’m sure there are other things that could be used too. Think outside the box!
Watch the video below showing how I stenciled the Believe wall decor…
[adthrive-in-post-video-player video-id=”LqHgeOOL” upload-date=”2018-07-23T01:49:51.000Z” name=”Stenciled Wall Decor Believe Sign” description=”DIY Stenciled Believe Wall Sign or Christmas Decor”]
Believe Wall Sign Video
Make your own Believe Wall Sign
The Believe stencil I ordered is an 8×10 and is made from 10 mil mylar. I love the thickness, no creases and very easy to work with. You need this stencil!
This week we have Furniture Fixer Upper day and my project is sooooo pretty. Yes, I’m patting myself on the back. Wait until you see it. Thanks for being here and have a great day, Kathy

looks fantastic – i can imagine it in a shop for $25+! great colors!
Thanks Jane Ellen, Glad you like the stencil. I forgot to mention that it doesn’t have to be a cabinet door. A canvas, reclaimed piece of wood, clipboard, etc. would work!
So festive, love the colors you used.I get tired of red/green, don’t go in our l/r ,prefer the aqua. Your sign is so doggoned cute, would love to make one of those, Now if could only find a cabinet door scarce at Habitat for while now and prices have gone up. The price of their shutters is so high.
Would love to win a stencil, thanks for chance.
Happy week
Super hot here but at least no humidity as we had in KY.
Cute sign and I love your color combinations! Very imaginative! I have been wanting to try stenciling. Thanks for the giveaway.
Thank you Colleen.
Thanks Dee 🙂
Thanks Stormee!
You must be putting too much paint on your brush. I have a great tutorial here…https://petticoatjunktion.com/painted-furniture/how-to-stencil-like-a-pro-by-layering-paint-colors/
Thank you Rita. I bet your friends and family would love the signs.
Good Luck!
Thanks Allison! I bet that Reindeer panel is cute!
I love those colors, in fact I just bought a quilting panel this weekend with a Reindeer and the saying I wish you… Joy, Peace and Happiness, In those colors! I’ve been using Blue and silver but the teal, green and red is so much more festive!
Great give away! I love stenciling. I have never seen this stencil before. Sure hope I win.
Love the sign..I would make a few for friends and family. You did great work as always.
UGH!! No matter what I do, my stenciling always looks like crap lol. What am I doing wrong? Ready to give up on stenciling for-ever!!!
Thanks for another great give away. I love the colors combination you used and the way you accented each color with another color from the palette. It would have been cute with just your non traditional base colors, but the high lights really make the sign. Such a creative mind!!!!!
That is very cheerful and pretty! I really like the color shades you chose. Better than traditional for getting noticed. Thank you.
What a darling wall sign.
Thank U 4 this great giveaway opportunity