DIY Beach Themed Magnets And Salvaged Hardware Magnets
As an Amazon Associate, I earn from qualifying purchases.
Make fun refrigerator magnets at home in minutes using vacation souvenirs, junk drawer stuff, and old hardware. The magnets can hold appointment reminders, photos, and more. Plus, they make great personalized gifts or pretty decor.
Last week, I re-shared a tutorial on how to make skeleton keys and hardware magnets from a couple of years ago. It was such a hit that I created another bunch of magnets this week.
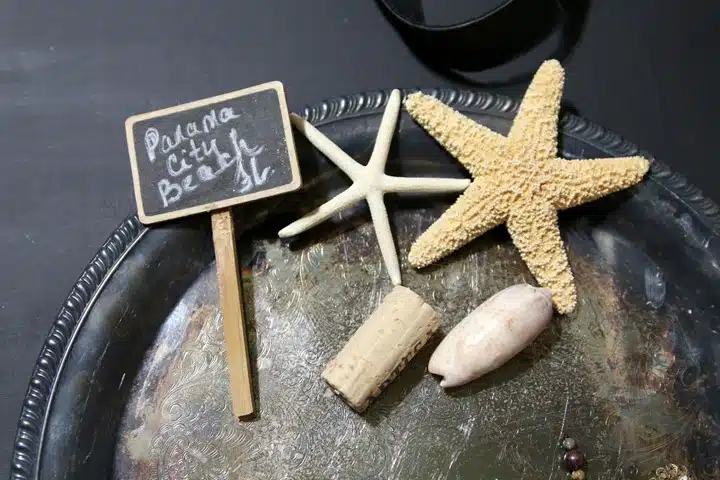
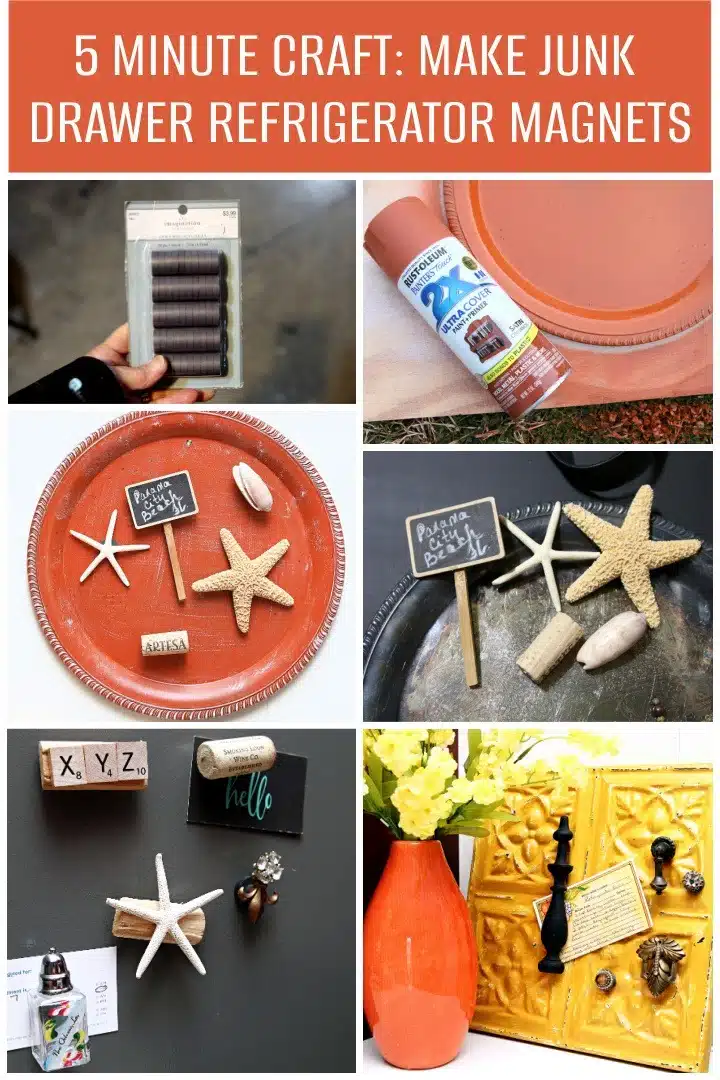
I went through the junk drawer again and my stash of small stuff in the workshop, looking for magnet candidates. I found several pieces to make a grouping of beach-themed magnets.
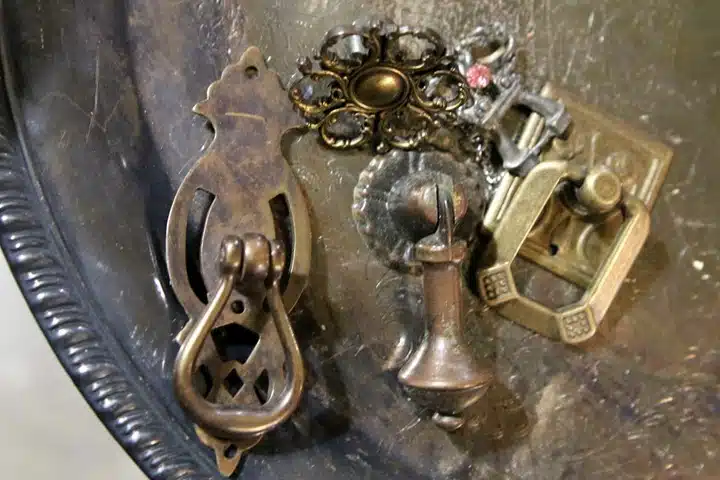
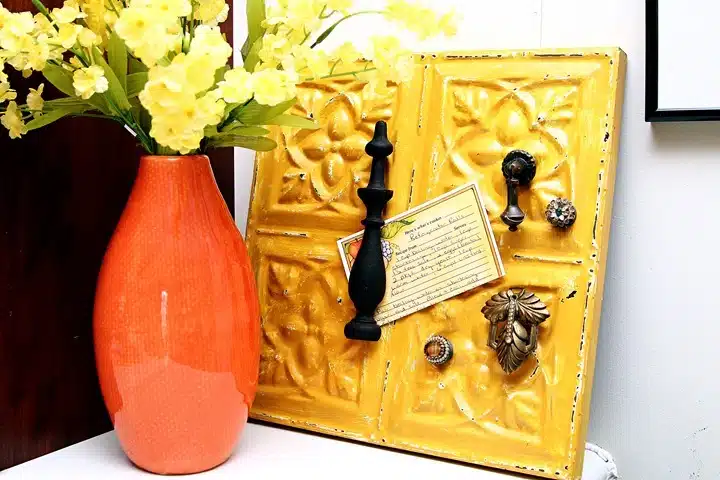
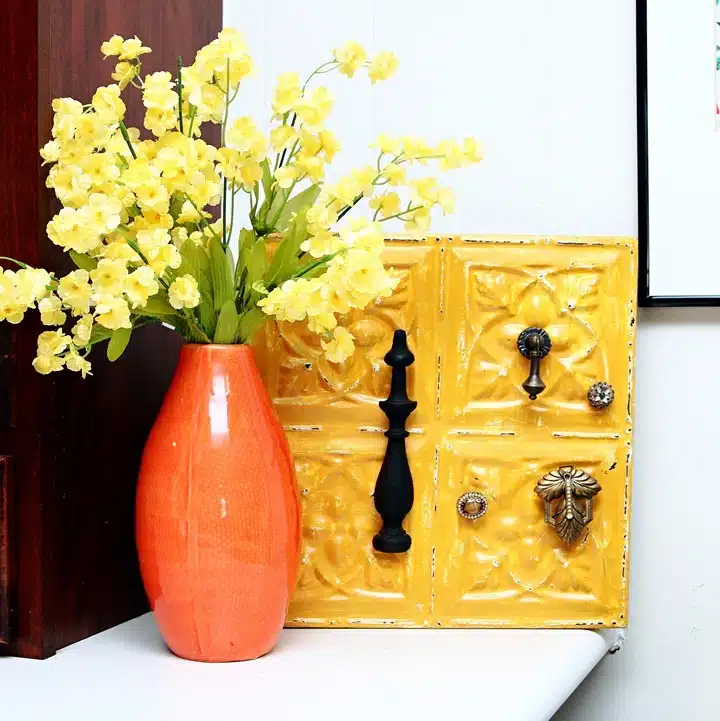
And I found a few furniture pulls and jewelry pieces for the next grouping of magnets. Remember, your displays should always be made up of an uneven number, meaning 1, 3, 5, 7, etc. For my magnet displays, I felt 5 was a good number.
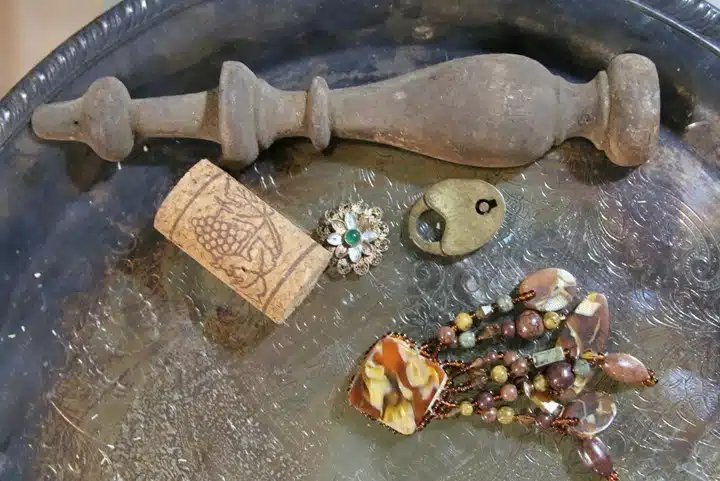
I spotted the wood spindle for the last grouping and decided it would be a unique piece to use as a magnet. I will clean and wax the wood before adding the magnet.
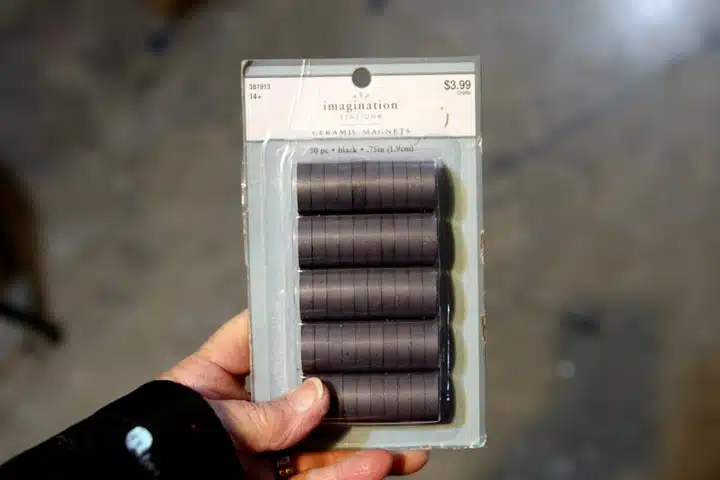
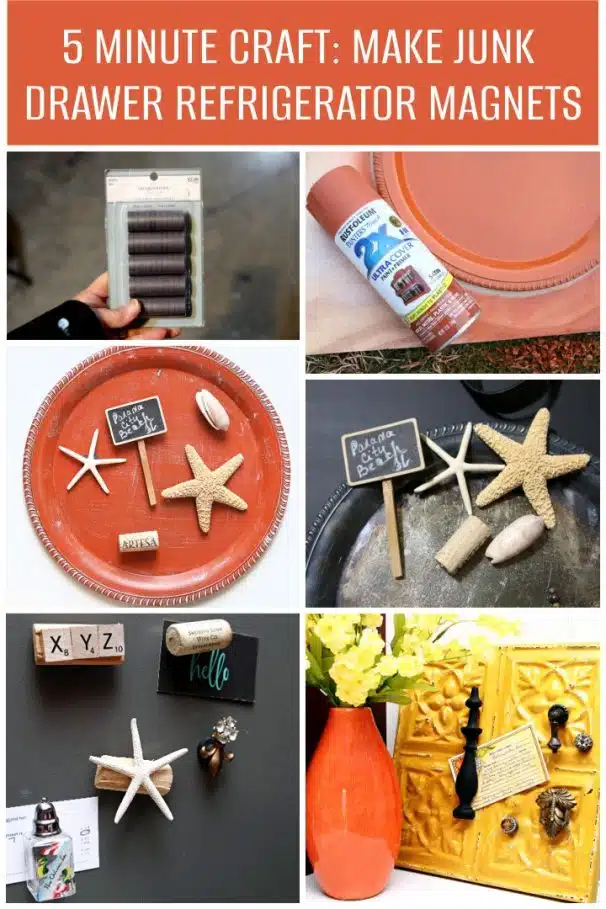
I had to run to Hobby Lobby and buy more magnets. The magnets are not expensive- this big package was $3.99.
If you are making refrigerator magnets, do not use vinyl magnet tape or smallish magnets. They are not very strong.
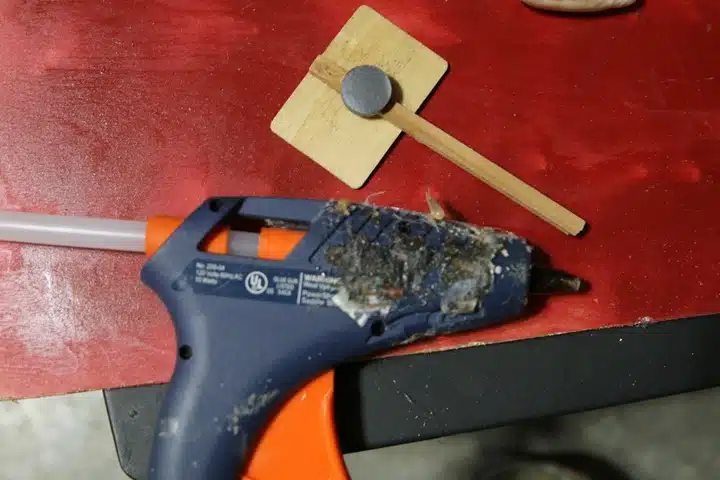
I couldn’t hold the camera and operate the hot glue gun at the same time. But you know how to put glue on a magnet and stick it to the item. Easy. Isn’t my glue gun lovely? I bought a fancy new one a few years ago, but I still like this one better.
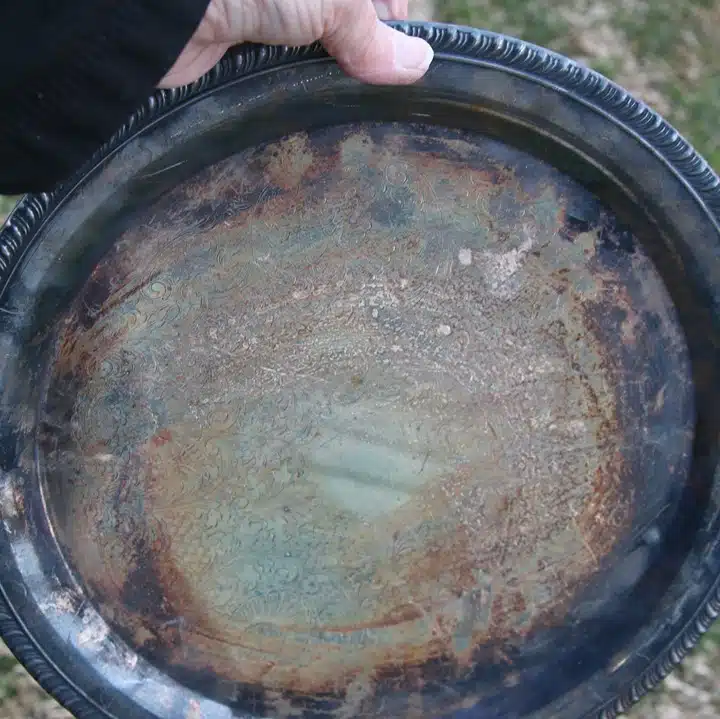
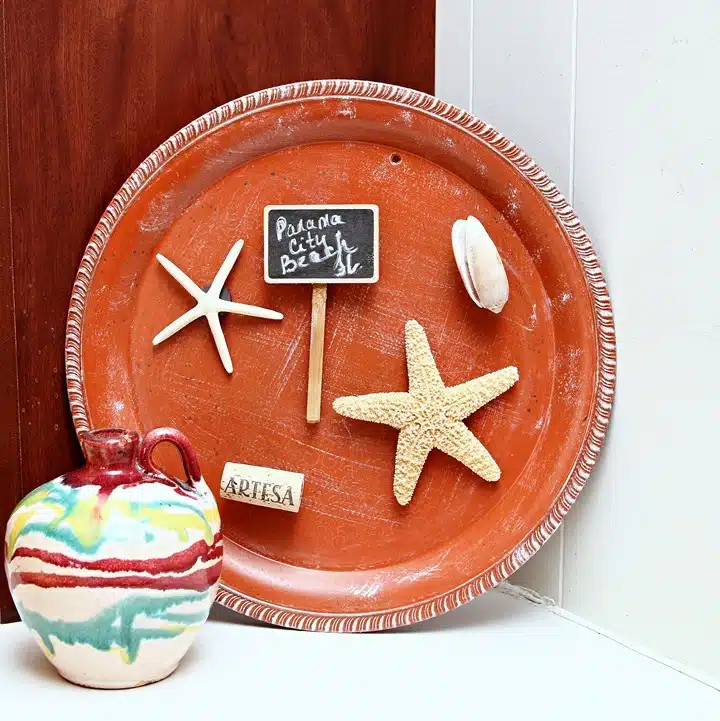
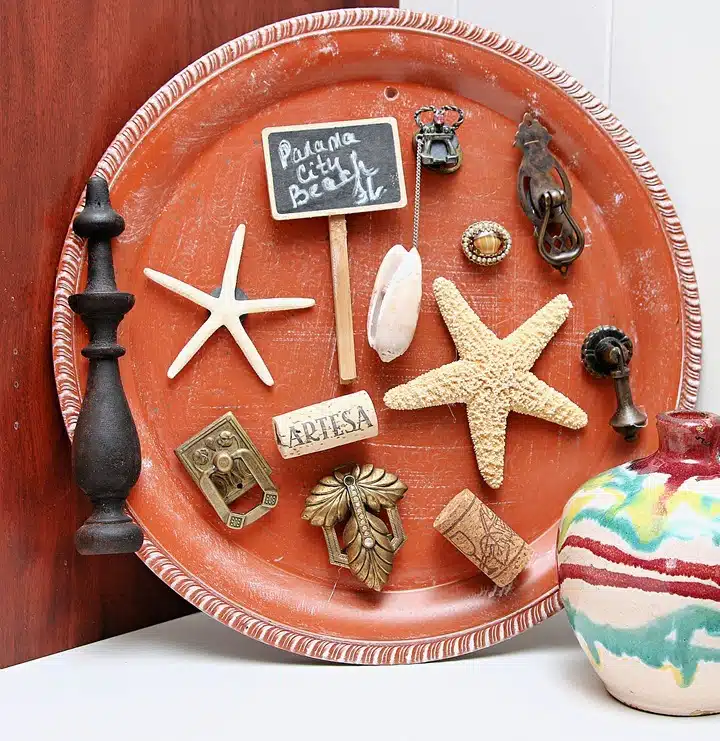
I have a couple of magnetic boards in my kitchen, but I needed a special piece for the beach-themed magnets. I already had the silverplate/silver plate tray. Magnets stick to these trays like glue.
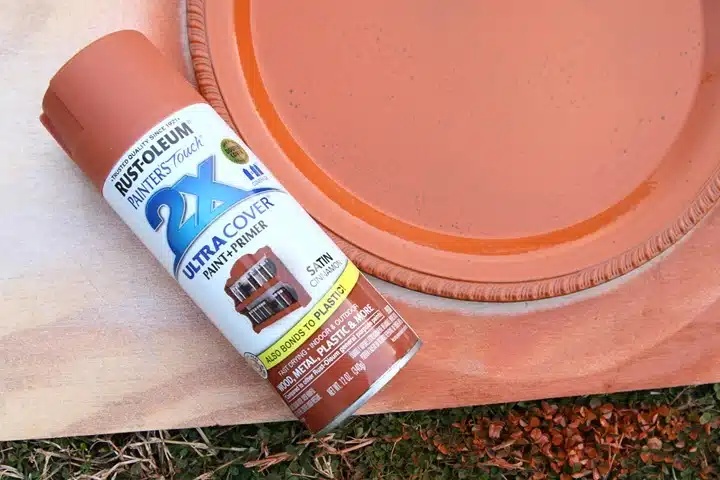
I chose a cinnamon or terra cotta color for the beach theme instead of blue. Once the tray was dry, I dry-brushed it with white paint.
Then, I drilled a hole in the tray to hang it from a nail. It is easy as pie, and I like the beach themed magnets against the terra cotta color.
My first thought was to add sisal rope to the back of the tray or drill holes for the rope, but that was too much trouble. You know I’m a lazy crafter.
The bold yellow tile magnetic board sits on my kitchen counter. I moved it to a new location and stuck some hardware magnets to it.
These magnets truly take only minutes to make. I made 15 magnets in less than 5 minutes.
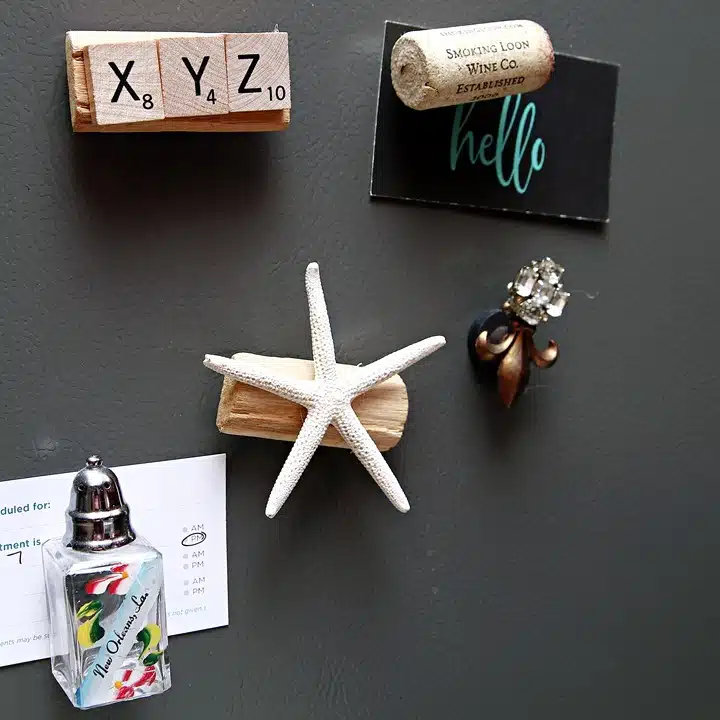
The magnets in the photo above are from a group I made last year. They are hanging on the side of our refrigerator. I especially love the tiny New Orleans souvenir salt shaker magnet. The colors are so vibrant.
I don’t know what our refrigerator doors are made of, but magnets will not stick to them. Maybe the type of stainless steel?? And the sides of the refrigerator do not look like stainless steel at all.
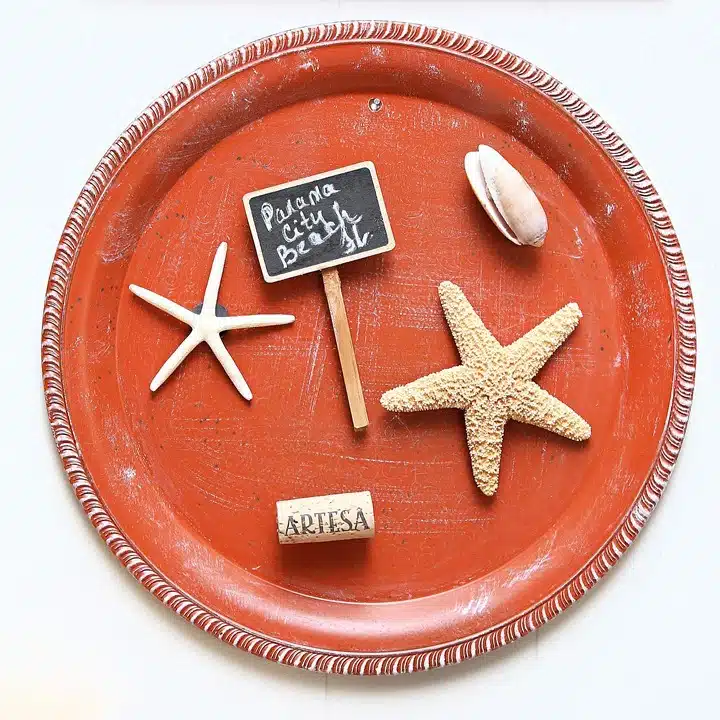
I placed all the magnets on the painted silverplate tray for this photo.
If you like this project you will love this one…. DIY Sea Glass Decor Created With Salt Shakers And Spray Paint
Which magnets did you like best, and are you ready to make some magnets? Thanks for being here, Kathy

