How To Distress A Painted Trunk
As an Amazon Associate, I earn from qualifying purchases.
In this post I teach you how to distress a painted trunk to showcase all the beautiful details. Distressing paint adds depth and character to any piece of furniture

I bought this cedar chest many years ago and kept it as is for a while. I moved it from room to room when re-decorating or changing decor for the seasons. Well, after a while I decided to paint it. Have you ever painted something and just weren’t happy with the outcome? Sometimes I paint things more than once……or twice. It’s okay to do that.

I didn’t like how the paint makeover for the trunk turned out. I gave it a kind-of an overall white wash and I didn’t do a good job of it. I freely admit that. But at the time I didn’t want to repaint it. The trunk set in the master bedroom until a few months ago and was a clothes catch-all.
I found a really cool cedar chest a while ago and decided to replace the yucky looking trunk with the cedar chest. It set in the workshop for a few months until one day I was looking for something to paint and it caught my eye…..
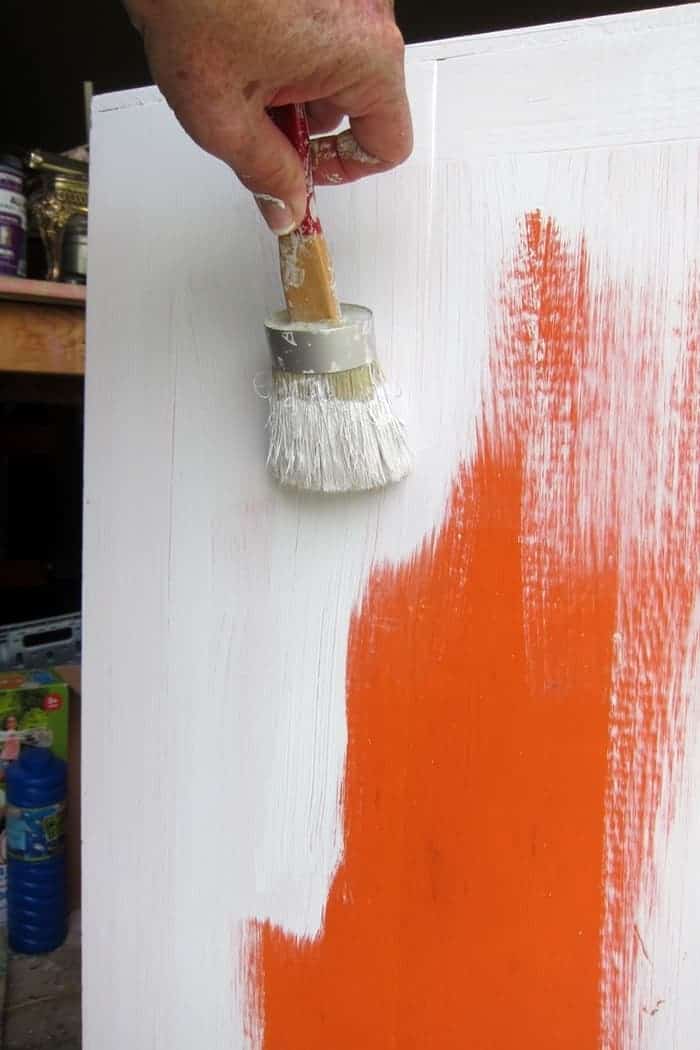
Some of you probably will not like the fact that I painted this trunk in the first place. It was a mess to start with. The tin was torn and pulled away in places and the wood was a bit buckled. It wasn’t really a candidate for refinishing. So for the paint finish I decided to go with white or I should say an off-white. I’m not really a fan of stark white.

I mixed two Behr paints together to get an off-white. Still trying to use up all that paint on the shelves. The paint doesn’t look off-white until you hold something white against it and then the difference is obvious. I applied two coats of paint. (my favorite white chalk finish paint on Amazon here)

After the paint dried overnight I began the distressing process. I grabbed flexible 3M sandpaper 220 grit and started distressing the paint by hand. I find I can get a better grip on the sandpaper if I fold it double. The paint was coming off but not very much and not very fast. I changed to flexible sandpaper 100 grit. It was a bit better but I was still working too hard with little to show for it. (flexible sandpaper on Amazon here)
I changed to regular sandpaper (not flexible) 80 grit and that did the trick. It still took a bit of time and work to distress the paint on the whole trunk. I would step back, look at my distressing results, and say “not enough”. I finally quit. That is the thing with distressed paint. You can distress lightly, medium, or go for the heavily distressed paint look.

The embossed tin looks so pretty distressed. I noticed when distressing the trunk that a bit of the stain or something was coming through the paint in areas. That was okay because it gave the paint a bit of an aged look.

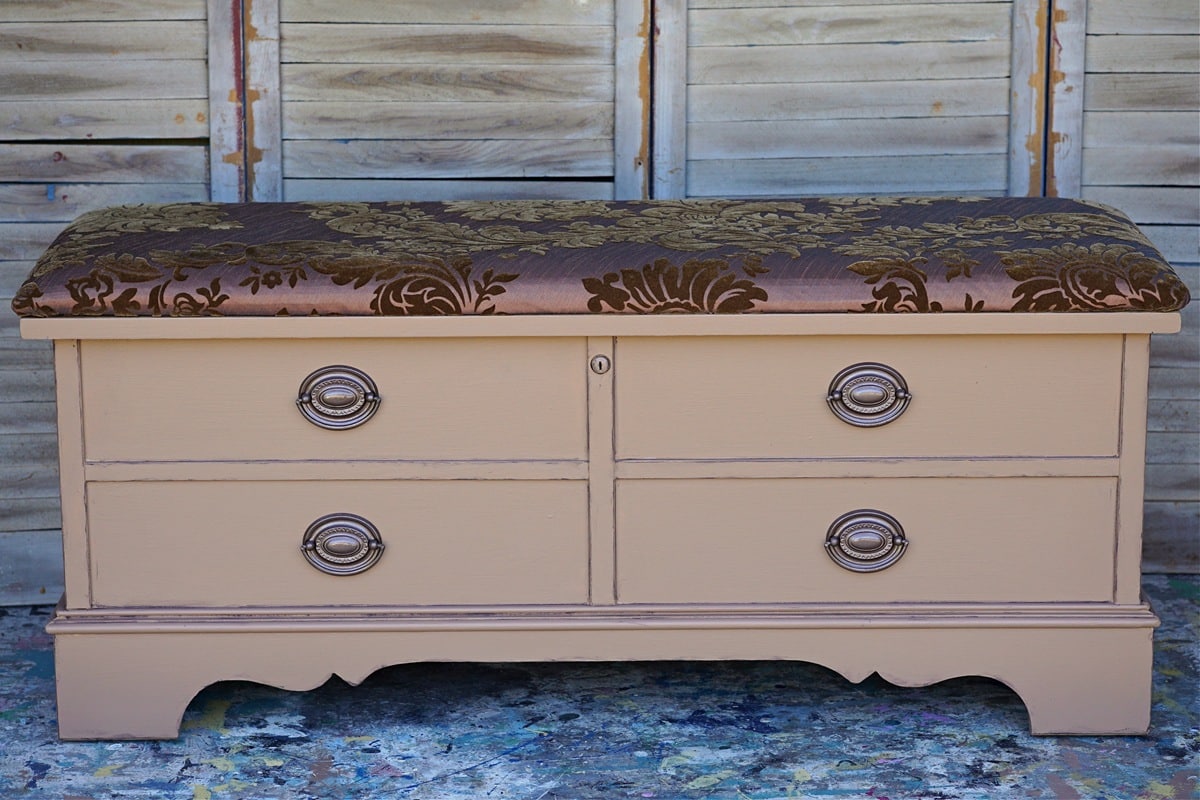
The trunk really does look better now…..and different. The top of the trunk is slightly rounded which means it’s not a candidate for a coffee table or side table. That’s one reason I’m letting it go.

The trunk latches don’t want to snap closed very easily either. I just leave them open.

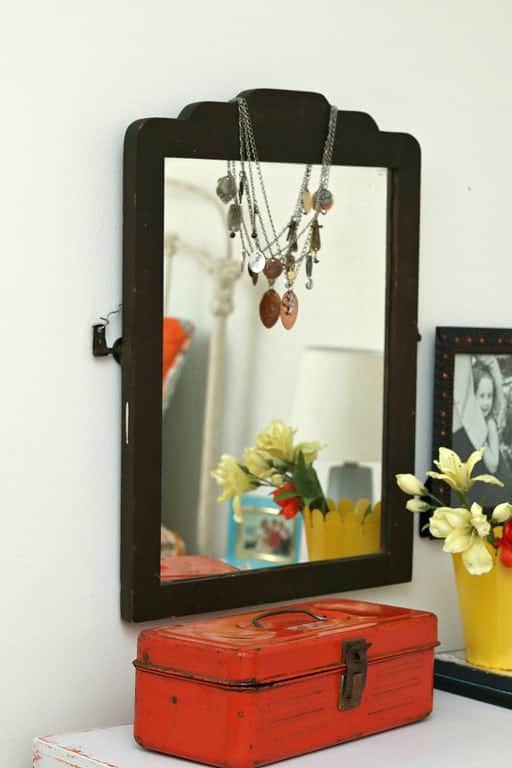
I staged the photo with a vintage handmade quilt from my collection and a pretty turquoise straw bag I picked up at Michael’s on clearance for $4. A steal.

Do you like the trunk painted or no? Won’t hurt my feelings either way just be nice in your comments. Please leave a comment before heading off to see the other projects. Time to see what my favorite furniture painters have for us today. Just click those pink links below……
Repurposed Footstool Makeover – Girl In The Garage
Vintage Chest Nightstands – Prodigal Pieces
Television Cabinet Makeover – Confessions Of A Serial Diyer
Best Paint Sprayer For Furniture – Just The Woods
Duncan Phyfe Coffee Table Makeover – The Interior Frugalista
Antique Trunk Makeover – Petticoat Junktion (you are here)
As always thanks for being here and have a great day, Kathy
I would like to get aged effect on stencils of topiaries.
Wow, that’s just beautiful
This is a great idea. I have a trunk and have not been able to decide just what I wanted to do to it. You are an inspiration. Thanks!!!!
I’m not sure I understand your question Donna? Do you mean the trunk or are you talking about a cedar chest I painted in the past?
The trunk looks so much better! Now a question. What did you do to the cedar chest? I need to redo my cedar chest that my hubby gave me when we got married (1957). Looking for ideas! ?
Love, love, love the white paint!!!! Perfect?
Haha, I think I remember this makeover the first time you shared it! (Good old TFMD.. we’ve come a long way, LOL) It looks absolutely gorgeous now, like the white and distressing were meant to be. I didn’t even notice the embossed tin before!
If I didn’t live in Florida I would be shopping where you sell this. It’s looks great
I knew I’d seen this trunk before! Yes love the new look so much better! White just fixes everything doesn’t it?? XO
how pretty Kathy, I love the texture that shows on the truck
Oh Kathy, those lovely details just pop now. So much prettier painted white! I’d have a hard time parting with this one. I’m sure it’ll be gone in no time for you 🙂
Love it! One of your best pieces yet.
I like it but would distress the wood to show a little wood color.
The second time’s the charm! Looks great!
I think we’ve all been there at one point or another and fun to see our paint journey. I love the new look!
The final result is stunning. Glad you like to paint because that was a very time consuming project!