How To Paint Stripes On A Table
As an Amazon Associate, I earn from qualifying purchases.
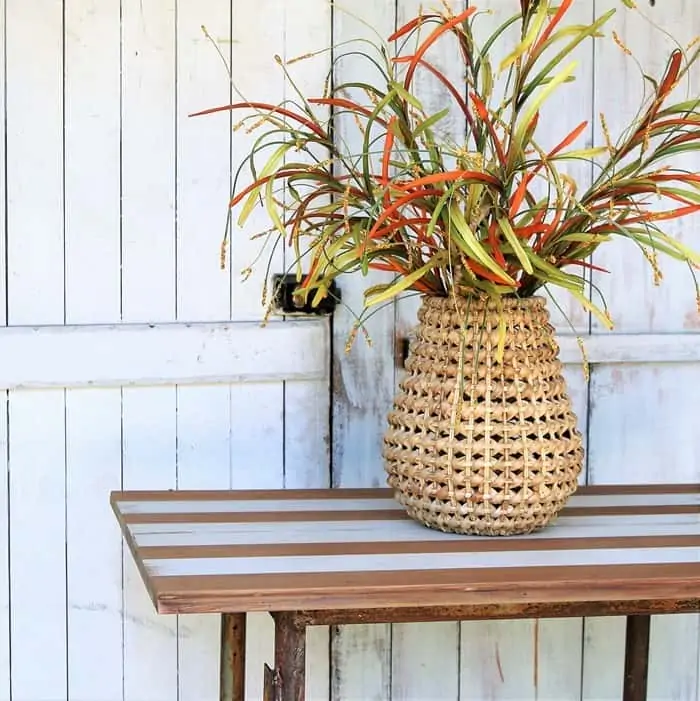
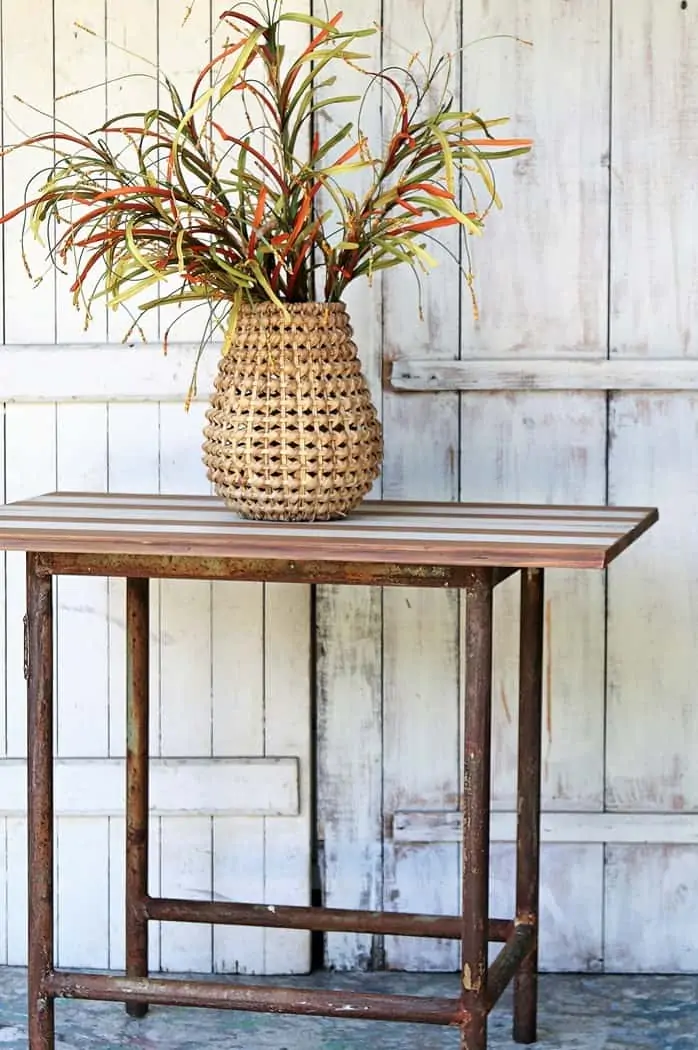
Hey Guys! Today we are going to paint stripes on a table….white stripes on a light stained table top. The finished look is classic. We also put the table together, meaning the JTS did,
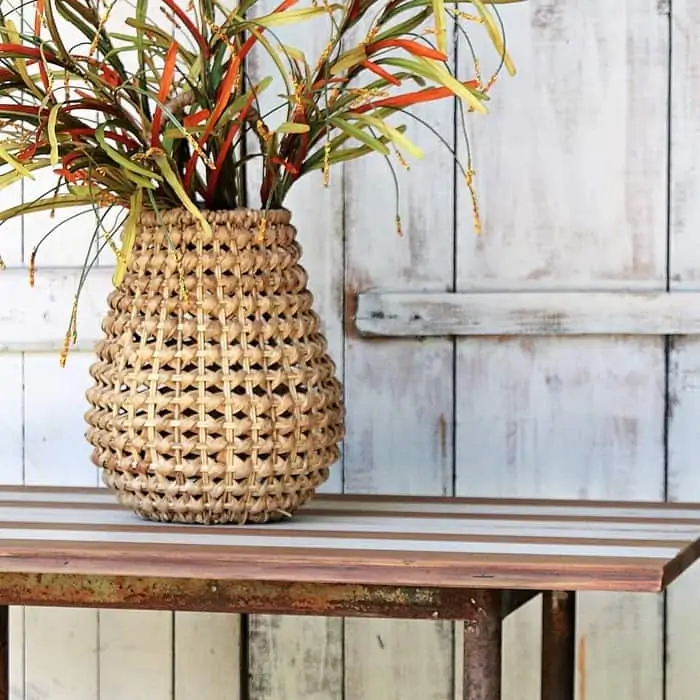
The table would be perfect as a small kitchen island although there is no storage in the table but it would make a nice work surface and is just the perfect size.
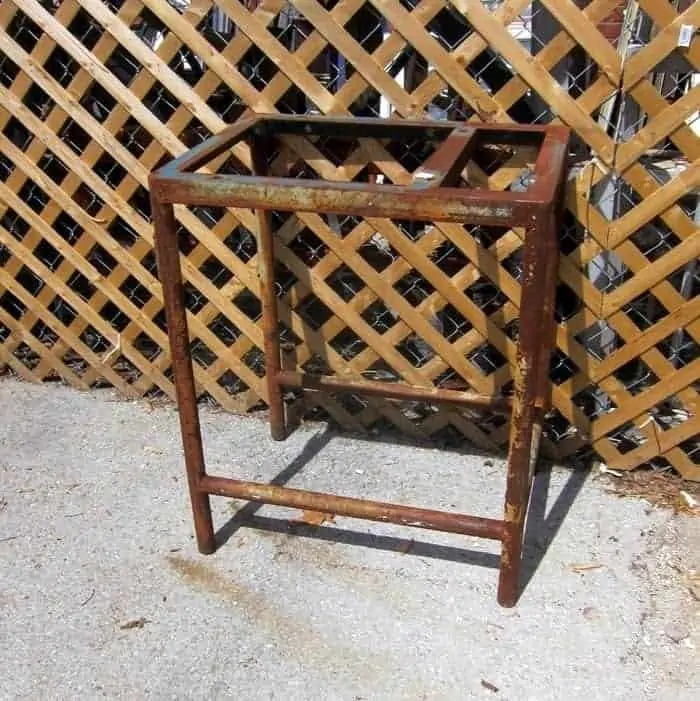
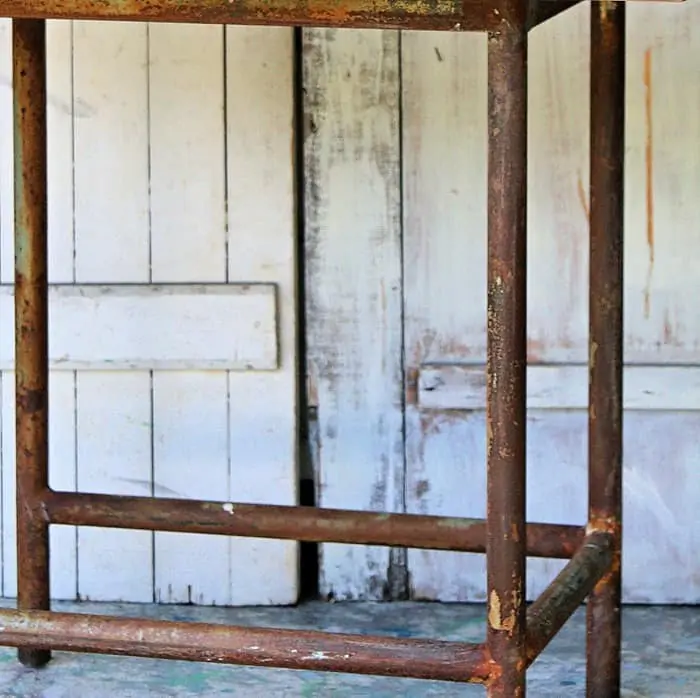
The project started with the heavy iron table base I found at my favorite junk shop. The base was perfectly chippy and rusty.
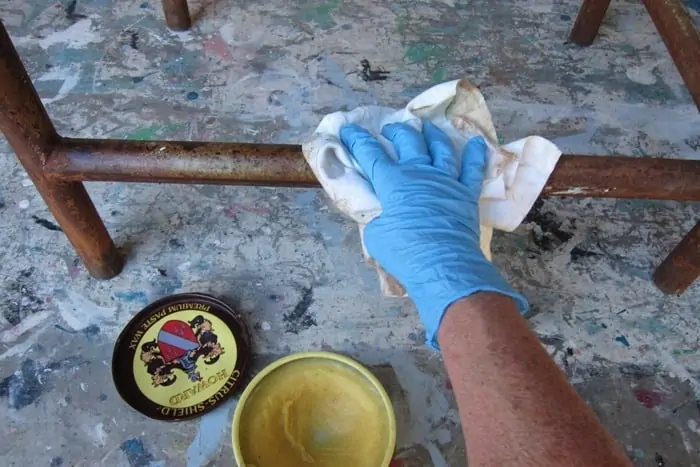
I wanted to save the aged look instead of painting over it so I cleaned the iron with soap and water then applied two coats of Howard’s Wax, neutral color (here on Amazon) . The wax will protect the finish and also protect everything around it because the paint and rust shouldn’t chip off.
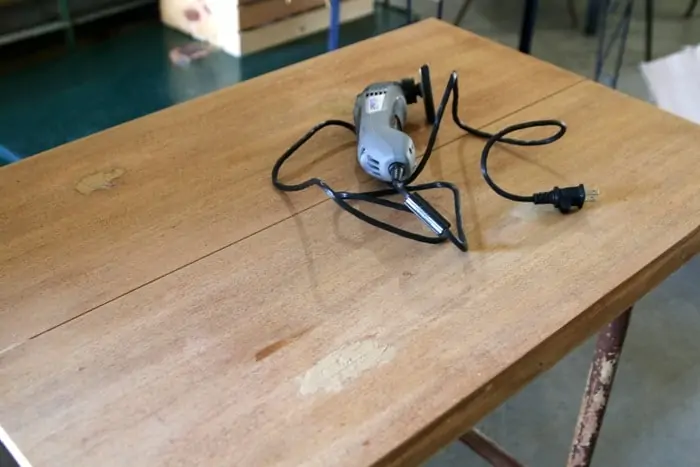
The table top is two table pieces we bought at an auction several months ago. We actually bought several table top leaves and pieces in the auction lot for $5. Can’t beat that. I loved the light stained wood and wanted to leave it as is. The only problem we had is when you attach the top to the base the screws need to go through the top of the table. That means those screw heads are going to show even when we countersink them.
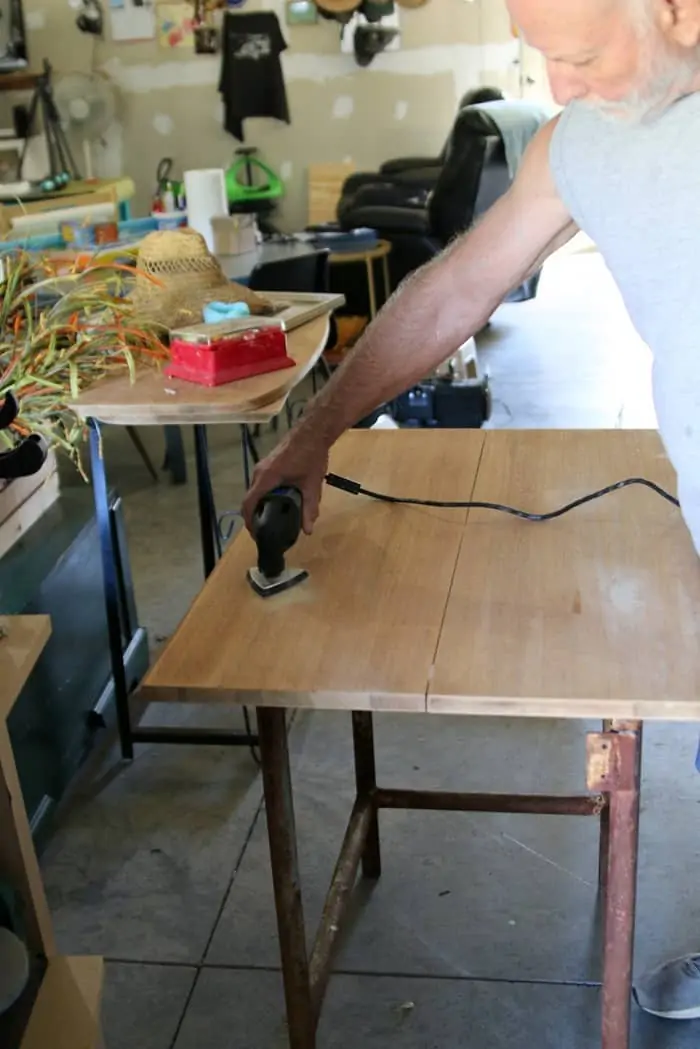
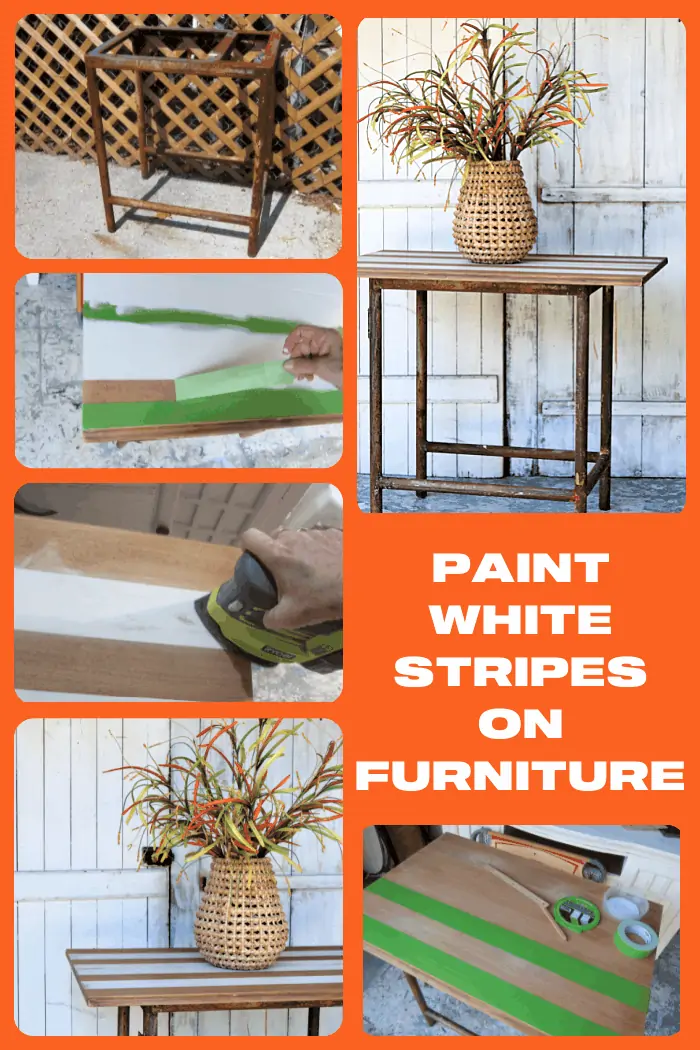
The solution to the problem was to paint stripes over the areas where the screws were. First the JTS covered the screw heads with wood filler then sanded the filler flush with the table top.
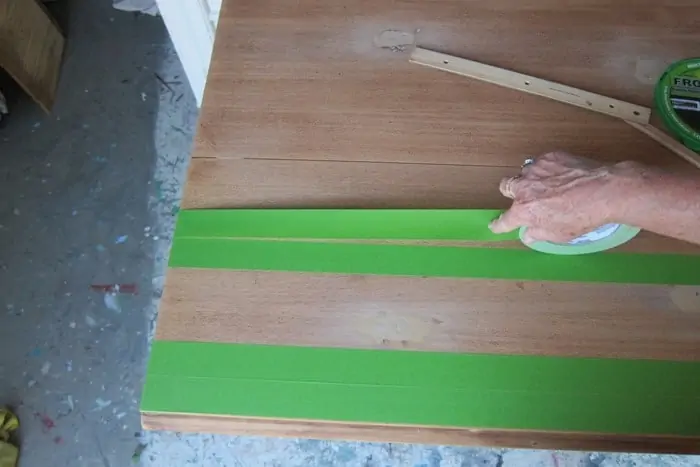
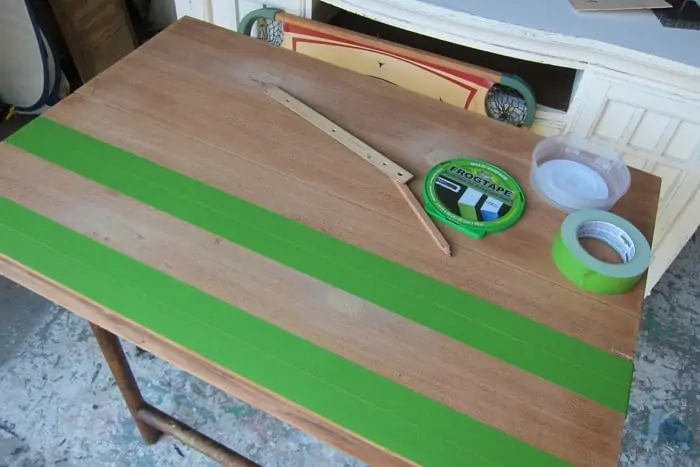
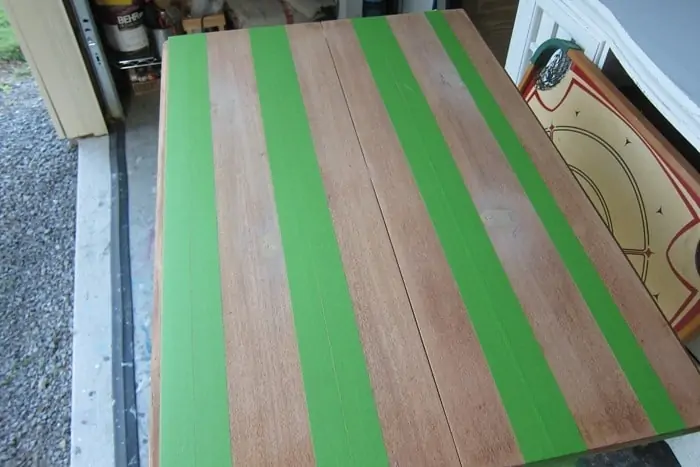
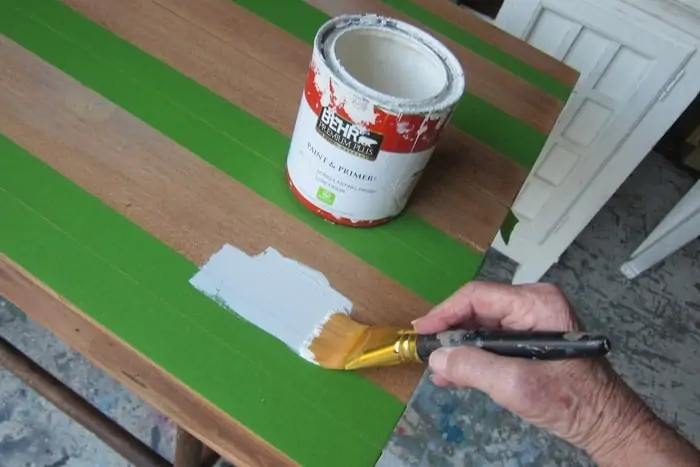
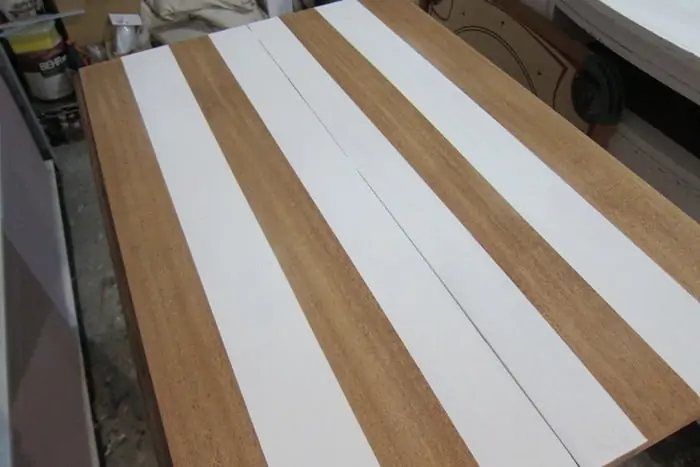
Next I used FrogTape painter’s tape to mark the areas for the stripes. The white stripes are the same width but the stained areas of the table are not the same width.
That is the only way I could make the stripes work over the screw areas. But you know what. It didn’t matter. The table looks great even thought the stripes are not the same width.
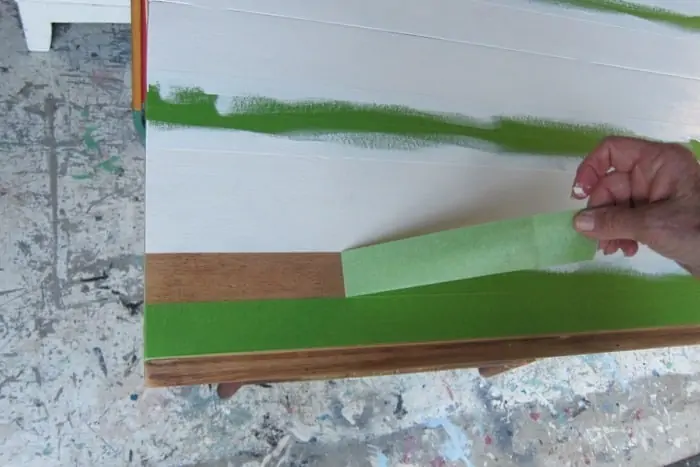
The first thing to remember when painting stripes is to make sure the painter’s tape is adhered to the table well so the paint doesn’t seep under the tape. I run my fingers over the edges of the tape when I lay the tape on the piece then I run my fingers over the edges again before painting.
Since this was a small project I used a smallish FolkArt paintbrush. I love these gold bristle brushes. The paint is the same oops paint I used on the entertainment center here….How To Paint And Distress Fake Wood Furniture
I love oops paint because it is so cheap. And who can pass up an off-white color. Another tip when painting stripes is to remove the tape as soon as you finish painting the stripes. When the paint dries on the tape sometimes the paint comes off with the tape. When you go to all that work you want mess it up. How do you like those nice, neat, straight lines!
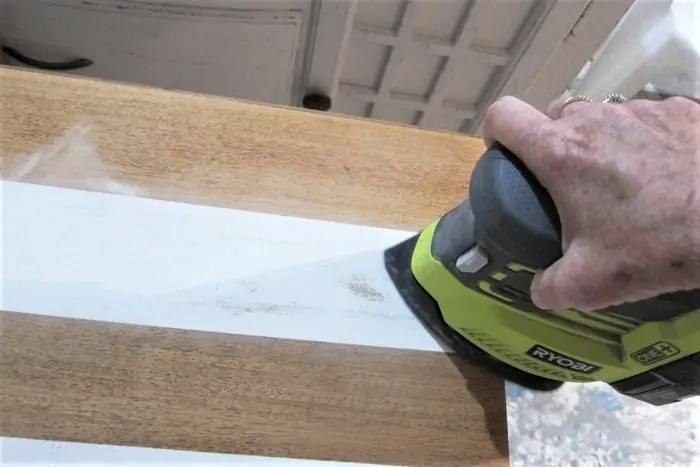
The stipes look great but you know what I’m going to do next, right. Distress!
I used my Ryobi battery powered mouse sander to distress the white paint, just a bit.
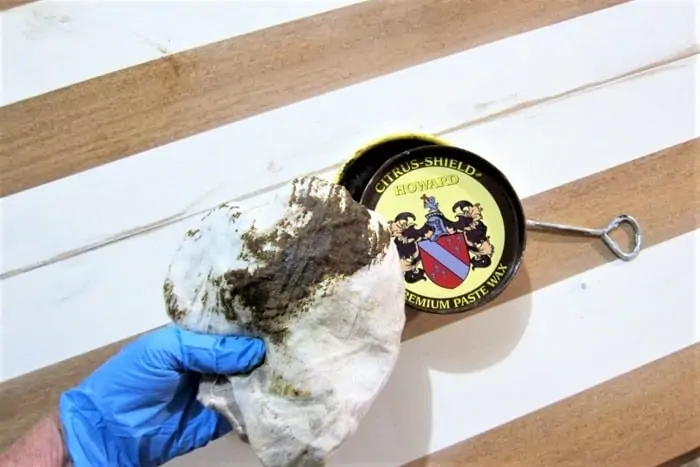
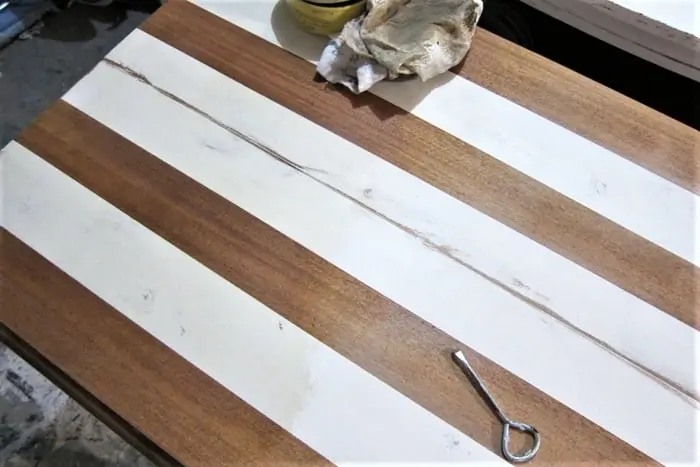
Next I applied a coat of Howard’s wax, walnut color, over the whole table top. The wax protects the table and also gives it a nice sheen.
In the photo you can see where I have applied the wax to the left side of the table. The wood and the paint are darkened by the wax. Gives the table a slightly aged worn look.
All done and it turned out great. My favorite look these days is unfinished or lightly stained wood with a white design of some kind.
The base is so cool just fancied up with wax. The bits of green paint are just right.
What do you think? Do you like the way we put the table together or would you rather see a regular stained top on the base?
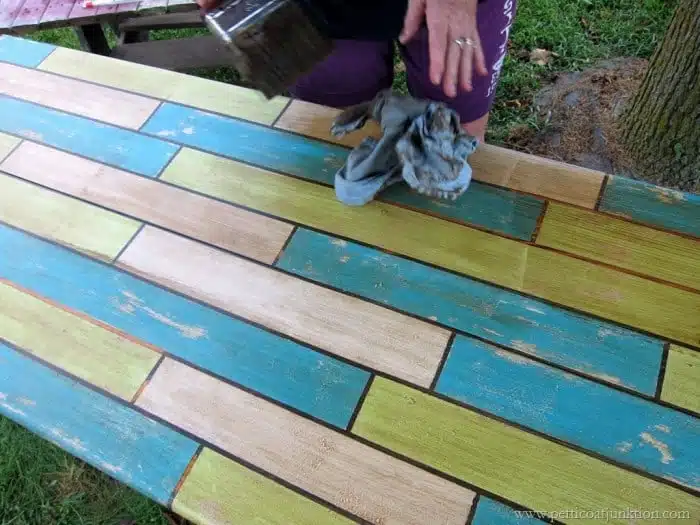
If you like the stripes on this table you haven’t seen anything yet. Check out the table below….
Yes, all of those stripes and plank looking pieces are fake. The table top was plain and I made the stripes using detail tape. You can see the project (and better photos} here….How To Fake An Antique Painted Plank Tabletop
Leave a note and let me know your thoughts. Tomorrow is Thrift Store Decor Day. One of my favorite project days. See you tomorrow. Have a great day, Kathy

I love your work,great ideas and beautiful work!
Fab!
Thanks Becky!
Love it!