How To Clean A Vintage Porcelain Enamel Table Top And Erase Minor Scratches
As an Amazon Associate, I earn from qualifying purchases.
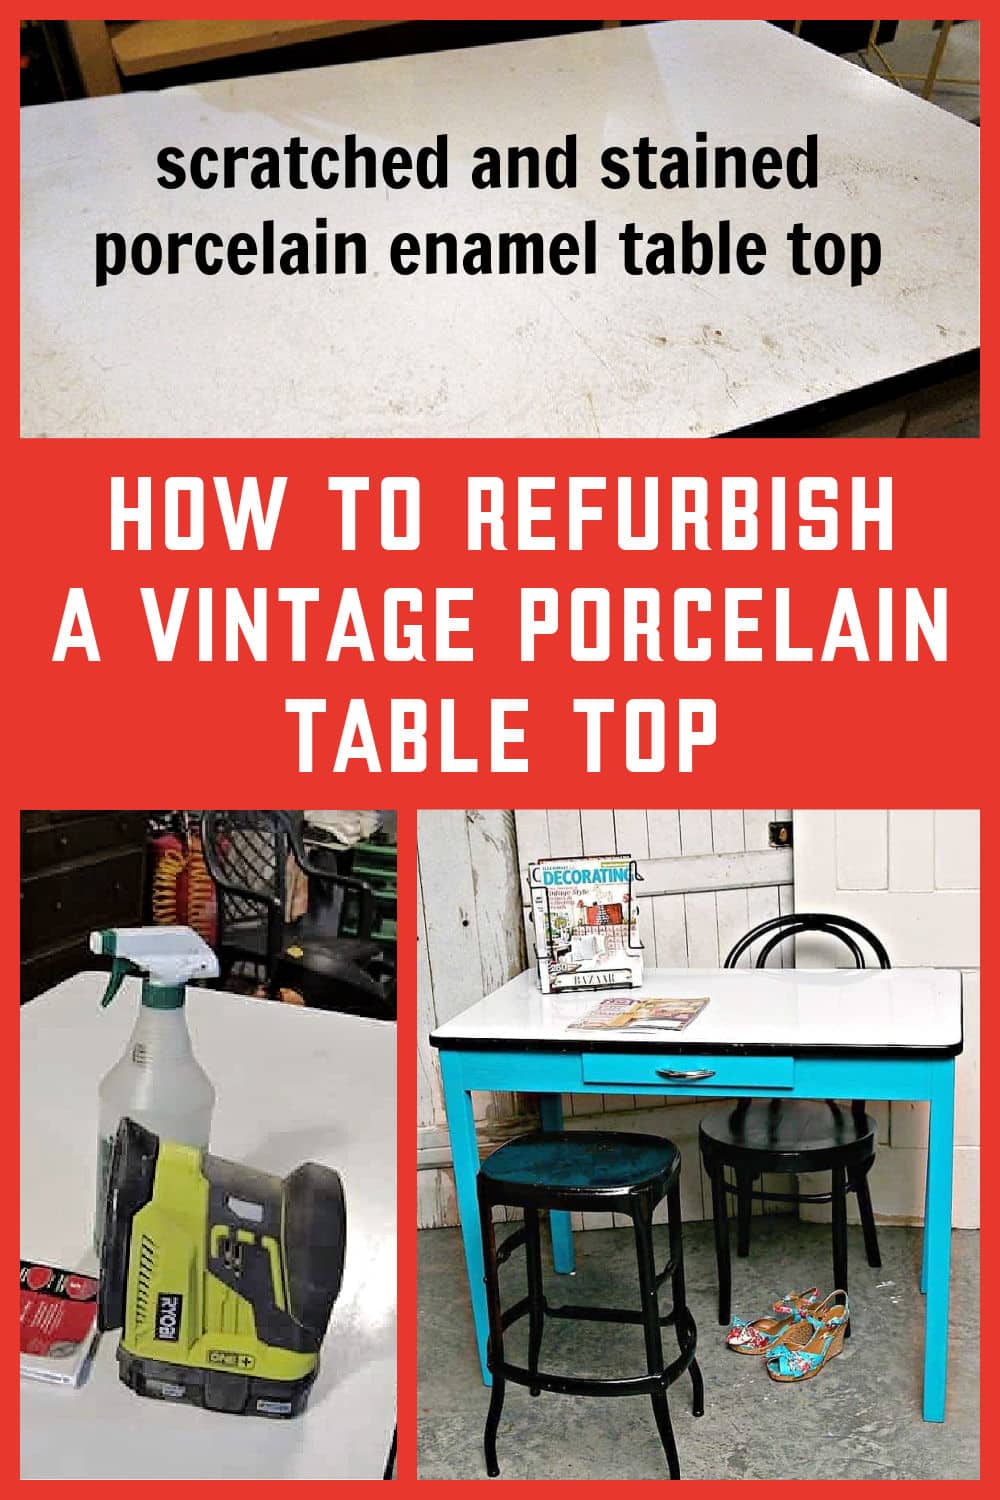
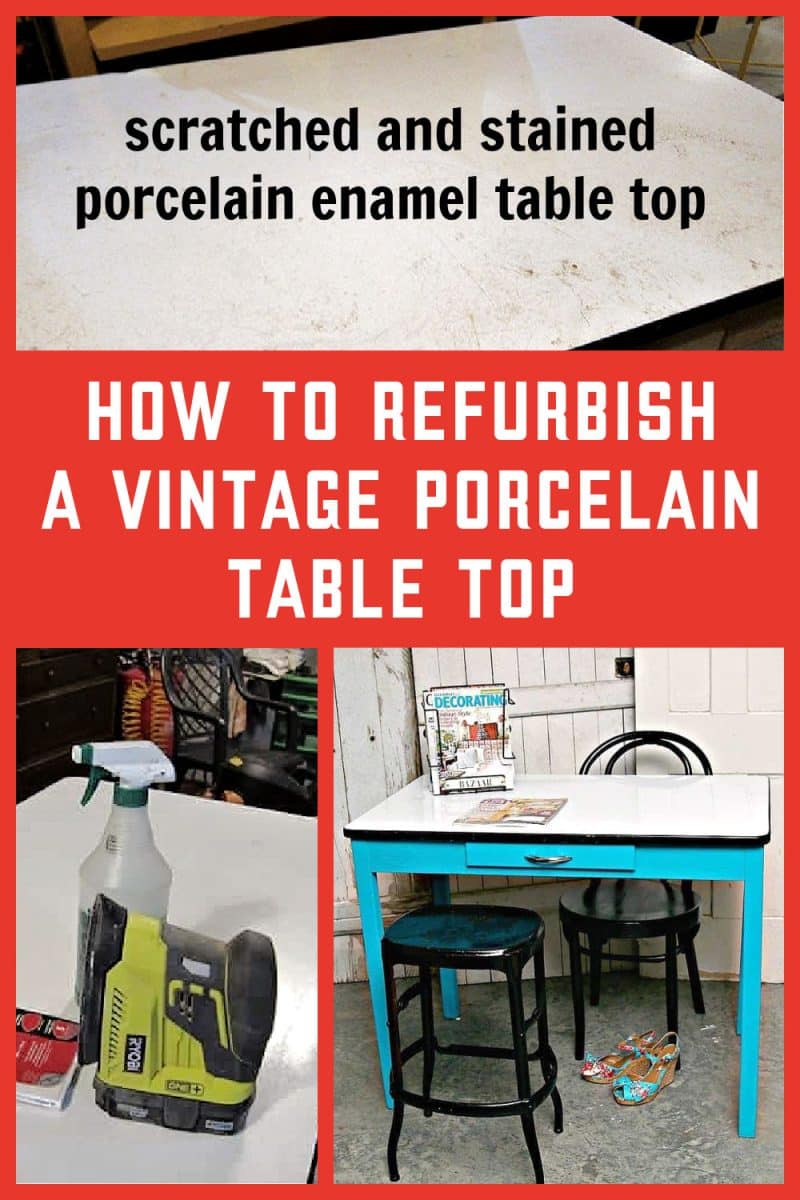
Did you know you can clean a porcelain enamel table top using a battery-powered sander? I didn’t either until I tried it. The sander can also remove minor scratches. I love these vintage tables and just wanted to find a way to make them shine again. And I did.
I thought I had found a new technique, but after Googling it, I found out I’m not the first to use this wet sanding method, but I might be the first to use it on a porcelain table!
After cleaning and freshening the tabletop, I painted the base with chalk finish paint, and I will take you through the whole process. I filmed a short video showing how to wet sand the porcelain tabletop.

The photo I took of the whole table was so blurry I couldn’t use it. This is the top of the table. See how scratched up and dirty it is? I bought the table at my favorite junk shop for $10. You can’t beat that. I planned to sand off the loose paint, apply wax, and leave it like that.
Then I decided I would rather keep the table if the table top shined up well and it did. I painted the base and legs of the table a pretty turquoise. This piece is now my video table for small projects.

As you can see, the whole table was a mess. The drawer’s inside was dirty and discolored, and the white paint was chipped and peeled off in places. I had my work cut out for me.
How To Clean And Paint A Vintage Porcelain Enamel Table
The first thing to do was sand off all that loose paint on the wood base.

Sand The Wood Base
This photo shows how badly the paint was chipping and peeling. I sanded the whole table with a battery-powered sander, removing the loose paint pieces.
You need to be careful when dealing with older painted pieces because the paint may contain lead. Be sure to wear the proper type of mask when sanding.
Clean The Porcelain Enamel Table Top
The Underside
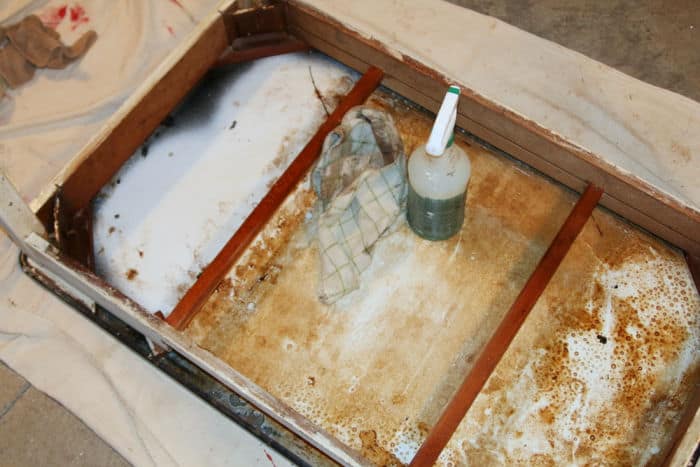
I worked on the table’s underneath part first. For any furniture makeover, you want to clean the whole piece from top to bottom, inside and out.
How do you think the underside of the table got into such a mess? I grabbed my bottle of Simple Green and scrubbed and scrubbed.

The porcelain on the underside cleaned up pretty well. I didn’t remove the legs for cleaning because I didn’t know what other issues I might have. I didn’t want one of the legs to split for sure.

The Top
After I finished with the table base, I thought about the sander and the tabletop. What the heck, let’s spray a bit of Simple Green on a small area of the table and see what the Ryobi sander does.
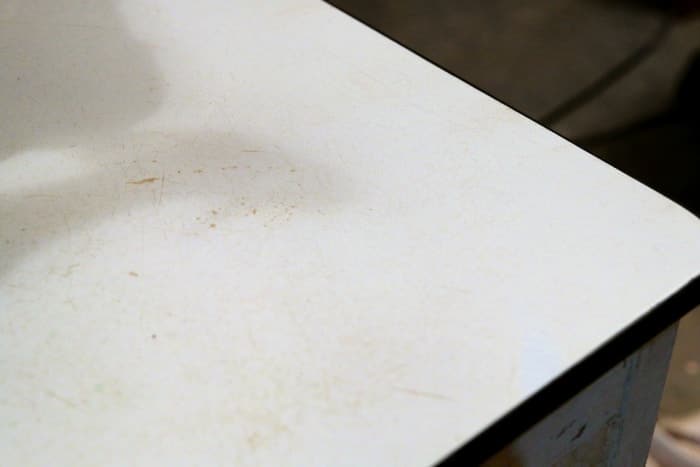
You can see all of the brown discoloration from the close-up photo, and you might be able to see the many light scratches all over the surface.
Boy was I surprised when the sandpaper didn’t scratch up the top……it cleaned the top, either buffing the scratches away or at least making them less noticeable. So then I did the whole top.
Wet Sand A Porcelain Enamel Table Top
I sanded over the porcelain top three different times with the Simple Green and the battery powered sander. I used 120 grit sandpaper because that’s what I had in the cabinet. Later, when reading about others using this method, they say to use a very, very fine grit sandpaper.
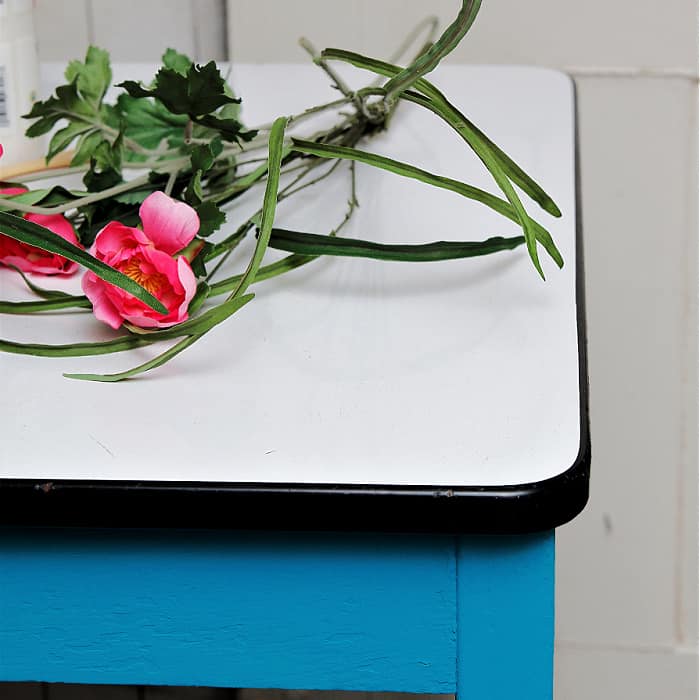
The top looks so much better after the wet sanding. There were still a few imperfections but not many. The video shows the sanding process using the power sander.
If you want to try this on a project I would suggest doing what I did and trying a small area with sandpaper (whatever grit) and go from there.
Paint The Table
Now that the cleanup is done, it’s time to paint. I wanted something that would look good with the black band around the enamel top.
I thought about pink, but I spotted this beautiful color first on the paint shelf. The paint is FolkArt Home Décor Texture Chalk, color Island Indigo. I love this Home Decor Chalk, both the regular chalk and the texture chalk.

As you can see I’m just painting right over the messed-up original paint finish. I applied two coats of paint. One coat covered really well but there are always bits and pieces I miss painting the first go around.

Tighten Nuts and Bolts And Replace Hardware
Once I finished the cleaning and painting I tightened the bolts on the legs. I also tightened the screws holding the top to the table base.

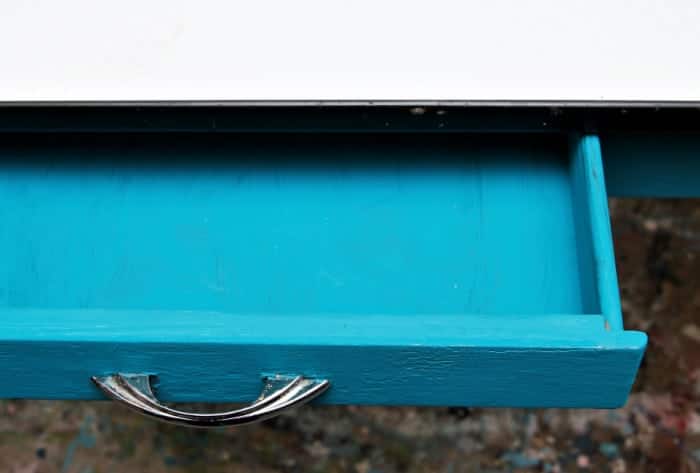
I had planned all along to use the original drawer handle, but I really didn’t like it. I looked through my box of new hardware and pulled out several silver cup handles.
I put one on, and it didn’t look right, so I headed to my junk stash of hardware, and look what I found. It couldn’t have been more perfect.

I cleaned the handle, but it still had some pitted places. It is perfect for the table. I often like to put new modern knobs on my painted pieces, but this one called for a vintage piece similar to what would have been original to the table.
Add Special Details
The drawer was so dirty inside. I cleaned it with Simple Green, but it was such a mess that I decided to paint it. As you can see, I didn’t do a bang-up job, but it looks so much better painted.

Even though the inside of the drawer looked nice I lined it with pretty scrapbook paper. Easy touches like this can really elevate a piece.

Paint A Chair For The Table
I love the turquoise porcelain top table, and I have it all set up with my new phone and tablet stand for taking videos. I can do Facebook Lives with my phone and see comments from you guys on my iPad simultaneously. The mount will also hold my small point and shoot camera, which I use to film videos.

I decided to paint the chair and metal stool to use with the table. I’ve had the chair forever and Sofi uses it at her work table. The metal stool is a recent thrift store purchase for $8.

I used Walmart brand black gloss spray paint on the stool and chair because that’s what I had on hand. I choose gloss because of the shiny black porcelain band around the tabletop.

What do you think of the cute shoes? I found them at Goodwill and have a project in mind for them.
I love the table and chairs, but I would have loved to strip that old paint off of the legs and let the natural wood shine. I have never restored the original wood finish on furniture. It sounds difficult.
There are so many steps, and it is time-consuming. I found an article recommending wax and polish remover after stripping the finish to neutralize the wood. Who knew?

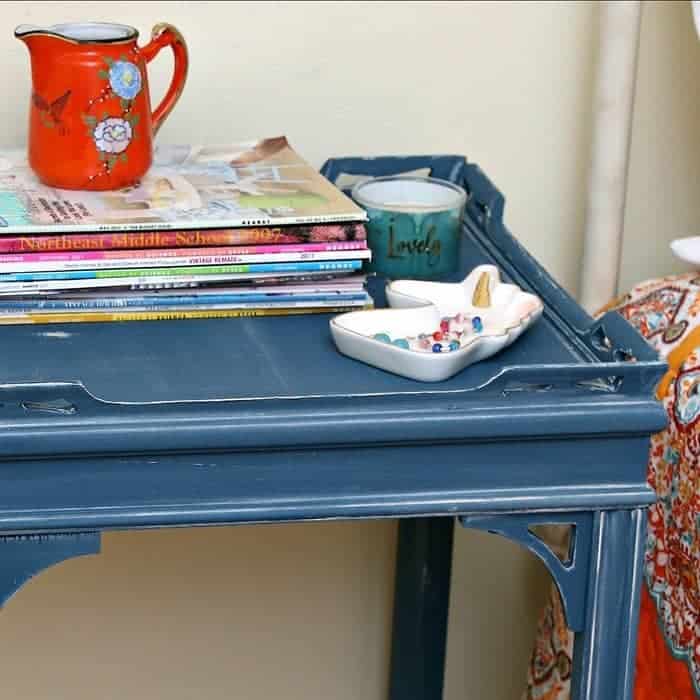
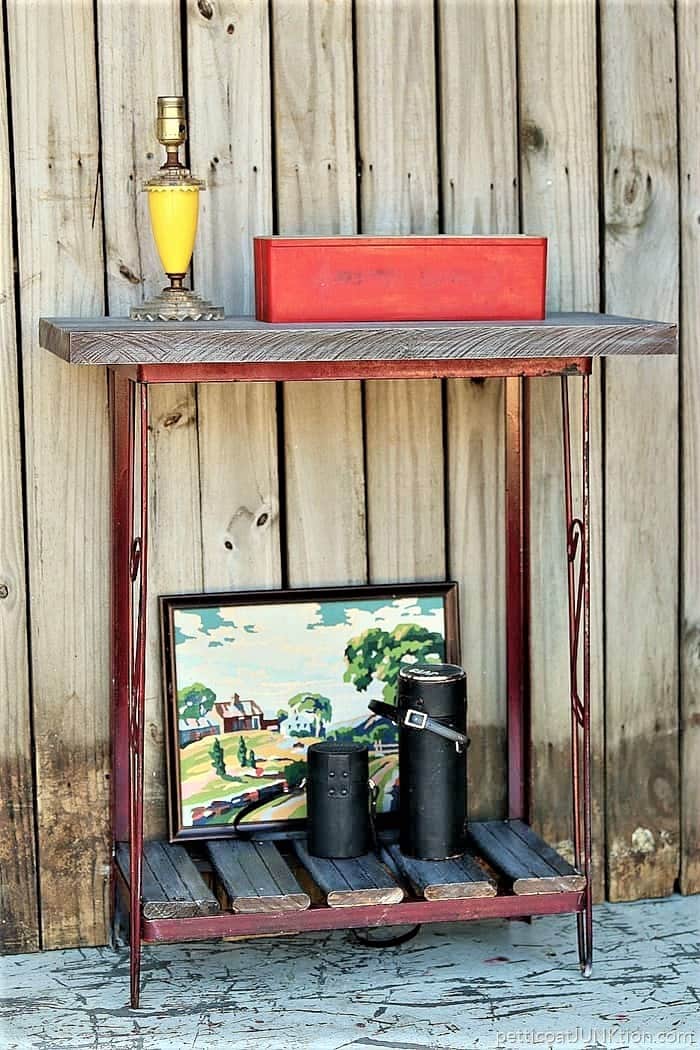
Take a look at the painted plank table above. I just want you to know that it is a solid piece of wood that I painted using skinny detail tape to make it look like planks. Really. You can see it here….How To Fake An Antique Painted Plank Tabletop
If you love vintage and antique furniture and want to know how to clean and prep for painting I have this guide post for you…..How To Prep Furniture For Painting
As always, thanks for being here, and have a great day, Kathy

Comment on Kathy Owen’s vintage porcelain-top table makeover.
For Kathy Owen:
Don’t regret not stripping the legs and frame of your table. I stripped the legs of one like it and they look terrible. So disappointing! It’s been my livingroom coffee table for years and I still haven’t decided what color to paint the legs.
These kitchen work tables–before the arrival of fancy-dan countertops–were purely utilitarian, not meant to be gorgeous, and so were made with wood leftover from heaven knows what. They didn’t care if it was all the same kind of wood or even all the same color. The result could be really ugly–but white paint covered all. Found the same thing when I stripped my great-grandmother’s favorite rocking chair.
Anyway, thanks for testing the sanding idea. I was thinking of sanding the porcelain tabletop (AKA kitchen island) I’m working on now, but I was afraid of ruining it. Now I’ll definitely do it.
“You need to be careful when dealing with older painted pieces because the paint may contain lead. Be sure to wear the proper type of mask when sanding.”
You cannot sand with a mask lead paint no matter what that mask is. If you wet sand it yes, but this is very dangerous. I hope no one reading this article does this.
“Never dry-sand to remove lead-based paint. Dry-sanding creates harmful lead dust.”
Many, many health organizations specifically state it.
I feel like, that white paint on an antique table like this is most likely lead paint. I’d never sand that like that without testing it.
My dad got me an old vintage porcelain table at an auction years ago that used to have a folding leaf on it. There’s some kind of hinges on the edge of the table. My grandpa made a wooden drawer for it because it was missing. This drwawer is a small one on the end of the table. The table was painted and it had a big area on the table that was porcelain. I was young and dumb when we first were married so I repainted the table! I should have never done that. Hope I can fix this.
You’ve done such a great job on your table and I love turquoise! I like the stool and chair you did also! Cute shoes!
Is there something I can do to bring my table back to life? I don’t know how I can make it look like new again. I’d appreciate any ideas. Thank you!
I don’t know about wet sanding. I would hate for you to mess up the design. You might experiment on a small area.
I just inherited a enamel table but mine has a design on top. So I wonder if wet sanding would be a mistake. This table was bought new by my parents in early 1950’s.
I m have 2 porcelain top me l purchased and one l inherited. The white one is not in perfect shape but it’s definitely worth a refurbish. It’s so different from others lve seen it has rod iron legs. I’m so greatful for your video. I’m going to give it a try.
the video was right in the post when i read it. here’s her Pinterest post: https://www.pinterest.com/pin/119626933844696425/
Kathy, I love your work! Have been following you for several months and learning the art of bringing new life to old things.
I am so sorry about the loss of your Mother. Bless you aa you take care of your Dad.
Will always look forward to your next post.
I can’t seem to find the link to your video for this table top sanding! I have one that has some paint on it and have been procrastinating just because I don’t want to ruin it! Am I missing the link somehow? I just don’t see where to access it…. The table and chairs are too sweet! Love the blue with the black and white…really nice job!
You did a great job on the table! What kind of tablet stand do you have? My grandchildren could use this for their zoom classes!
Hi Kathy
I have the exact same table. When I got it it had some very strange damage it really looked as if someone had left a bunch of bananas on the top to rot !! also had marks from the bottom of an old glass bottle that had marked it where it’s contents had set on the table top. I too wet sanded my table top and was able to remove most of the damage but as I use my table in my kitchen I finished it with three coats of Rustoleum clear coat in a spray can. That was three years ago and it is still great. It is the best thing for pastry making as it is a cold surface.
Love your posts.
Kathy you did such an amazing job saving this piece! No way would I have bought it in that condition. You are a miracle worker. Oh and I love the turquoise you added on the bottom. xo
I have two enamel table tops, I will definitely try this on both, thanks for the inspiration…I will take pictures before and after…keep you posted. Jody
I give you so much credit Kathy, I confess I never would’ve even taken on such a project. You made it look so effortless and the result is so much better! Nice save!
Kathy, the table turned out really well. I am a fan of turquoise so I love the color you chose. And the black stool and chair compliment it nicely. I have the bottom half of an old hoosier cupboard in my garage that has a porcelain top. The whole thing is a mess and I don’t know if the wooden base is salvageable or not but I’m glad to know of the method you used to clean the top of your table. Your post inspires me to look my piece over again and see what might be salvaged. If the wooden bottom is beyond repair maybe I could remove the top and use it on something else. At least there’s hope that I won’t have to junk the top along with the bottom.
Thanks for the inspiration!
I have same table. Love what you did. One very important suggestion however……
DON’T YOU DARE TOUCH THOSE SHOES!!!
They are darling.
I love, love, love what you did with this table Kathy! I am really very fond of these old porcelain tables, in fact, I have one that will be going into my she shed this spring as I finish redecorating her interior. It is in excellent original condition, so I will leave her as is, but I would love to find one that I could update like this!!!
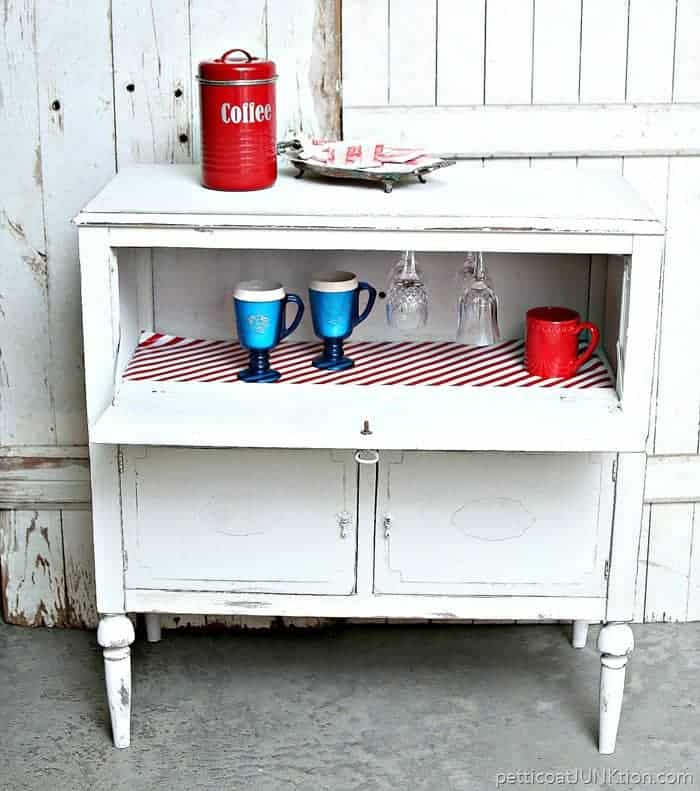
Wow, you did a fabulous job breathing new life into this desk! Love the color and the pretty paper lined drawer. I’m going to remember your trick for cleaning enamel, thanks 🙂
Wow you really loved that thing back to life, Kathy!! Love the color choice! XOXO
WOW! Gorgeous!!! I never would have guessed you could sand those table tops. That came out a night and day difference! I’m going to pin this one so I remember where to find these tips. You never know, there might be a $10 steal out there waiting for me too! ?
Awesome job as always, Kathy! I love the turquoise with the white top and black band. And the black stool is perfect with the table. I am in awe of your creativity. Every time I see one of your transformations I think you can’t get better, but the next one shows that you do!
I don’t know. I love spray paint. You need to do several light coats. I love Rustoleum spray paints the best.
You are very good with spray paint, it looks so professional. How come whenever I use it it’s a messy disaster?
The table looks amazing! Great job! Love it.
I have a table just like yours in my basement. I want to bring it upstairs to use in my “Mom Room” for sewing. I used the table to hold items I painted and now the top is full of paint swipes and it’s scratched and dirty. I’m going to have to try your idea! Thanks for the info!
I adore the table. You did a great job.
I love this table!! I have one that reveals 30’s green under a light yellow that’s chipping off. I love the way it looks on the bottom but I was wondering if I should seal it. And the top is a little scratched so I’m going to try your sanding method. Of course the drawer doesn’t look much better than yours so I’ll take my cue from you there too. Thanks for this makeover!! (Seal or not worry about it?)
Sweet save! The new look is fantastic and your tips are awesome too. Great job, Kathy!