Why Paint Your Flower Pot With Metallic Copper Spray Paint
As an Amazon Associate, I earn from qualifying purchases.
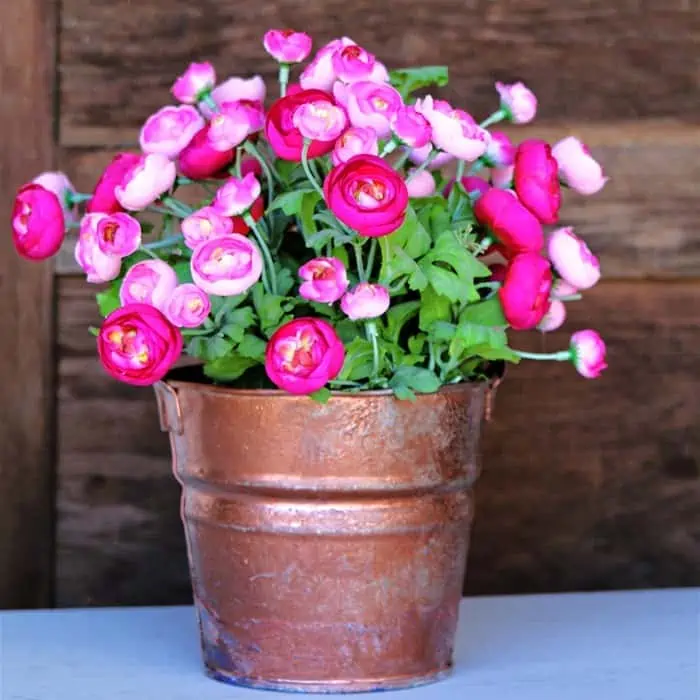 Does the bucket look like a beat up copper thing? After I spray painted the bucket with metallic copper I scuffed it up and then used a dark wax to age the paint a bit.
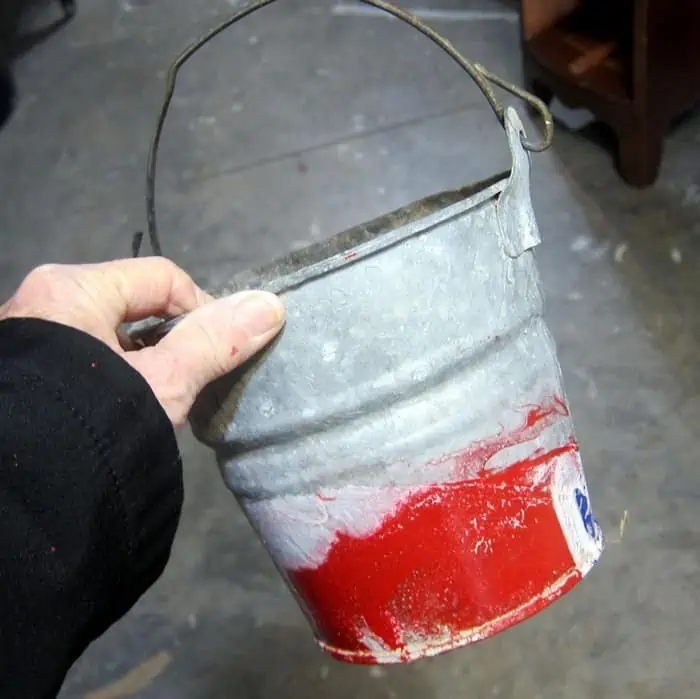 This is the galvanized bucket I started out with. It is a failed project from the past. The bucket was my test piece for the hydro dip bottle project I made last summer. The bottle project was a win and you can see it here……How To Hydrodip Glass Bottles.
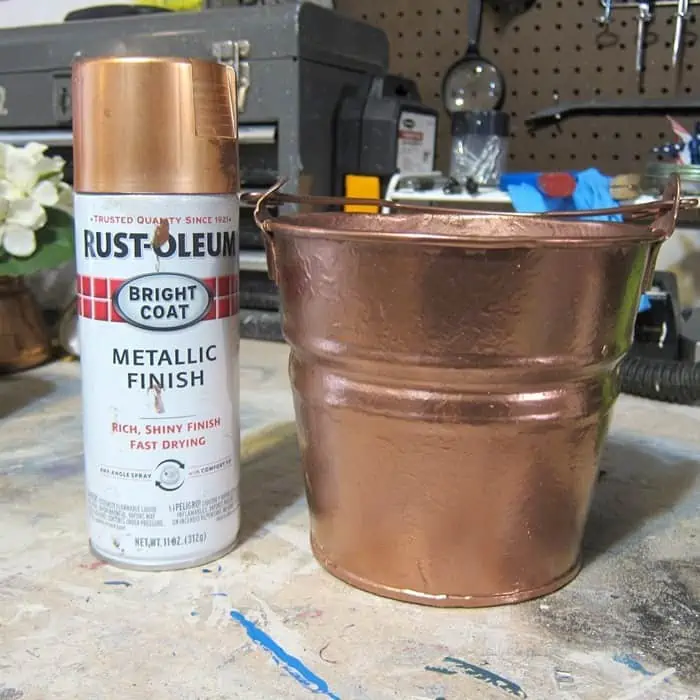 The spray paint is Rust-Oleum Bright Coat Metallic Finish in Copper. (find it here on Amazon) This is my favorite metallic paint color. I left the bucket as it was, no cleaning or anything, and sprayed on a couple of coats of paint in under a minute.
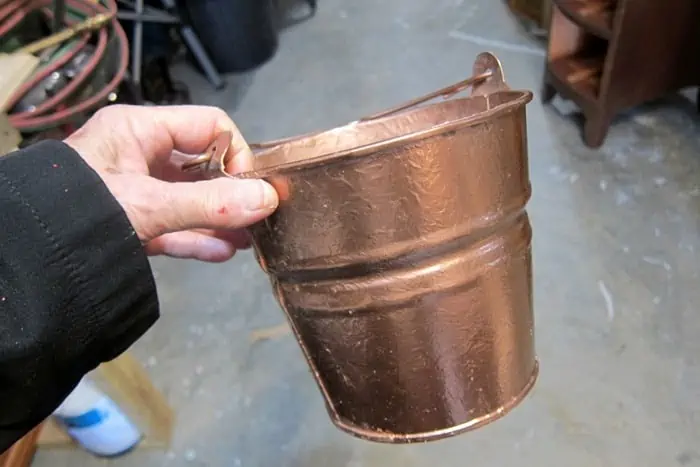 You can see in the photo above that the bucket has ridges and bumps and layers of paint under the copper paint. Perfect for distressing.
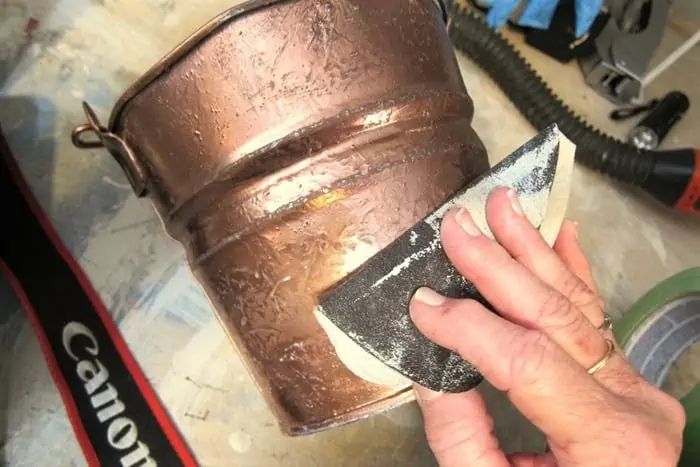 I used 120 grit sandpaper to distress the bucket by hand. The spray paint was thicker than I thought and I had a hard time scuffing up the paint and getting down to the metal and the old layers of paint.
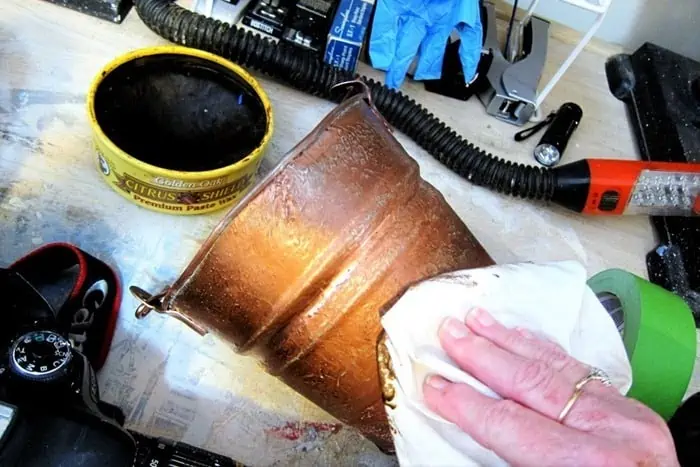 Next I wiped a coat of Howard’s Wax in Golden Oak over the copper to make the paint look old and antique. Once the wax was dry I used a clean lint free rag to buff it up. The wax gives a nice soft sheen to the painted bucket.
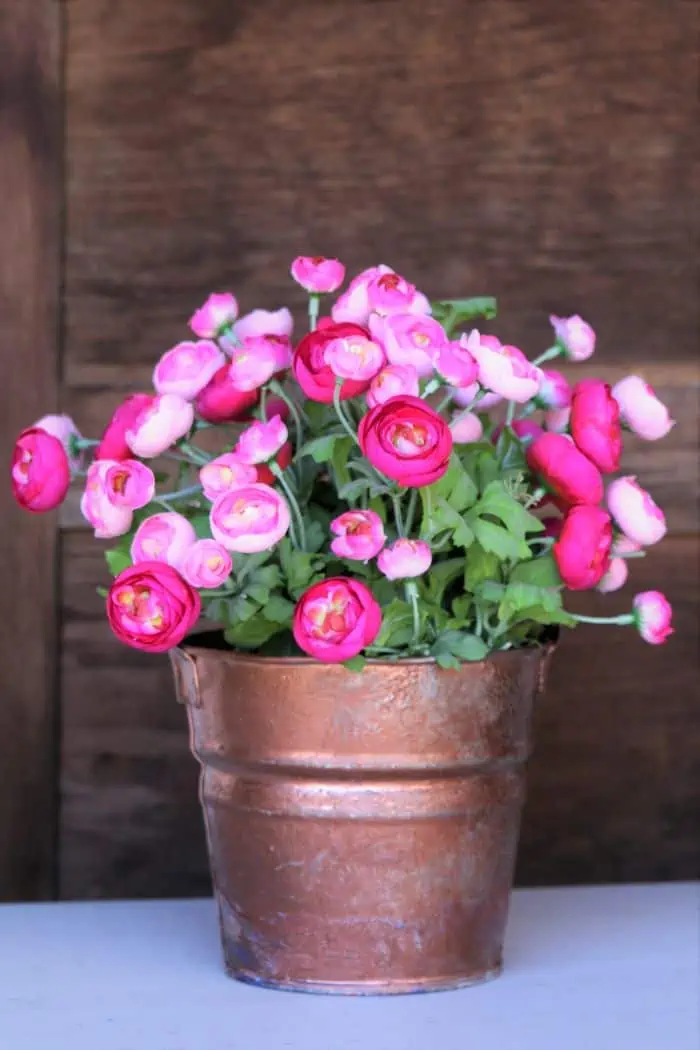 All done and I had the pretty faux flowers to put in the pot. I think maybe the flowers are Cabbage Roses? Please correct me if I’m wrong. update: Thanks Gail for letting me know the flowers are Ranunculus!
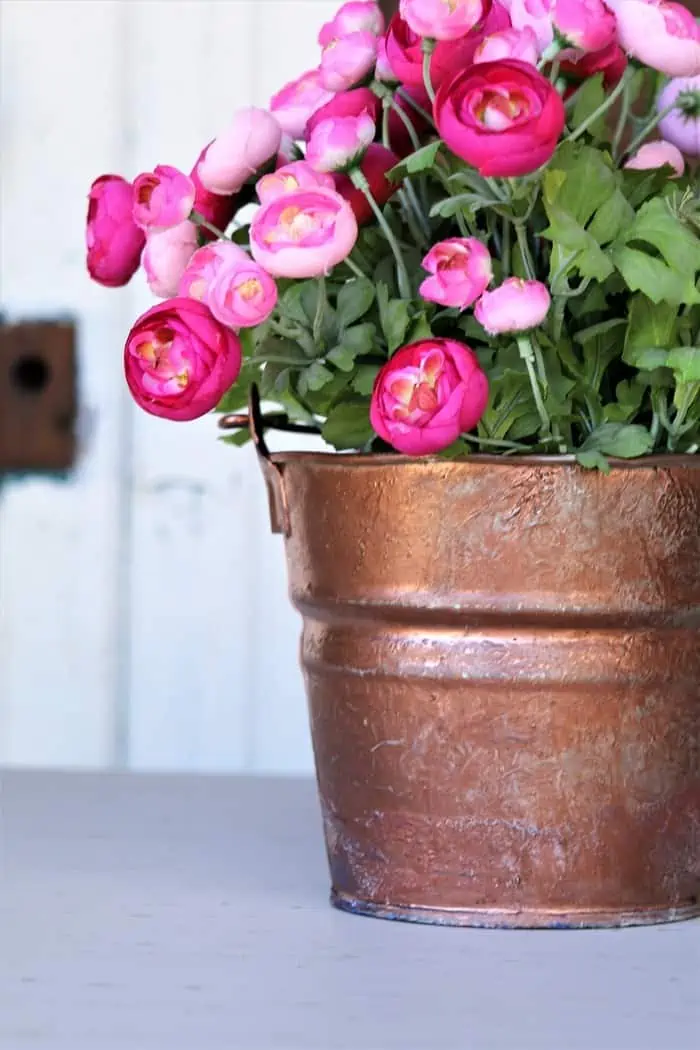 I love how the bucket looks now. You guys know I don’t like anything to be too perfect looking. The distressed finish is just right.
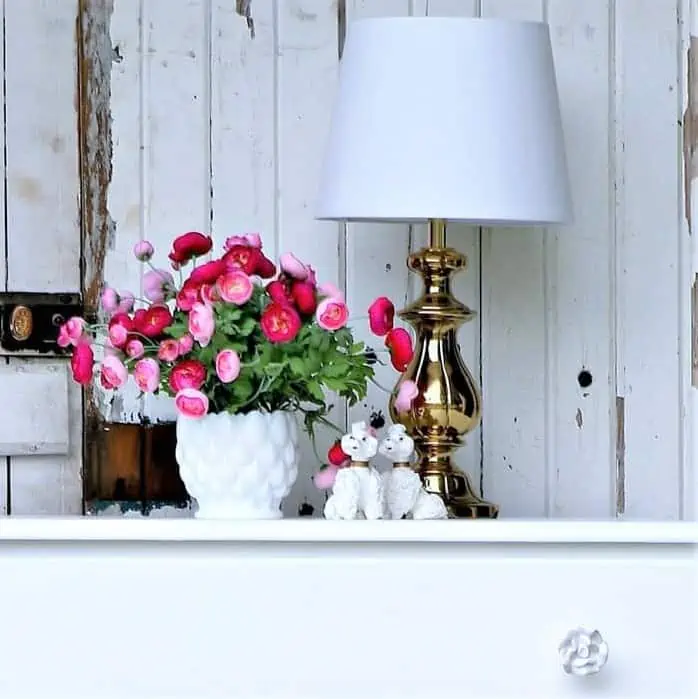 The flowers are in a white pot and I am always sticking the flowers, pot and all, down into another container like I did with the copper bucket. I’ve set them in a basket, a wood box, plastic pot, etc. In the photo above I used the flowers when staging this piece….Furniture Obsession: Simple Sophisticated White Dresser. I bought the flowers at Goodwill a while back and I’ve displayed them in just about every room in the house at one time or another.
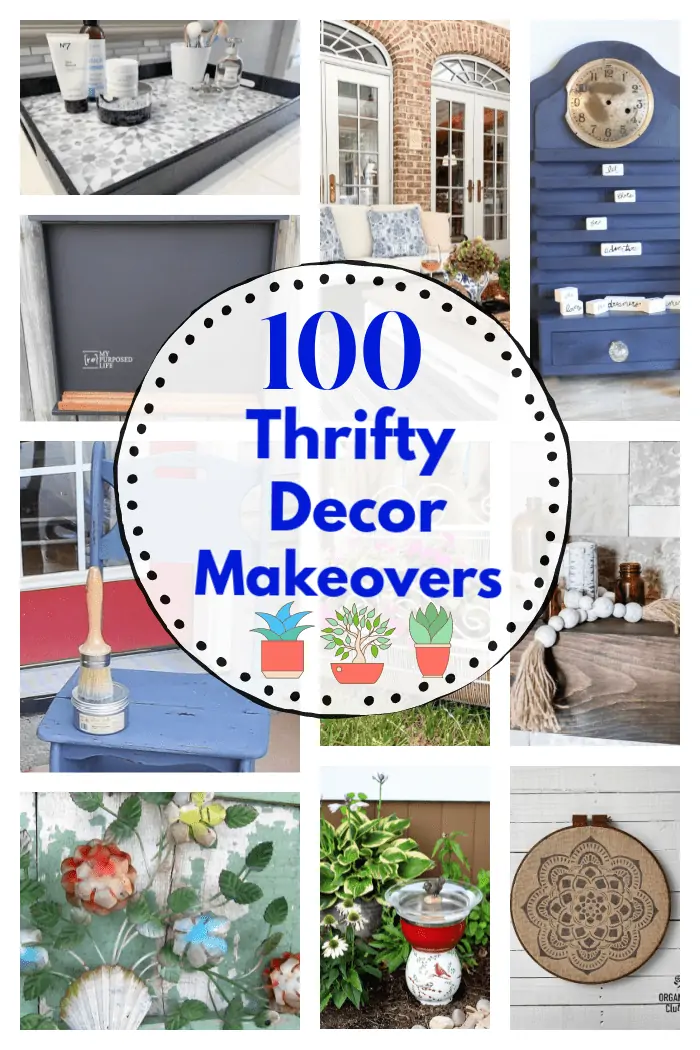
That’s all for my project. If you have time before heading out on the Thrift Store Decor Tour please leave a note for me. Click the links below the “before” makeovers photo collage to take the tour….
DIY Artisan Vase from Domestically Speaking Reclaimed Wood Valance Shelf Redo from My Repurposed Life Flower Pot With Metallic Copper Spray Paint from Petticoat Junktion DIY European Art with Thrift Store Frame from Our Southern Home How To Make A DIY Spoon Ring from My Uncommon Slice of Suburbia Upcycling a Bamboo Tray with Blueprint Paper from Sadie Seasongoods Upcycled Mail Organizer from House Of Hawthornes Vintage Bentwood Chair Makeover from Organized Clutter Trash to Treasure Picnic Basket from Reinvented Delaware Office Chair Update from Shop At Blu


Kathy,
Gotta love spray paint projects, so much bang for your buck. . . and time spent!!
The flowers are beautiful, I thought they were real.
super job!
pinning!
Thanks Rose. Glad you were inspired by this project. Let me know how your bucket turns out!
Thank you, Kathy! I love seeing you use colors that I’m afraid to try for the first time myself. I have an old metal bucket and I’m going to try this with the same color you used. I’m glad I saw your post first because I wouldn’t have thought to use the wax over it. Thank you, thank you!! And, those fake flowers sure fooled me!
So pretty – I always love copper!!!
The pot turned out so nice, love the metallic copper color. I can’t believe the flowers are not real, they are so pretty! We have acres and acres of flower fields that grow Ranunculus and they color code them and make the American flag, it’s so beautiful, can’t wait for them to bloom again this spring.
Gorgeous flower pot! I’m sure I have a few buckets and such in the shed I can fix up for summer! I think I agree with Gayle about them being ranunculus. I never find any flowers that cute and colorful at the thrift store. Lots of ratty, dusty old dried flowers though 🙂
Gorgeous! I love the copper color.
Awesome project Kathy! The wax over the copper paint really ages the bucket nicely! Pinned 🙂
Kathy, I love this idea. Those flowers were a great find. I have never found good flowers at a thrift store. I’m always looking though.
Dang Kathy! That finish is the bomb! I have 4-5 galvanized buckets and tubs under my deck. Looks like they will all have the perfect upgrade this summer! Thanks for the inspiration!
I think the flowers may be ranunculas (sp.). They look pretty next to the copper.
Kathy,
This is such a pretty makeover. I crave simple projects these days and this one is a keeper. That rich copper will work with all seasons.
Your faux finish turned out perfectly! Love it!