Recycle Jewelry and Hardware To Make Mermaid Art
As an Amazon Associate, I earn from qualifying purchases.
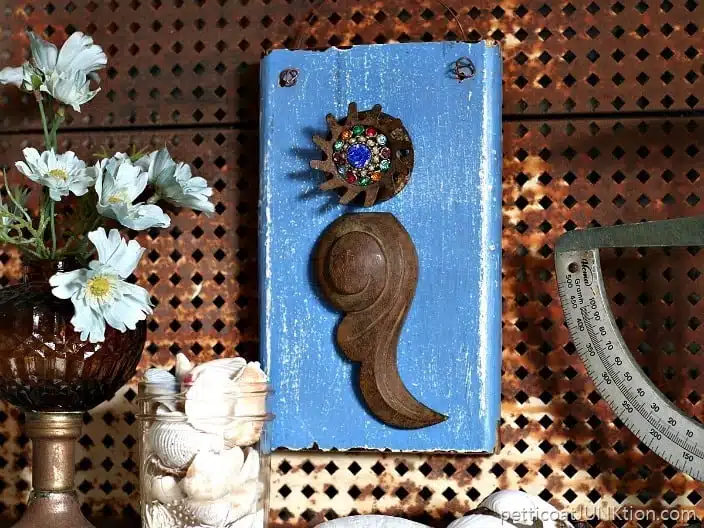
Mermaid Assemblage Art
Recycling and upcycling fun finds into assemblage art, junk art, salvage art, etc. is one of my favorite things. It’s interesting to see what you can put together using costume jewelry, rusty hardware, and architectural salvage wood.
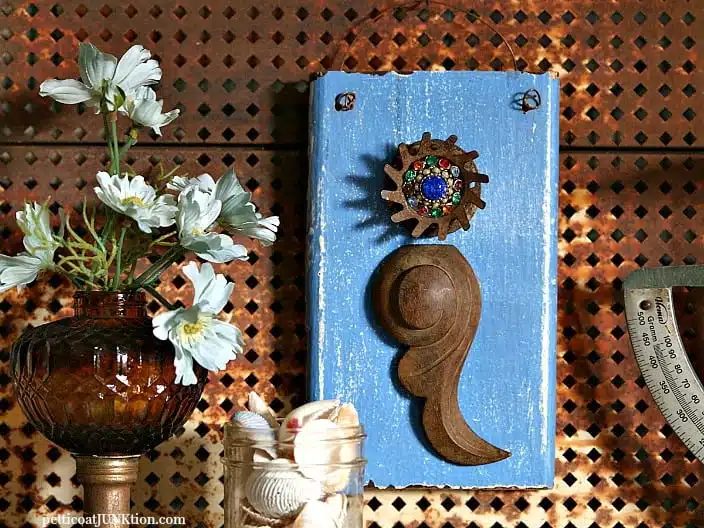
Mermaid Junk Art Assemblage
I was in the workshop last week gathering bits and pieces of rusty hardware and other fun things to make one of my RosaAnne Angels. I ended up with a Mermaid instead. Here’s what happened.
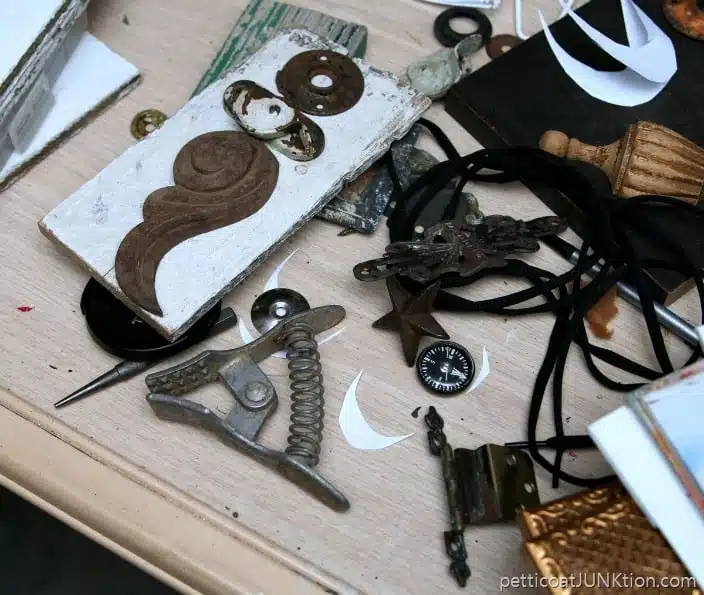
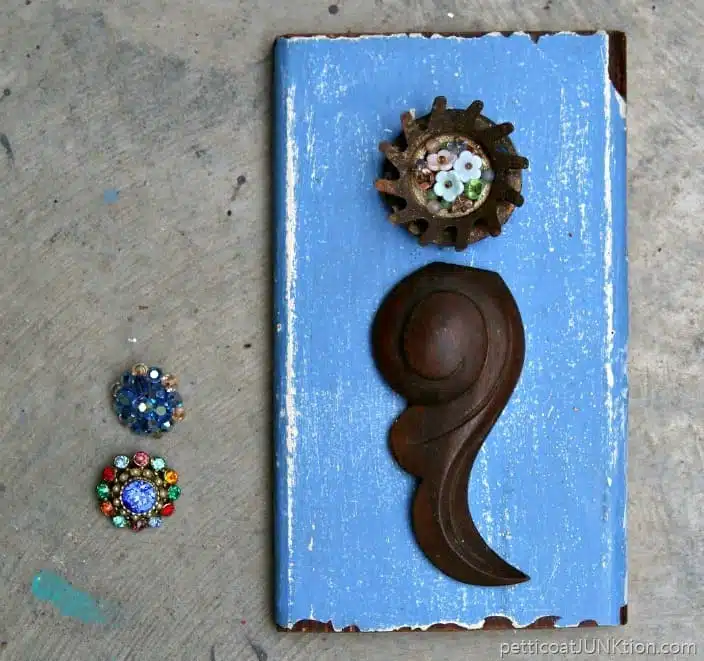
The wood molding piece has been calling my name for months. Every time I tried working with it to make an Angel…..well, it didn’t look like an Angel. I laid the pieces above on the white board and finally had an ah-ha moment. The wood piece looked like a mermaid tail so I did away with the wings and went searching for a face.
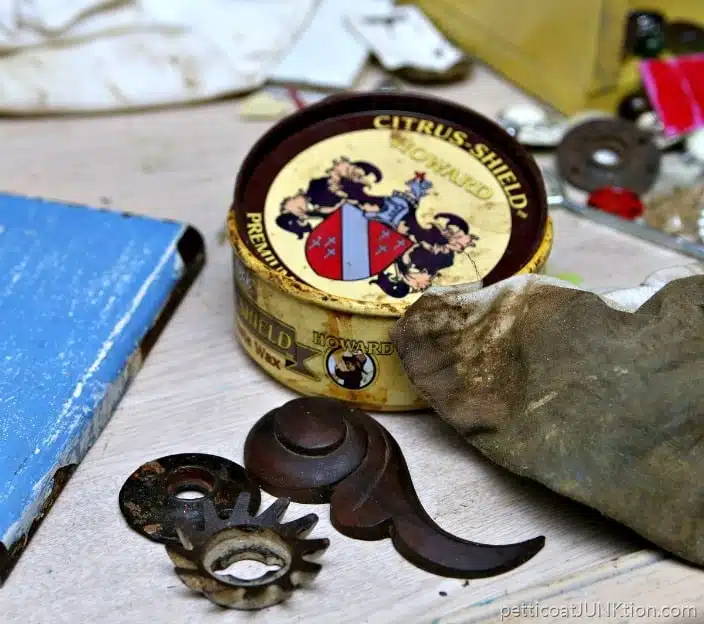
I gathered these pieces and cleaned them up with Howard’s Wax in Golden Oak. I found a reclaimed board and had the JTS cut it the right length. The blue paint was the perfect background for a Mermaid and there was also white paint underneath the blue. Perfect for distressing.
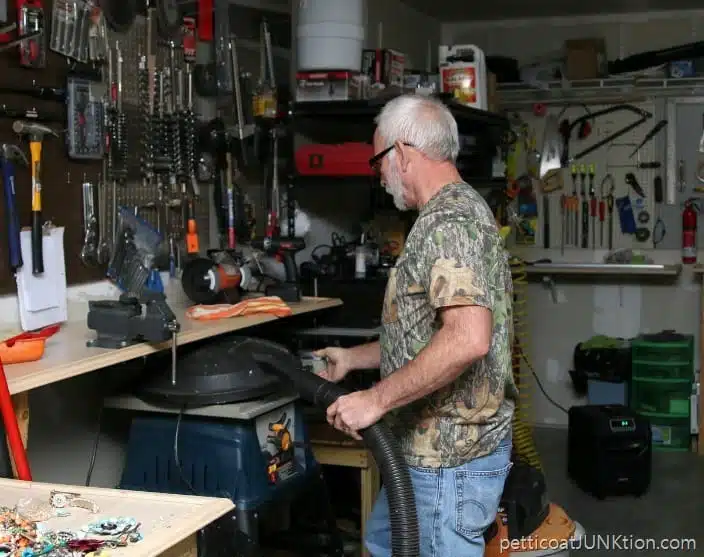
I missed getting the JTS cutting the board. Here he is on clean up duty. He’s awesome.
I have the blue board and the waxed pieces, now to find a pretty face. In my junk jewelry stash I found the three earrings above. I tried them out and finally selected the multi-color one. Each piece of bling gave the Mermaid a different look. I first selected the blue piece on the top left but after finding the multi-color earring the decision was easy.
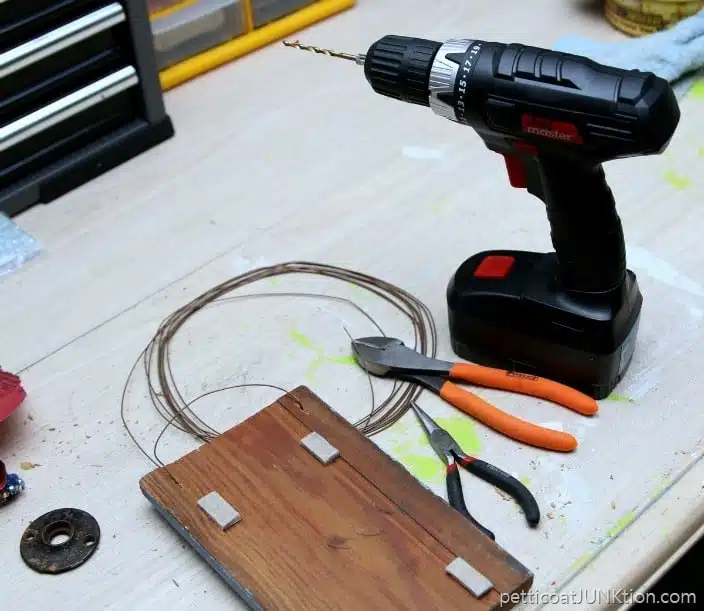
Before I put the Mermaid together I added a wire hanger and pads (to protect the wall) to the wood. I drilled a hole on each of the top corners and used reclaimed wire as a hanger. I threaded the wire through the holes and twisted the wire on the front side. Most of the things I work with like the reclaimed wire are garage sale or junk shop finds.
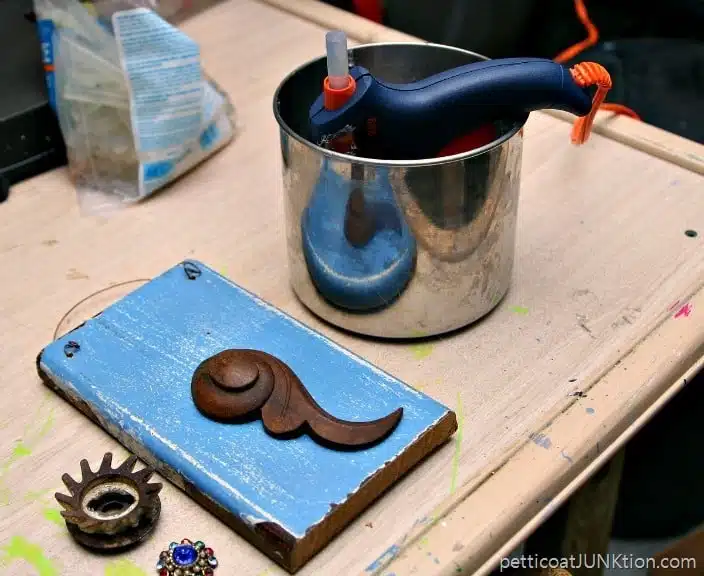
Since it would be a problem to screw or nail most of this stuff to the board I went straight for the hot glue. You guys have seen my glue gun stand before. I use a discarded stainless steel canister to keep the glue gun upright while I’m working with it and I also store the gun in the can along with the extra glue sticks.
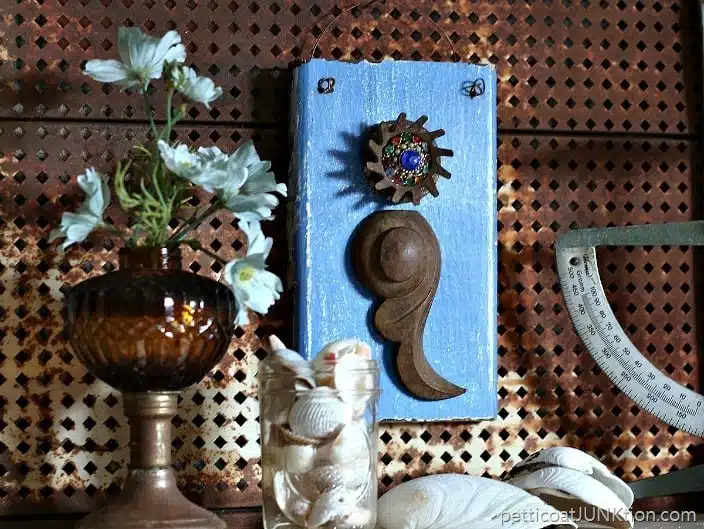
That’s it. Oh, except for the owl part. I was excited to show my little Mermaid to Granddaughter Tenley when she came over Friday. I didn’t tell her it was a Mermaid. I guess I thought it was pretty obvious. I asked her if she knew what it was and she said “Yes, an owl.” I didn’t see that coming. I told her it was a Mermaid and she said maybe a Seahorse. I agree with the Seahorse because I thought of a Seahorse too. Usually the Seahorse face is shown in profile.
Want more assemblage art? Find a neat owl here…..Owl Art Wall Decor.….or a sweet angel here…..Rust and Bling Angel
‘Till tomorrow. Have a great day! Kathy

Awesomeness!!! Love what you do Kathy <3
Thank you Kim. I enjoy Merry Monday!
She’s cute I see a mermaid! Love the blue! Thanks for linking up to Merry Monday! Sharing onTwitter ! Have a great week!
Kim
I love you idea for the glue gun. The seahorse is cute also
Nice Site Kathy,
Looking forward to more time on your site to check things out.
Reality now is I have to go to work.
Nice meeting you on G+
Greg Hill
perfect storage for the HOT drippy glue gun…
Love the mermaid! That’s what I see anyway! Too cute!