Recycled Hardware DIY Project | Making Assemblage Art
As an Amazon Associate, I earn from qualifying purchases.
Recycled Hardware DIY Project – Assemblage Art
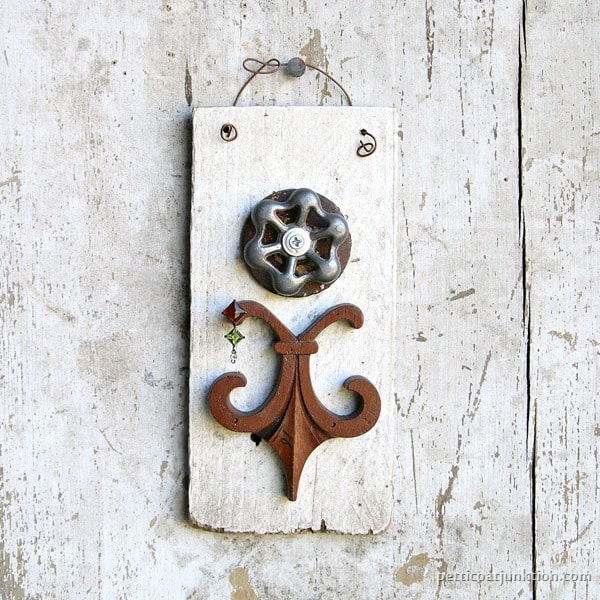
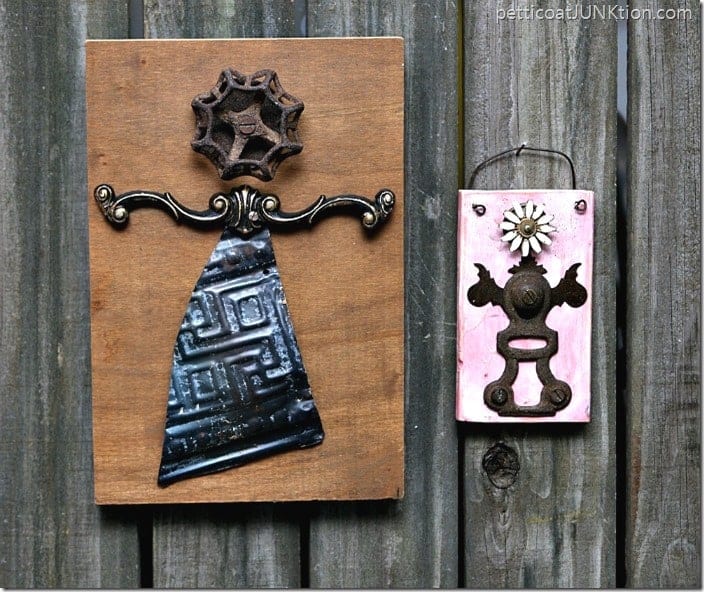
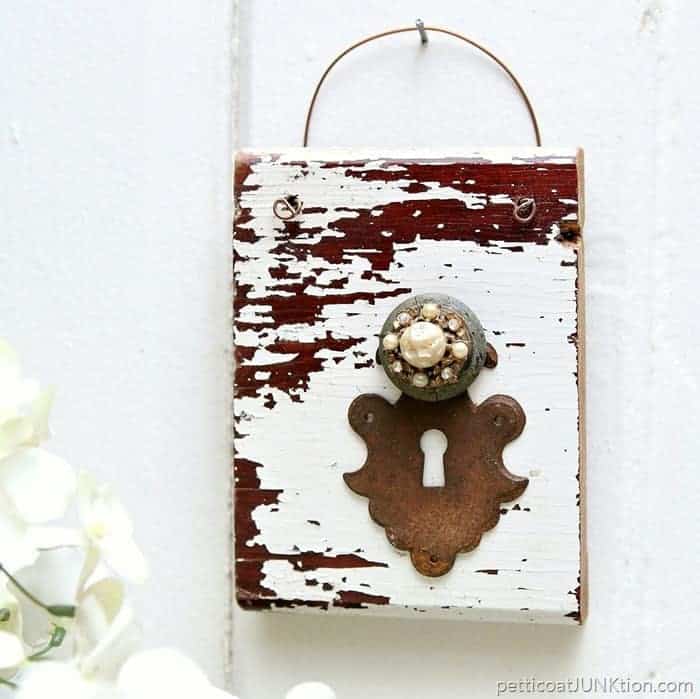
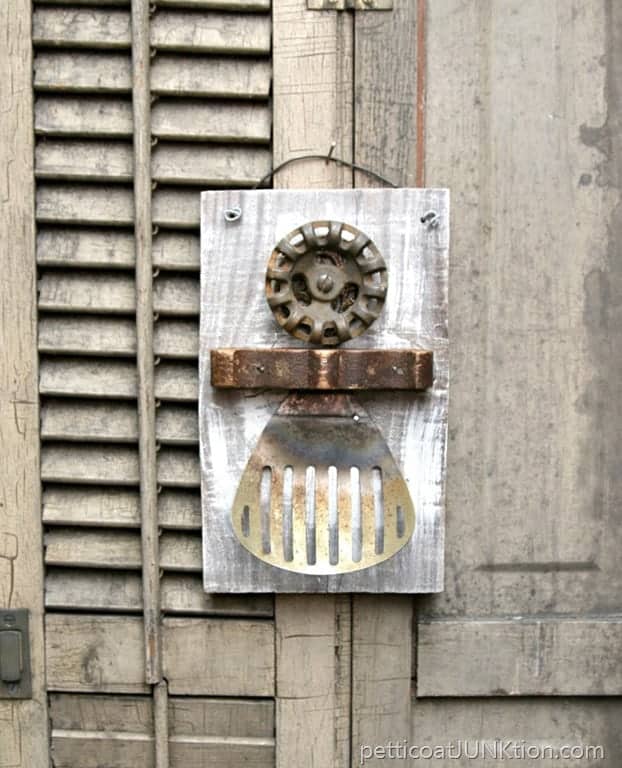
The “Angel” I’m sharing today is a recycled hardware diy project. I have tons of old hardware and rusty stuff. I like to make unique items with my junky treasures.
 RosaAnne Angels no.1
Hi guys! Glad you’re here. The post today is heavy on photos. Just a heads-up. I started making my Angels again and I have a complete how to for you. You notice the Angels have a new name. I will tell you the story of the name another day. I’m pleased with the way this one turned out.

This is just a bit of my small junk stash. I pulled things I thought would make wings, heads, and body….then put them together.

The JTS cut some of my reclaimed lumber stash into varying sizes.

I’m putting a lot more thought into the angels this go around. I’m waxing all of the pieces. I applied clear Annie Sloan Wax (the only clear wax I had on hand) to the hardware and rusty metal pieces. I used Howard’s Wax in golden oak to spruce up the piece of wood. The wood has dings and imperfections as does the hardware……adds character.

I drilled holes to attach all of the pieces to the board. In the past I used a combination of glue and screws. I don’t want the Angels to fall apart so I am trying to use screws and nails to attach the pieces when I can.

I kept getting larger and larger drill bits and finally got the holes big enough for the drawer pull. This pull is the kind that has little extensions on the backside that fit down into the wood.

Even the saw tooth hanger is reclaimed. I ran out of hangers so I pulled this one off of a frame in my project stash. This photo shows me using a tip the JTS taught me a long time ago. Needle nose pliers to hold little short nails makes the job much easier and I don’t get busted or bruised fingers.

The back of the Angel. The two screw heads are for the long drawer pull (wings), the other pieces I screwed down from the top and the screw tips don’t come through the back of the board. There are wall protectors on each corner of the board. The back of the board is also waxed.

That’s how it was done! What do you think? I now have to decide on a price and take it to my booth at the shop. You guys might be able to help me with pricing. Maybe give me a price range? The approximate dimensions are 14” tall and 9” wide.
Find more of the angels made from different hardware here….Assemblage Art Angels.
See you tomorrow, Kathy

$9.95
I wouldn’t know what price but I would like to buy one! They are soo cute!!!
Nice! You have a vision to see what can work together and make your unique art! Trying to price things has always been difficult for me so good luck on that!
So pretty! I wouldn’t have any idea how much to price them for either.
these are so nice and i don’t have any idea on price but they are labor intensive from both you and jts so i would take that into consideration,i think waxing them is a great idea xx
Kathy These are so lovely! I was wondering if you could help me out with ideas for salvaged ornaments. At my annual Christmas party this year, my friends and I are wanting to make salvaged Christmas angel ornaments. Do you have any suggestions for creating free hanging type angels?
That’s adorable Kathy!