How To Paint A Free Dresser With White Latex Paint
As an Amazon Associate, I earn from qualifying purchases.
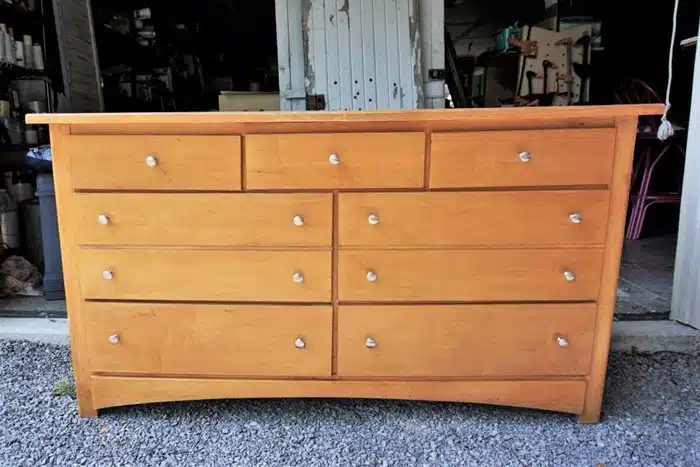
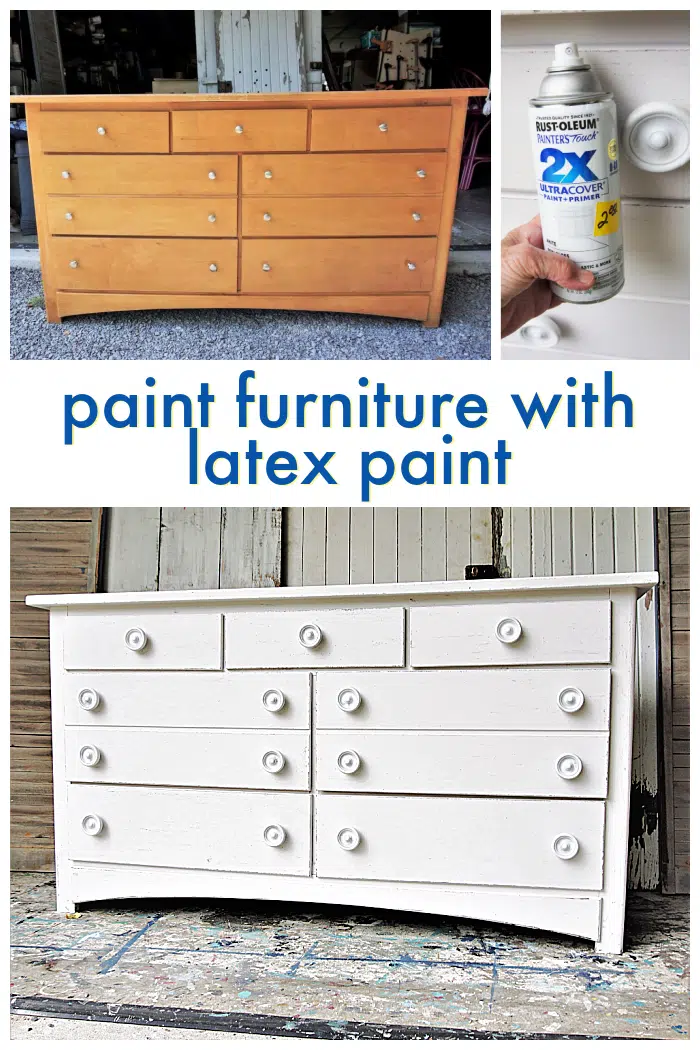
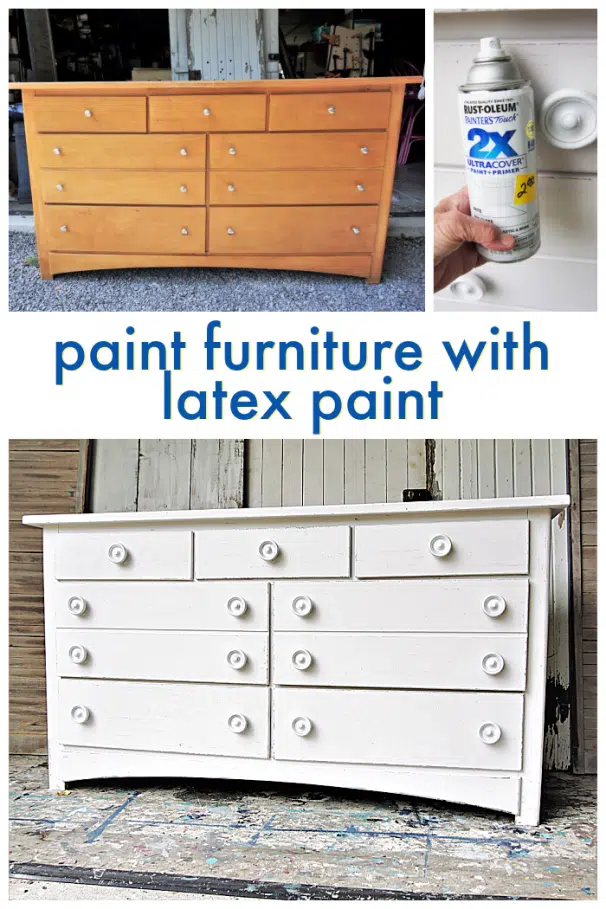
I was given a free dresser and painted it with white latex paint to lighten it up. Then I replaced the tiny silver drawer pulls with large white wood knobs. The difference between the original stained piece and the newly painted dresser is like night and day. I’m sharing all the details, plus today is Furniture Fixer Upper Day. Yay!
One of our neighbors offered the dresser to me several months ago, and it took a while for us to get together and move it from his garage to our workshop.
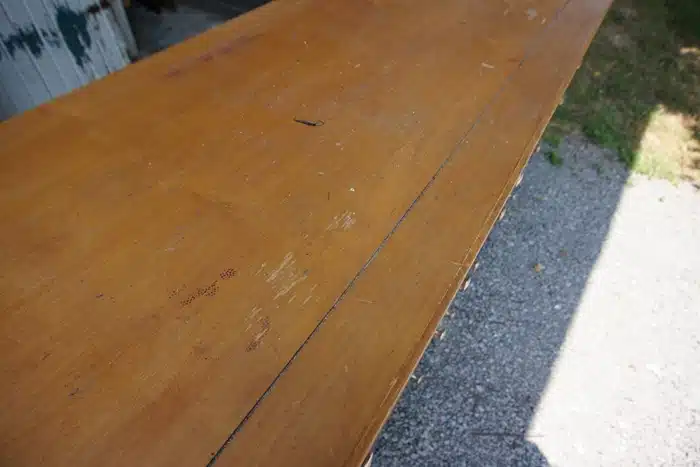
The dresser is a large piece and mostly solid wood. The dresser top and the sides of the drawers have a lot of wear. I sanded those areas smooth before painting.
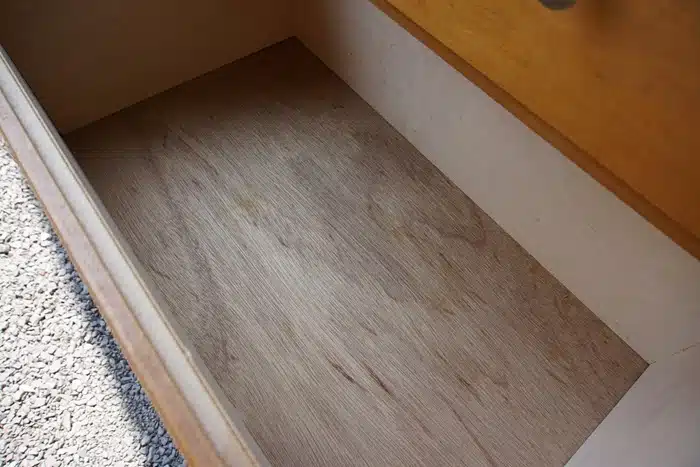
The insides of the drawers were in great shape. That is always a plus.
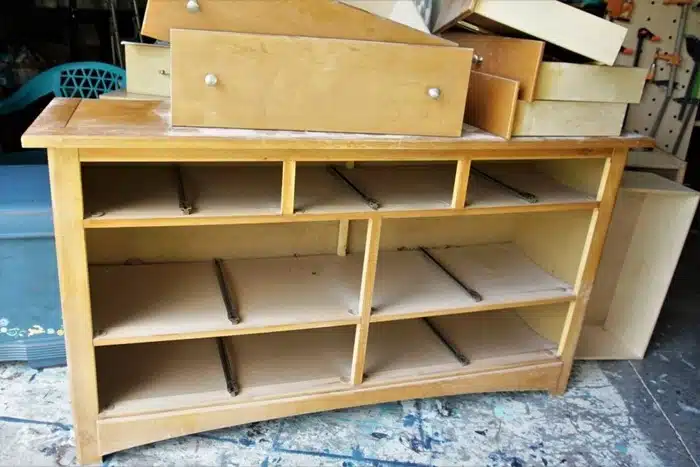
To say the piece was dirty is an understatement. The dust boards between the drawers are made of heavy cardboard. I planned to remove them, but they were nailed firmly in place beneath the metal drawer runners.
That was something I did not want to tackle. You would think removing a runner and putting it back in the exact place would not cause issues. Trust me, sometimes it does. So I cleaned the dust boards instead. I first used a shop vac to remove all the dust and cobwebs I could from the entire piece, top and bottom.
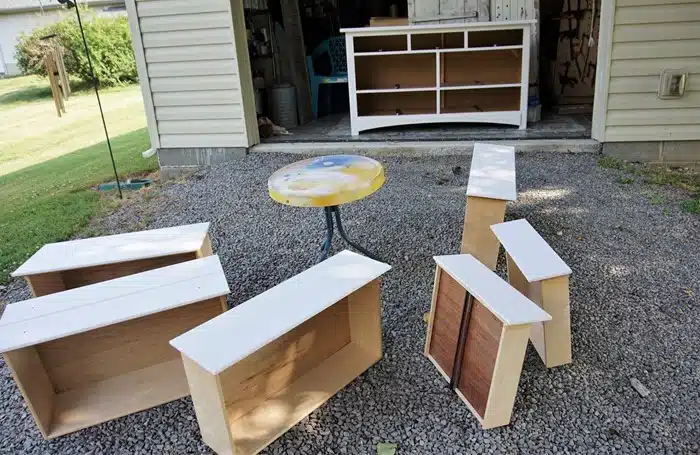
Then I cleaned the dresser with Simple Green from top to bottom. Next, I set the drawers and the dresser body in the sun for a day to help remove the musty odor.
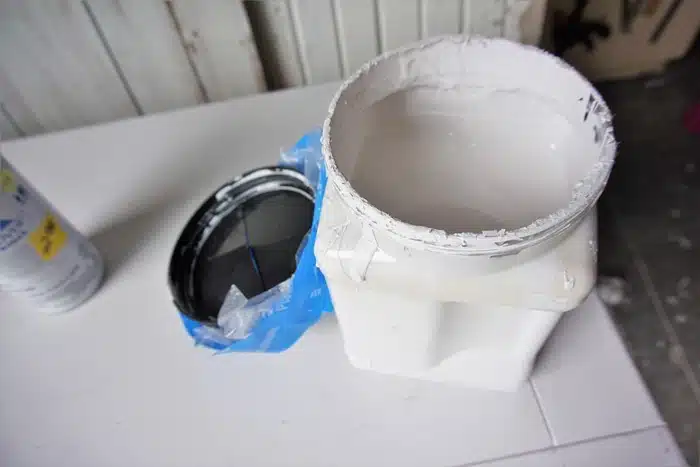
Once the dresser was all clean, I went on a hunt for paint. I found an old can of white satin finish paint on the shelf and opened it. The can was a bit rusty around the inside edges, so I poured the paint into a plastic container. I don’t know the name of the white paint, sorry.
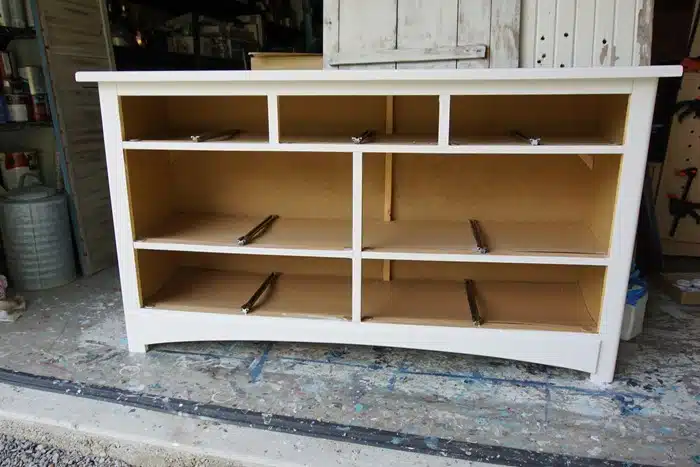
I removed all the knobs before painting the dresser then brushed on two coats of paint.
You can see how clean the inside of the casing is in the photo above. It took me longer to clean the dresser and get it ready to paint than it did to paint it.
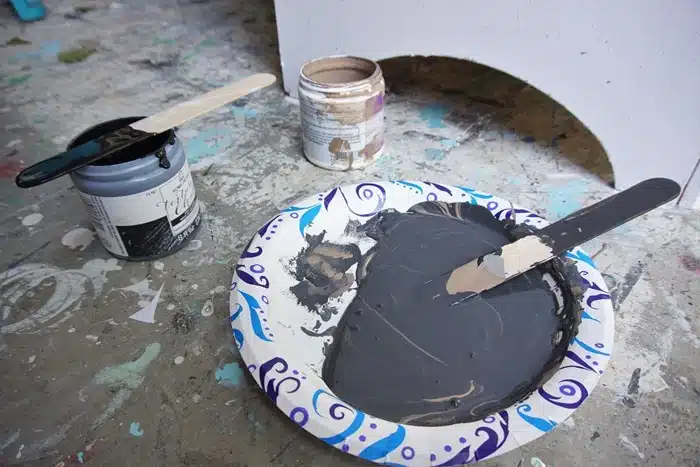
I liked the white paint but thought it needed something else to add a bit of depth to the finish. I mixed black paint with brown paint and white paint to achieve a dark gray color since I didn’t have any dark gray paint on my shelves.
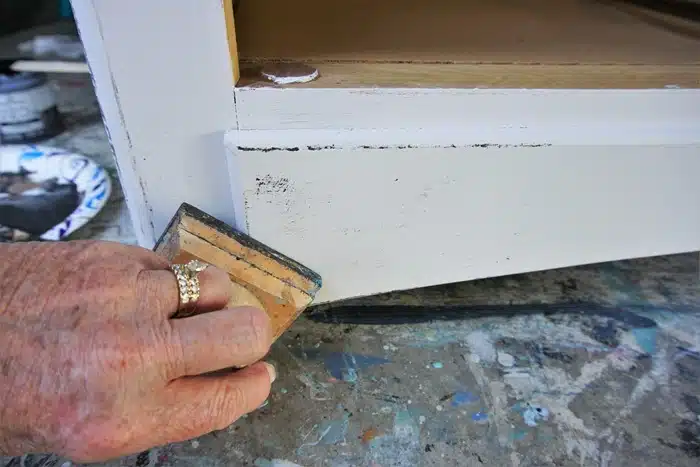
Then I used my FolkArt Layering Block to faux distress the dresser. The layering block is flat on the bottom and has a knob handle. I brushed a thin layer of the gray paint on the bottom of the block then dabbed some of the paint off on a paper towel.
Next, I ran the block over the drawer edges to get a faux distressed look. It is necessary to repeat the process of brushing paint on the block and dabbing a bit off several times during the faux distressing process, depending on how large your furniture piece is and how much faux distressing you are doing. Just to add a bit more color, I very, very lightly ran the layering block over the whole surface of the dresser.
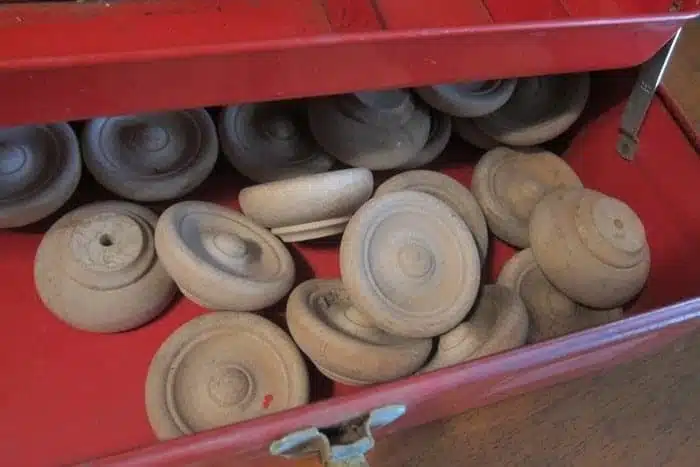
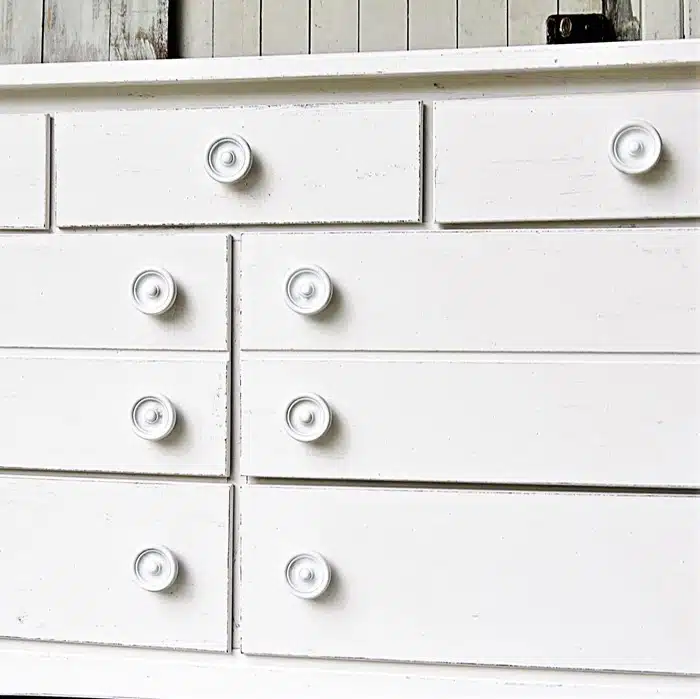
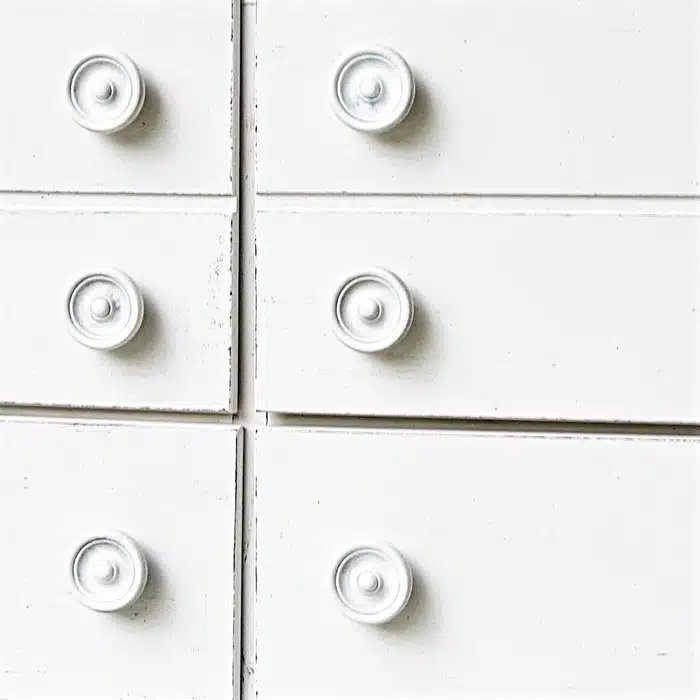
Now to the drawer knob situation. The original pulls were metallic silver and very small. Really too small for the size of the dresser. I went big! The unfinished wood knobs came from My Favorite Junk Shop. I bought a bunch of them and wish I had bought more.
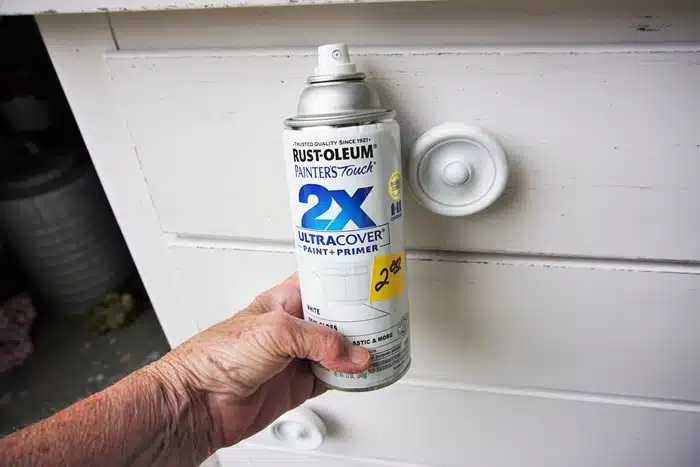
I spray painted the knobs with Rustoleum Ultracover in satin White. The unfinished wood knobs soaked up the paint, and it took several coats to cover them completely.
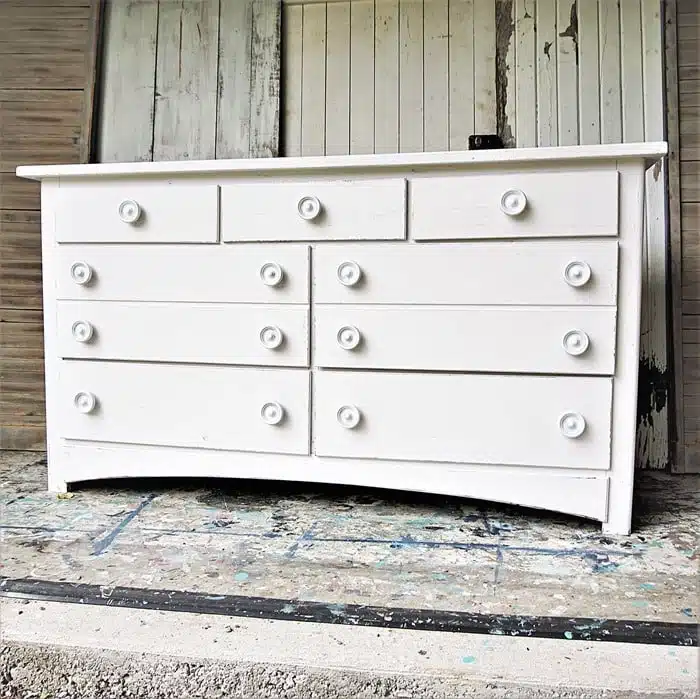
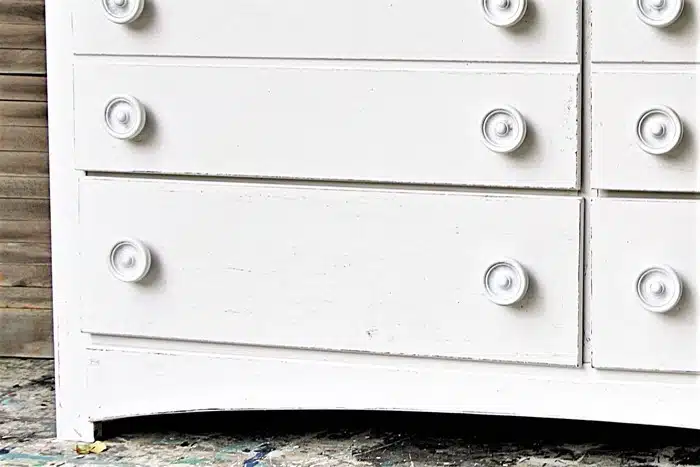
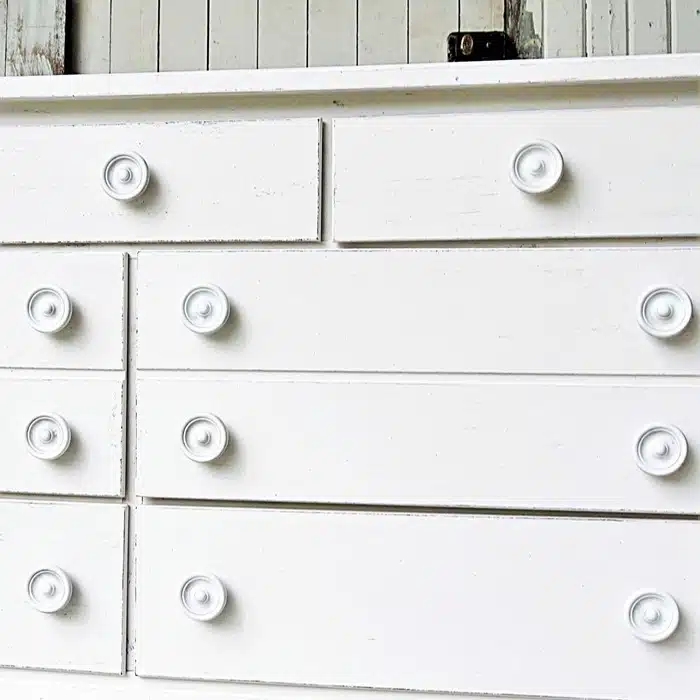
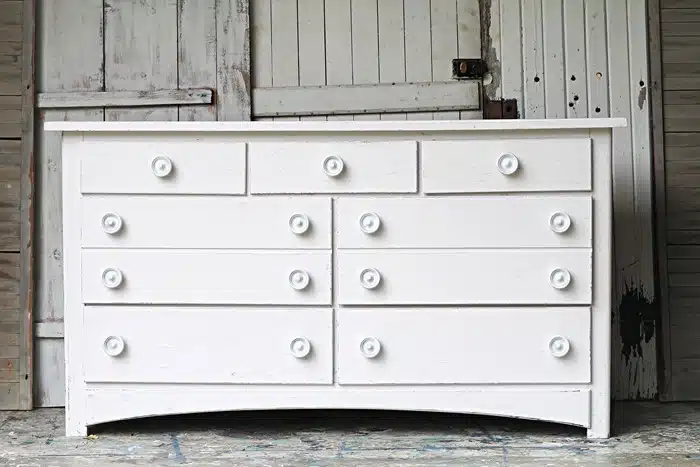
And WOW, what a difference. The dresser looks so much better. I think the knobs are the best part. At least, I like them. What about you?
A white piece of furniture looks fresh and clean and makes me smile.
The faux distressing with the dark paint is very minimal.
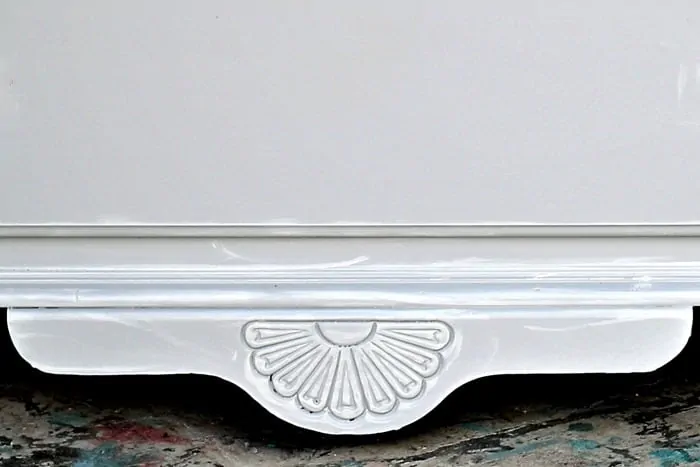
The bottom piece is the only curve on the dresser.
I painted the dresser several weeks ago and saved this post for the furniture tour. The dresser is sold. It didn’t last a week in my booth at the shop.
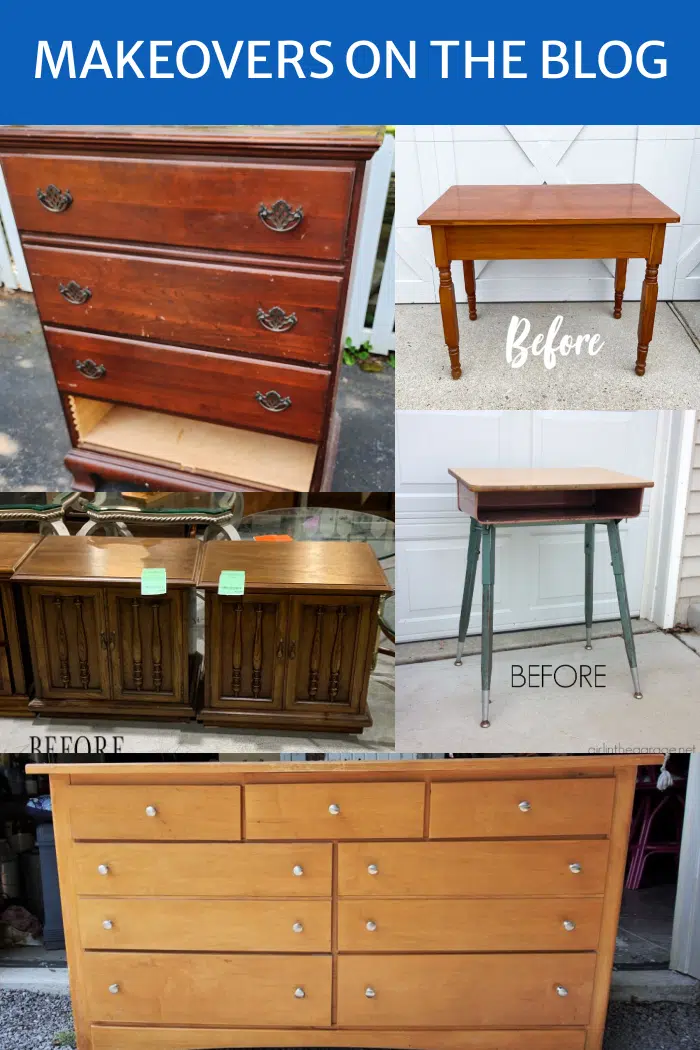
One last full-on frontal look of the dresser. Seriously, what do you think of the knobs and the new look? Leave a note if you have time and then take the Furniture Fixer Upper Tour by clicking the text links below the “Before” makeovers photo collage…..
Gel-Stain Farmhouse Table Makeover – Confessions of a Serial DIY’er
Cobblestone Painted Nightstand Set – Salvaged Inspirations
Chest Of Drawers Makeover – My Repurposed Life
DIY Painted Desk – Girl In The Garage
White Dresser – Petticoat Junktion (you are here)
As always, thanks for being here, Kathy

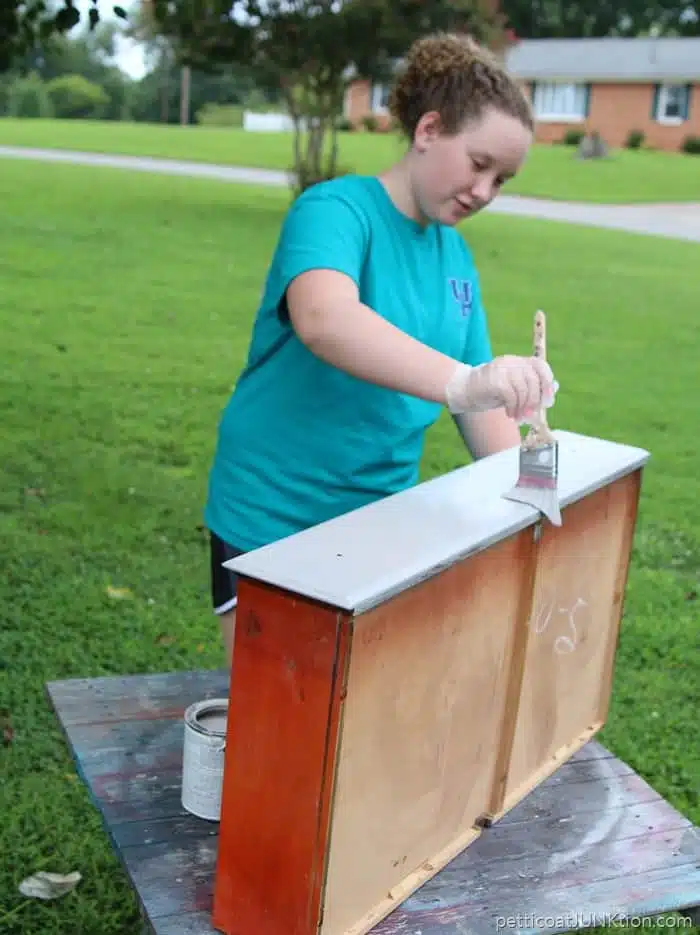
You didn’t talk about how you painted the drawers. I always wondered about that.
Such a great piece- I love the new look, Kathy! xo
The knobs made the dresser!
I love to see makeovers on styles like this. It is so versatile! The knobs are so much better than the original. And I love the faux distressing. I have never tried do that with paint, so may just try it. It looks great!
Did a good job on this dresser Kathy..love the knobs.. Somebody is a lucky person to have it… so much space to put stuff in.
I loved the look of the dresser Awesome! I need to refinish a kitchen table top hoping to get some help from your post. Wish me luck! 😊
White is always a win in my book…well done! It looks SO much better, and I’m not surprised at all that it sold quickly! XOXO
Love the white and the knobs Kathy! And I agree, it’s always a huge bonus when the drawers are clean and in perfect condition! XOXO
Really cute. I love it in white.
Love this dresser! It is gorgeous ❤️
Great job. The knobs made it a statement piece. Perfect amount of distressing.
I LOVE LOVE this piece! Great job Kathy. I would love to see a video of how to use the FolkArt layering block. That was perfect for this piece.
What a change, it looks so much better and I love the knobs, they look great.xx