How To Spray Paint Metal Chairs
As an Amazon Associate, I earn from qualifying purchases.
I bought a pair of vintage chairs but they were kind of ugly so today I’m going to show you how to spray paint metal chairs. Once you see the beautifully detailed chairs you will know why I used spray paint.
Plus that’s about the best way to paint metal. Oh, and today is our Furniture Fixer Upper Tour. I know you guys enjoy the tour as much as I do. My friends always have some fabulous makeovers.
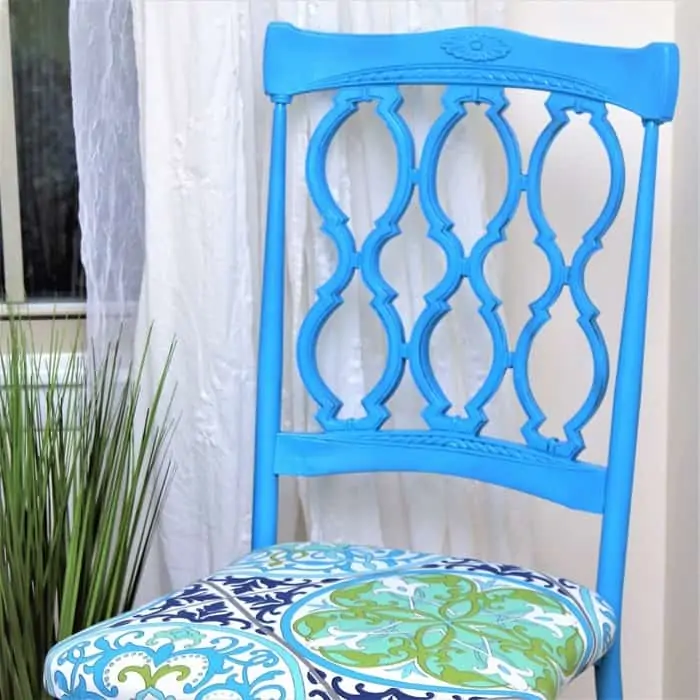
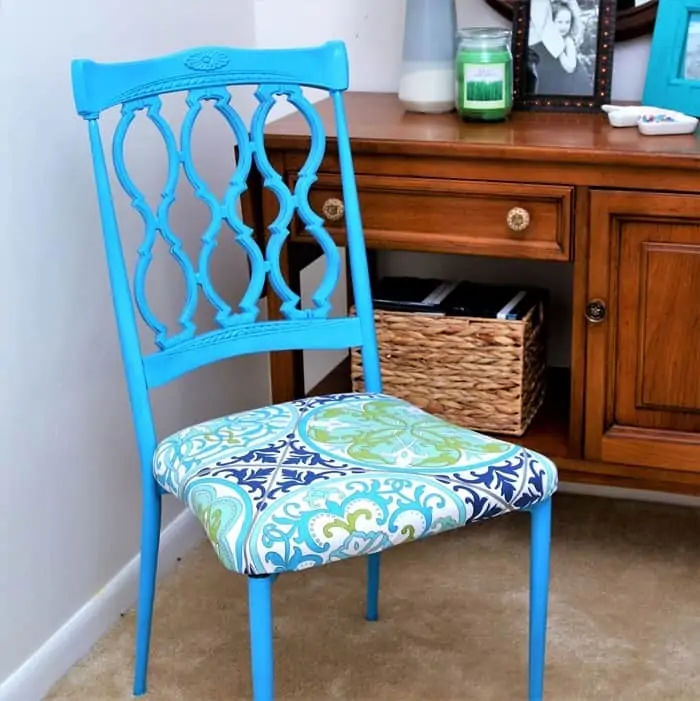
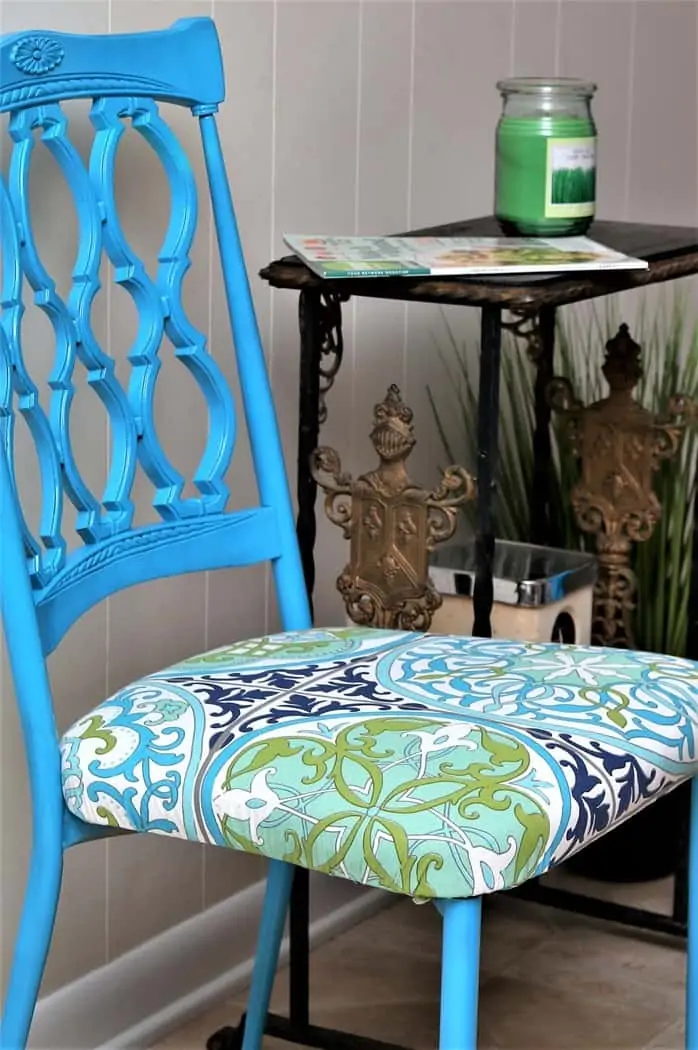
See what I mean about the details on this chair? And you will never guess what I used to re-cover the chair seats.
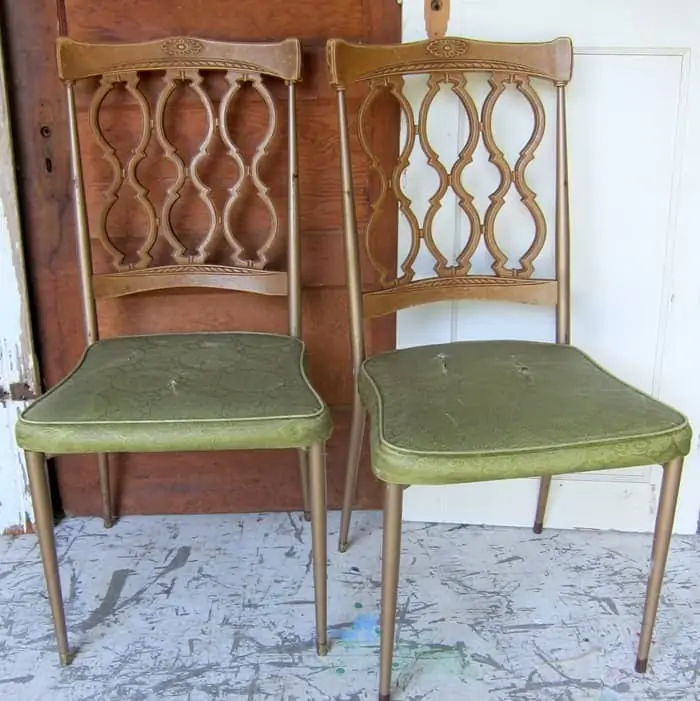
Yes, the chairs were kind of ugly. That avocado green has never been my favorite color, although it was popular when I was a bit younger—or a lot younger.
I loved the curvy details of the backs and I could see the chairs would be fabulous once they got a coat of paint and some new fabric seats. They were $10 each so the price was right.
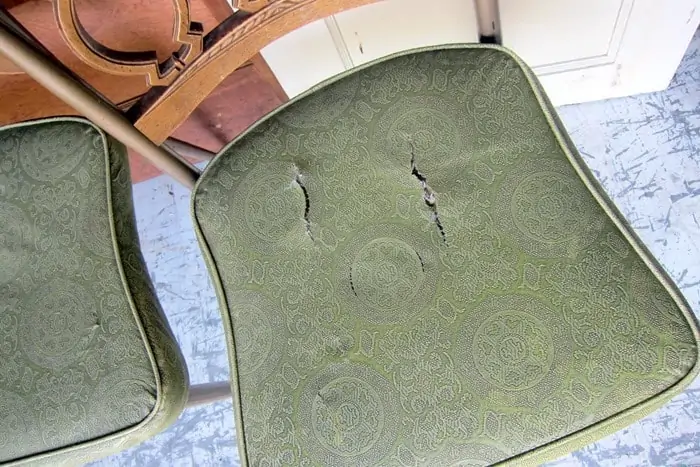
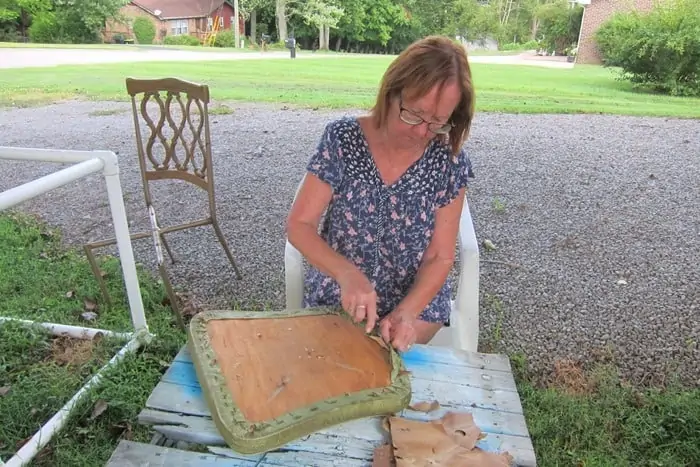
The vinyl fabric seats were ripped in places and I first thought I would just cover the whole seat as is. After a little thought I decided to rip the vinyl off and see what I had to work with.
I made a video showing how I removed the chair seats from the frames and the vinyl covers. The video also includes a little of my spray painting technique.
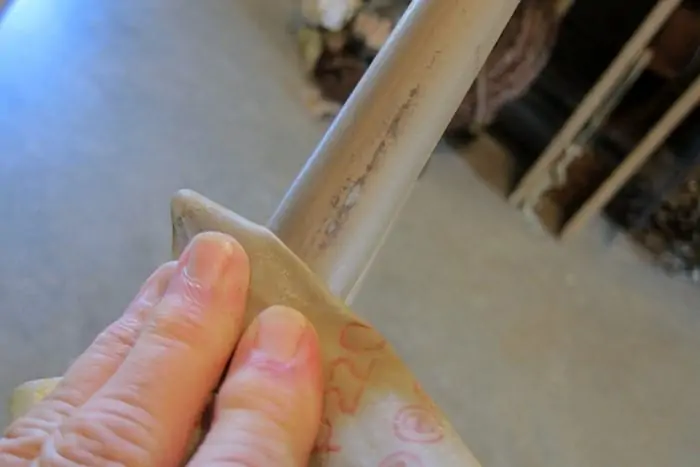
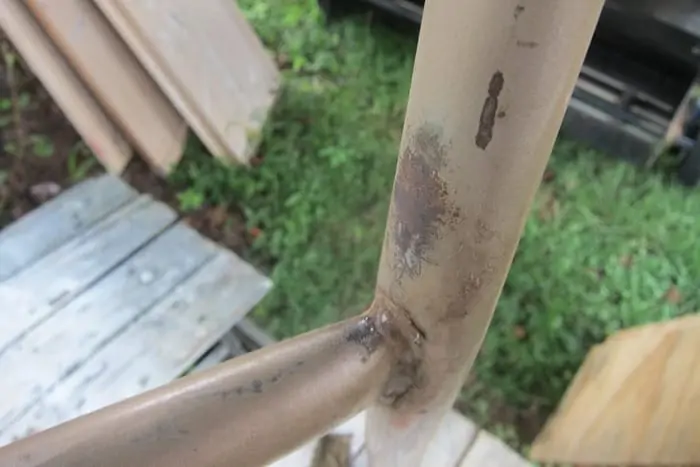
The metal frame was scratched and rusty in numerous places on the legs and top part of the frame. I used flexible 3M sandpaper to smooth these areas.
Then I cleaned the chair frames with Simple Green and let dry well before spray painting.
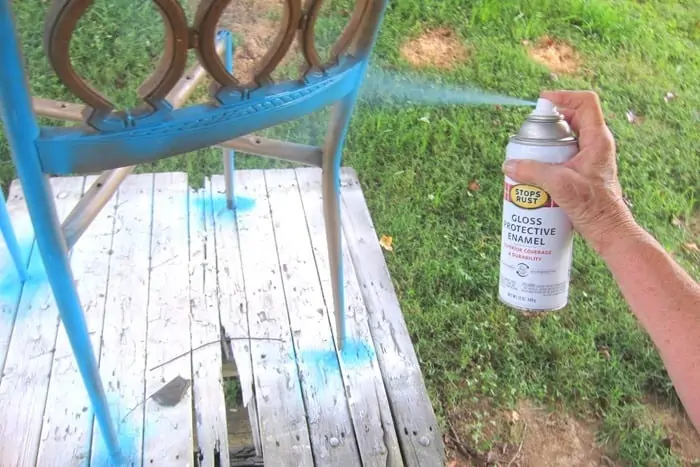
Spray painting is the best way to go with metal chairs. I would not want to brush paint all those curves, edges, and in’s and out’s.
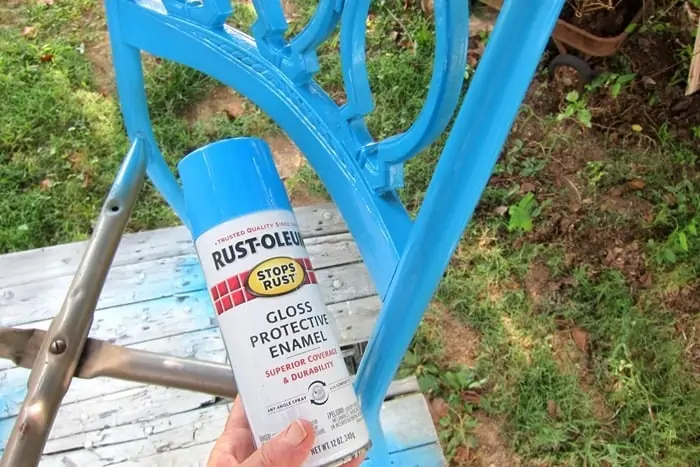
What do you think of the color? It’s Rust-Oleum Gloss Enamel, color Maui Blue. I’m in love with it myself. This is the first project where I used this color and it will not be the last. The gloss sheen really makes it pretty. I love Rust-Oleum spray paint.
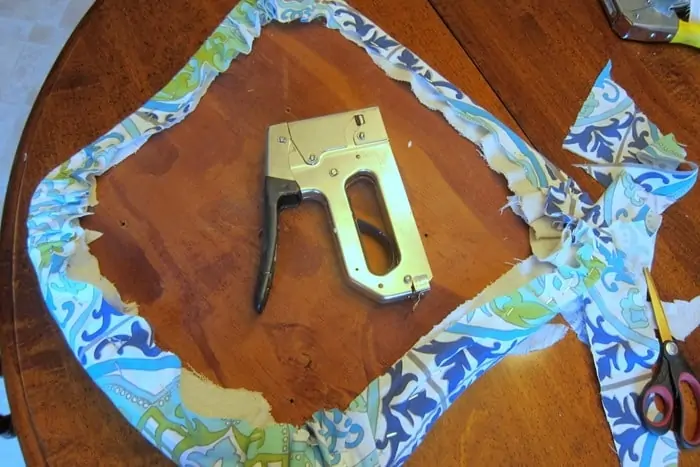
I used a screwdriver to pop the staples out of the vinyl fabric. There was a ton of staples. Then I used a pair of pliers to pull the left over staples from the wood seat.
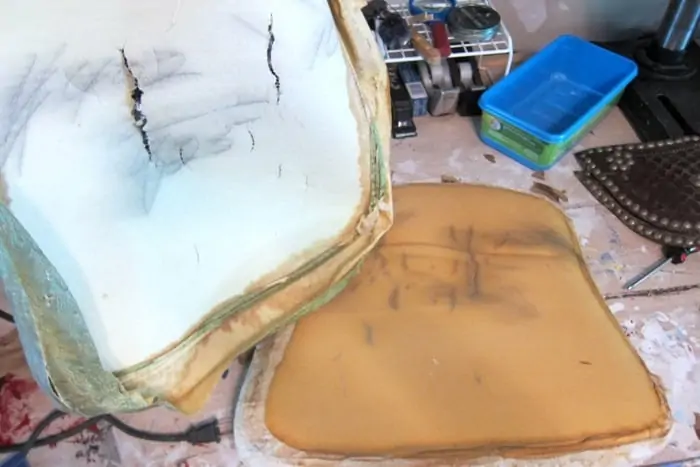
It took a little work to pull the seat cover from the wood and foam. When I watched the video of me pulling the cover off I just had to shake my head. My facial expressions were comical.
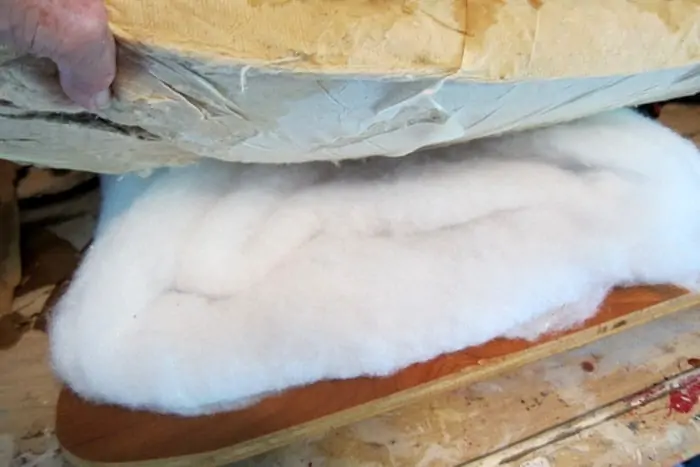
Before I re-covered the foam and wood seat I freshened it up with Febreze spray. The foam was a bit flat in the middle so I added a bit of poly-fill between the foam and the wood seat.
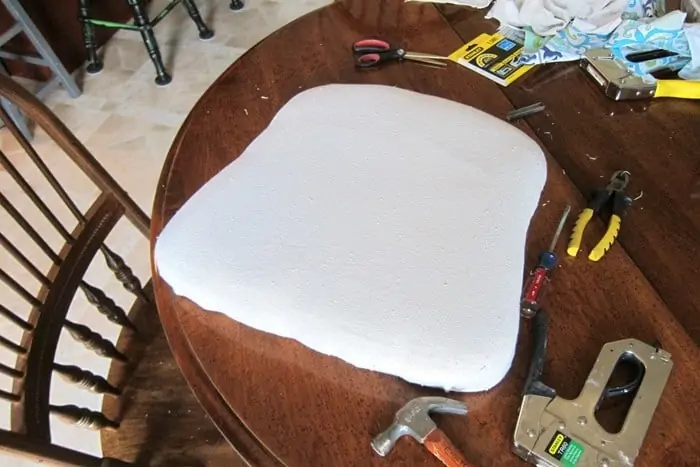
I wasn’t sure the fabric I selected for the cover was thick and heavy enough to resist tearing when pulling it tight over the wood seat. I took care of that by first covering the seat with drop cloth!
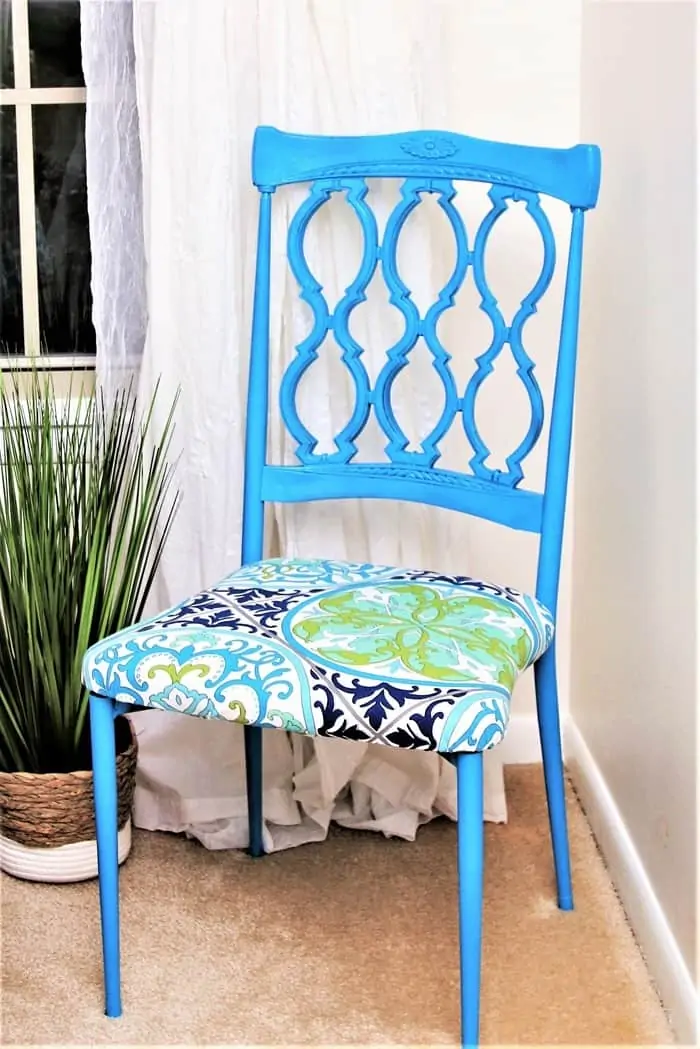
The new fabric cover was once a shower curtain. I got a new shower curtain a while ago and washed this old one just. I knew it would come in handy for just this type of project. You can see how I re-cover chair seats here….How To Paint An Oak Table And Re-Cover Chair Seats With A Drop Cloth.
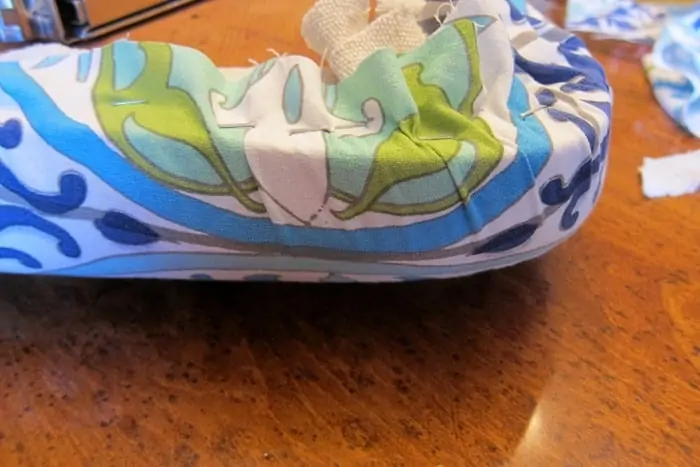
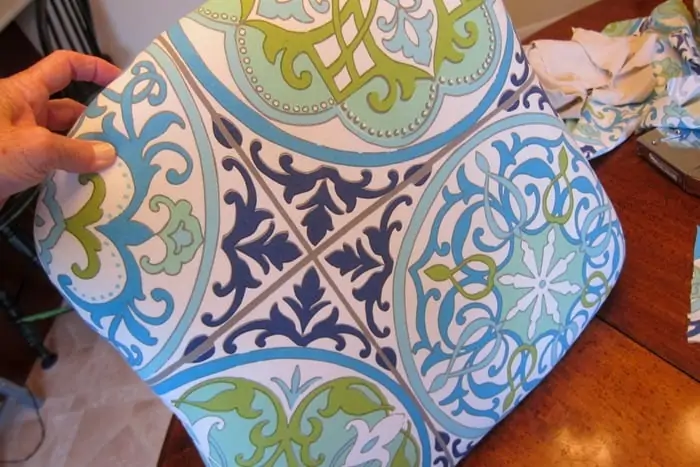
Getting the fabric nice and straight without any puckers around the corners is the hard part. Sometimes you can’t help but have a few.
You can see how tight the fabric is on the seat. It’s very important to pull the fabric tight around the foam when stapling it to the backside of the seat.
Watch the video below showing how I removed the seats and spray painted the chair frames….
[adthrive-in-post-video-player video-id=”5oV8L5wX” upload-date=”2021-08-26T01:18:08.000Z” name=”How To Paint Metal Chairs” description=”Spray paint metal dining room chairs using Rust-Oleum Spray Paint” player-type=”default” override-embed=”default”]
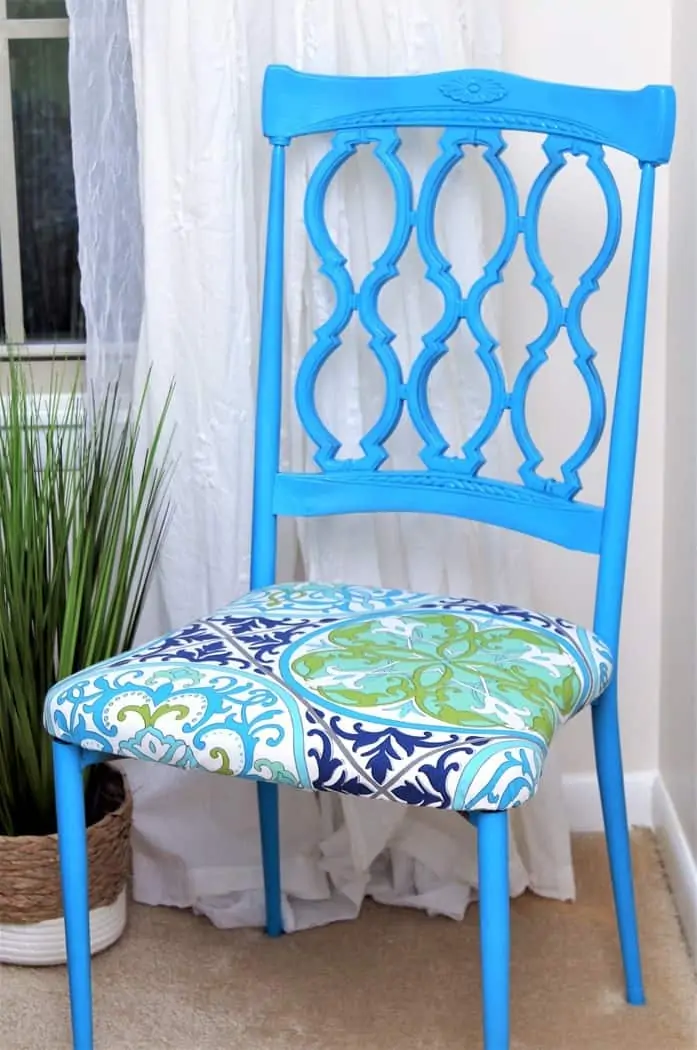
Vintage Chairs Makeover With Spray Paint And New Fabric Seat
What a difference huh? When I decided to use the shower curtain to cover the seats I was thinking about turquoise paint to match the color in the fabric. But, I didn’t have the right color turquoise on my paint shelf so I used what I had. Couldn’t have worked out better.
If you like black chairs and buffalo check plaid here is a tutorial for you….Black Buffalo Check Dining Chairs Plus Video Tutorial
The foam in the seat was nice and thick compared to some chair seats I’ve re-covered in the past. They are very comfortable and they will go to my booth at the shop.
Some of you ask about how I price things. I don’t have a set price for chairs, chests, etc. It just depends on what I paid for the piece, how many supplies I used, and what I think the piece will sell for in my local market. I will probably price the pair of chairs at $65. That means I will make approximately $30 on the two chairs after booth commission and my supplies and cost of chairs. Not much money for the hours I put into the project.
I guess that means I made less than minimum wage for my time. You can see I don’t do this work for the money.
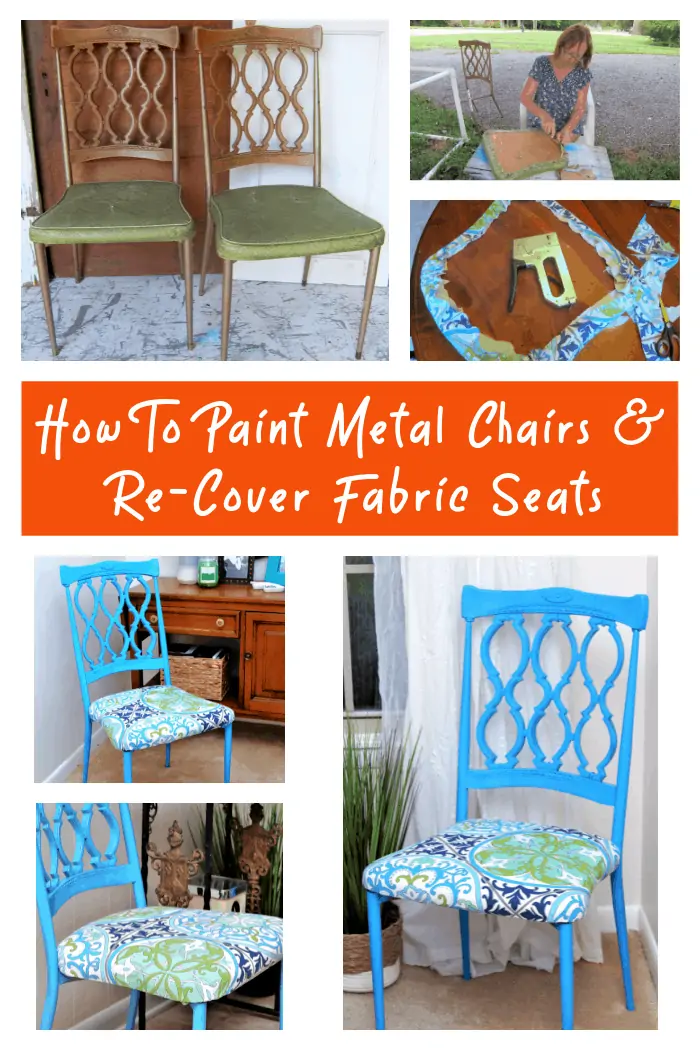
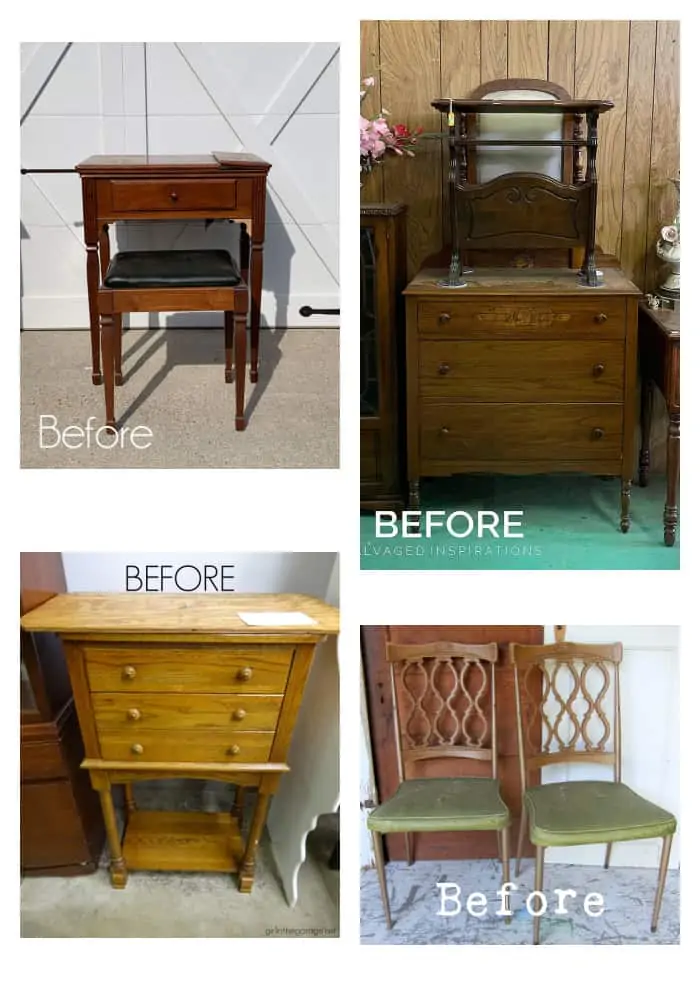
Don’t forget to pin this project before taking the Furniture Fixer Upper Tour. Leave a note if you have the time. Take the tour by clicking the orange text links below the “before makeovers” photo collage….
Turn A Sewing Machine Table Into A Dressing Table – Confessions of a Serial DIY’er
Sunflower Transfer Dresser Makeover – Salvaged Inspirations
Rust-Oleum Chalked Paint Review – Girl In The Garage
How To Paint Metal Chairs – Petticoat Junktion (you are here)
As always, thanks for being here, Kathy

Great tips! I would have never thought to paint metal chairs. I’m definitely going to try this.
Love how they turned out, love the colors and the fabric repurposing!
Very boutique-y. I agree, the price you set would be an absolute steal!
I don’t really know. I sprayed several thin coats to keep the paint from running. I used one whole can on both chairs.
So glad! please share a photo when you finish the chair. kathy@petticoatjunktion.com
Kathy, this project is so bright and fun. I’ve never seen chairs with an X base under the seat either… so neat!
I never would have guessed that that fun fabric was a shower curtain! Great job Kathy… and I love that Maui color! Pinned. XOXO
Hey, Hey !
Great job on painting the chairs and nice choice of colour too ! what’s freaky is I was at a G/sale today AND I bought a vintage metal chair and driving home thinking how the heck can I paint and re cover the chair… so it’s TRUE that things happen for a reason !
Thank you ! my project problem is solved !
Very vibrant and funky! An added boost of happy for sure. I guess I need to start buying more shower curtains and curtain panels when they are on sale and hiding them away for projects.
Great transformation! How many coats of paint did you spray on the chairs?
I will try pricing them higher. Thanks!
Oh, those were some hideous 70s chairs! All that work to make them look this good surely deserves to be compensated more highly. Don’t know what your local market will bear, but I know they’d go for a lot more in a fancy store or online.
I LOVE how these turned out, Kathy! And how smart to tuck that shower curtain away for the future! XOXO
You did a great job with color choices and painting! Very pretty and inspiring.
Love this Post! The detailed description is VERY helpful. Video is great. Thank you!