How To Paint A Vanity Stool And Recover The Seat
As an Amazon Associate, I earn from qualifying purchases.
This vintage stool needed paint and a new cover for the seat. It’s okay to makeover vintage furniture. I get occasional flack for painting wood furniture but most of the furniture I buy really needs to be painted. They are too far gone for refinishing.
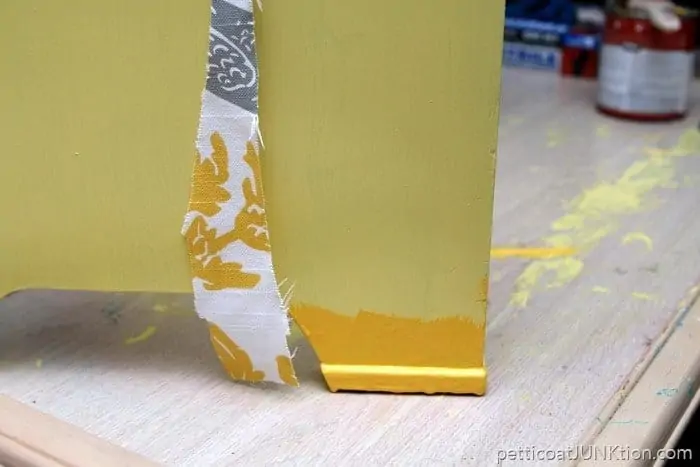
This is the project I had trouble with earlier this week. I grabbed the wrong can of yellow paint and didn’t realize it until I covered the seat and laid it next to the painted stool. When I started the project I went through my three shelves of paint cans and found a can of yellow paint that I thought was the right one. I didn’t even know I had more than one can of yellow.
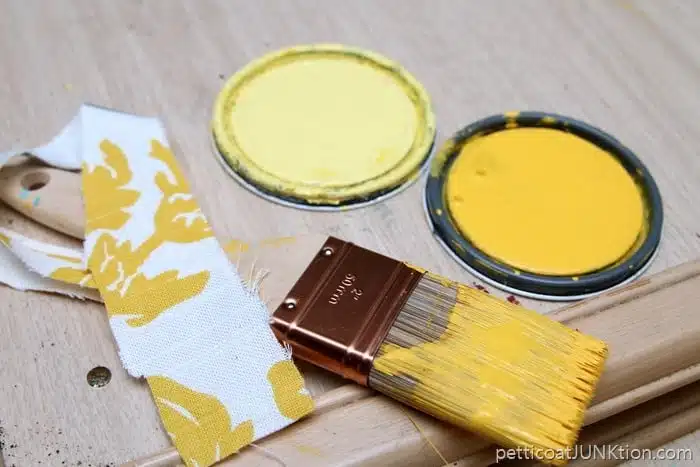
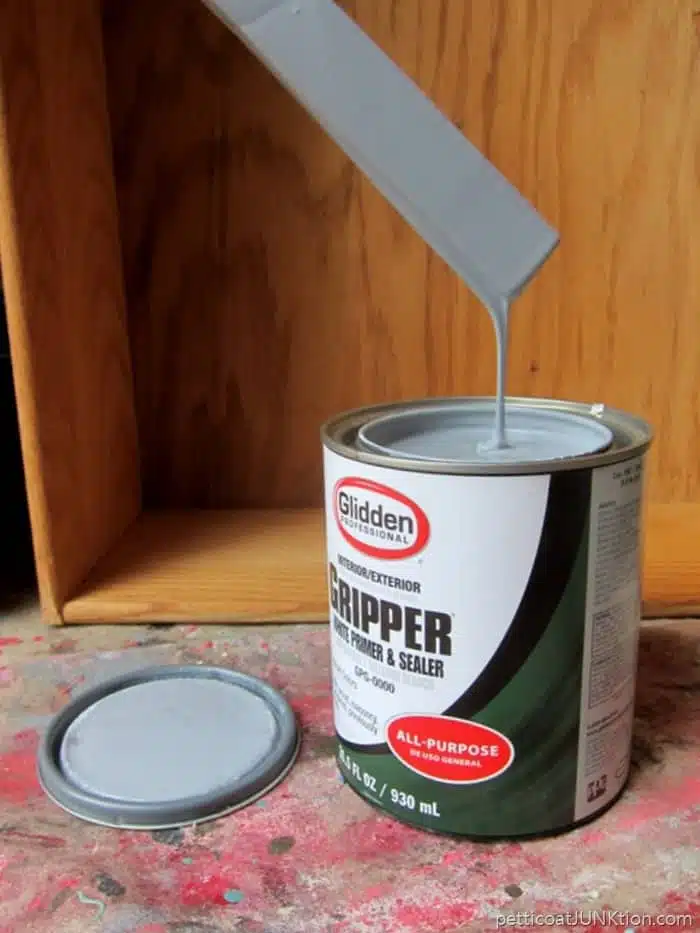
The paint can at the top of the photo is what I painted my furniture piece with. I put 3 coats of paint on that thing! I covered the seat that goes with the project (don’t want to give away the whole project yet), and laid the seat beside the furniture waiting for the last coat of paint to dry. That’s when I noticed the problem.
I looked at the fabric and looked at the painted furniture and looked again…..then went ……ggggrrrrrr. See, I had paint mixed to match the fabric when I did the prior makeover. This paint didn’t come near to matching.
I went back to the paint shelves and found the correct paint…..the one at the top of the photo. Guess what. Now the furniture is covered with 4 coats of paint and I’m hoping that does it.
I want to tell you about the first time I recovered a chair seat. I started thinking about the “first time” when I was working on this project. The first time I recovered a chair seat it wasn’t just one seat, it was 4, a set of 4 dining table chairs. I don’t remember what the fabric looked like but I remember sitting in the tiny living room of our apartment in Pensacola, Florida and working on those chairs.
I took the seats off of the chairs and proceeded to work on the project. The whole time I was telling the JTS ( of course he wasn’t known as the JTS then) how I didn’t know what I was doing and it was going to be a mess. He got down in the floor with me and we worked on the project together.
Guess what I found out? Yep, that project I was dreading but really wanted to do was a piece of cake….almost. So much easier than I thought it would be.
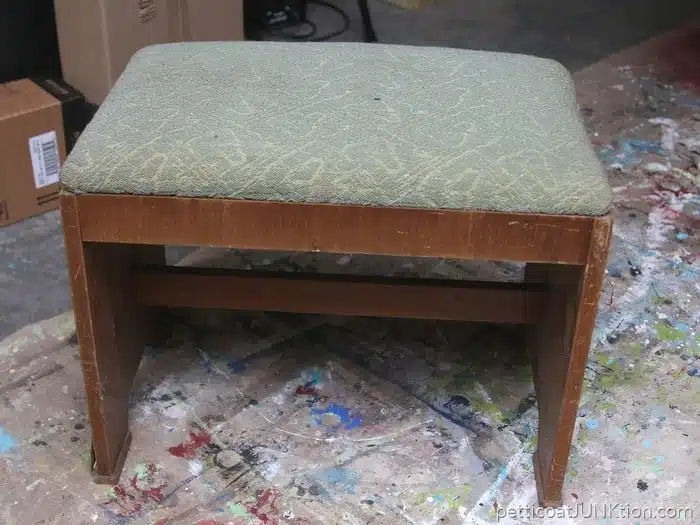
This is the stool before I beautified it. I got it from My Favorite Junk Shop. I know I didn’t pay more than $10 for it….could have been $5.
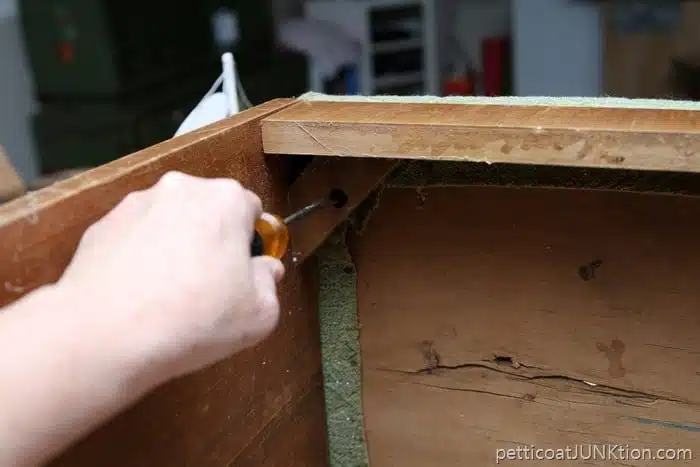
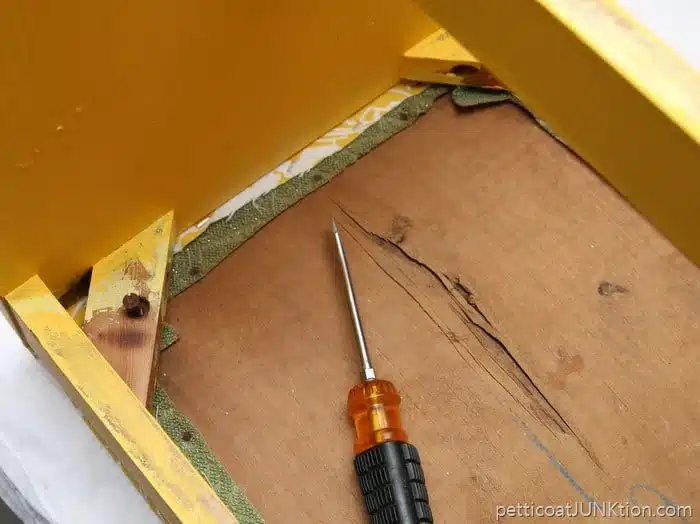
First thing to do is to turn the stool on it’s side or upside down, get a screwdriver and remove the four screws holding the seat in place. The majority of dining room chairs and stools have a wood piece on each corner with a screw in the center of the wood. The screw is the only thing holding the seat to the body of the chair/stool.
Next clean the wood with Simple Green and make repairs if needed. When the fabric seat is in good condition, meaning the foam is still full and spongy and the original fabric is in good shape, I just wipe down the fabric seat with Simple Green. If the foam needs replacing…..well, that’s another whole tutorial.
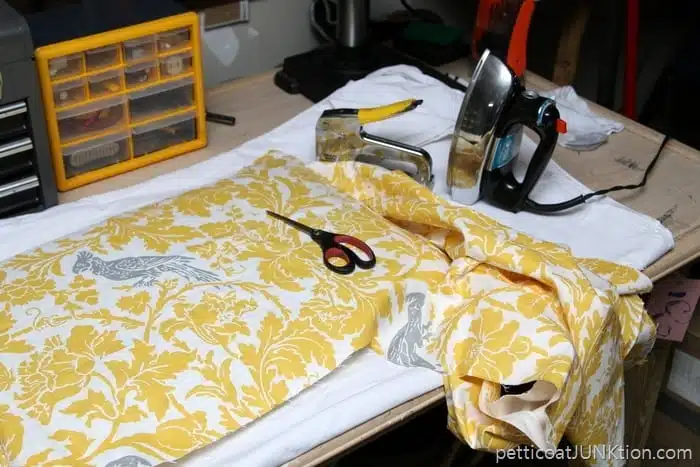
When covering the seat lay the seat on the fabric top side down and the fabric face down and cut the fabric leaving enough on each side to pull up around the seat and staple to the bottom. This photo is a little different because I had to place the Cockatiel just so on the seat before I turned it over to do the cutting.
If you have a pattern that needs to run or lay a certain way be sure and check that before making the first snip. I checked because I sure didn’t want to have a headless Cockatiel. If the fabric needs ironing do that after you cut the fabric to size.
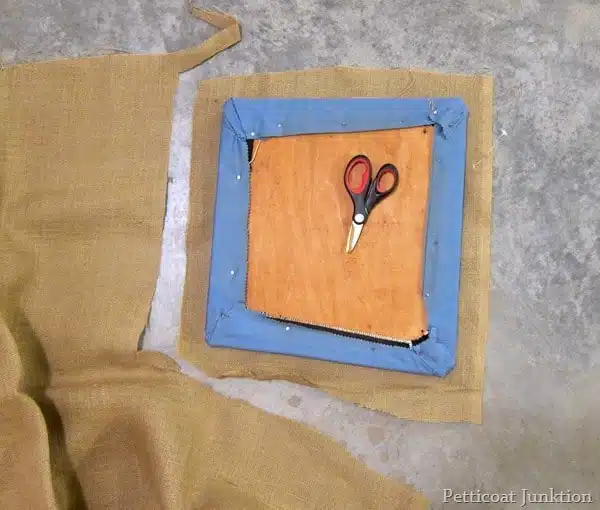
I found this photo from an earlier post. This is how you should lay the seat and cut the fabric.
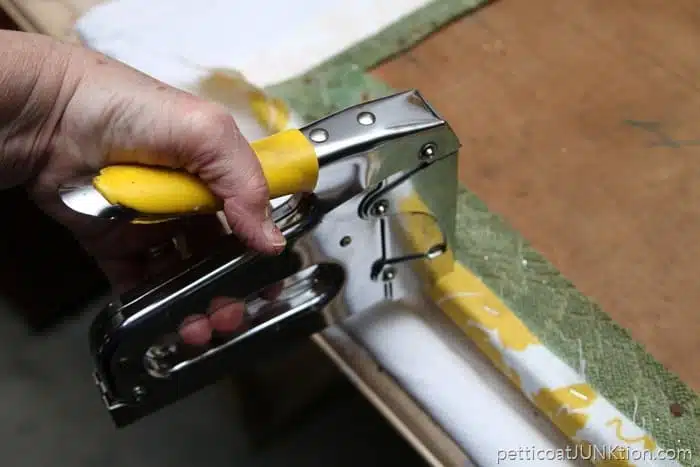
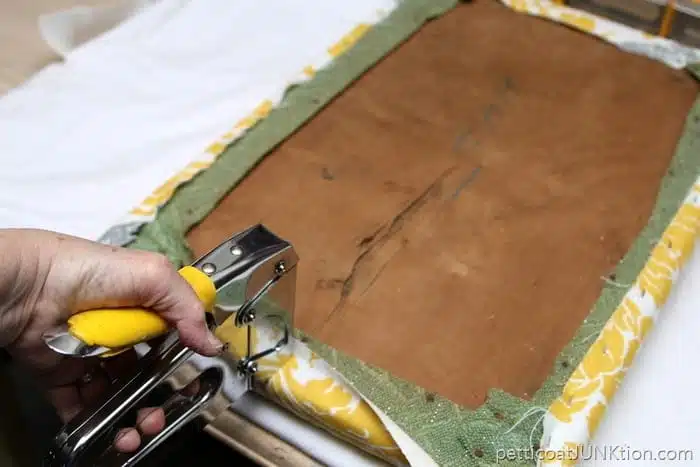
Staple the fabric on the two opposing sides first. That means don’t just staple one side then move on around the corner to the closest side. It doesn’t work very well to do it that way. You need to use a heavy duty stapler. I bet your hubby, father, man friend, girlfriend, next door neighbor, has one if you don’t. Or you can buy one at your local home improvement store.
Pull the fabric tight as you staple each side. My fabric was a little shorter than I like it on two sides because I was working from a remnant and didn’t have much fabric left. For most chair seats it takes ½ – ¾ yard of fabric. It takes that much because of the seat width which is usually around 18 inches.
I applied 3 coats of this color then realized I used the wrong paint. I found the correct can of paint and one coat did the trick. Once the paint is dry the only thing left to do is put the seat back on!
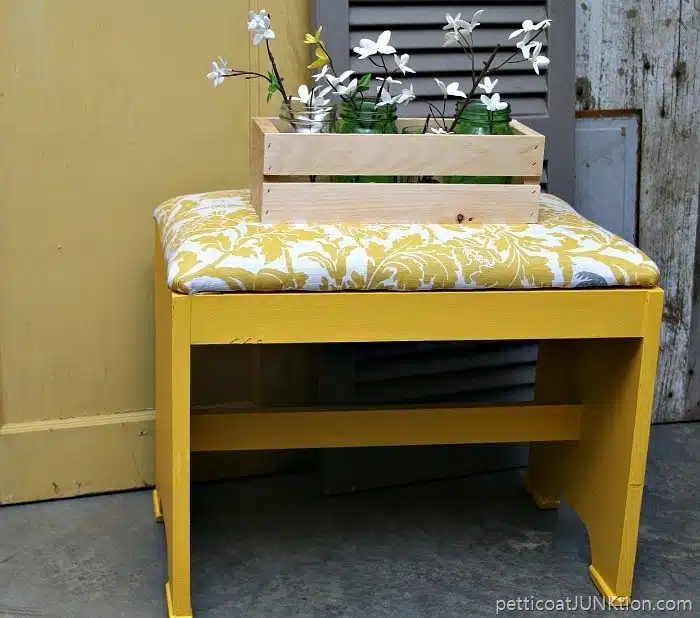
Lay the newly recovered fabric seat upside down and place the stool or chair in position. Grab the screwdriver and get busy. You will be surprised how easy it is to cover a seat with fabric. Of course painting the chair or stool isn’t necessary. I’ve re-covered seats and not painted a thing. I know you guys find that hard to believe.
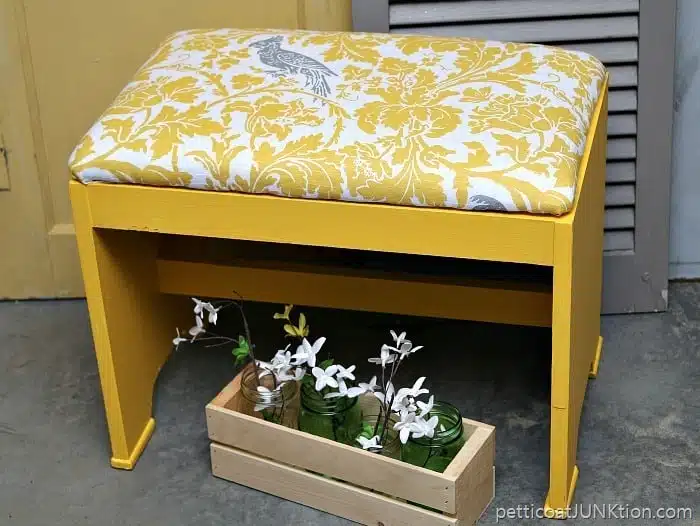
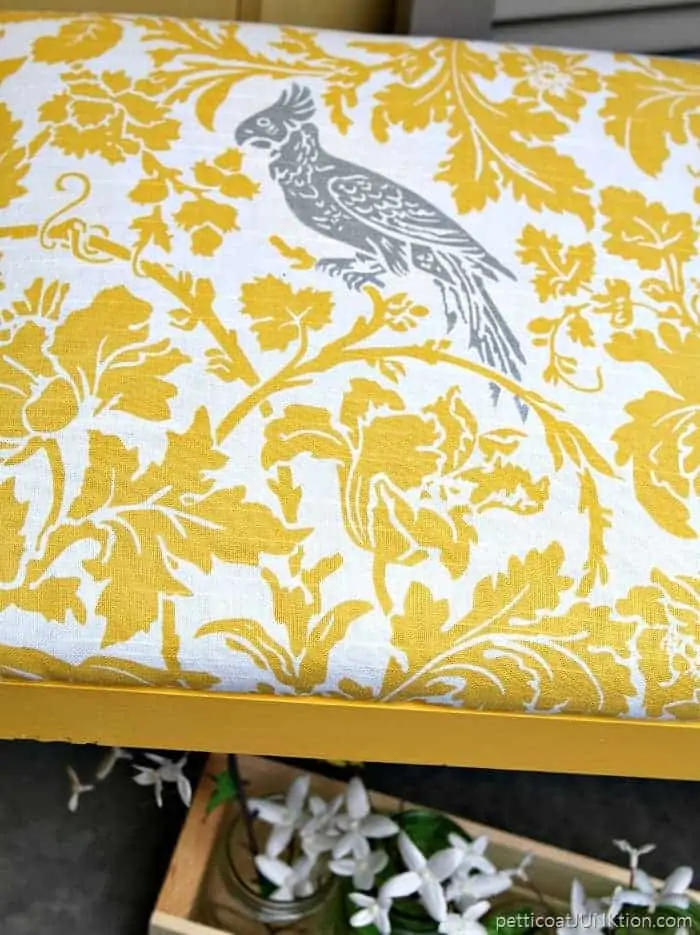
I love that gray Cockatiel. I purchased this fabric at a local fabric store a few years ago. I just did a Google search and found it on Amazon. It comes in a beautiful blue color too and I’m thinking of ordering it.
See how easy that was. And what a transformation. Fabric really changes the look of anything! Have you re-covered a fabric chair seat or stool seat before? If you haven’t are you going to do it now? Let me know. Have a great weekend and as always thanks for being here. Kathy



This is really pretty..
Great job!
Thanks for sharing,
Helen H
What a transformation! That little stool is smiling again.
I learned something new — I’ve bought lots of fabrics on Ebay. But new knew there was fabric on Amazon. Thanks
Thank you Shirley!
Exactly right about the hammer Pamela. I forgot to add that part. Also when stapling if you put your free hand on top of the stapler head where the staple goes in and push down you have more control. I usually do that but had a camera in one hand and stapling with the other 🙂
I was doing the same thing last night! I had two dining chairs that I had already recovered two times so this is the third. I took it from a plaid to a nice beige duck cloth with black french writing on it! I did want a specific part of the writing to be in the middle of the chair seat so positioned it to make that happen! I also had one side that was shorter than I normally like and that was an error on my part but it worked. Even though the stapler used looks heavy and hard to use, it is very easy for a woman. And, if, like me you have a few staples that don’t quite go in all the way, have your hammer ready and finish them.
Looks great! I recently undertook recovering 4 old dining chairs. You are right, it you just do it step by step it isn’t that hard. I watched an online tutorial and just did what the guy did – easy! Thanks for your lovely posts of your beautiful work. I love your creative eye and flair. Thanks for all your tips and helpful advice!!!!
I Love This! I am so reluctant to paint colors other than black, white, beige, etc. This has inspired me to expand my color choices.
Thanks for showing how you did the upholstery! I think maybe I can finally try to attempt it!
What a transformation! I adore the fabric … perfect on this bench ?
Now that is beautiful.