How We Made A Top For The Metal Stand
As an Amazon Associate, I earn from qualifying purchases.
Hope you guys had a fun weekend. We celebrated 3 birthdays here at the Owen homestead. The JTS has a birthday today (Happy Birthday Honey), Sofi turned 5 yesterday, and our daughter-in-law’s birthday was last week. I made my famous always-asked-for Italian Cream Cake (recipe here). I have to say it was yummy.
The JTS and I worked on projects all weekend long. I’ll be sharing them over the next couple of weeks.
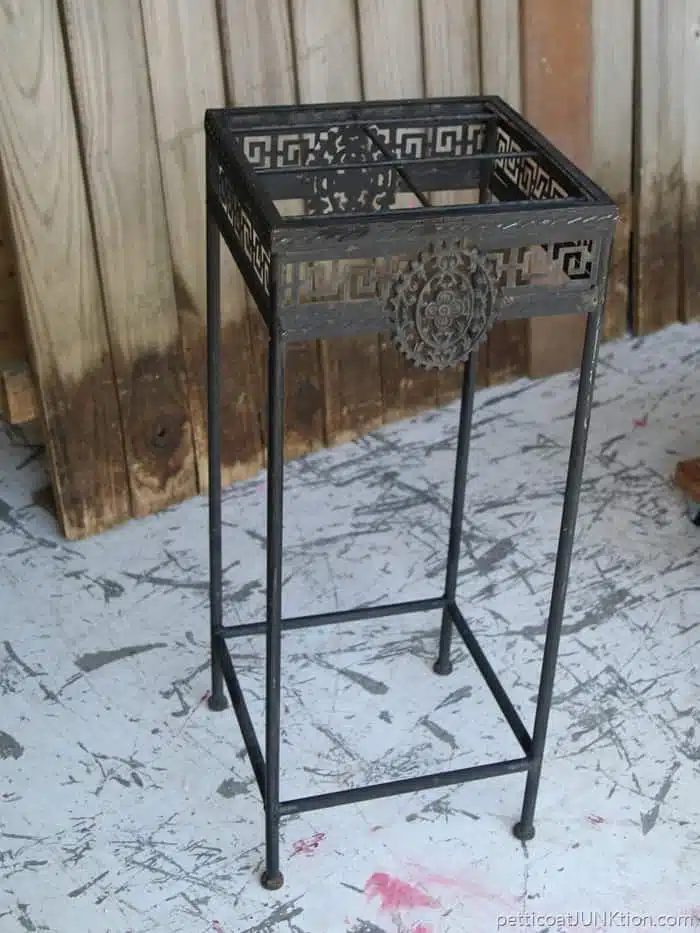
metal stand / table base
You might remember the decorative metal table base from My Favorite Junk Shop (info on the shop here).
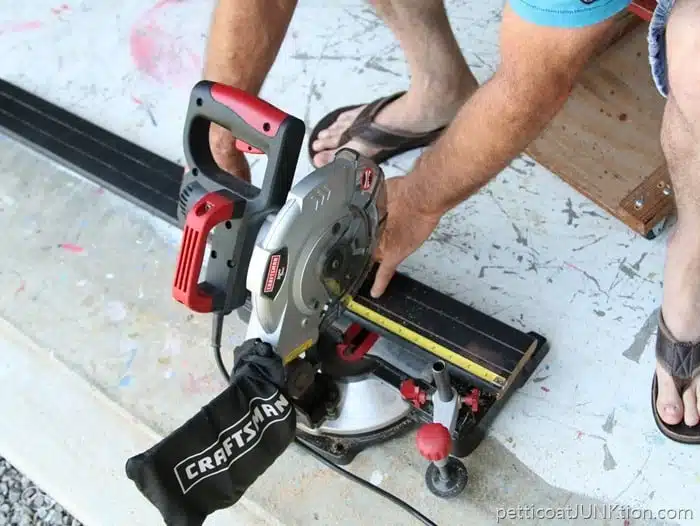
I found a reclaimed board in my stash and the JTS went to cutting it. The board was once part of a swing and we saved the wood when the rest of the swing gave out. I bet this wood has been in the shop for 10 years…..at least. You never know what or when you might need those saved treasures.
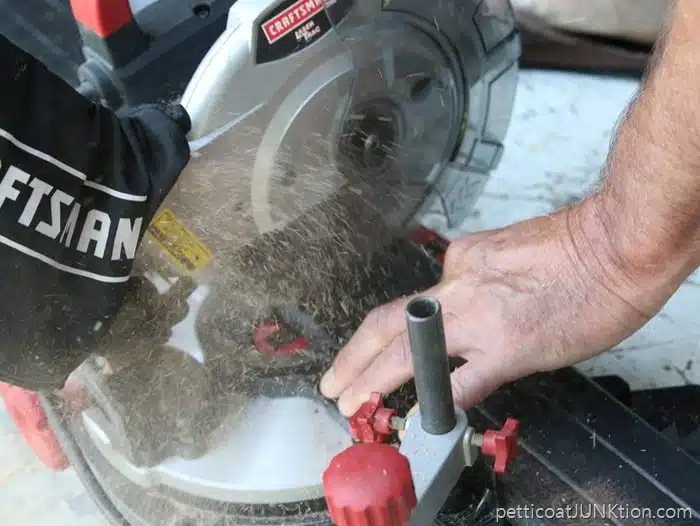
Caught the JTS (aka hubby, Junktion Technical Specialist) in action.
putting it all together
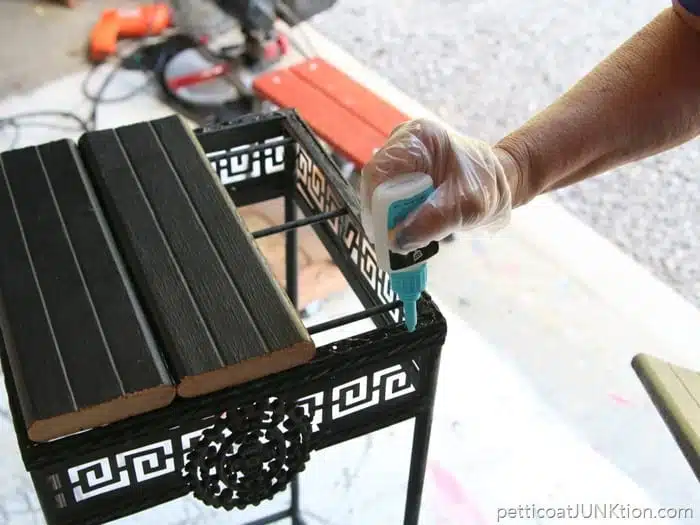
Once the boards were cut I used DAP RapidFuse to adhere them to the metal. That is some darn good adhesive. I love it.
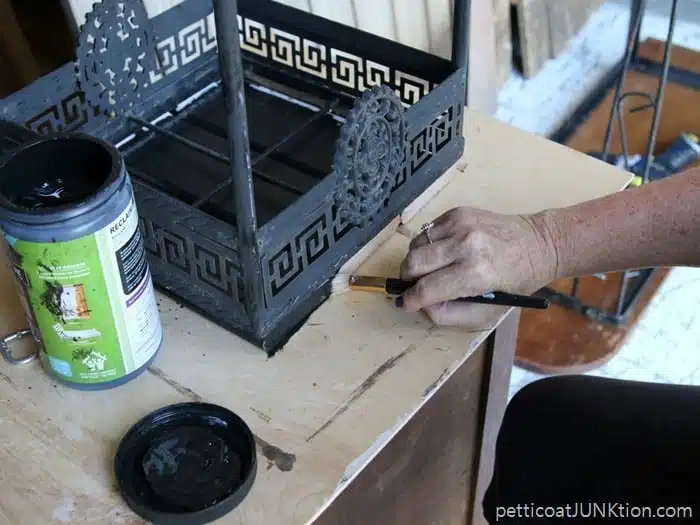
I painted the raw ends of the board with Reclaim paint in Licorice. After I brushed the paint on I rubbed the paint into the wood with a rag. It just helps make the paint look like it’s been there for a while. Just one of my many paint tricks.
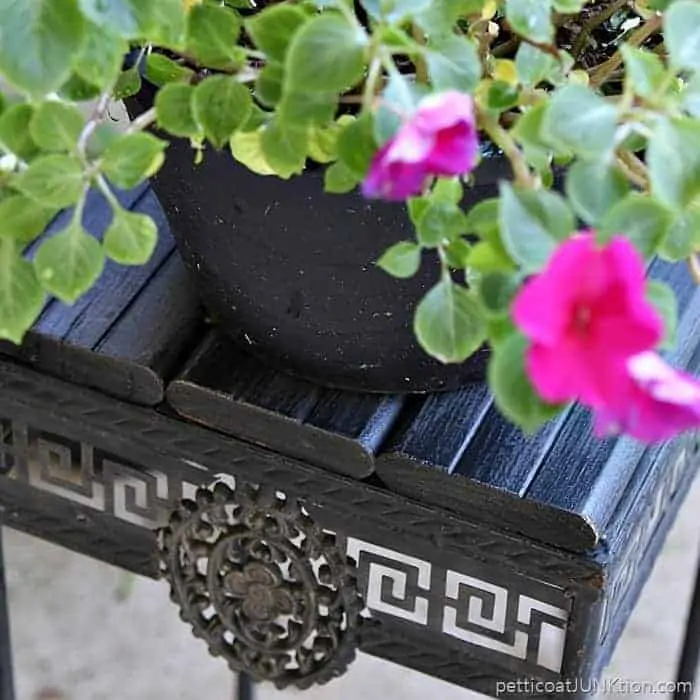
The original black paint was really shiny so I distressed it with 150 grit sand paper(new 3M flexible sandpaper). This made the paint kind of gray and it blended with the metal frame.
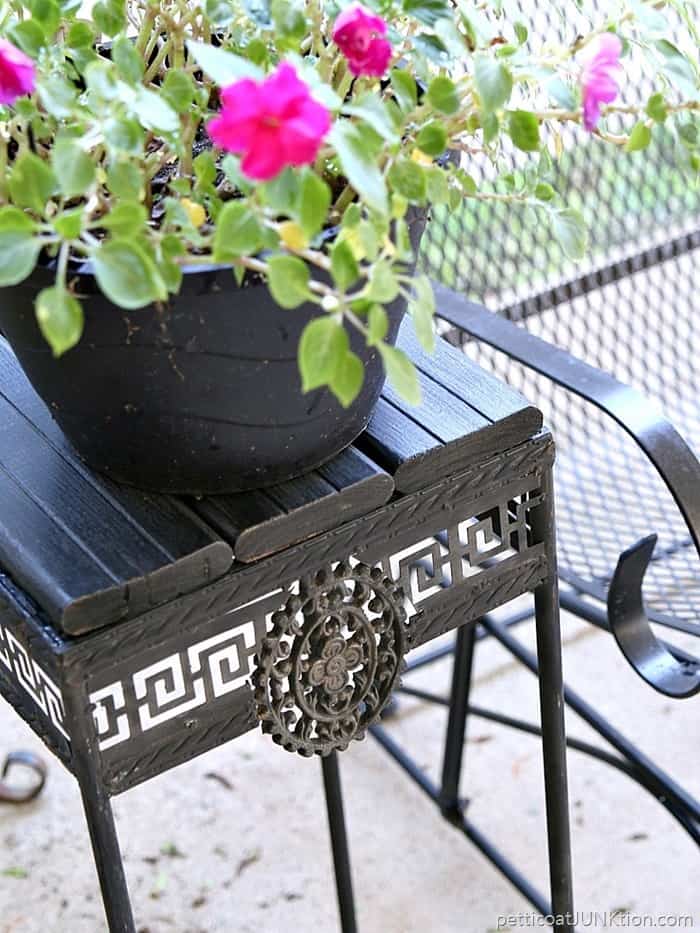
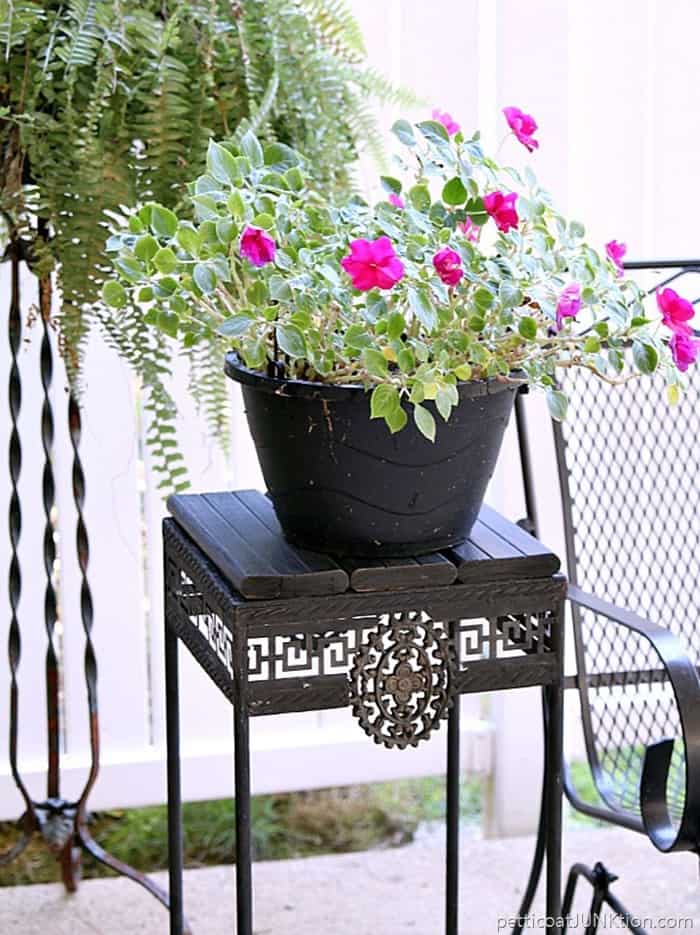
The gray color is what I call haze because that is what happens when paint on a flat surface is distressed (my explanation). I usually apply wax over the distressing and the haze goes away. This time I left the gray alone My flowers are about done for the year but that pot of fuchsia impatiens looks good sitting on the table.
The only thing I did wrong…or would change, is the positioning of the boards. I didn’t think about it when the project was in progress but the ends of the boards should have been turned to the less decorative side of the table.
Looking for interesting plant container ideas? I can show you how to marble a clay pot or anything with the paint pour technique and no harsh chemical involved!! See my video below….
[adthrive-in-post-video-player video-id=”oCyTU8lj” upload-date=”2018-09-24T02:29:27.000Z” name=”How To Paint Pour For Marbled Look” description=”How to faux marble home decor.”]
Dirty Pour Paint Marbling
What do you guys think of the table now? Would you have painted the top a different color? I thought about it.
See you tomorrow. Have a great day.
DIY Products Used In this Project:
Reclaim Paint – Licorice
DAP RapidFuse
3M 150 Grit Flexible Sandpaper


I too, would have put a glass top on it as it’s a pretty little table.
Thank you Naomi. I can see your point. We put together another project with reclaimed parts. Maybe I’ll share it next week. Can’t wait to see what you think of it.
I really like the table itself, but it seems too delicate for the thickness of the boards to me. I would have fitted something thin, but rigid into the top of the frame and then maybe used some tile in black or black and one other color to finish the top. Just my opinion, of course.
I enjoy your projects. What will you tackle next? Can’t wait to see.
You made my day. Thank you Michelle. I admire you for helping others.
Glad I could help Denise! Thanks for the comment.
This was really helpful Kathy as I have a round metal table base that I would like to put a pallet wood top on but I didn’t know how to secure it to the table, I will try DAP Rapid Fuse! Btw I love your table !
Love love love your projects!! Have “borrowed” several of your ideas My friend and I run a non profit to benefit children and our motto is Repurposing for a reason so know you and the JTS is helping us to help them!! Thanks from Iowa
re the receipe, is the crisco the liquid one and what temp to cook thanks
Adorable! thanks
Love the stand! It has wonderful designs!
love the table. Bet it sells quickly.
I wonder how the table would have looked with a glass top. Just a thought.
Looks good as usual. Love the base, very neat piece
That is a cute little table. Glad you’re still repairing and updating old things. We all need to save and re-use pieces in our lives, not throw them away. It looks awesome beside the black chair!