

How To Repurpose An Antique Radio Cabinet
Remove the radio from an antique radio cabinet and add shelves to make a unique storage piece for vintage quilts or other collectibles. Paint the cabinet for a total makeover.
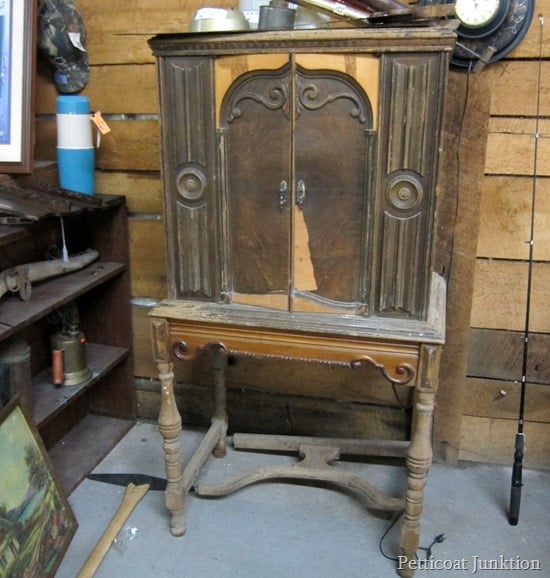
I purchased this antique radio at a local thrift/flea market shop. I passed on it the first time I saw it because of its condition and the price. The price was $60, and the cabinet was in terrible condition.
I loved those fabulous details, and I thought about the cabinet all the next week, so I went back to the shop thinking it might be sold.
Repurpose An Antique Radio Cabinet
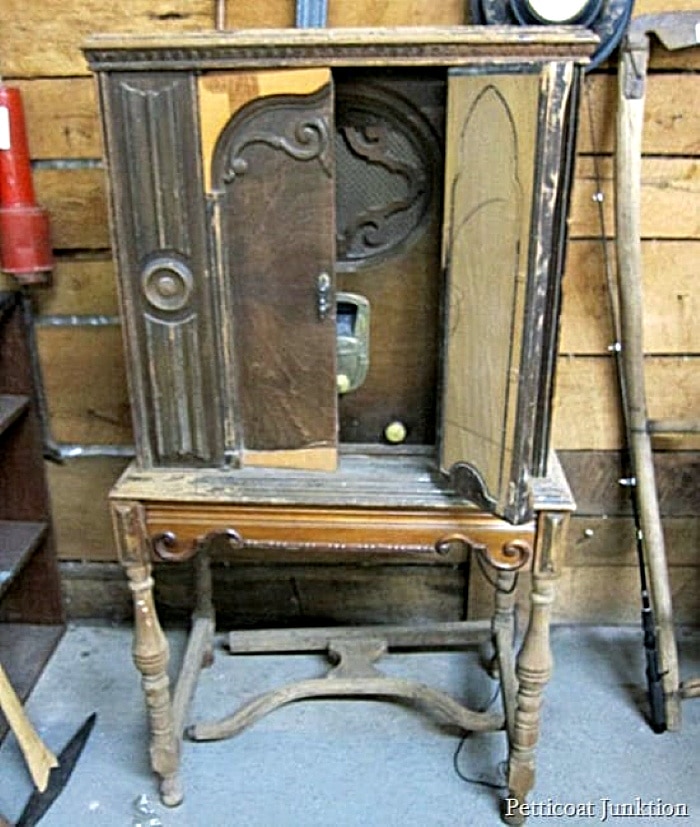
I was planning to make an offer of $40. But guess what?? The vendor was having a 30% off sale. The price of the radio was $42……sold.
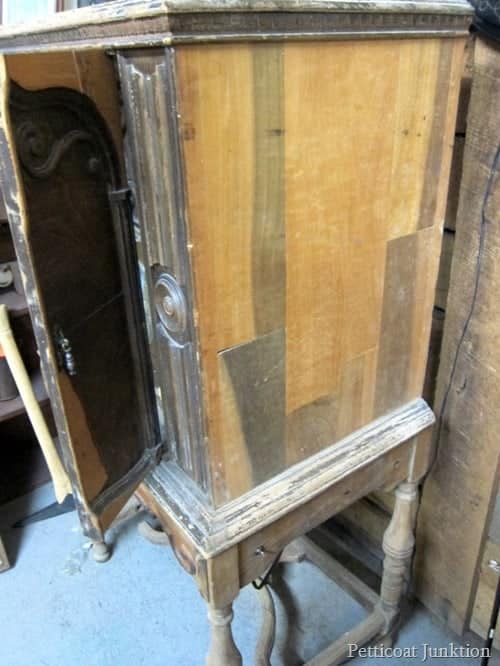
There was a lot of missing veneer, and the top was a disaster, plus the base and legs were falling apart. The JTS and I will have to take the radio out and do a major overhaul if this piece is going to look like anything.
Repair the Radio Cabinet
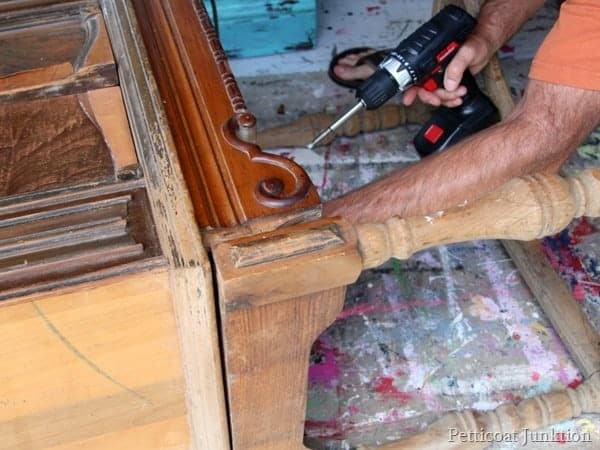
We hauled the cabinet home, and the JTS (aka Junktion Technical Specialist, aka Hubby) started working on it right away. The first thing he did was remove the base and start gluing the legs and joints back together.
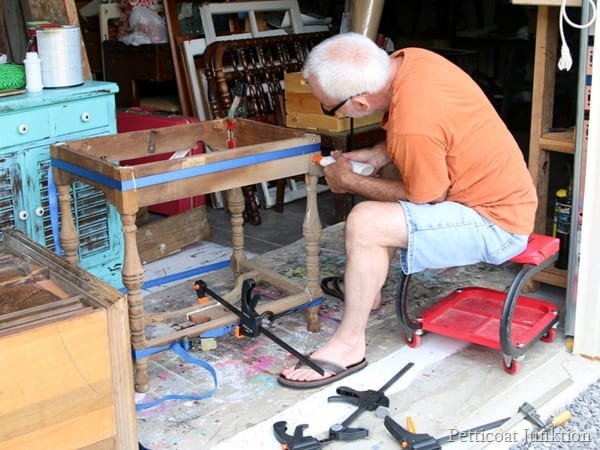
The top of the base was coming apart, as was the bottom, and the legs were all wobbly. I’m surprised the cabinet didn’t fall over. That’s how bad it was.
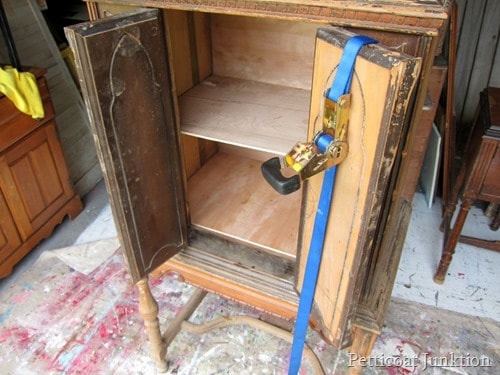
After applying glue to all the joints, he used straps and clamps to hold everything together while it dried.
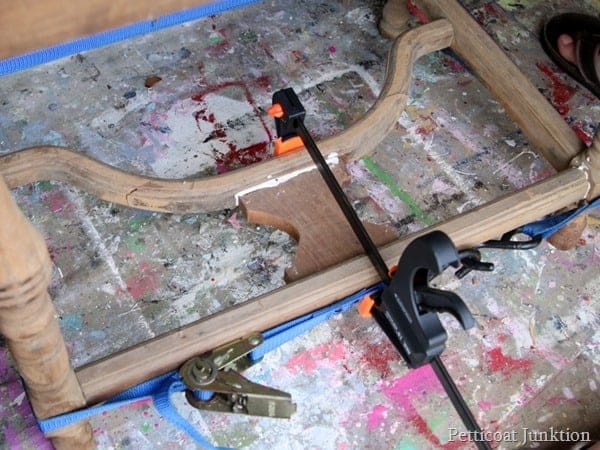
He’s good at this stuff, and I have no patience when it comes to repair work. I hate the gluing part because it slows me down. I just want to start painting, but I can’t always do it right away, though I sometimes try.
Remove the Radio from the Cabinet
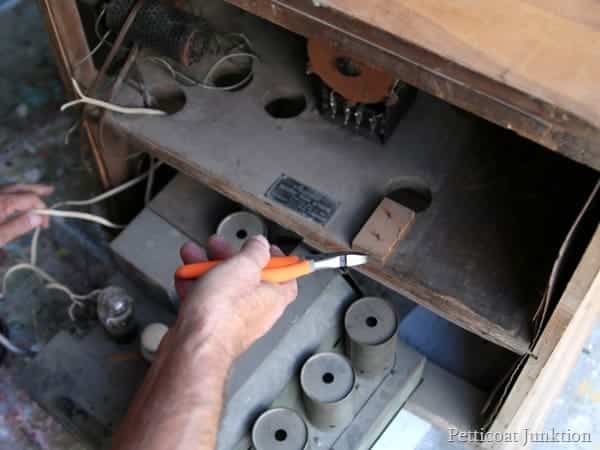
Next, we started removing everything inside. We took our time and proceeded in what we thought was the best order. Finding the screws and bolts that held everything in place and figuring out how to proceed were half the battle.
Even though I’ve painted several radio cabinets, this is the first one I’ve purchased with the radio still inside. I’m saving the good parts of the radio. Who knows what I might do with them?
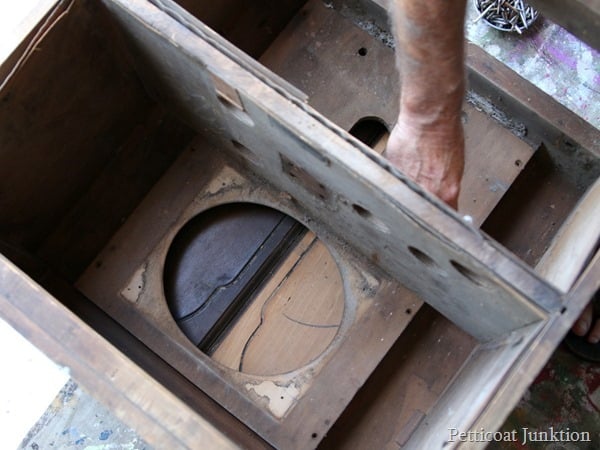
Removing that shelf was the hardest part. It was tightly wedged into the slots in the cabinet walls. We used crowbars and hammers, taking turns working on it.
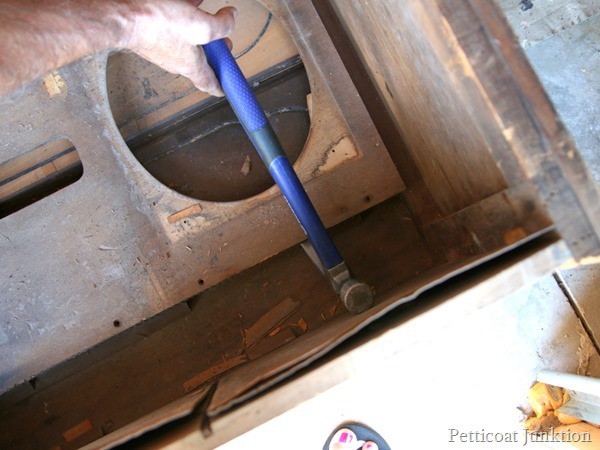
I’m surprised we didn’t tear the whole cabinet apart between all the hammering and prying with the crowbars. It’s true, older furniture is well made.

The inset wood piece covering the radio parts and the speaker had such beautiful details but it had to come out too. I did save it though.
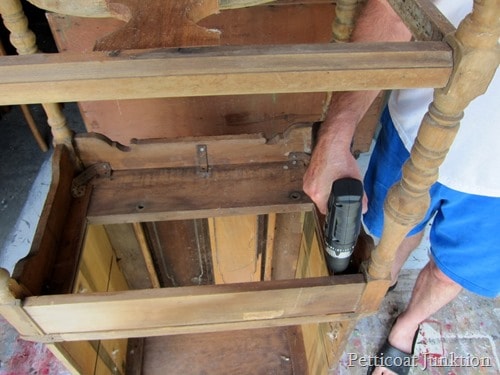
Once the cabinet was empty and the glue on the base was dry, we put the two pieces back together.
Clean the Wood Cabinet

The cabinet was really, really dirty, and the cleanup had to be done before painting could start. We vacuumed out the worst of the cobwebs, lint, and dust. Next, we cleaned it all over with Simple Green.
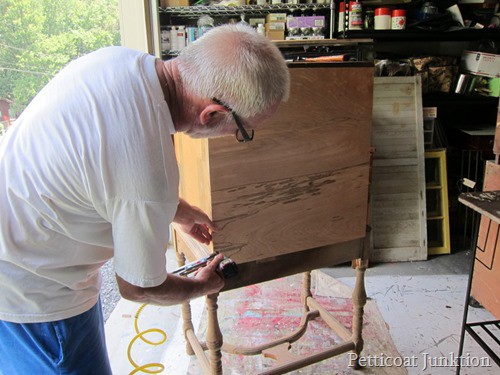
The original back was missing, and the JTS cut a new back from a sheet of luan. Then he attached the back using a nail gun.
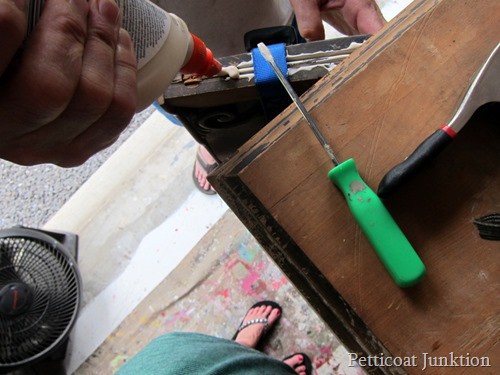
The repairs were never-ending. One of the doors was falling apart, so out came the wood glue and clamps again. See my feet….I was there….taking photos while hubby was continuing to do all the work.
Add Shelves to the Radio Cabinet
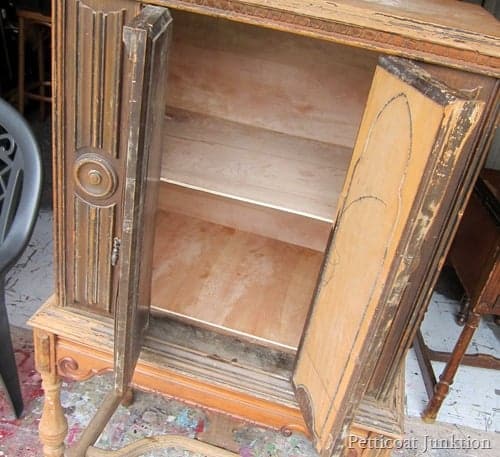
We put the shelves in place before attaching the back. We measured the interior and decided on one shelf. Then we cut wood cleats, nailed them to the cabinet sides, and nailed the shelf to them. We also had to cut a piece for the cabinet floor.

The radio cabinet actually looks pretty good now compared to before. All of the carved details make it beautiful!
Paint the Radio Cabinet
Paint the Inside
There was a lot of missing and loose veneer. Instead of stripping all the veneer I glued the loose pieces and didn’t worry about the missing pieces. The areas with the chipped veneer will look great painted and distressed.
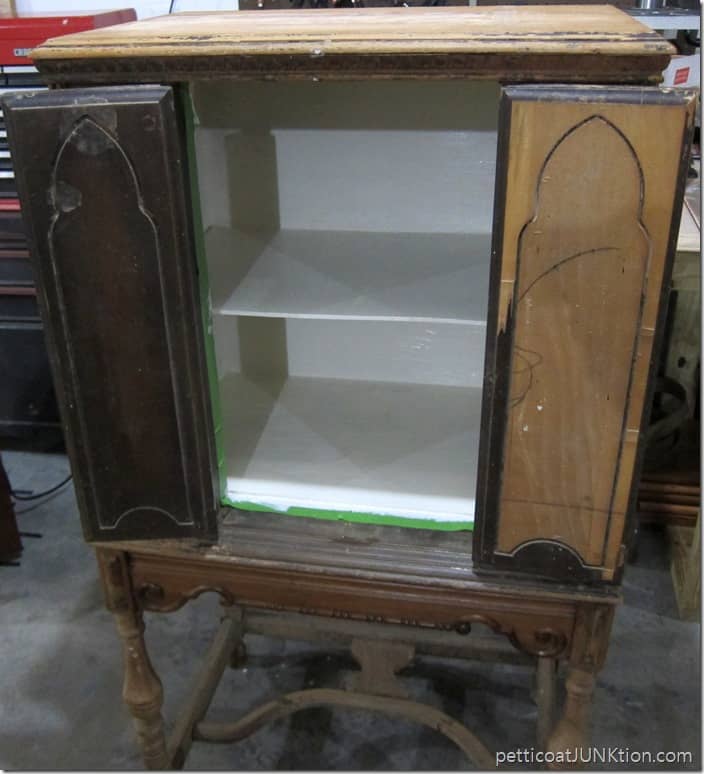
The top had no veneer at all and big gouges in the wood. The JTS filled the worst parts with wood filler. Now the cabinet was finally ready to paint. I used Off-White Beyond Paint on the shelves and interior walls.
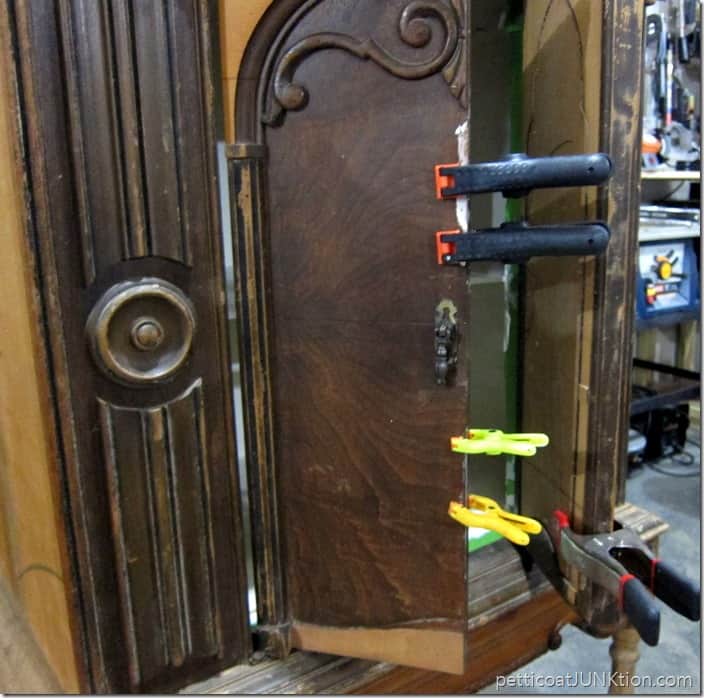
I didn’t notice the loose and gaping veneer pieces on the front of the doors until I was painting the inside of the cabinet. I used wood glue and clamps to take care of the worst areas.
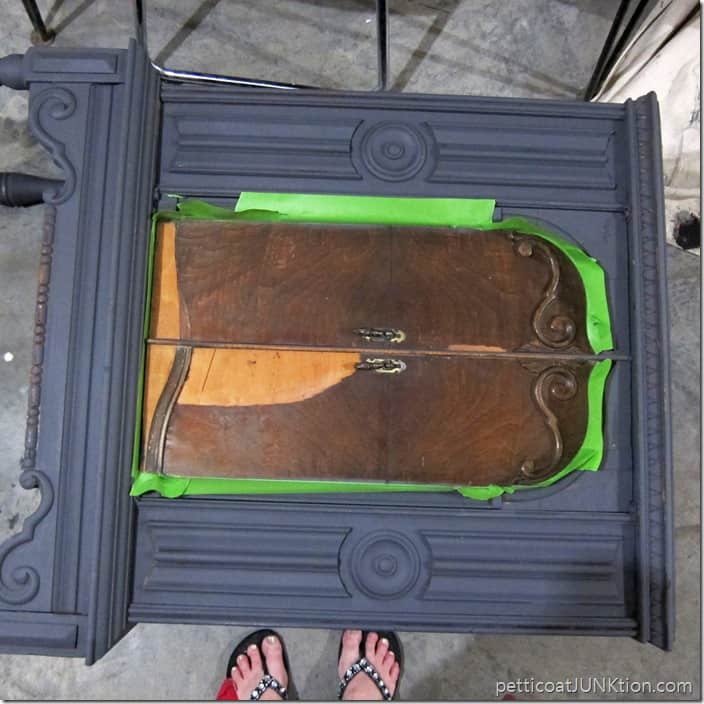
Use Painter’s Tape Where Needed
Before painting the outside of the cabinet I used FrogTape to protect the white paint inside. Didn’t want gray on the white. My first plan was to paint the doors white and the rest of the piece gray.
Paint The Cabinet
The paint I chose for the makeover is Benjamin Moore and the color is Gray, yes it’s simply called Gray. It’s a beautiful color and the paint covers well.
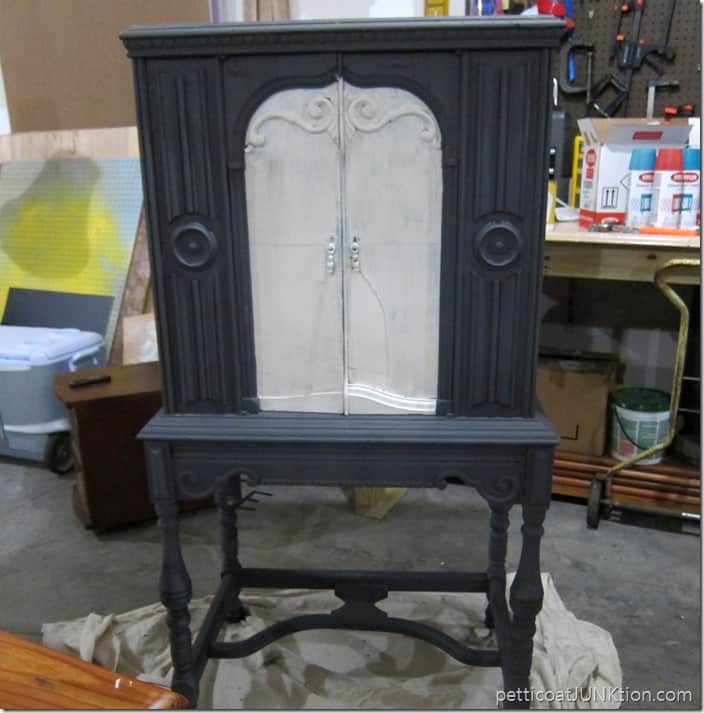
I used FrogTape around the outer edges of the doors too to keep from getting white paint on the gray paint. I painted the doors with off-white Beyond Paint like the inside.

Next, I dry-brushed off-white paint onto the gray. All it takes is a dab of paint for dry brushing.
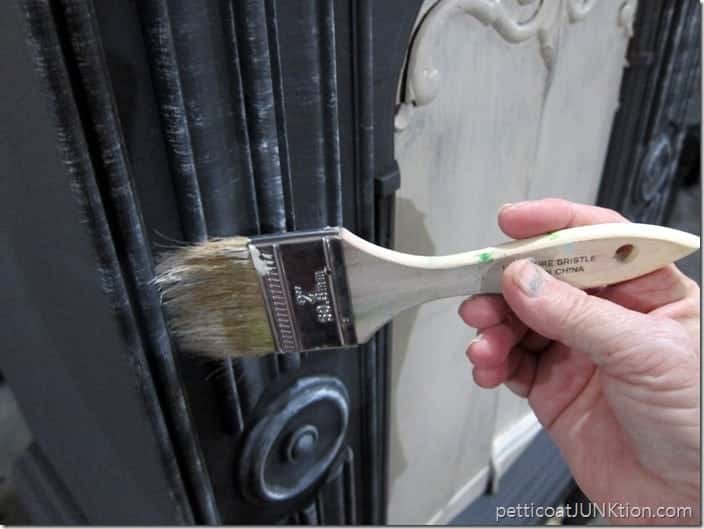
I dipped the brush bristles into the paint and then wiped most of the paint off the brush with a paper towel. Then I ran the brush over the raised details. This is how you dry brush paint onto anything.
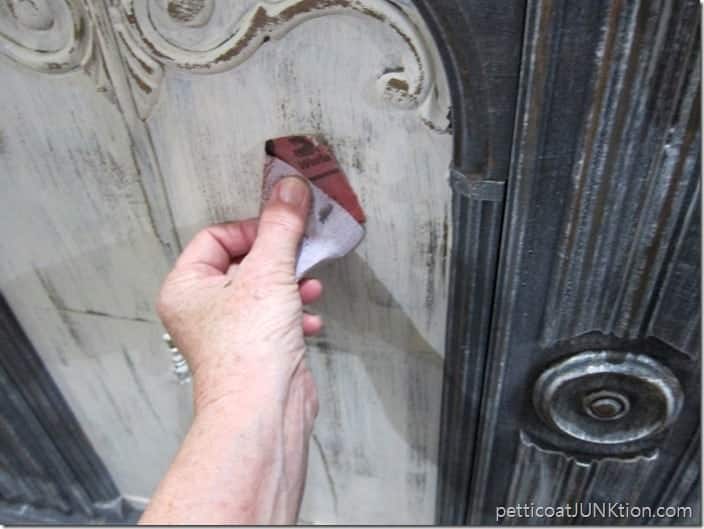
Once all the paint was dry I distressed the whole cabinet by hand using 100-grit sandpaper.
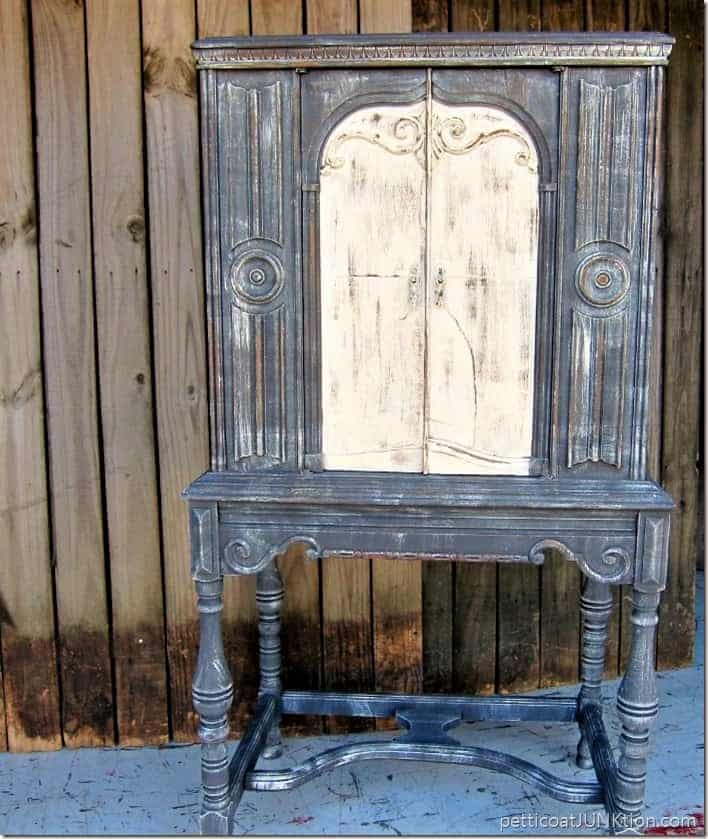
This is what the radio cabinet looked like after all the painting and the distressing. I kept looking at the piece and kept having doubts about the look. I showed the above photo to Sara at the shop and she said the white looked like a tombstone. That did it for me.
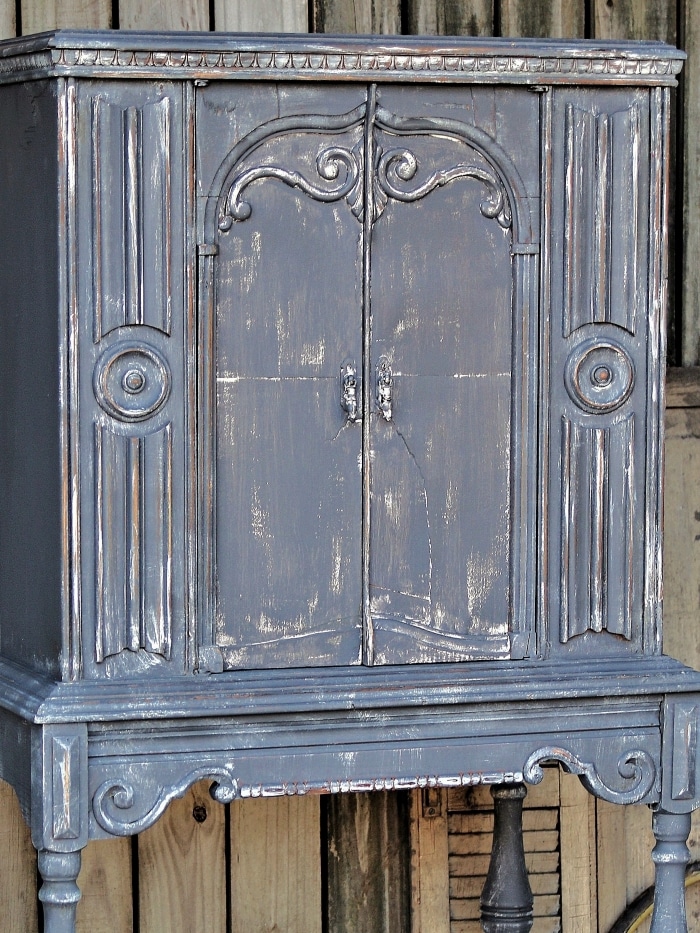
So, I started painting again.
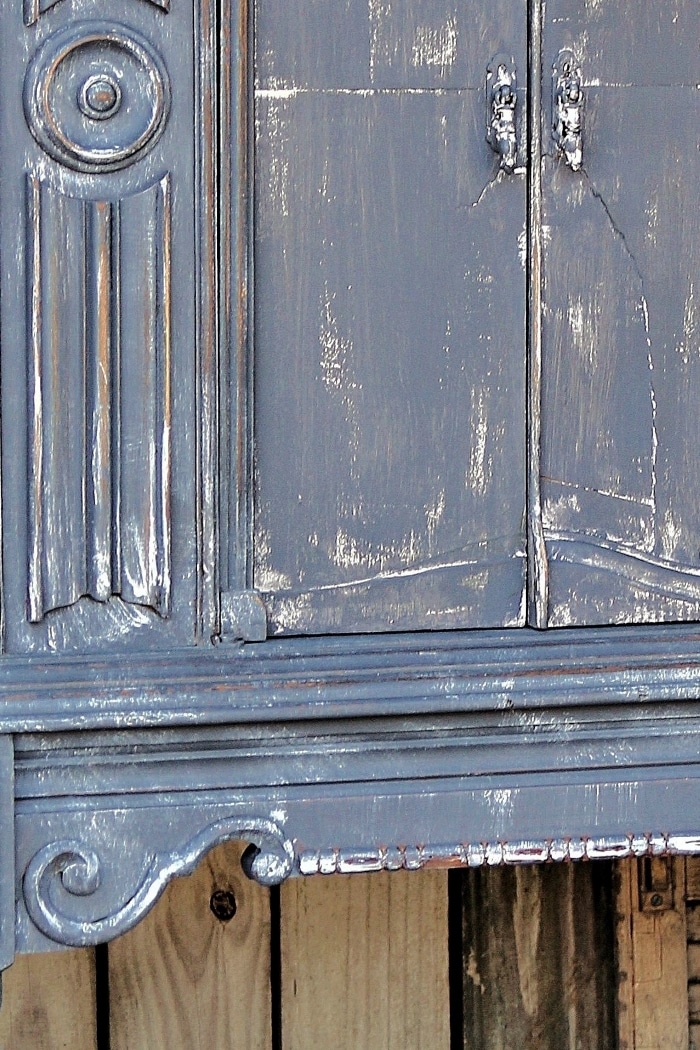
I painted the gray color over the white and then painted gray over some of the dry-brushed white areas because there was too much white. Then I distressed the whole cabinet again.
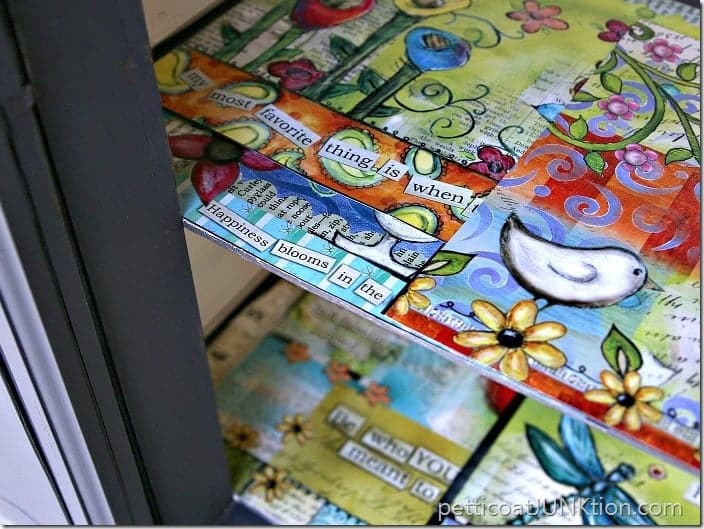
When I was trying to decide on the paper for the interior I noticed how the white paint on the front edges of the shelves popped out at me. So I painted the edges gray then I covered the shelves with an old calendar. You can use anything as shelf paper.
The cabinet now has a lot of storage space for everything from linens to dishes or leave the cabinet doors open and display a few of your favorite things.
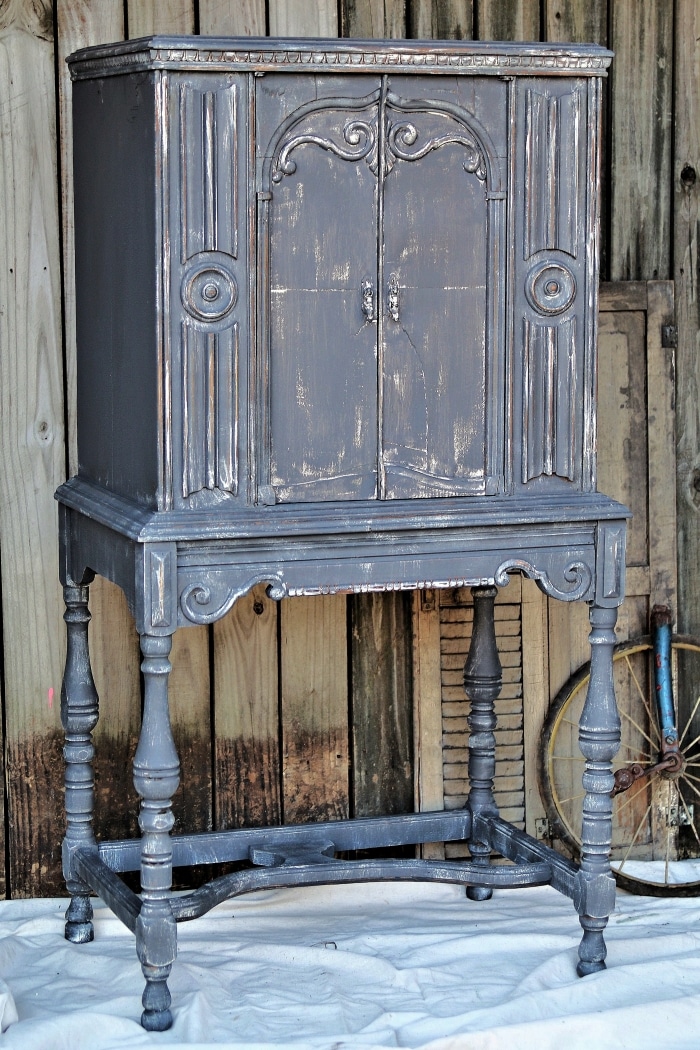
That’s the whole story, Ladies and Gentlemen. What do you think of the finished look?
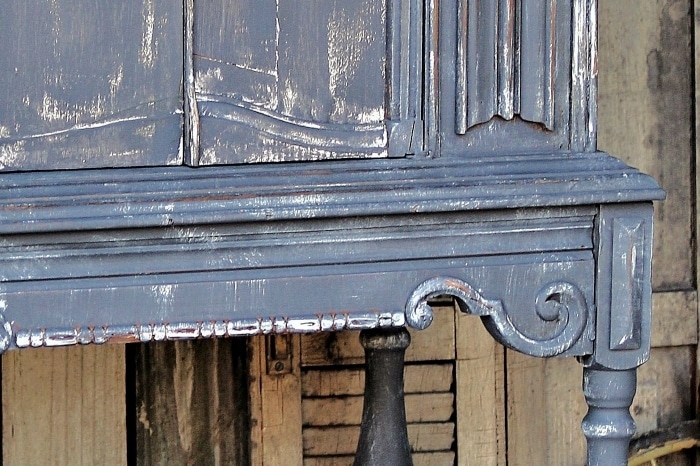
Sometimes my first plan, second plan, and sometimes third plans don’t work. So, let me tell you……. when working on a project don’t hesitate to change plans if you don’t like what’s happening or if you come up with a better idea! As always thanks for being here, Kathy

I love this!!! So beautiful! I have something similar that I plan to work on and will definitely use your tips!!
Wow, what a project, Kathy! And I do think you should be reee-al nice to the JTS! You are SO lucky to have him with all his expertise working with you. I do like the way the cabinet turned out but, as Sandra said, I think the calendar shelf paper is really out of character with the rest of the piece. Something more toned down or traditional-looking would be better I think. All in all, the piece is beautiful and a great storage piece. Will you keep it, do you think?
Turned out great! Glad you hung on to the radio parts. I’ve been on the hunt for old radio knobs for a specific radio, and I can tell you, they go for a good price. Check Etsy. You have matching ones and you should be able to sell them and pay for your cabinet!!
I really like the exterior and all the work you did with it now that it’s all gray. But the calendar “shelf paper”, I think, detracts from the piece. Think maybe a whitewash tinted slightly with gray for the shelves? Thanks, Sandra
I was skeptical About the missing veneer on the doors But I love how it turned out I would buy for myself Definitely like the doors painted the gray better I love your paint technique
Turned out great!! Sometimes my hubby helps with a project too! Glad you painted the doors, I agree with Sara, it did kinda look like a tombstone!! Looks awesome now
BEAUTIFUL!!!!!