

Paint A Side Table To Match Your Decor
A fun way to update furniture is to paint it to match your decor. That’s what I did with an antique side table that sits beside our sofa. We purchased a new sofa, loveseat, and chair a couple of years ago, and I completely changed the room’s colors.
I’ve been slowly adding more color because my baby sister says the room needs more color. She is used to seeing my warm earth-tone decor with bold oranges, greens, and yellows. My new color scheme is navy and coral. The furniture is microfiber, and the color is a grayish taupe.
I wanted the table to coordinate with the coral accents in the room without looking too bright or modern. Since the table has such pretty antique details, a soft, muted paint color seemed like the perfect choice.

Today is the Furniture Fixer Upper Tour, where 4 of my furniture-flipping friends and I each share a completely new furniture makeover. Click the links at the bottom of the post and pick a favorite if you can. Sometimes that’s hard to do.
Antique Side Table Before the Makeover
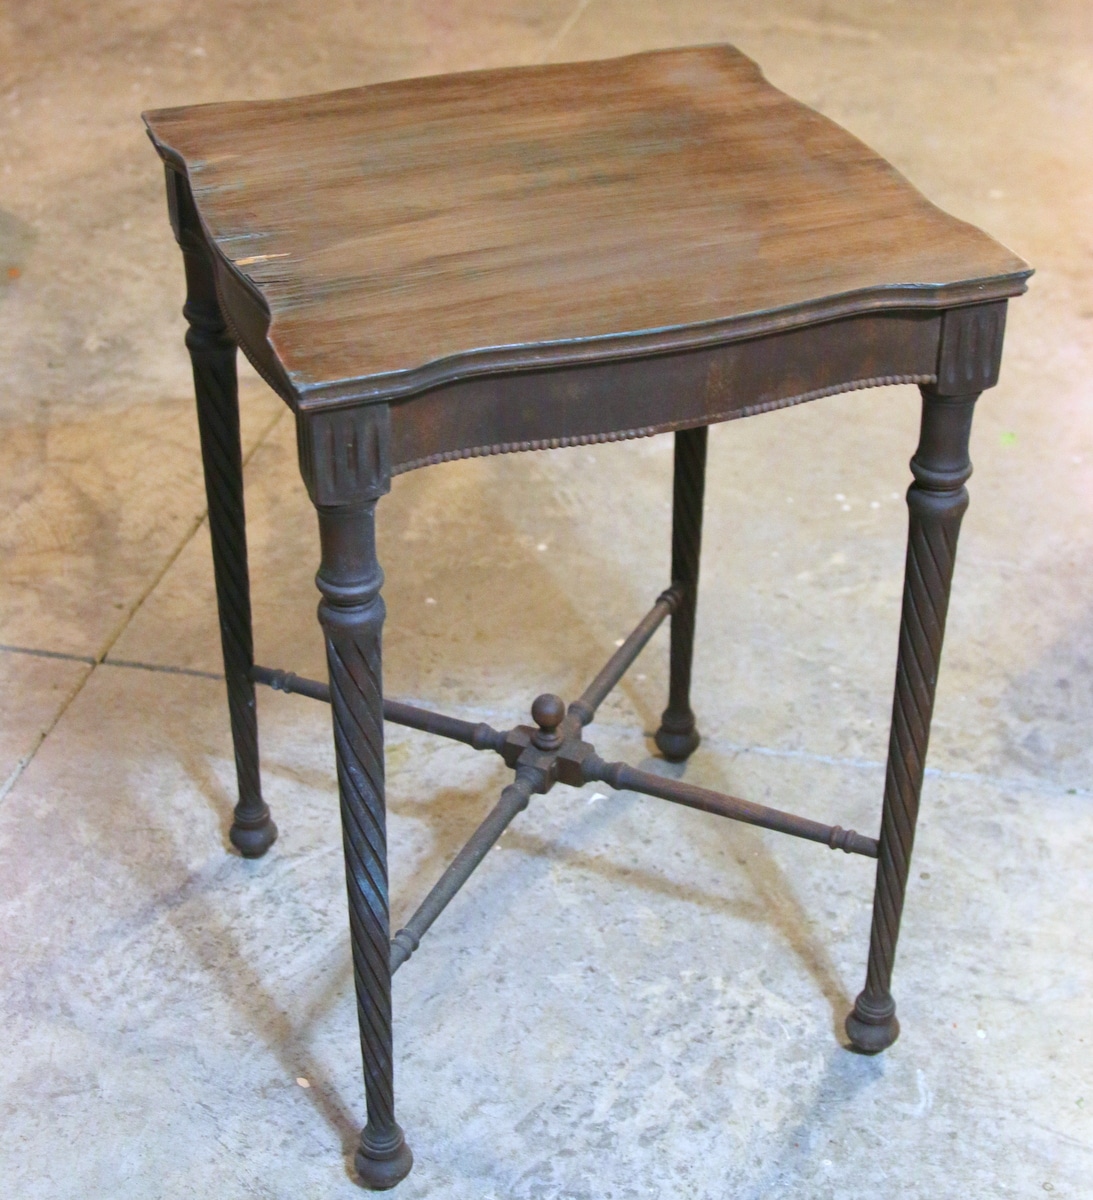
This is how the table looked when I started working on it this time.
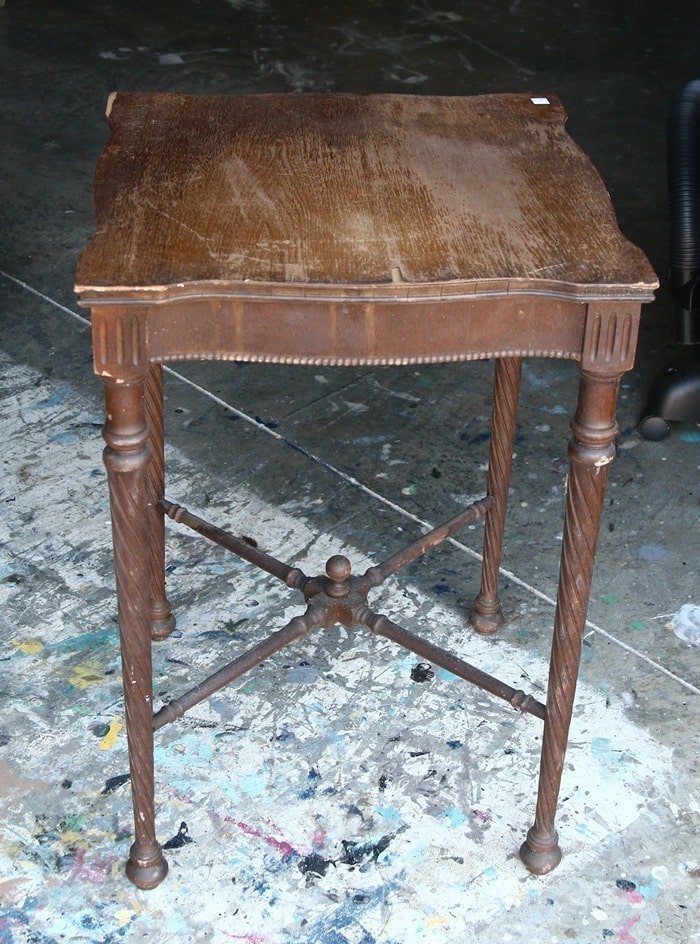
This is how the table looked when I found it at my favorite junk shop.
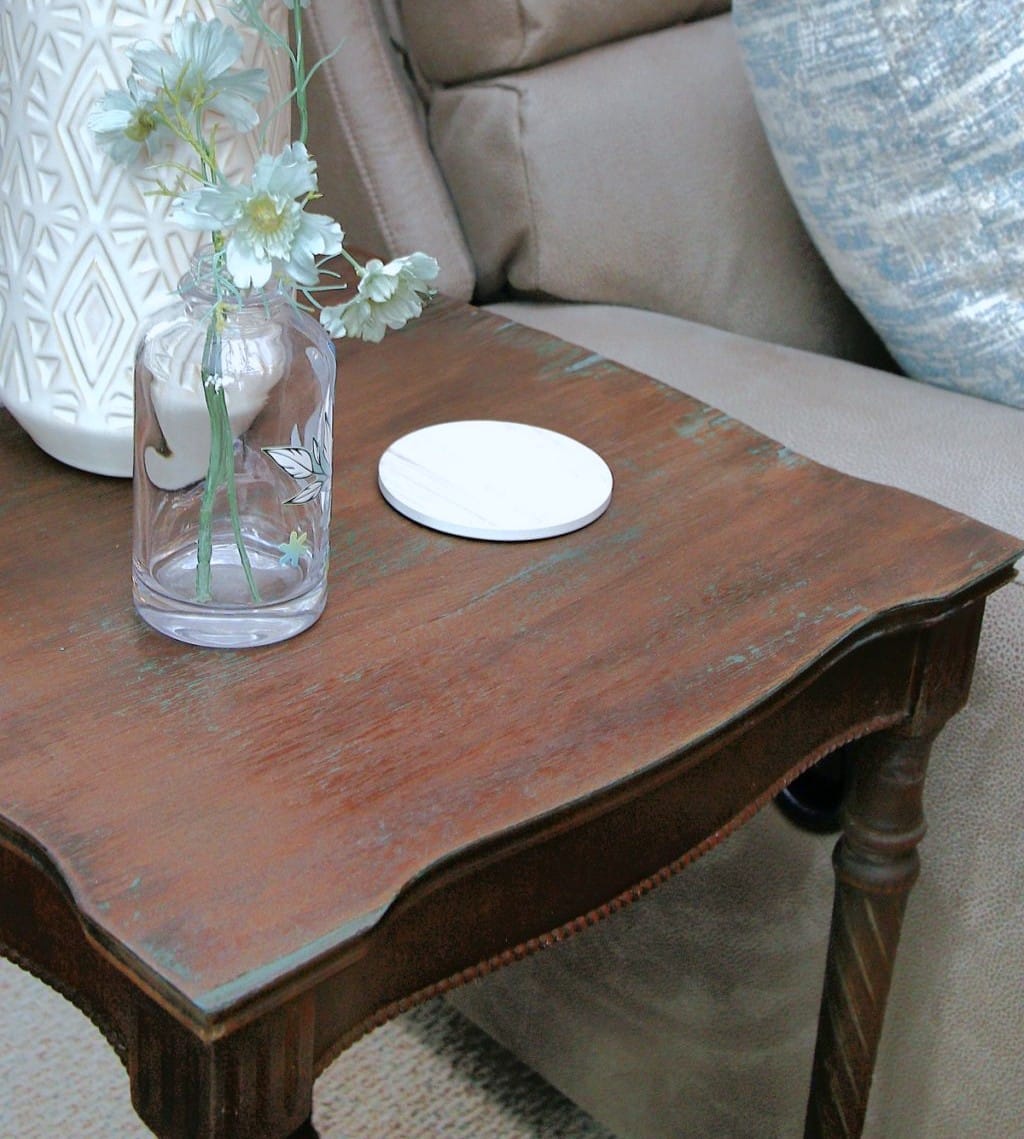
I did a quick makeover to refresh the table when I brought it home, cleaning it and adding just a little color, but I was ready for something more colorful. This time, I planned to give it a complete paint finish while keeping the chipped veneer that gives the table so much character.
Supplies and Tools for this Project
Dixie Belle White Lightning
Dixie Belle Bonding Boss
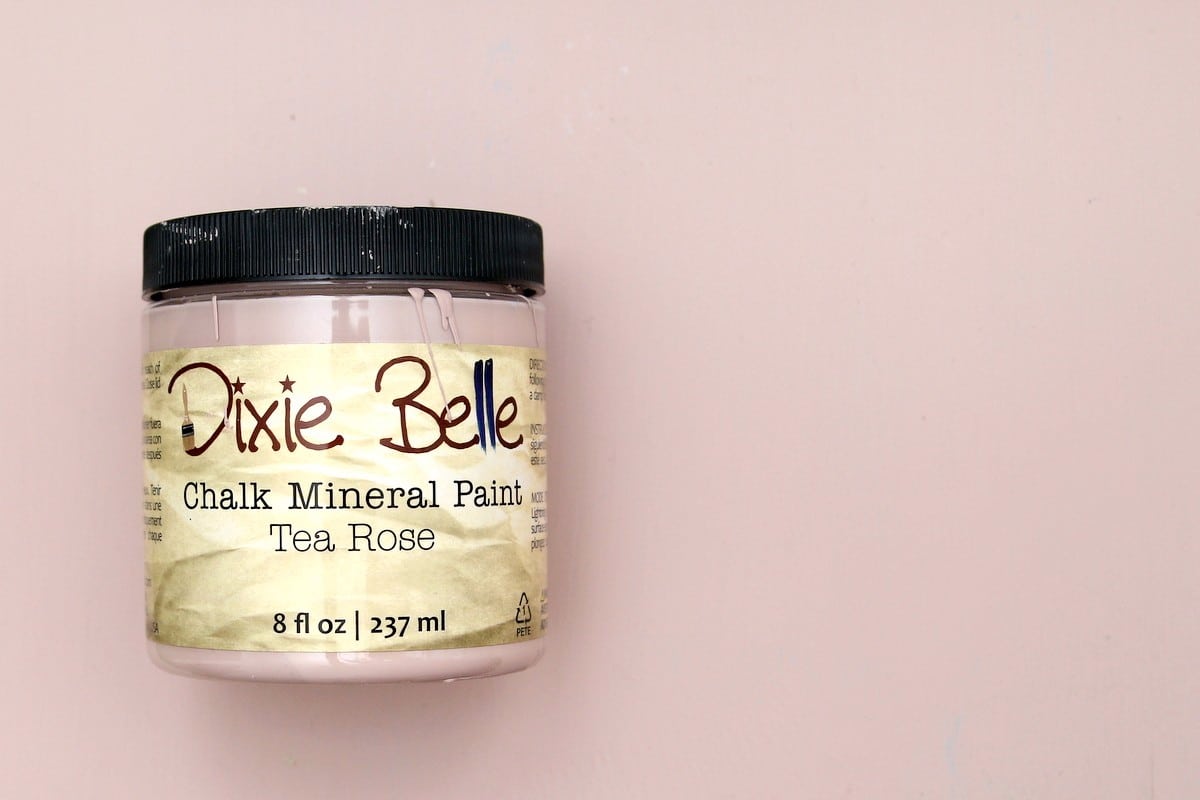
Dixie Belle Chalk Mineral Paint, color Tea Rose (or paint color of choice)
Sandpaper
Paintbrush
How to Prep a Previously Waxed Table for Paint
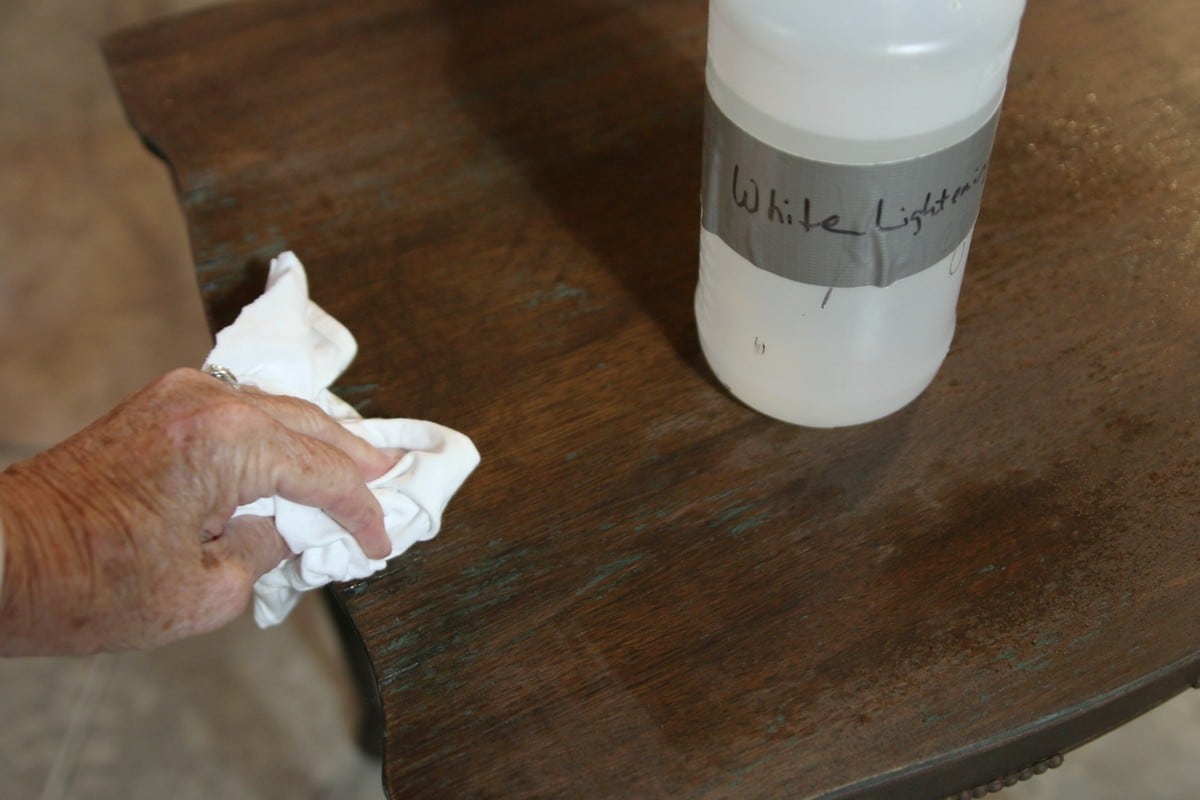
Since I oiled and waxed the table really well for the first makeover, I used Dixie Belle White Lightning to prep it for painting.
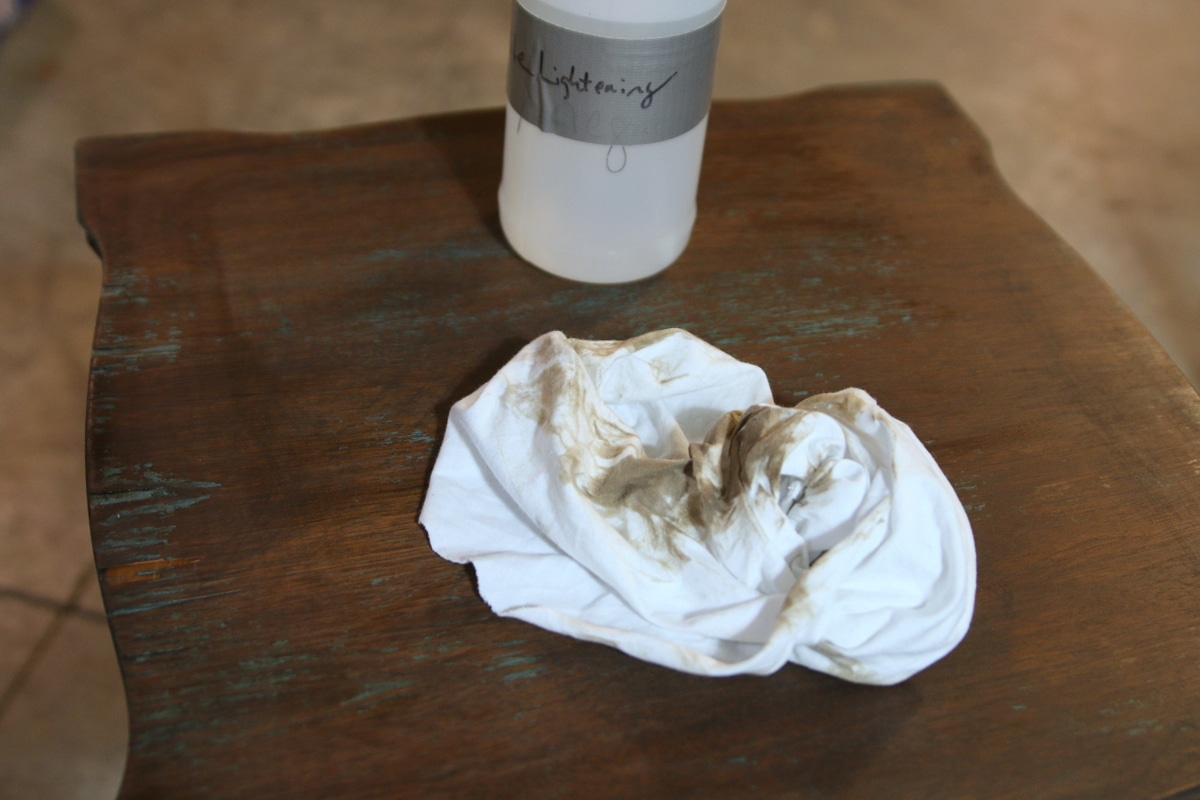
The rag in the photo shows the residue removed after one wipe over the tabletop.
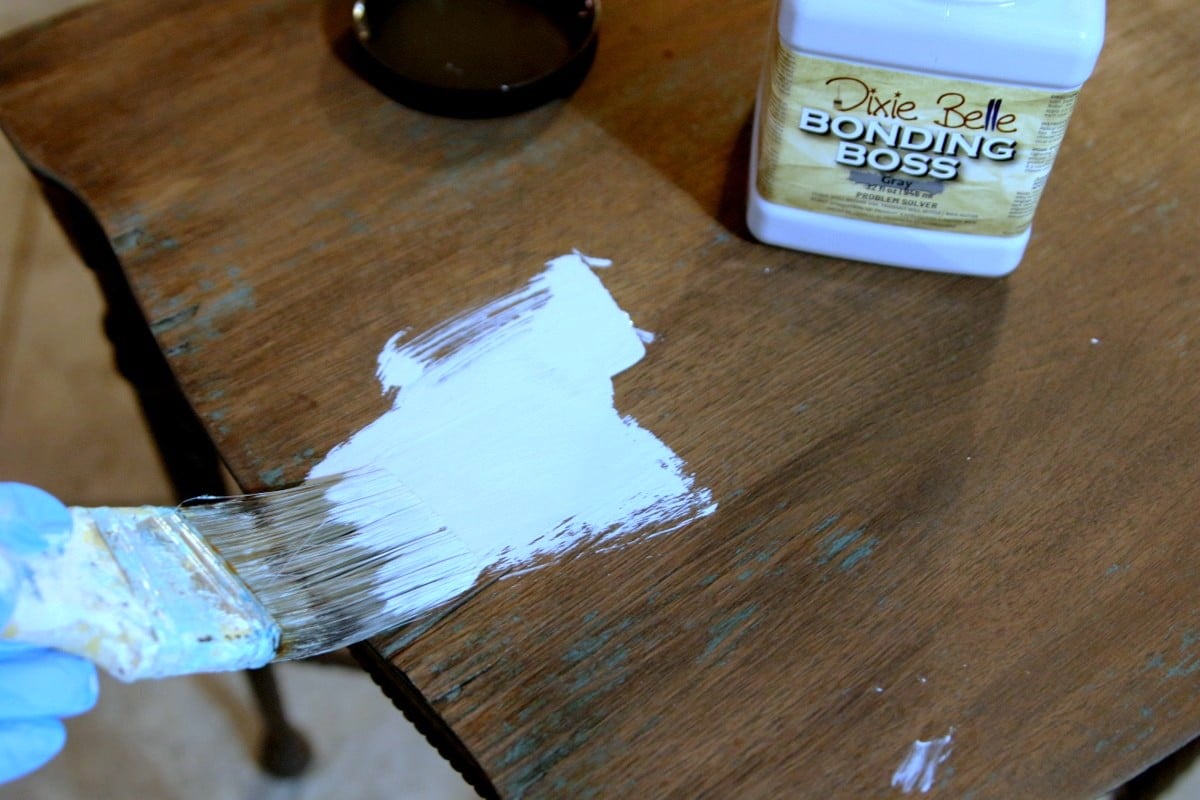
Once the table was clean and dry, I applied Dixie Belle Bonding Boss in gray. This is the best primer ever!
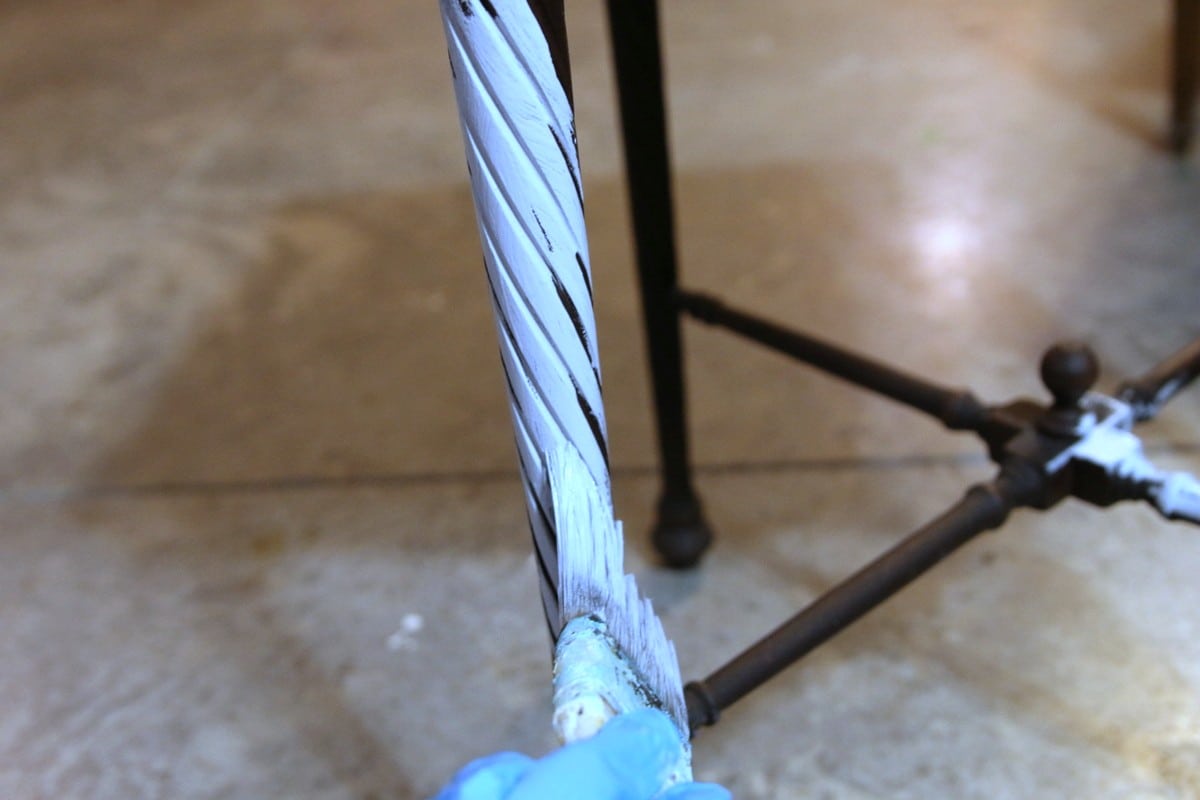
Yes, it was a pain getting into the grooves on those twisted legs.
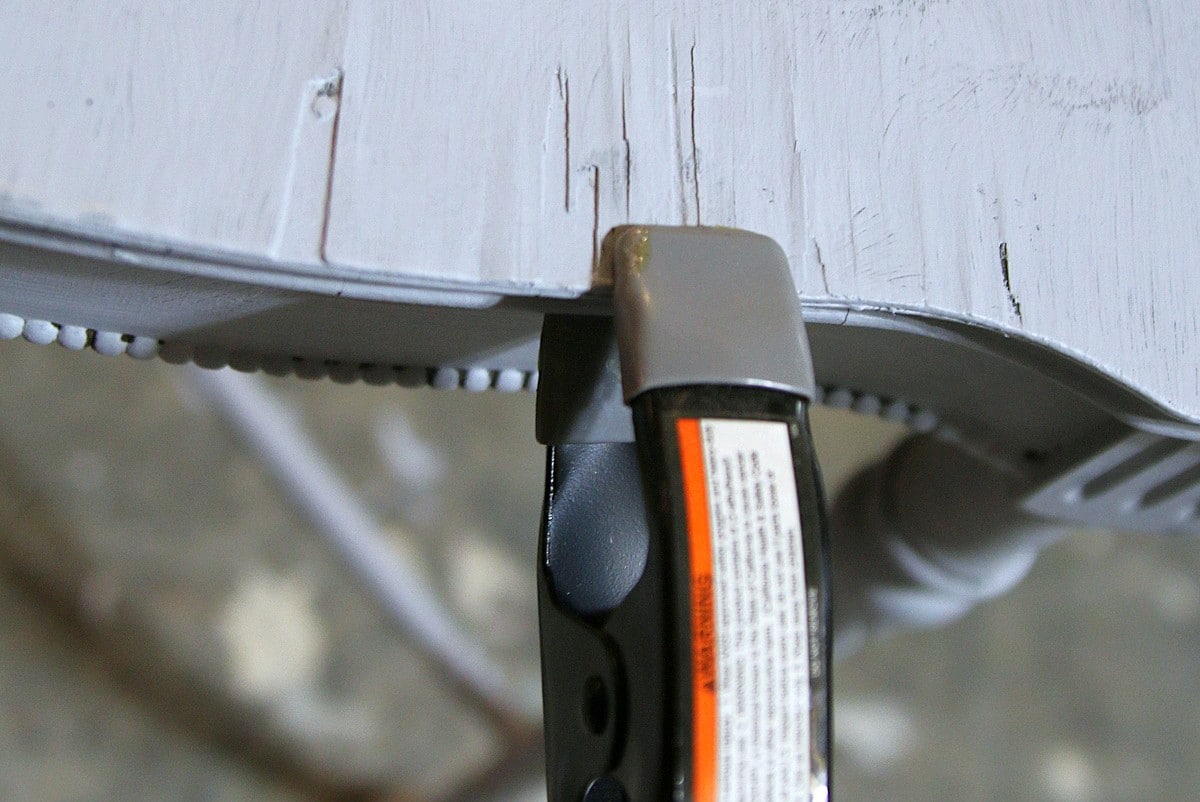
Repairing the Damaged Veneer
While priming the tabletop, I noticed some of the damaged veneer was buckled, so I applied glue and clamped it to dry. I wasn’t worried about the chipped veneer because it will look great painted and distressed.
Painting the Table Tea Rose Pink
The color I selected is a soft muted pink called Tea Rose. It definitely has a brown tint, and the color looks different under different lighting.
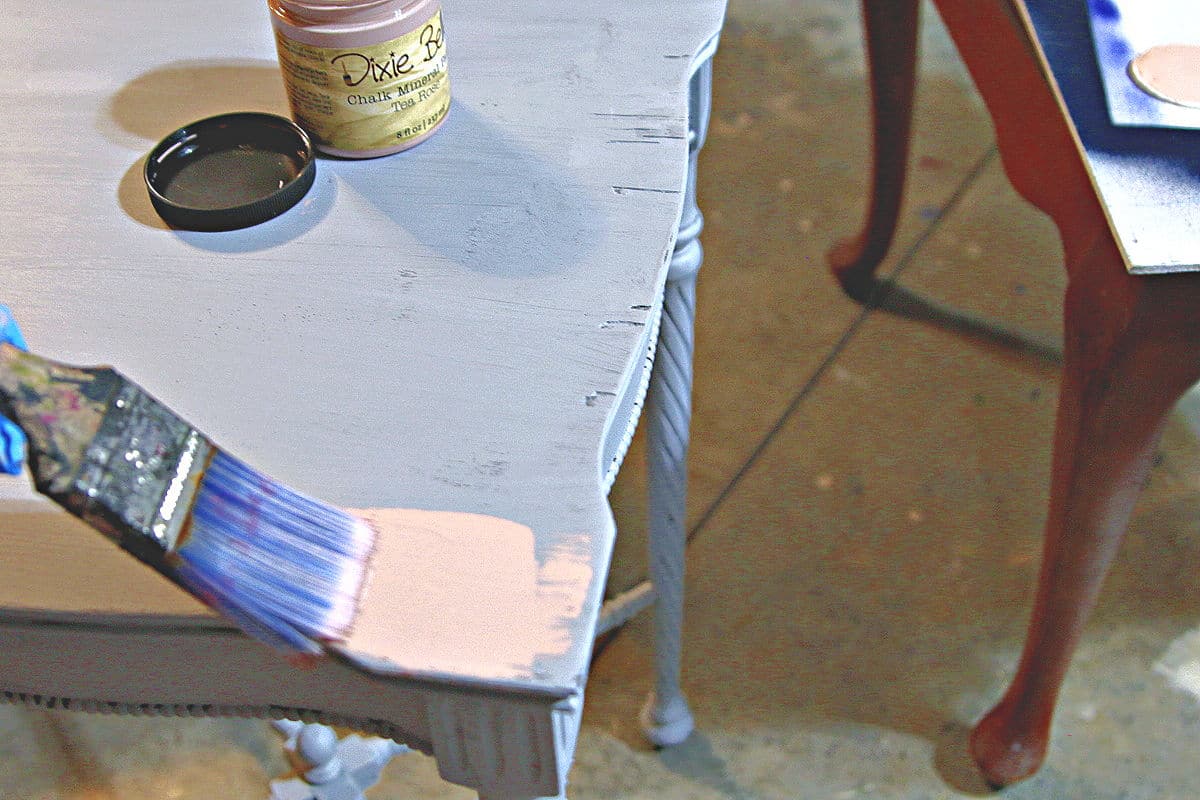
The paint flows on like butter, and it covered the gray primer in one coat.
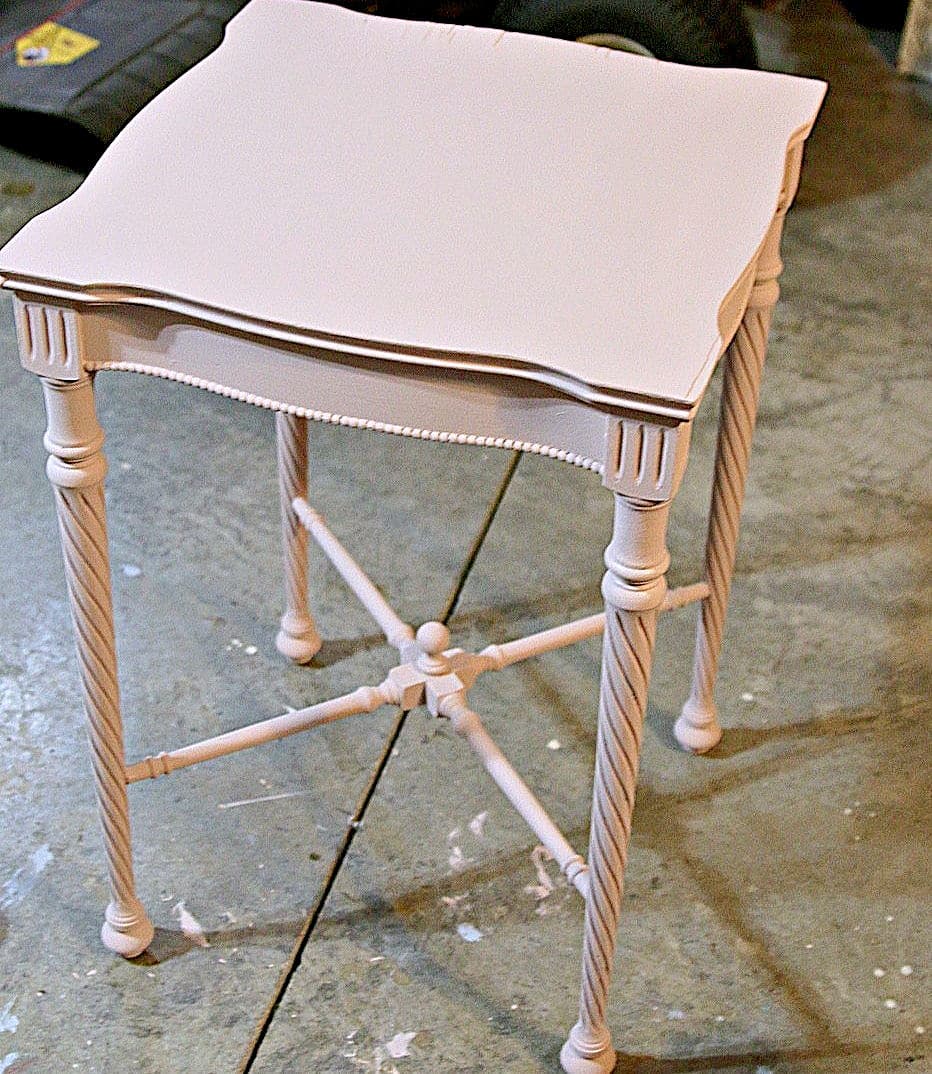
But I brushed on a second coat to cover all the places I missed on those legs.
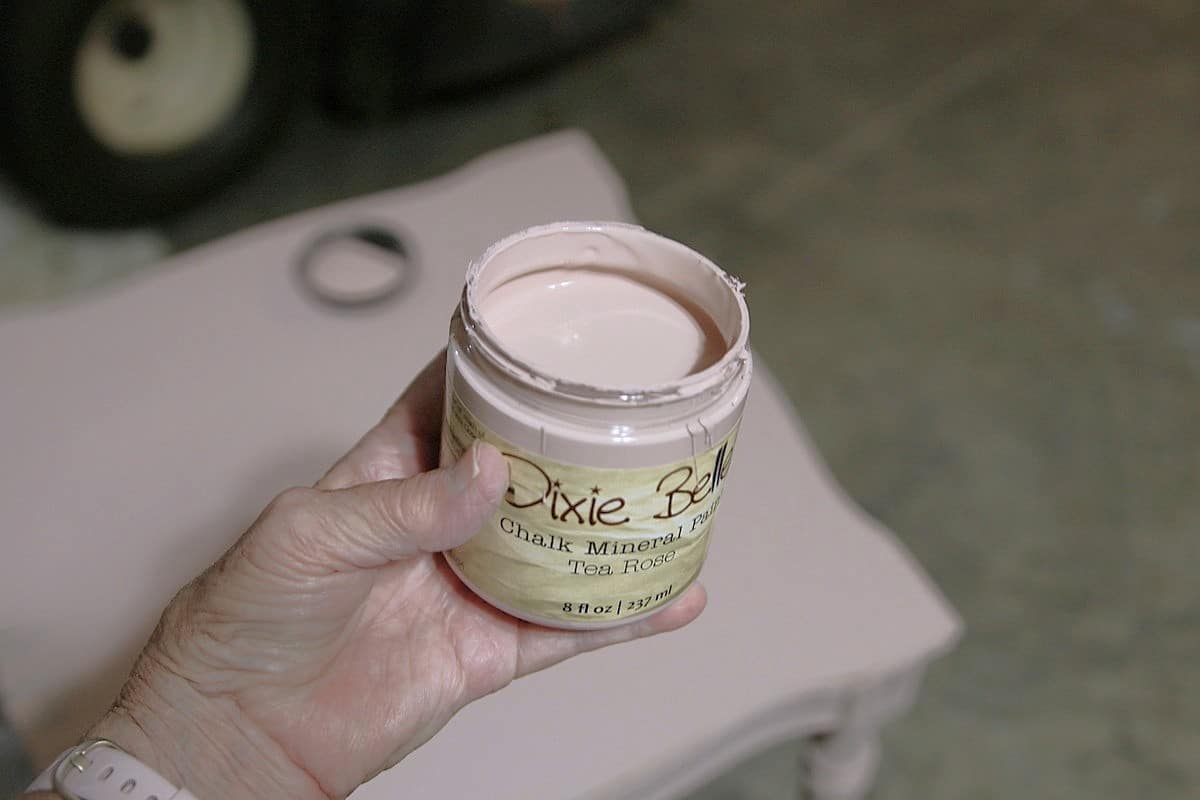
The photo above shows how much paint I used from the 8-ounce jar. Not much at all!
How to Distress the Painted Table
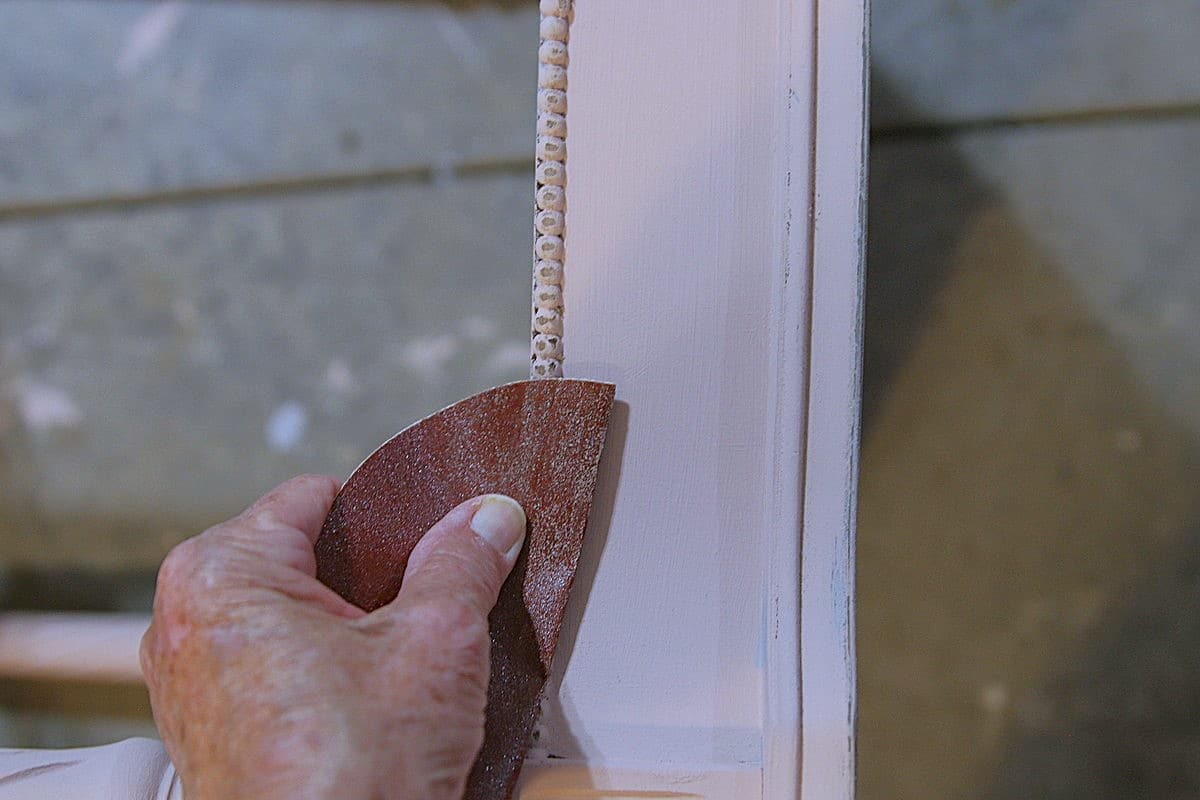
Next, I distressed all of those lovely details. I sanded the wood beading and all of the sharp edges of the tabletop. Then I distressed the legs.
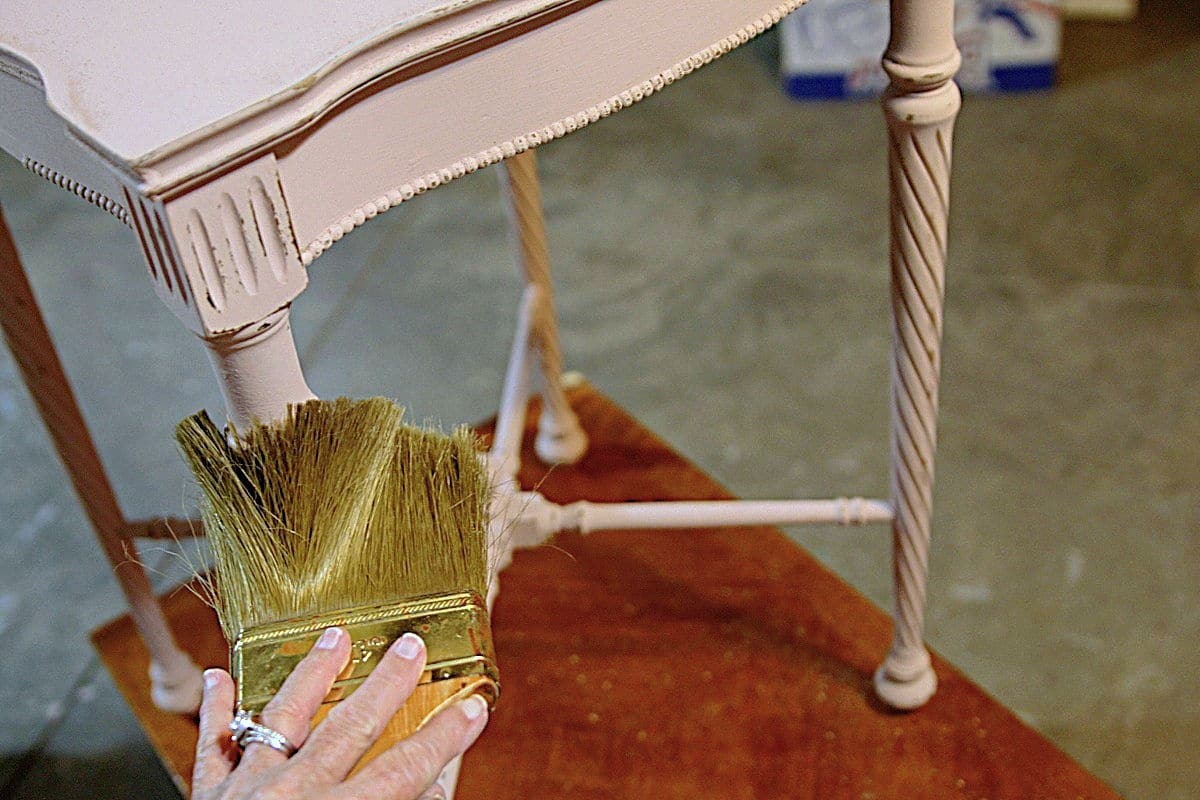
When sanding paint, there is a lot of dust, so I always use a large paintbrush to brush it off, then use a slightly damp rag over all the surfaces. A tack cloth works too, but it gets my hands sticky, yuck.
I didn’t apply wax or sealer over the chalk mineral paint. I like the flat look for this project.
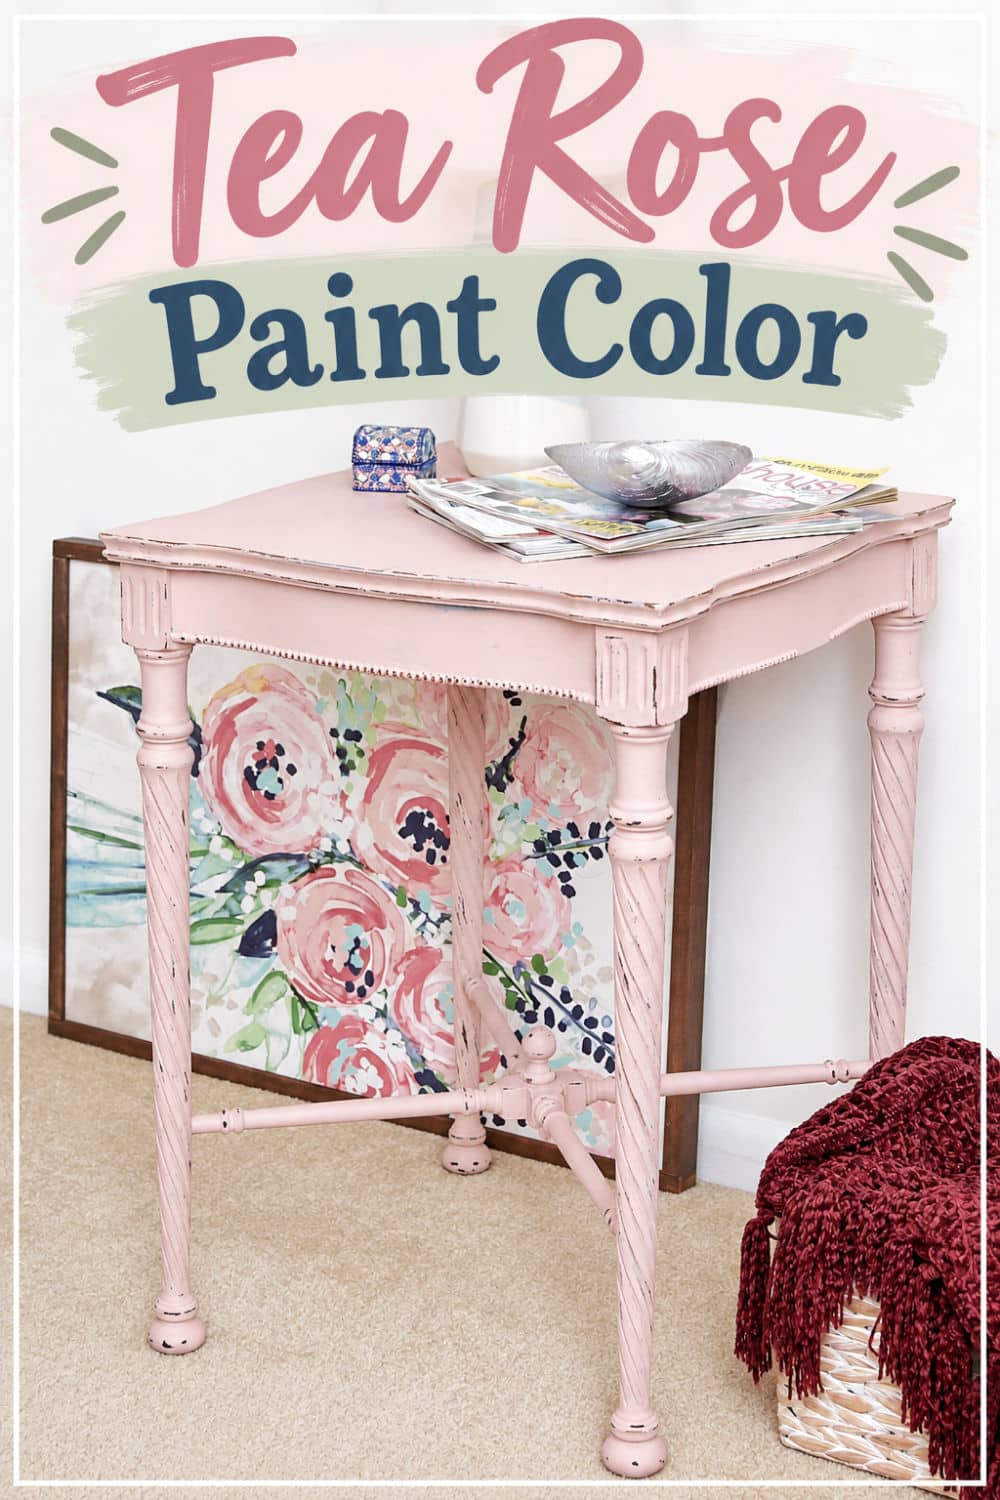
The Finished Tea Rose Side Table
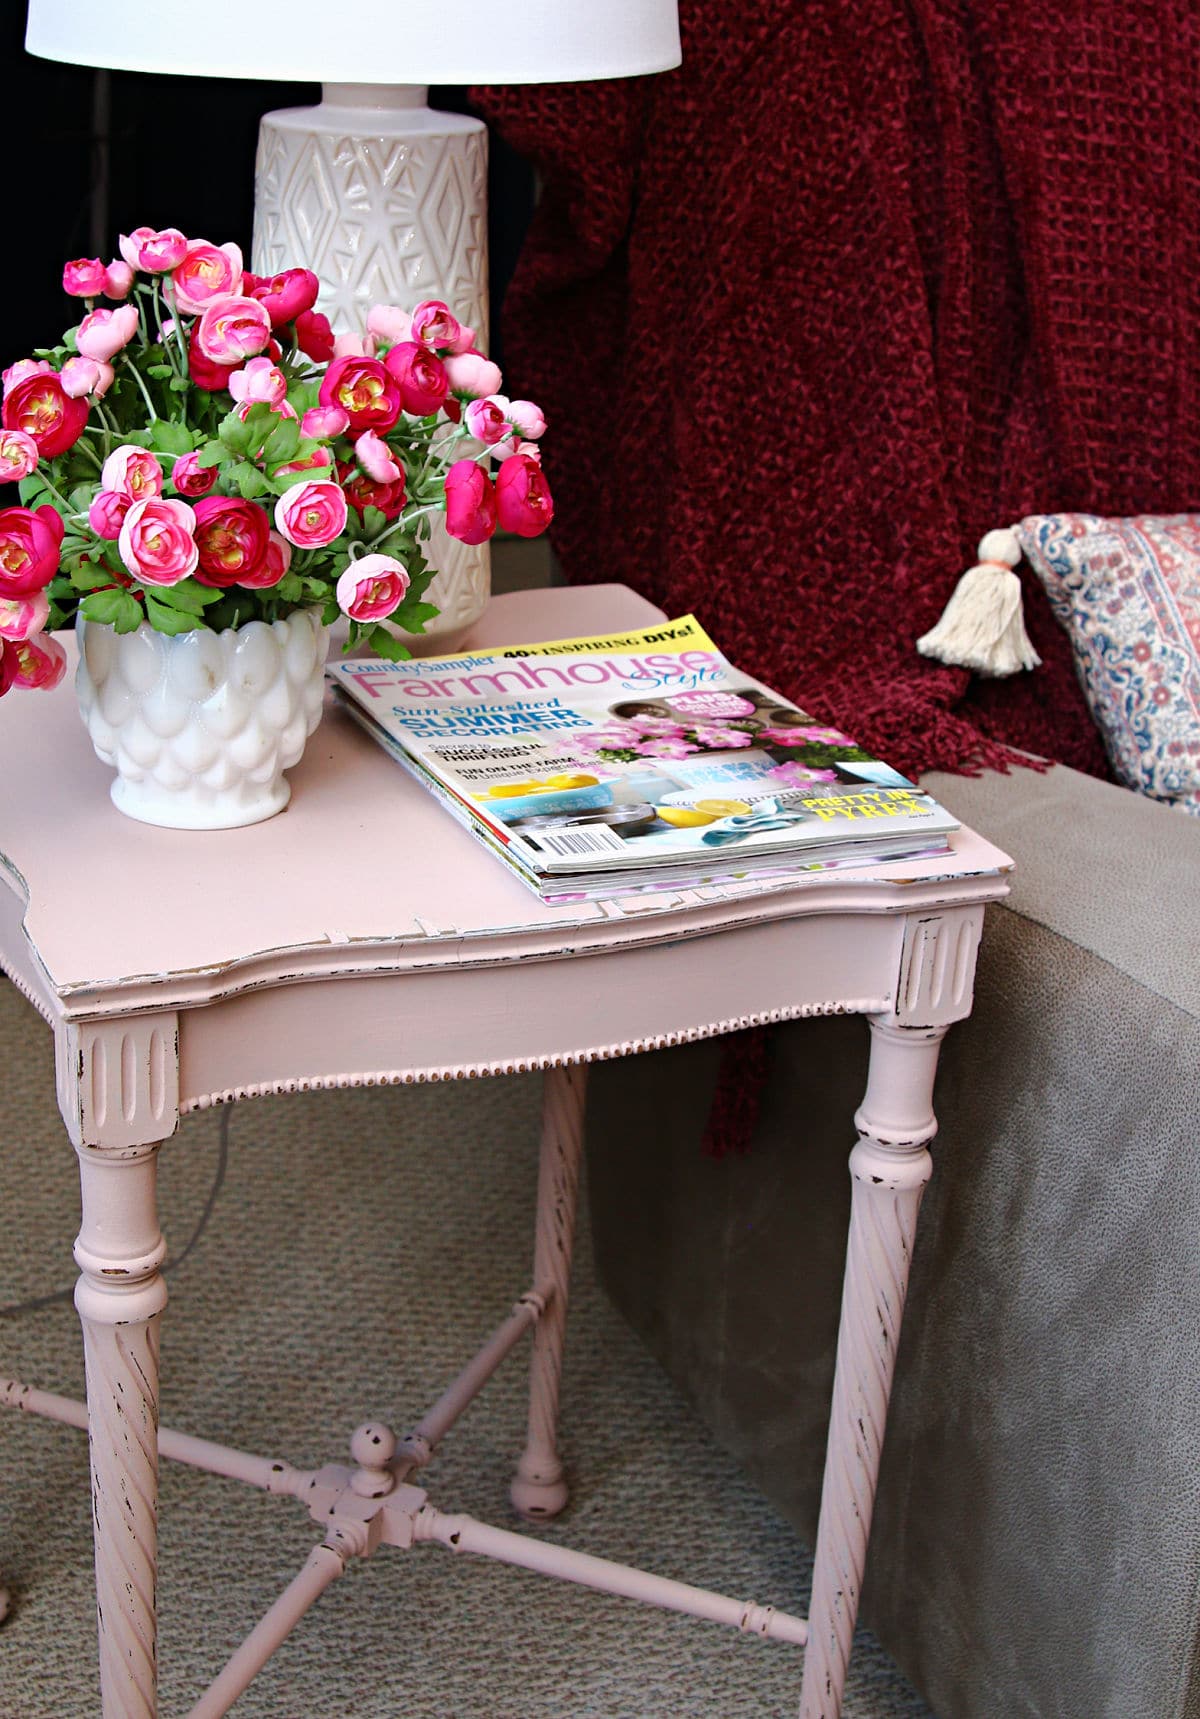
The antique table is the perfect height and size for a side table or nightstand. It looks great next to our sofa and is large enough to hold the lamp, a drink coaster, and a bowl of flowers. I sometimes display a framed photo of my granddaughters in place of the flowers.
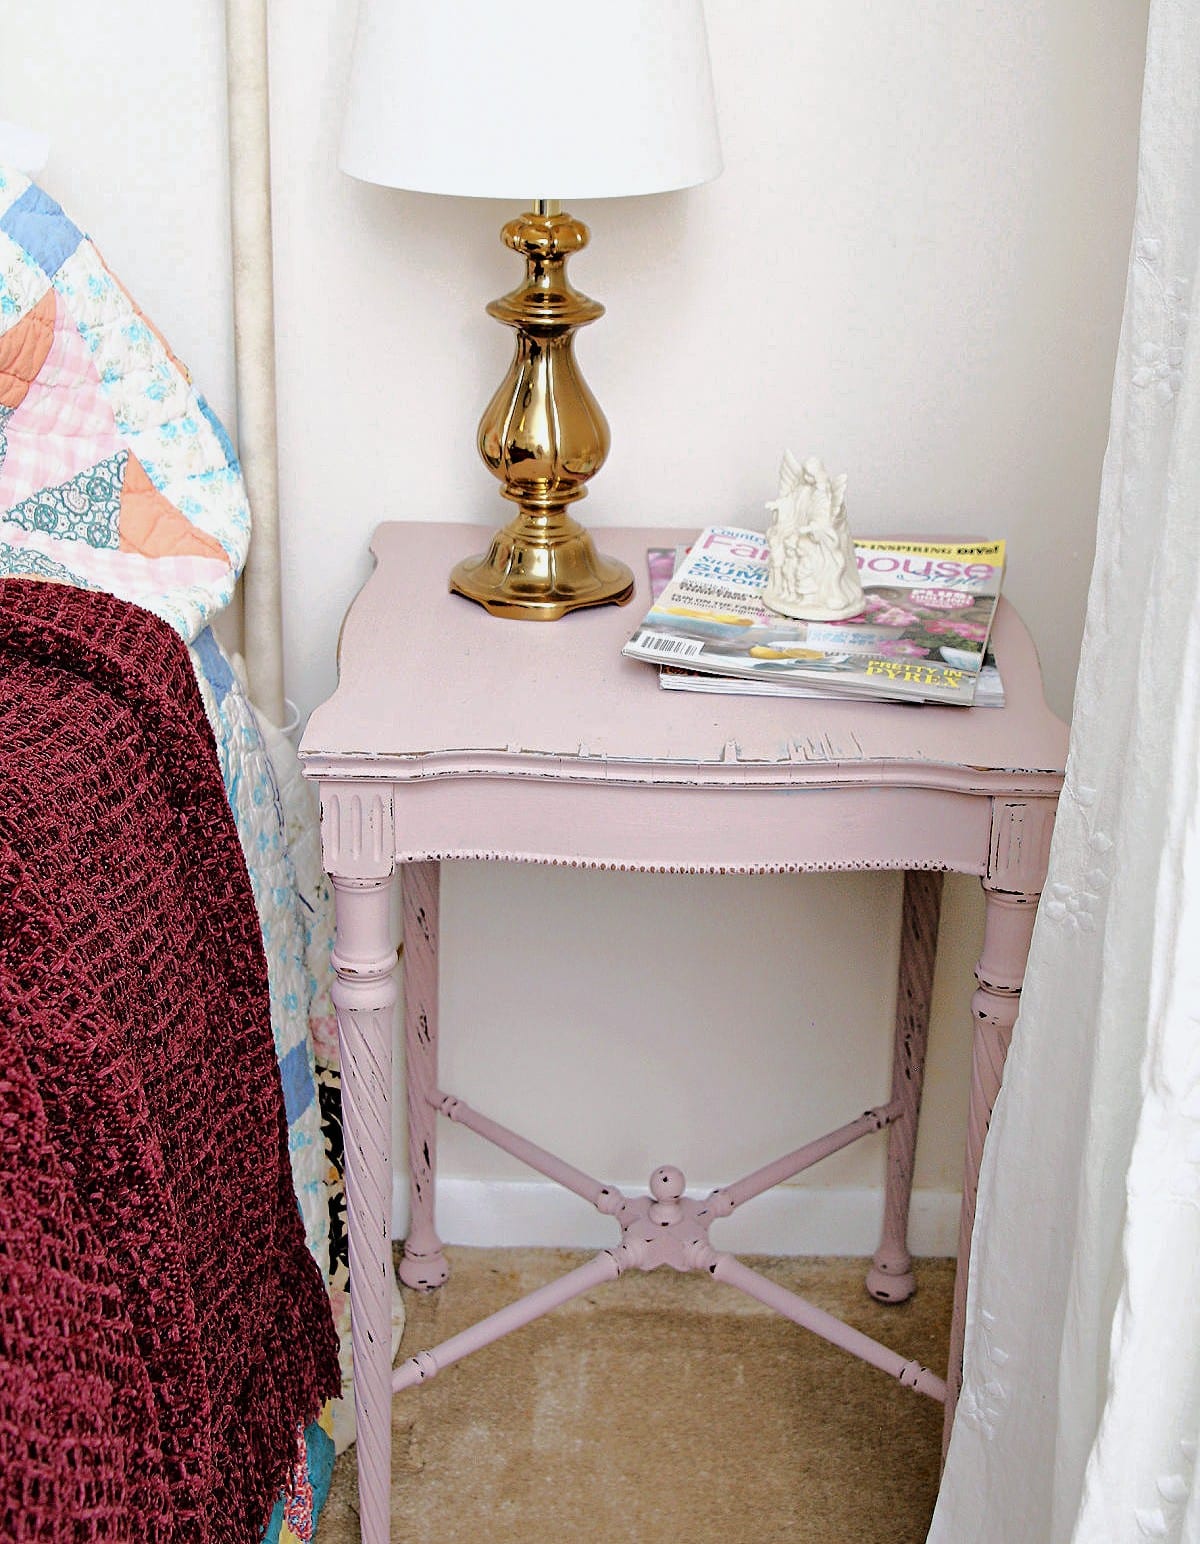
Our family room is dark, so I moved the table to various spots in the house to take photos. In this photo, it is sitting beside the bed in our guest bedroom. The color looks slightly different in this room because there is a double floor-to-ceiling window next to the table.
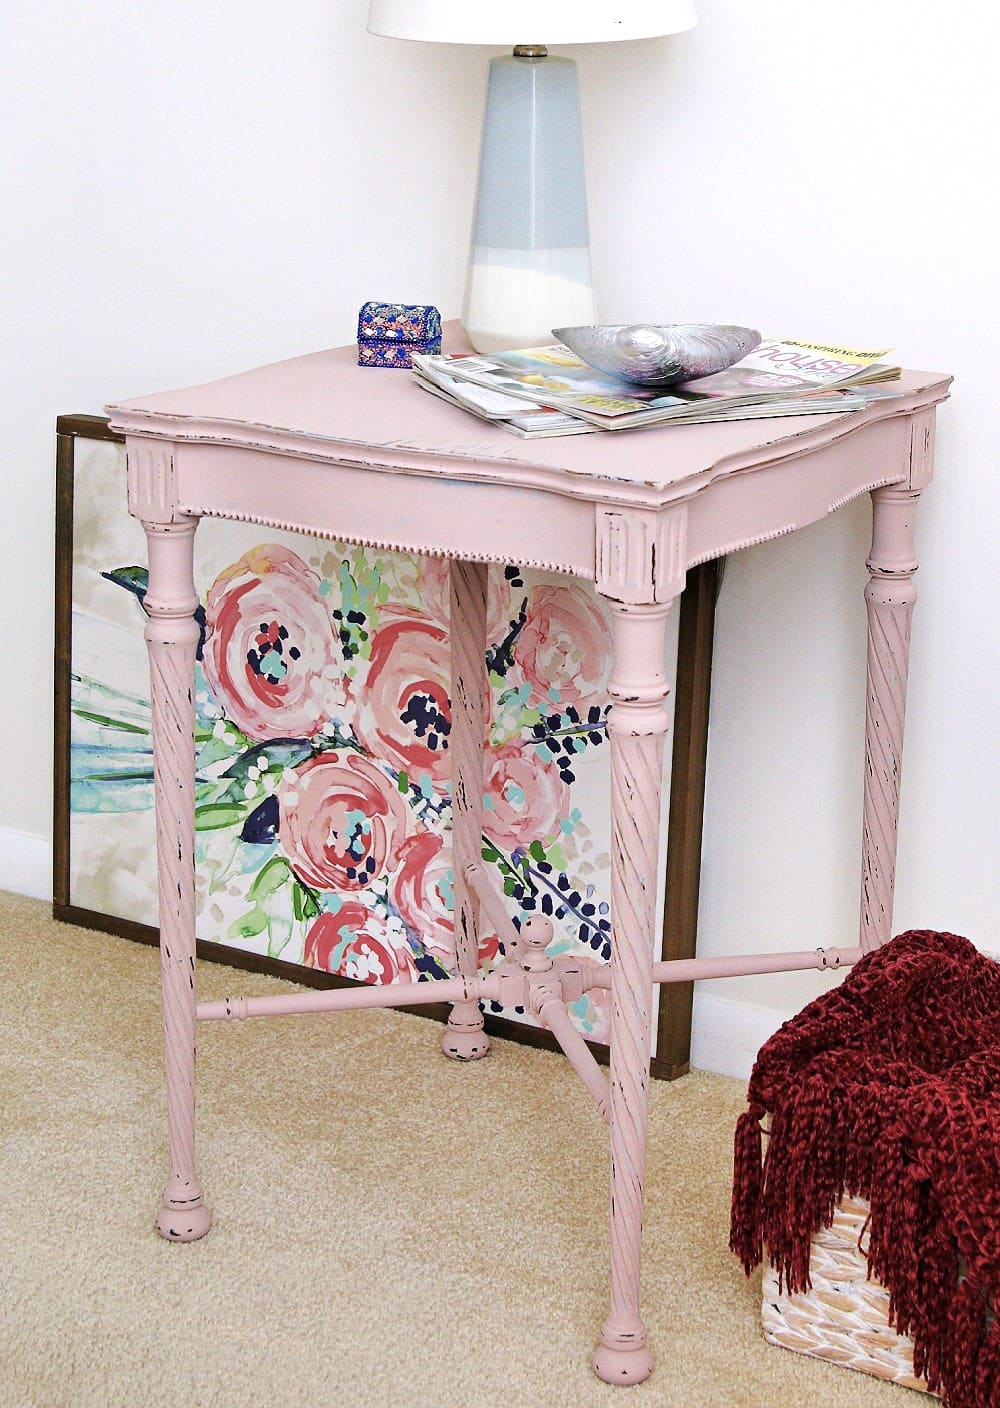
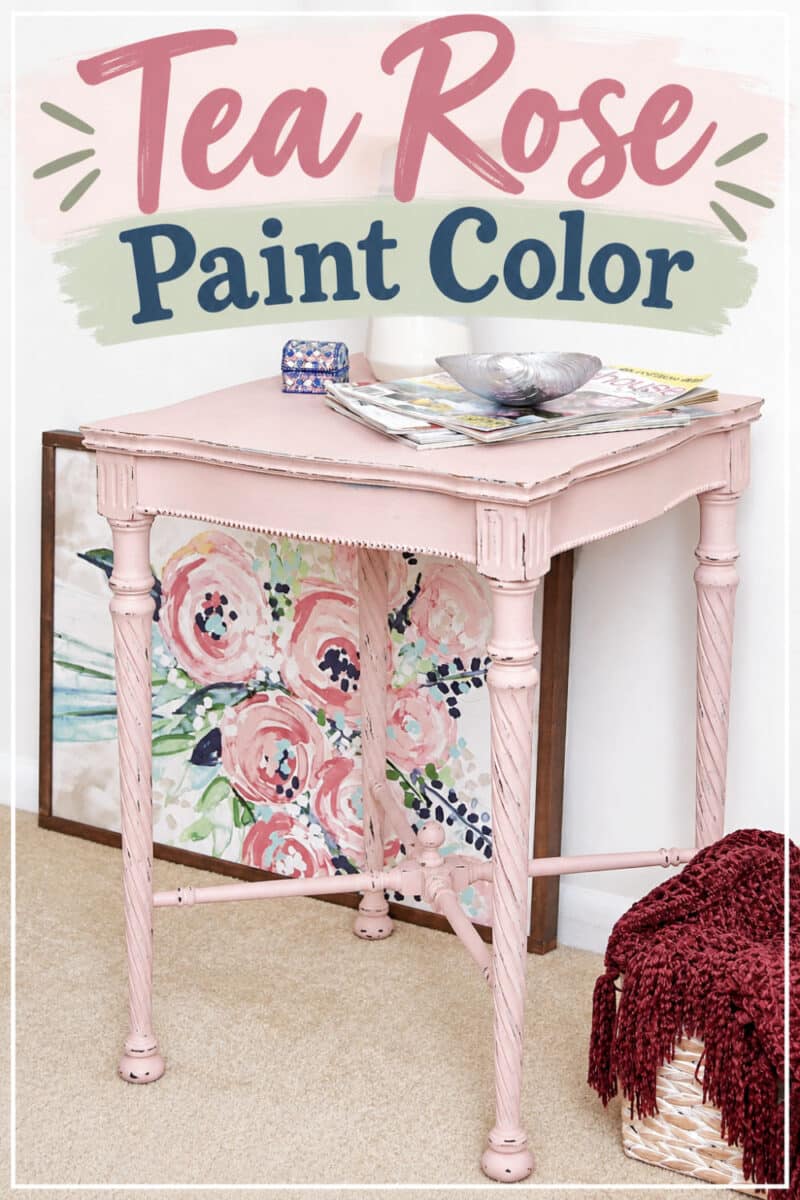
Next, I set it against a white wall and staged it a bit. The color is muted, which is so unlike my usual color preferences. It’s perfect for this antique table because the color has a vintage feel.
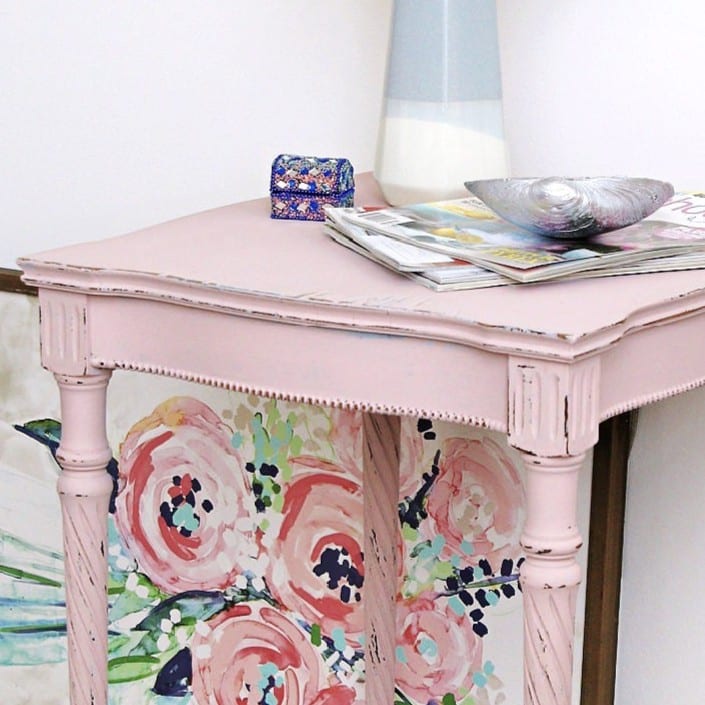
The distressing is light to moderate and not overdone.
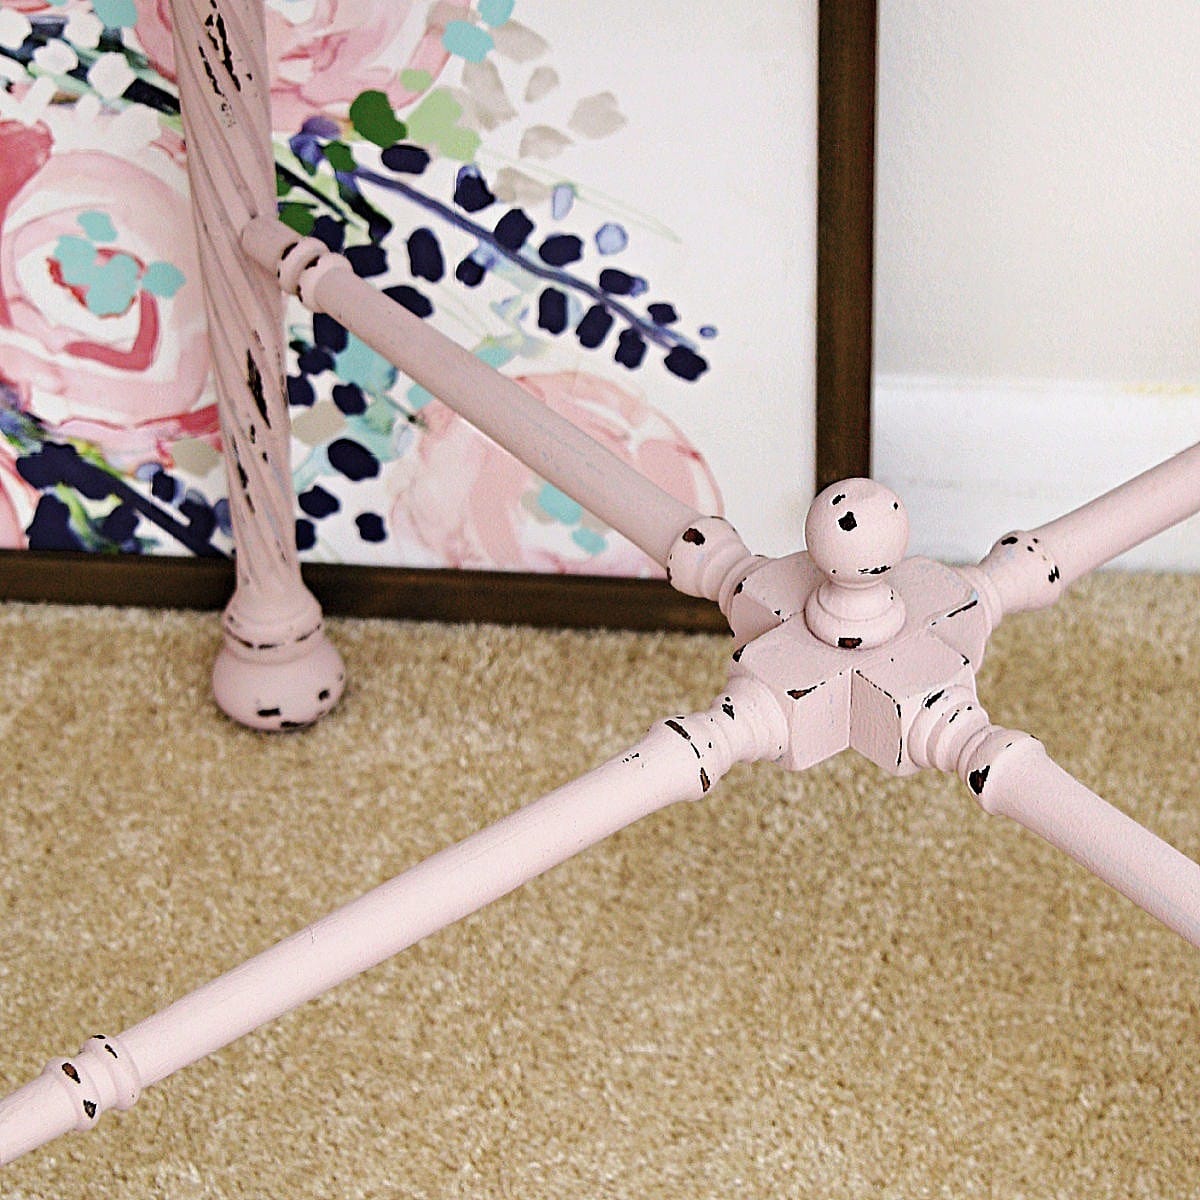
The stretcher between the legs is my favorite part of this table. Such a pretty detail.
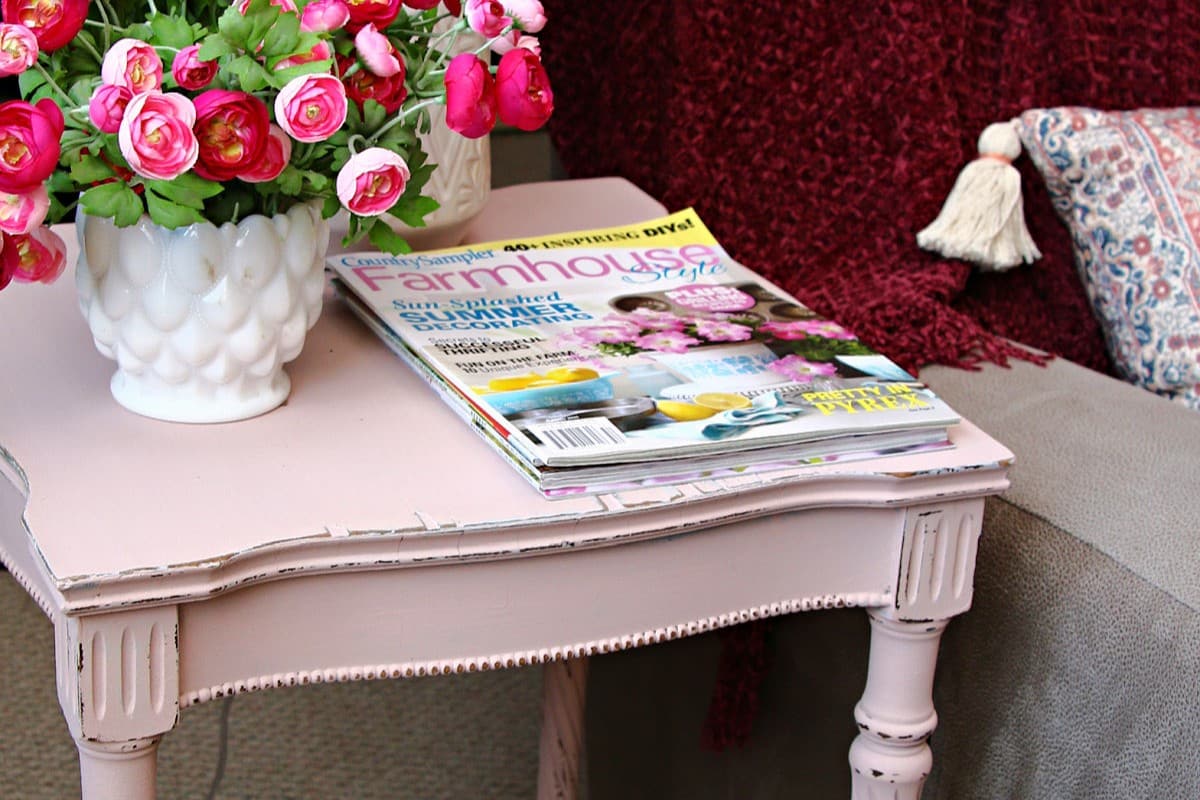
This photo shows the table in the family room where it will sit for a while. I painted it to coordinate with the pillows and throw. You can see the arm of the sofa and the color I can’t describe.
Leave a note before you head off on the tour, and let me know if you think the Tea Rose color is a good fit for this antique table.
Furniture Fixer Upper Tour
Now it’s time to take the tour. My lovely friends have worked really hard on their furniture projects this month, and all of the makeovers are fabulous. To take the tour, just click the links below the “before makeovers” photo collage.
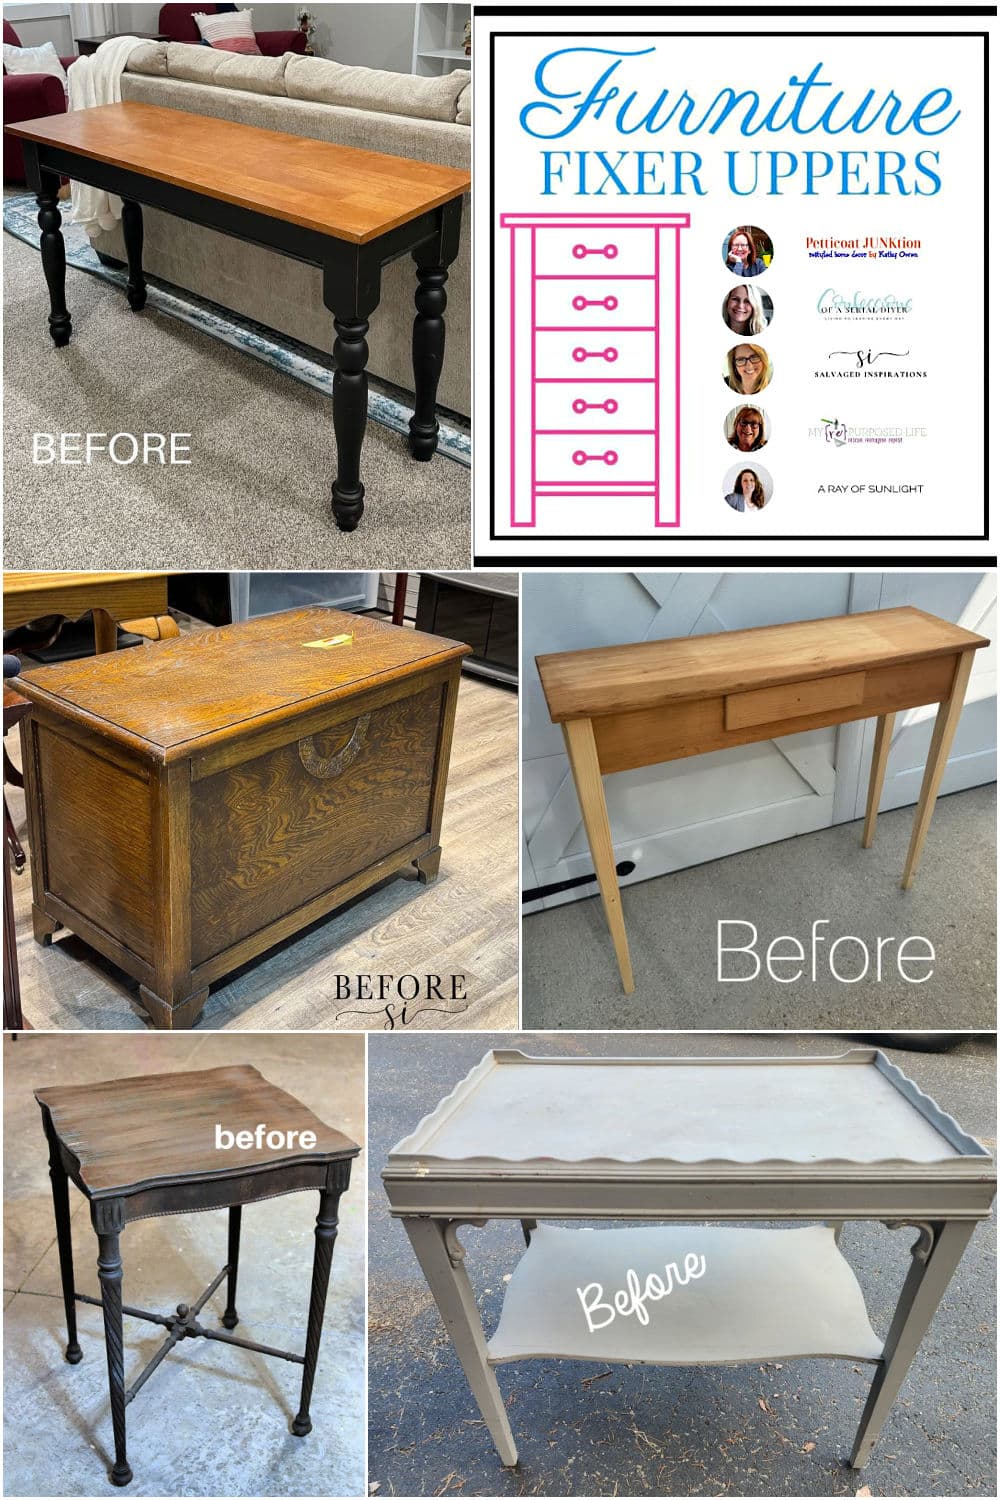
Furniture Fixer Upper Tour:
Furniture Makeover Four Different Ways – Confessions of a Serial DIY’er
How to Paint Wash Furniture – Salvaged Inspirations
Thrifted Side Table – My Repurposed Life
How To Get Rid Of Orange Finish – A Ray Of Sunlight
Tea Rose Table – Petticoat Junktion (you are here)
As always, thanks for being here, Kathy

I’m loving this soft pink! And those legs…you definitely earned some extra paint-flipping points for getting into all those grooves! 😂
Kathy,
The color and the moderate distressing are perfect for this antique side table. I really love this color; you did a great job!
pinned!
gail
Beautiful, Kathy! This is one of my favorite Dixie Belle colors, and it really does go on like a dream! XOXO
Perfect color for this. Great work.
I love the new color on the table. It suits the table so well! Your makeovers are very inspiring.
Tea Rose is one of my favorite pinks and I think it looks beautiful on this vintage table Kathy! Pinned XOXO