Hanging Glass Wall Vase
As an Amazon Associate, I earn from qualifying purchases.
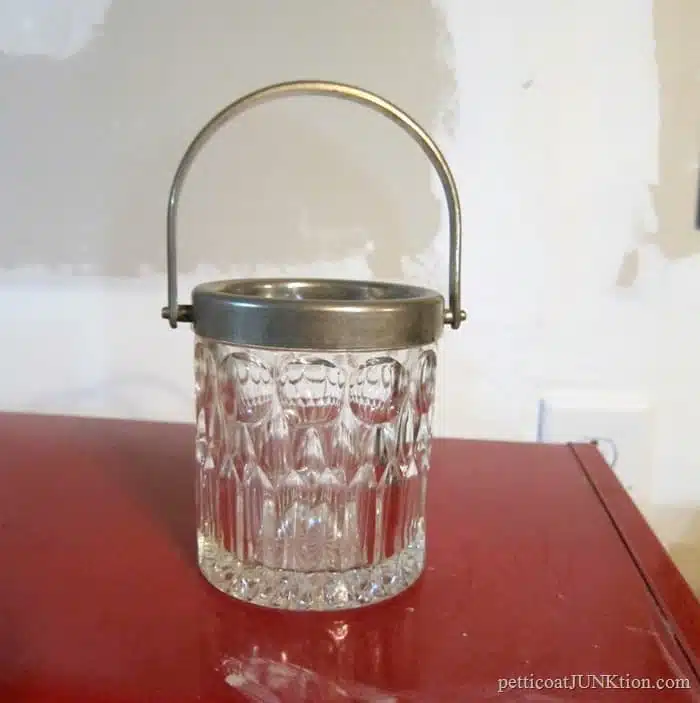
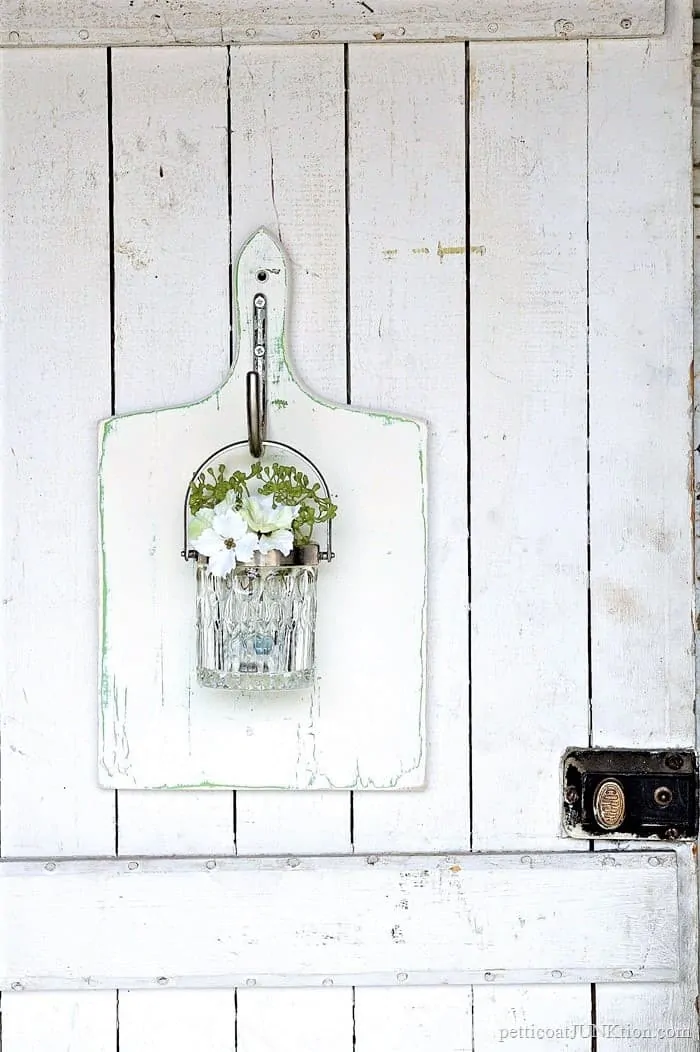
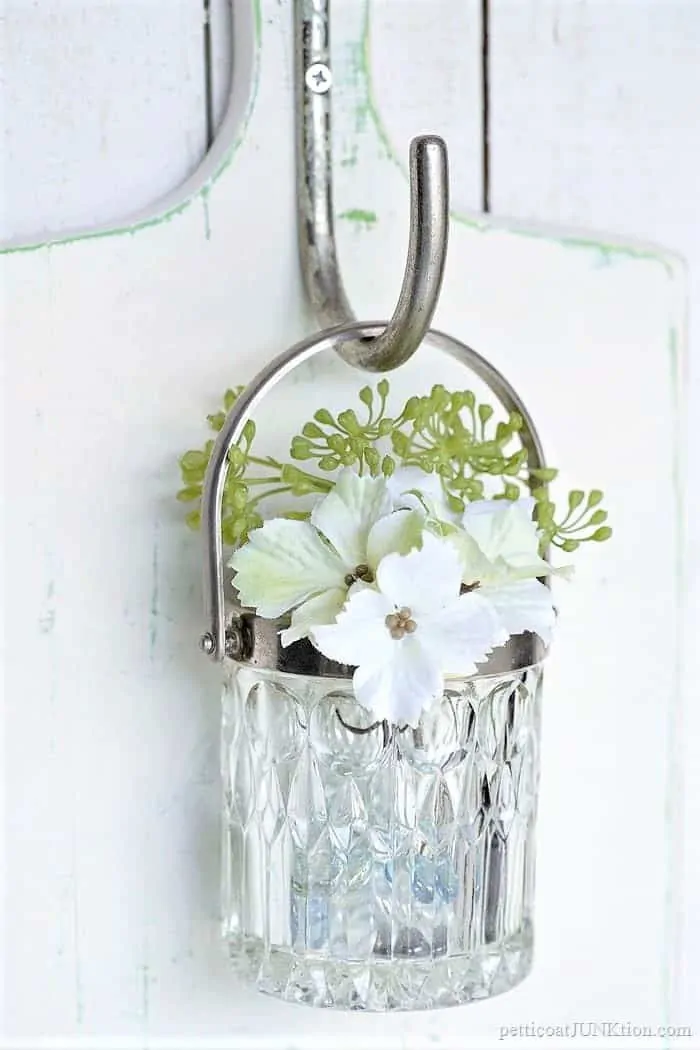
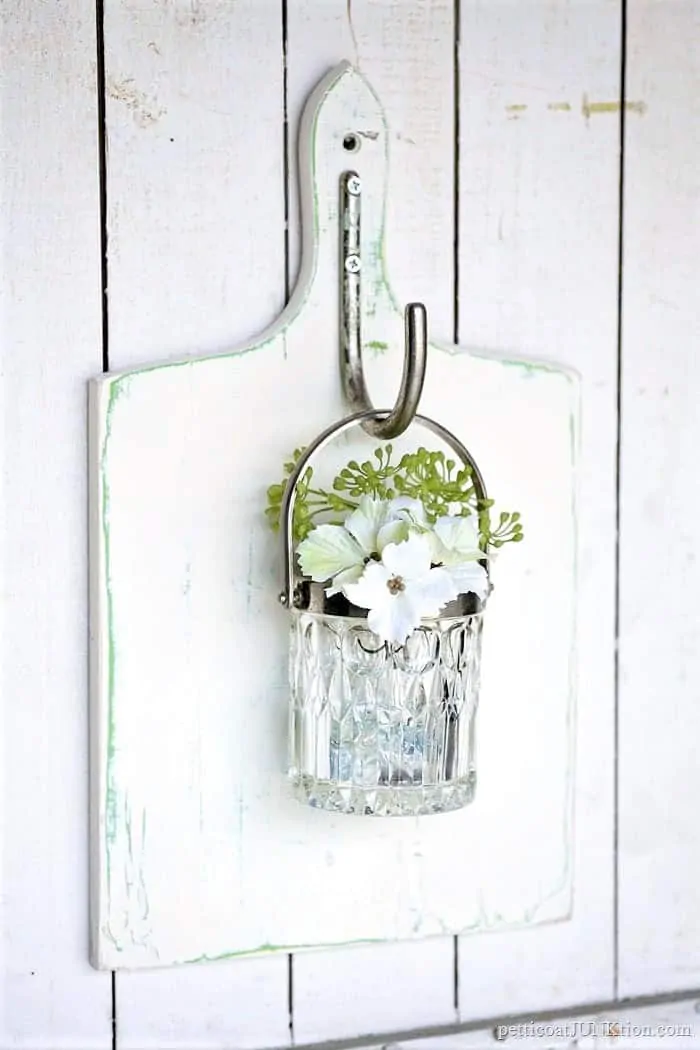
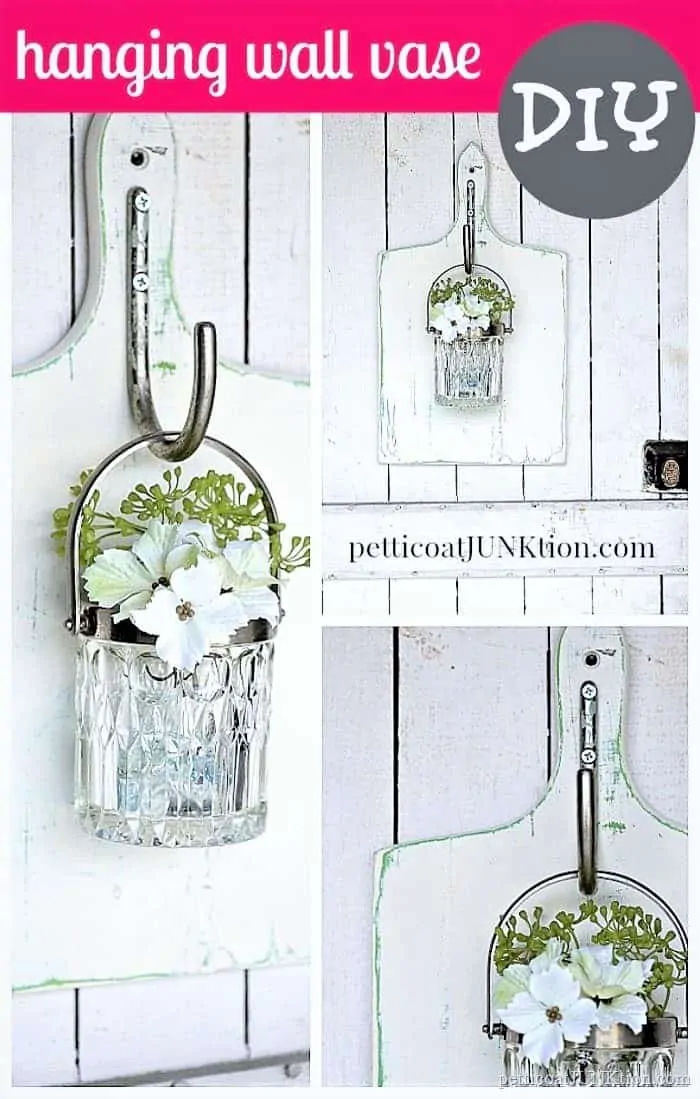
The hanging glass wall vase came out way better than I expected. It makes me smile. The wood board and the silver rimmed cut glass jar thingy with a silver handle were a match made in Heaven.
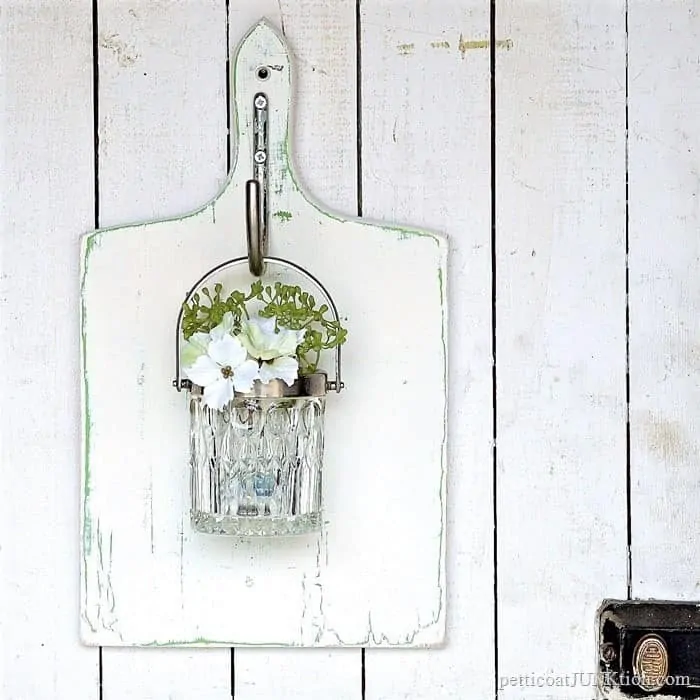
See, I didn’t exaggerate did I. The hanging glass wall vase can also be used as a candle holder or anything holder. I bet you guys can come up with other ideas for it.
Of course both of these pieces came from the thrift store. Can’t go wrong with thrifty finds.
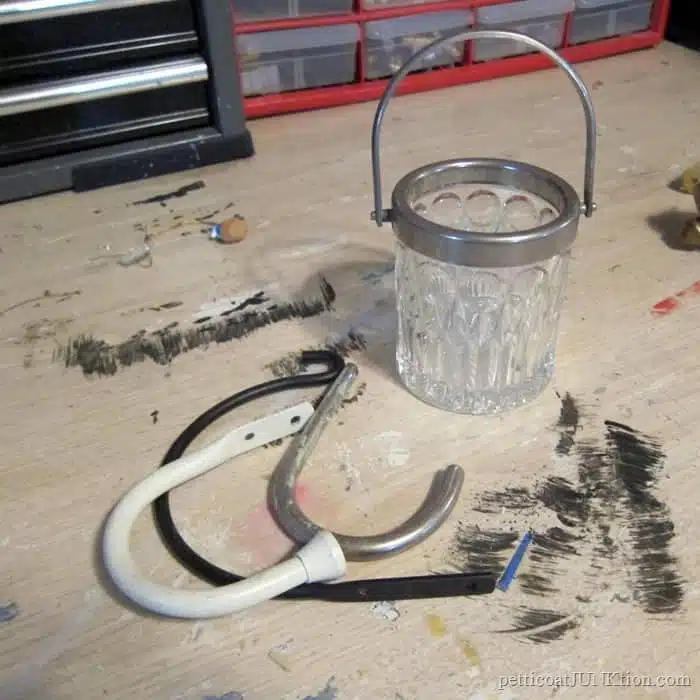
This project got it’s start when I went to the workshop looking for something small to put together. I spotted the cut glass jar thingy with the handle and went in search of something I could hang it on.
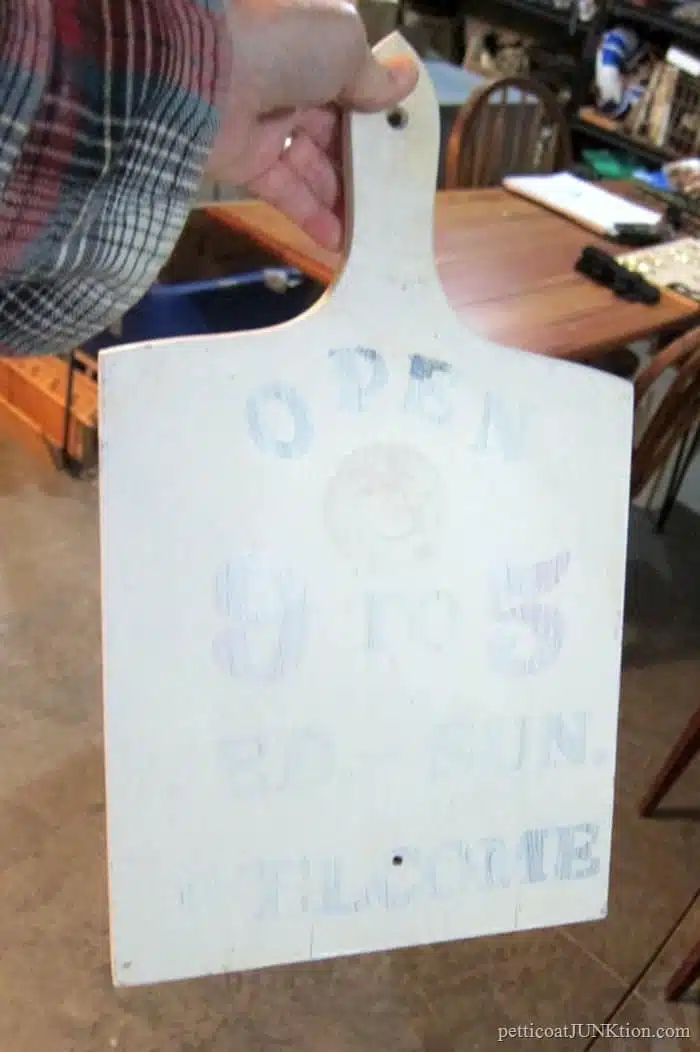
The white thing that looks like a cutting board was some kind of wall décor. It’s been in my stash for years.
I think I painted it for a different project and that’s as far as it got. I sometimes come up with ideas that don’t work too well or turn into different ideas.
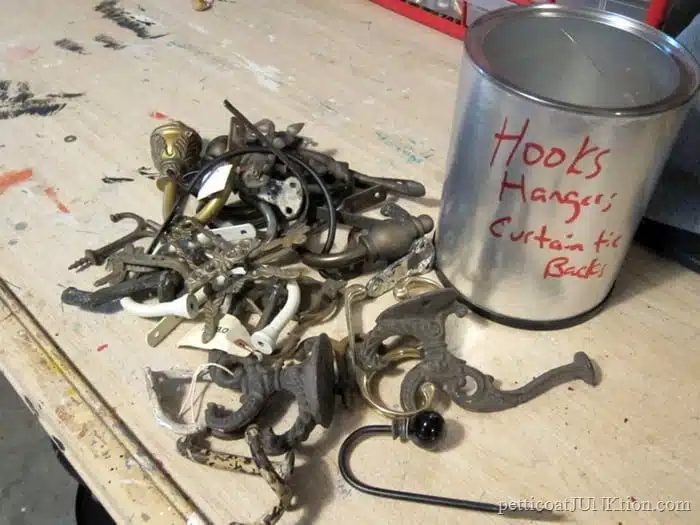
Next I went in search of a hanger to attach to the board. The coffee can was full of all types of hangers that were either removed from project pieces or bought at junk shops, thrift stores, flea markets, etc.
You never know when you might need a hanger so I snatch them up when the price is right.
I weeded through them and found the white one, and the black one, thinking either would work. Then I spotted the silver one……perfection.
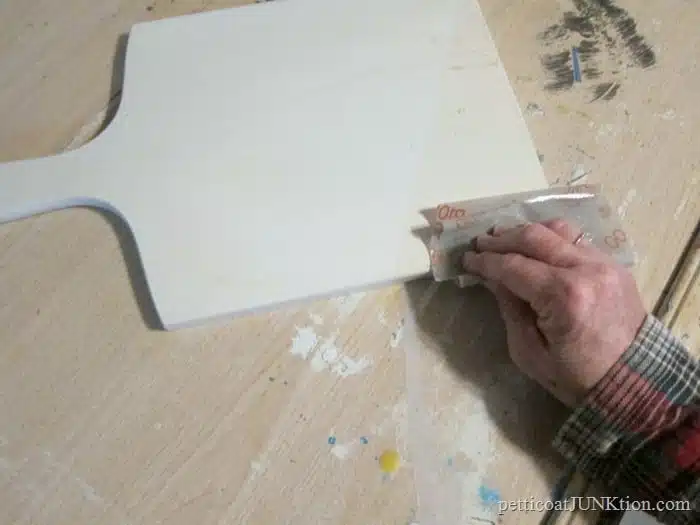
First order of business was to distress the white paint. I turned the cutting board on the opposite side of the writing because it didn’t need repainting. Work smarter, not harder.
I guess the board was originally green because when I distressed the paint there was this pretty green color that showed up. I used 100 grit flexible sandpaper and distressed the paint by hand.
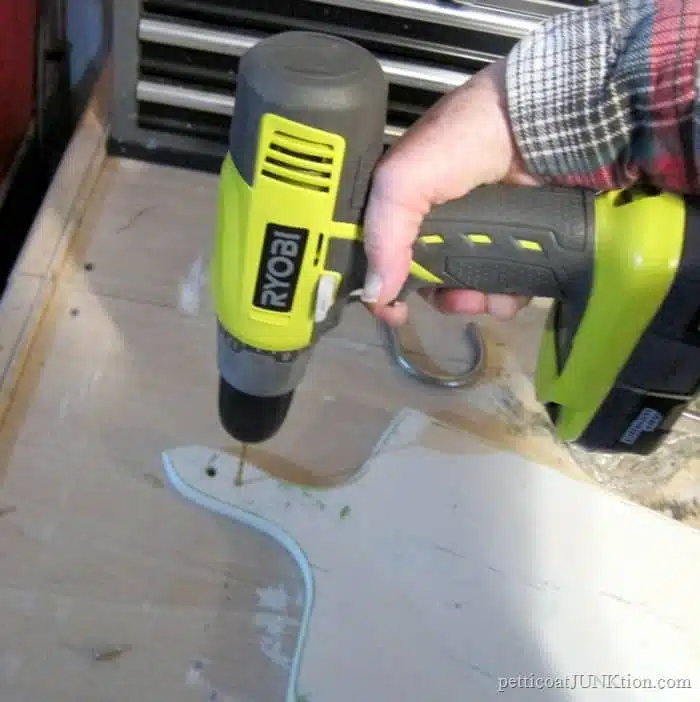
Next I drilled two holes for the hanger using my handy dandy drill.
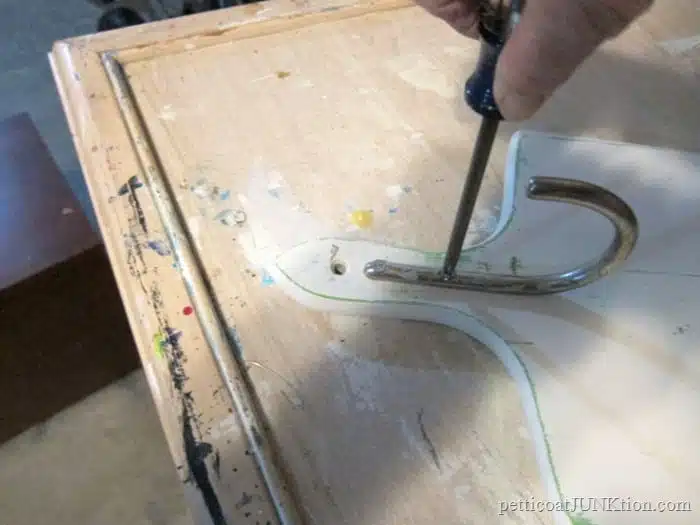
And used a hand held screwdriver (the hanger loop got in the way of the drill) to attach the hanger to the board.
Last part of the project was finding greenery or flowers to put in the glass container.
The green paint under the white paint was a pleasant surprise and it works well with the glass flower vase.
I still can’t believe how easily the project came together and how perfectly imperfect. Of course it helps that I didn’t have to do any painting.
Would you call this Farmhouse style? I think that term has been way overused.
I added a few of those glass bead things to the bottom of the jar. The glass jar thingy cost $1.99 and I’ve had the board and hanger so long I have no idea what they cost.
I would guess the whole project was less than $4. I pick up these things at the Goodwill or other thrift stores. If it’s a deal and cool I buy it in the hopes of upcycling it later. You never know.
Hanging Glass Wall Vase
You could hang the glass wall vase in any room of the house.
Watercolor has always fascinated me and guess what? I found out it’s not that hard to do. Start with something simple. I made a video of my first watercolor project. Watch it below….
[adthrive-in-post-video-player video-id=”0R7zXoZJ” upload-date=”2017-07-26T20:24:15.000Z” name=”How To Paint With WaterColor Paints” description=”watercolor paints, watercolor, Martha Stewart, ocean scene, color,paint” player-type=”default” override-embed=”default”]
Watercolor Project
How do you like the wall vase? Leave a note please. I’ll be here tomorrow with the Furniture Fixer Uppers. Have a great day, Kathy

Wow! This is so pretty, great project
Well done. Pinned o my upcycle board. Thx for posting at Funtastic Friday.
Great project! Thanks for sharing on our Linky Party!
Thank you Kasia
This is so pretty!
Visiting from Common Ground. Very cute!!
You are the best “junky”. You take ordinary junk and create the cutest things. I can’t wait to make one and….you could change out the contents seasonally. So cute.
i love it Kathy! your ‘thingys’ always look great!
Love this!
Beautiful!
Adorable!
Kathy, so cute and yes, farmhousey.
Beautiful, fresh colours that make me think (longingly) of Spring. It would look beautiful with Lily of the Valley in it.
So gorgeous ?
I love how you take simple pieces and put them together to make something beautiful, you are so creative!
What a cute idea, I love it!. I recently passed on a cutting board just like that at Goodwill because I didn’t know what I would do with it, wish I had it now!
I love this! How simple and easy to put together. It makes me want to dig into my stash put together something fun. Thanks for the inspiration!