Upcycled Christmas Tree Ornaments Made From An Old Quilt
As an Amazon Associate, I earn from qualifying purchases.
Cut up an old quilt and make upcycled Christmas tree ornaments! You can also use the ornaments to make a garland.
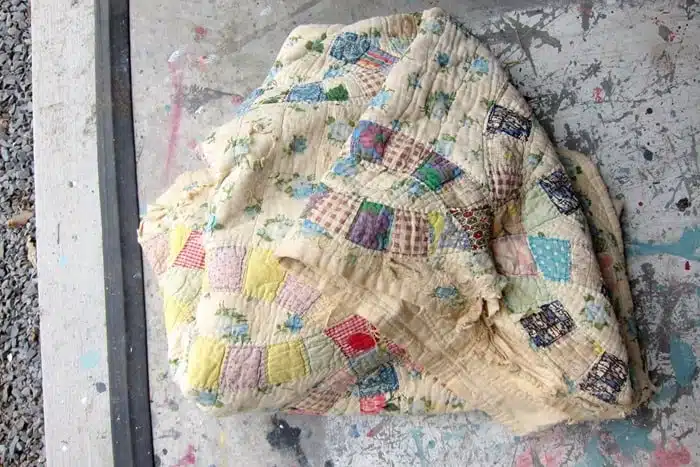
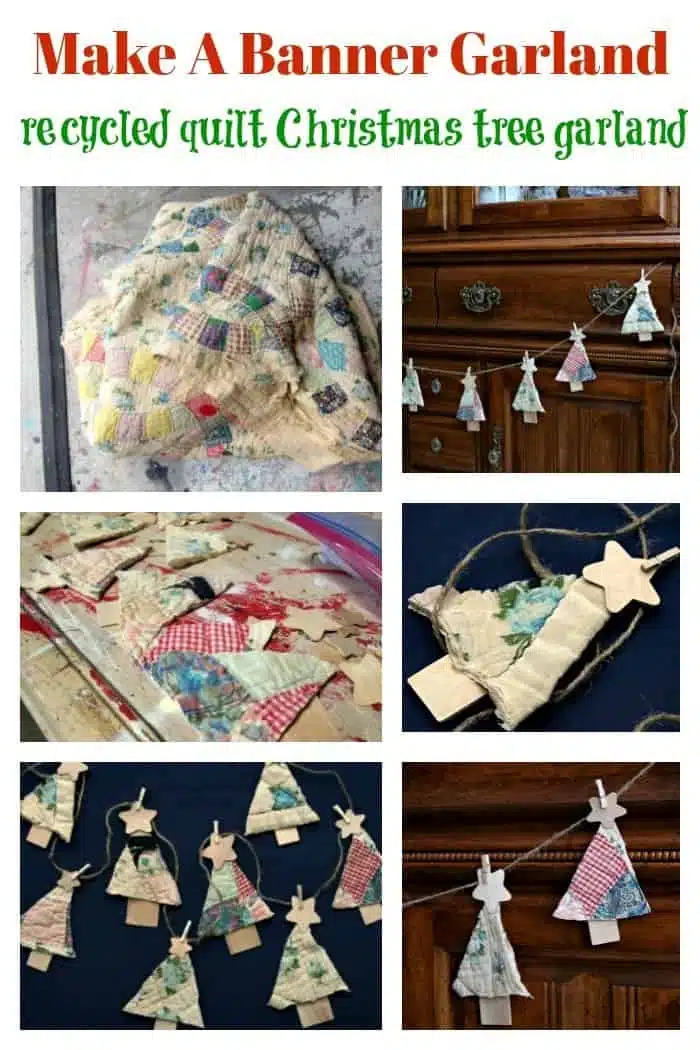
This is the quilt I started with. It’s been stored along with more of my quilt collection in the famous red radio cabinet. I’ve been slowly selling a few quilts, mostly the cutter quilts which means they were torn and ragged. This is the last of my cutter quilts. The others are keepers.
How To Make A Recycled Quilt Christmas Tree Garland
Supplies For Tree Banner:
- Old Quilt (Flea Market or Thrift Store)
- Jute Twine
- mini clothespins
- Small Wood Star Shapes
- Small Square Wood Pieces
- Hot Glue
Step 1: Cut tree shapes from the quilt.
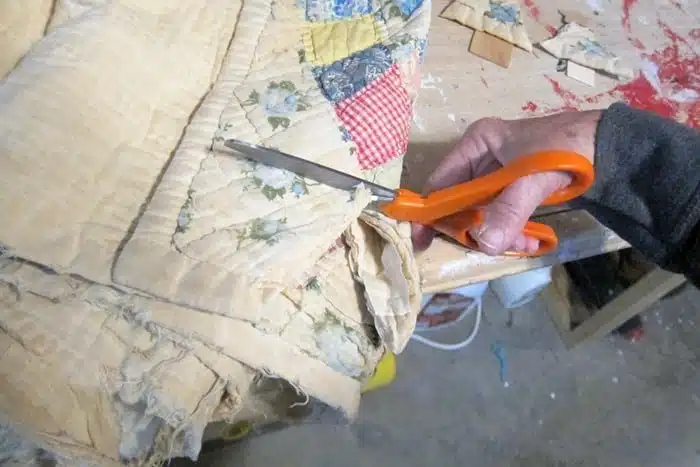
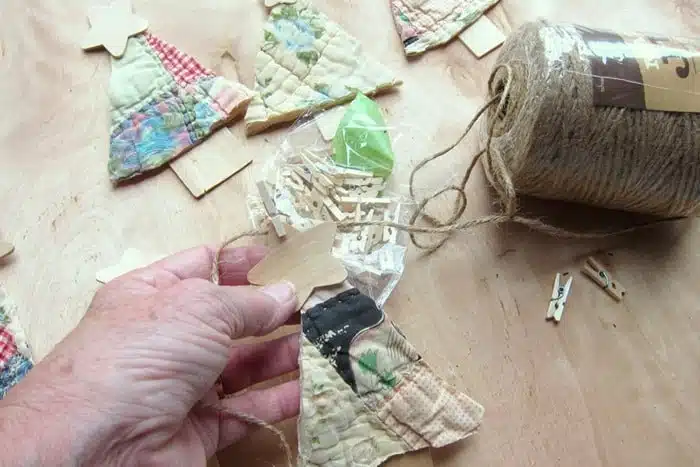
The first step in the project is to cut the tree shapes. You guys know me. I don’t get all exact on measurements and stuff like that, which means no measuring is required for this project.I just grabbed the scissors and started cutting. I go with the saying “perfectly imperfect”. You don’t have to work as hard that way.
If you are nervous about this step then cut a tree template from paper. Just cut them template until you get the shape and size you like.
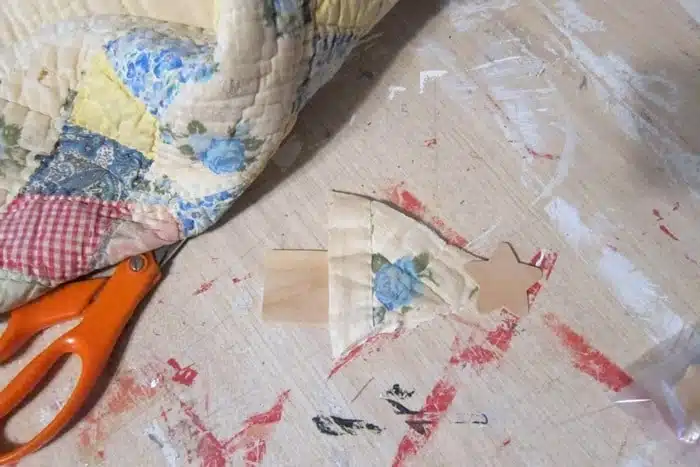
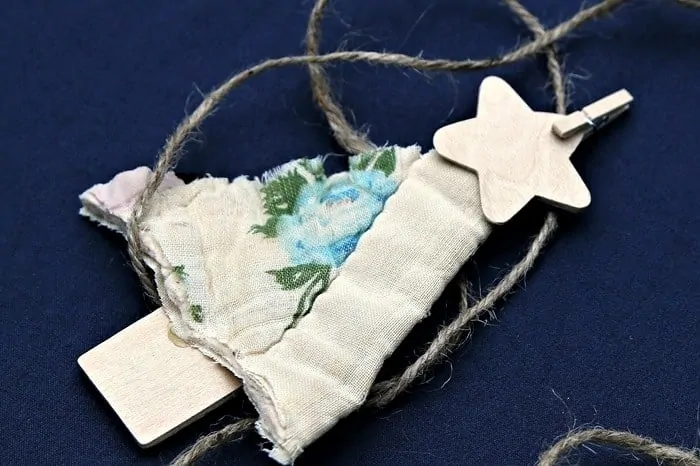
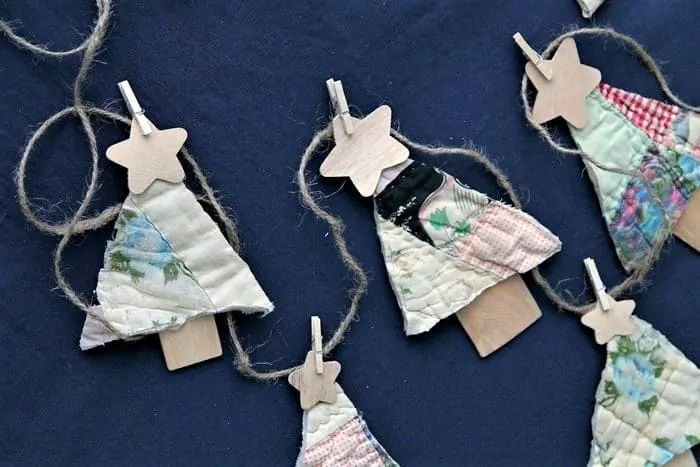
See how cute that little tree is. The wood star and trunk are not attached yet but I wanted to see if I was heading in the right direction…..and I was. Don’t be afraid to veer from your original plan if you don’t like the way things are going. I change plans mid stream all of the time.
I don’t know why but I decided 8 was the right number for the garland. I probably should have went with an odd number like 7 or 9. I can always make one more. Remember this project goes really really fast. You might think about making some of these banners/garlands for gifts.
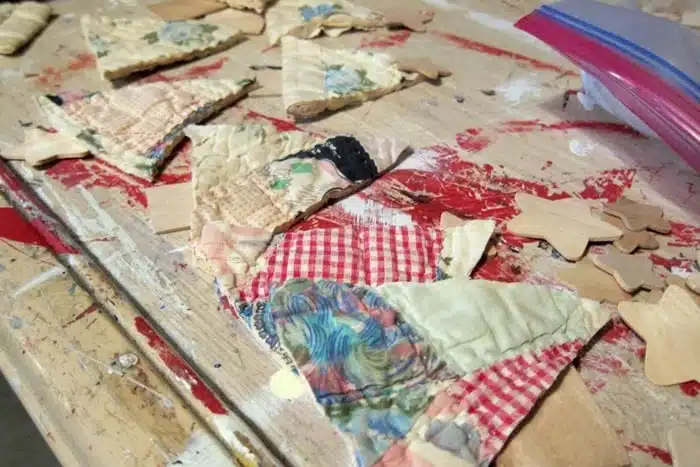
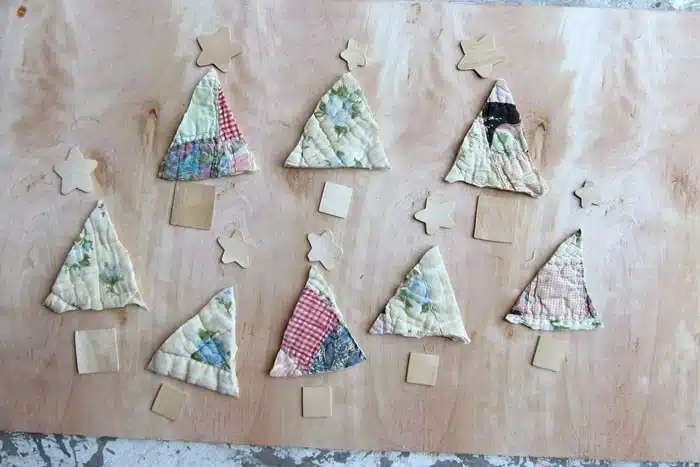
Next, I laid out the tree shapes with the star toppers and the trunks.
Step 2: Glue star tree toppers and wood stands to the tree shapes.
Hot glue is my go-to adhesive for just about every craft.
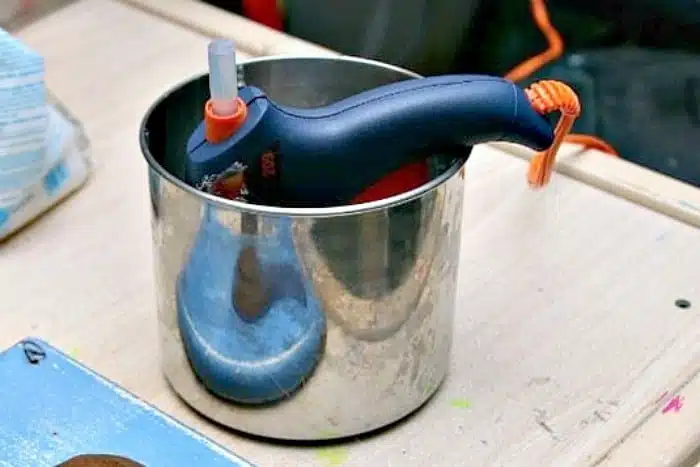
My glue gun doesn’t have a stand, and one day, I finally corralled it in a stainless steel canister. Works great! When I have the gun plugged up I don’t have to worry about the gun falling over or hot glue going everywhere.
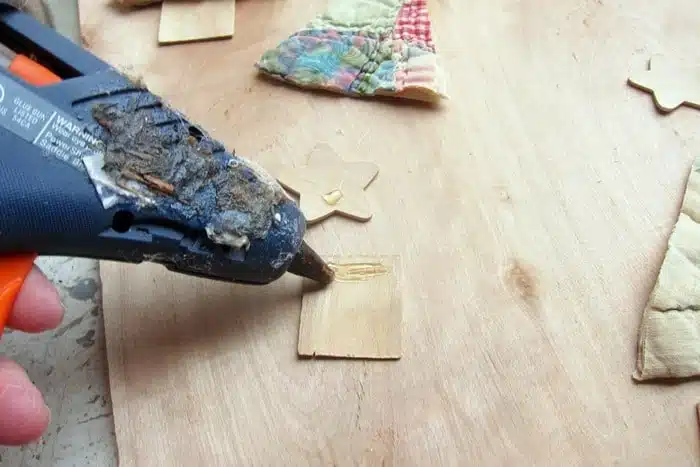
I applied glue to one side only of the stars and the trunks then glued them to the quilt tree. You can tell by looking at my messy glue gun that it’s been around for a while.
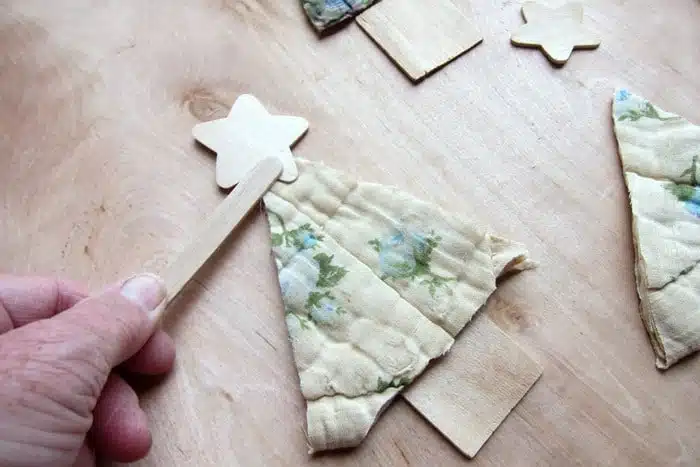
One tip I always share when using hot glue is to grab a popsicle stick, toothpick, or something similar, to apply pressure to the glued project. Saves your fingertips. That is all there was to making the ornaments. I was surprised how fast the project went.
Step 3: Attach the Christmas trees to the jute.
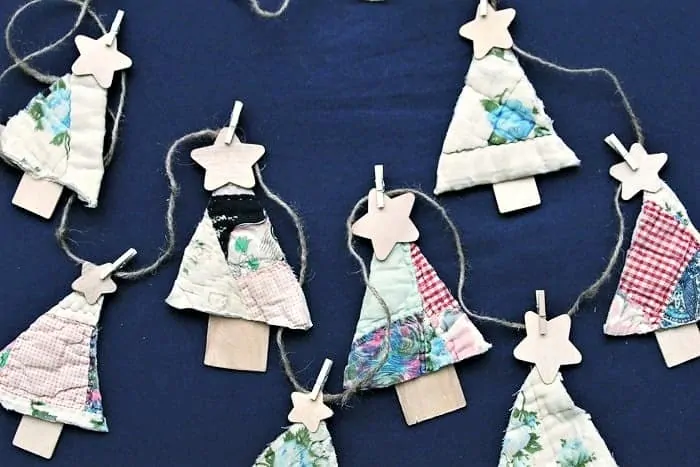
Only one step left to make the garland and it’s the easiest. Attach the recycled quilt Christmas trees to the jute using mini clothespins. I had the mini pins and jute in my stash of stuff.
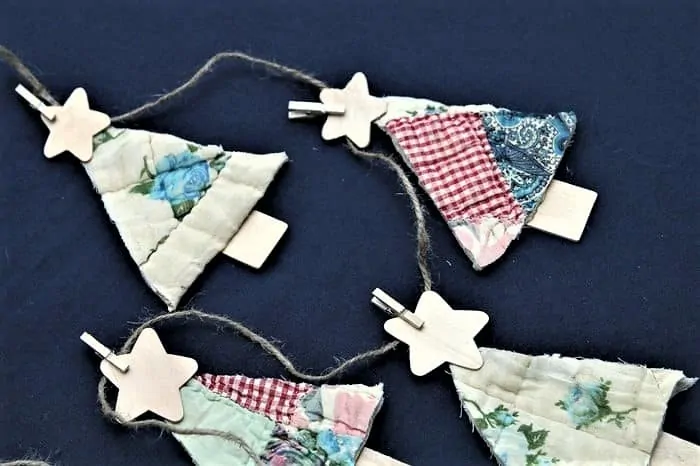
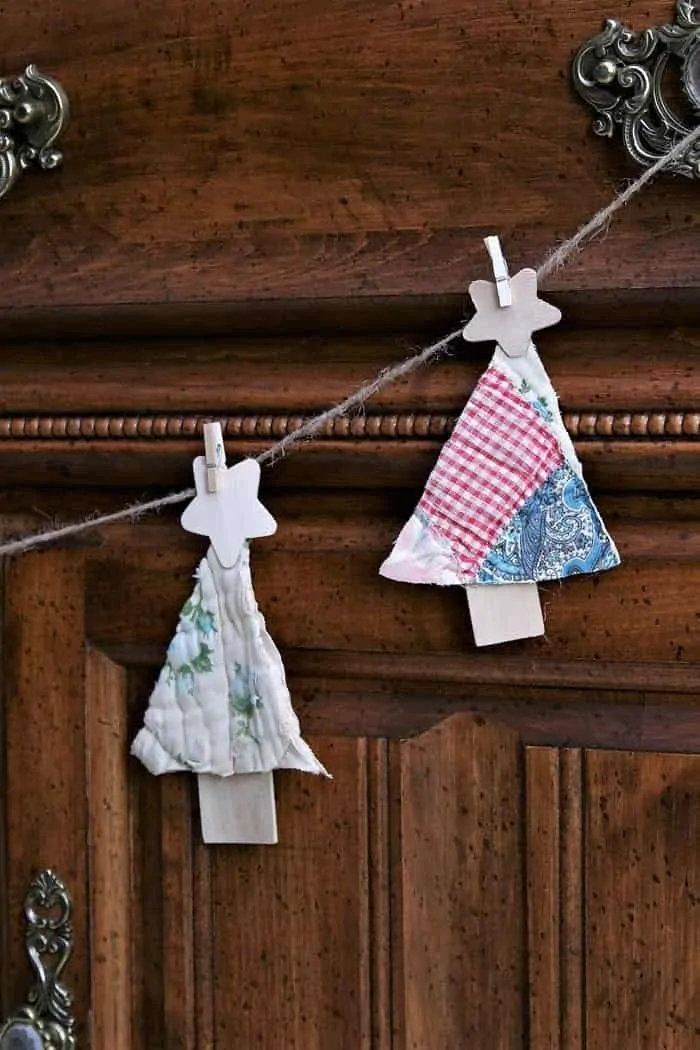
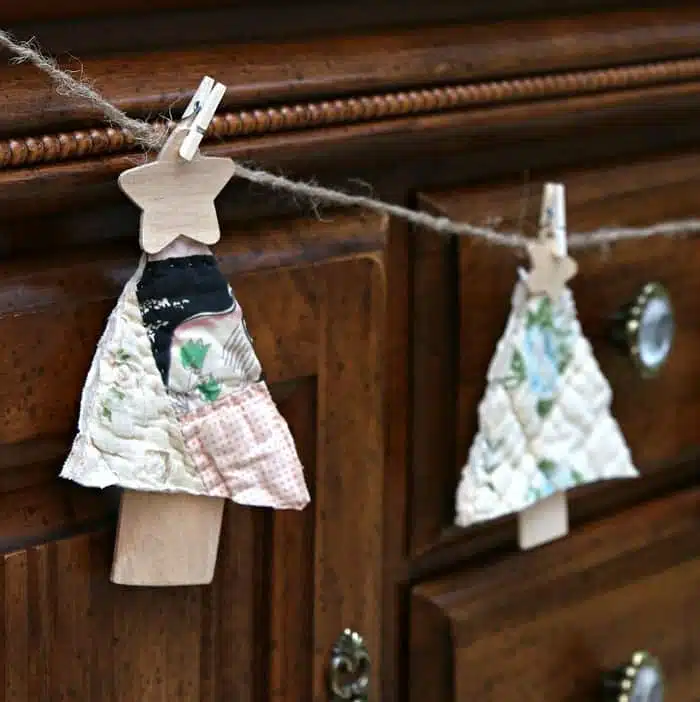
How sweet are those little trees? Nothing says warmth and comfort like a handmade quilt and the trees have the same feel. The mini pins are maybe too mini. They tend to come apart easily but that’s all I had so they will work for now.
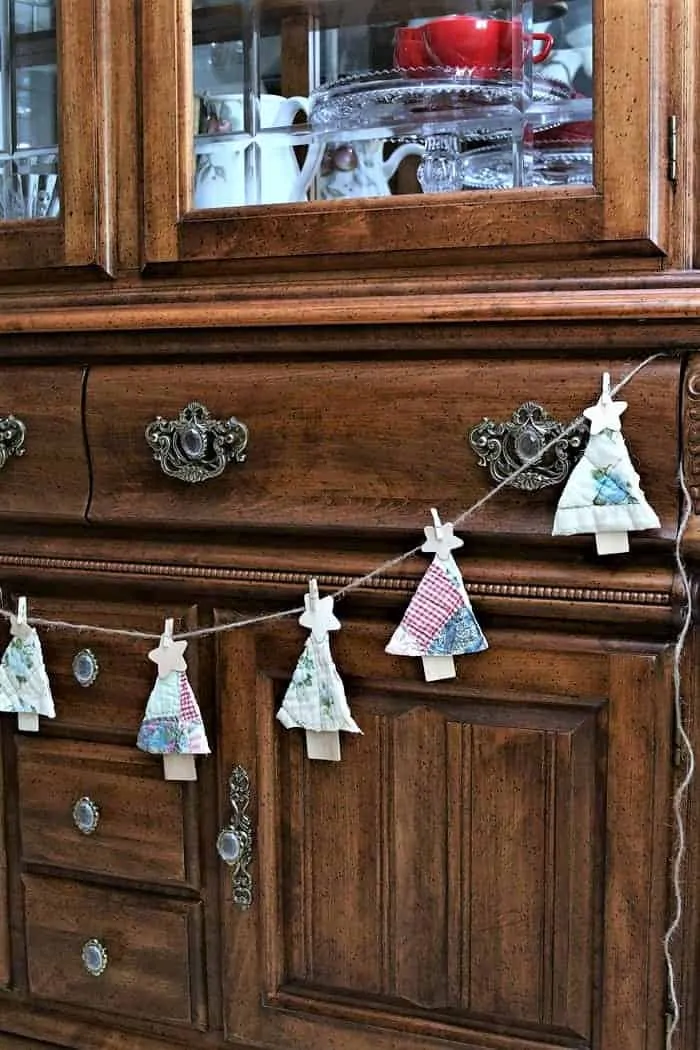
I plan to hang the recycled quilt Christmas tree garland from my mantel but the mantel isn’t decorated for Christmas yet. I hung the garland on the footboard of the bed in the navy bedroom and it looked really nice there but didn’t photograph very well so I moved it to my china cabinet…..looks good there too.
This quilt was not as colorful as some of my others but the neutral colors work in just about any room in my house. I made similar trees out of vintage Christmas cards to use as Christmas ornaments. You can find those here…DIY Vintage Christmas Card Ornaments Kids Can Make Too
The trees are not heavy at all so the small clothespins work and the garland hangs nicely, no sagging or pulling.
The one with a pop of red is my favorite. No surprise there.
You can tell I winged it on the tree shapes. I almost cut a template. I like the trees better this way. They are all different, about the same size if not the exact same shape. I can see making really mini trees as ornaments. That might be my next crafty project. On Thursday I have a furniture project. Still working on it. Thursday is Furniture Fixer Upper day so don’t forget to stop by.
There are different weights of jute and I have three different weights hanging on my pegboard. I almost went with the heavier weight but I think the banner would have looked out of balance.
Which tree is your favorite? Do you have any old quilts you could cut up? If not you could make these trees out of any fabric. I would cut a backing out of heavy paper or cardboard because most fabric would not be sturdy enough for the trees.
Recycled Quilt Christmas Tree Banner
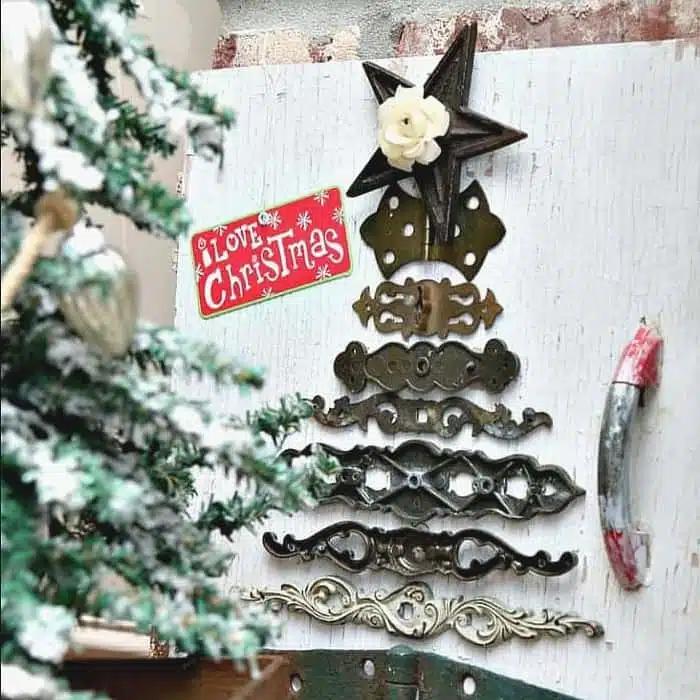
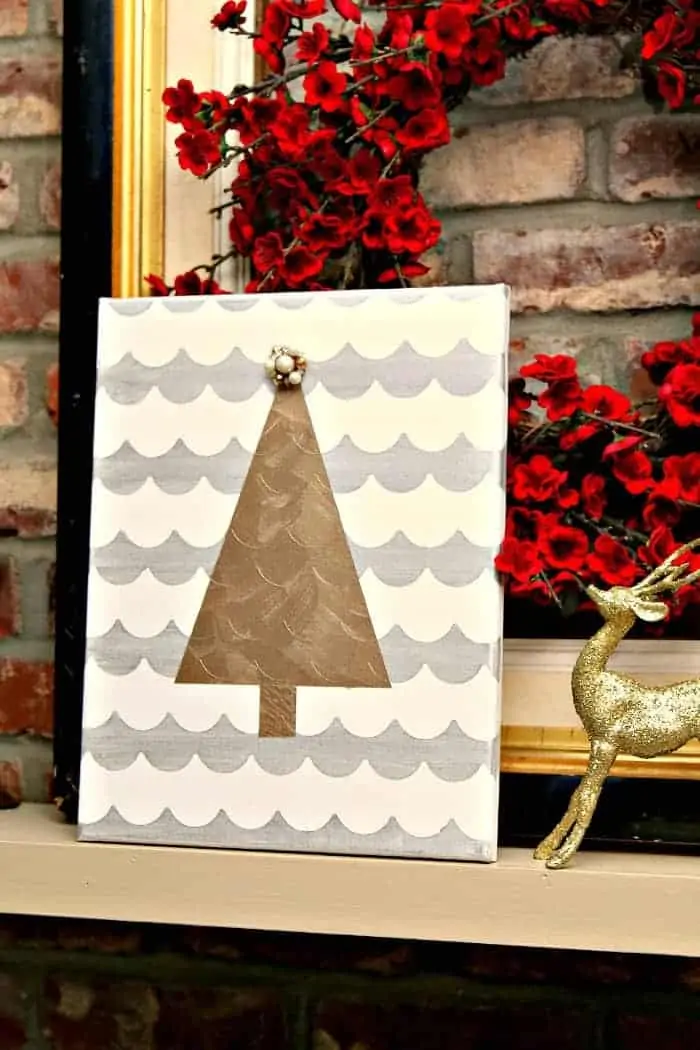
Check out the hardware Christmas tree sign I made here…DIY Reclaimed Hardware Christmas Tree
That’s it for today. I might have a junk shop post tomorrow. Thanks for being here and have a great day, Kathy

hello
I had made a couple of small projects with it, but had run out of ideas. Now I have a new one! Thanks for sharing your creativity.
Over the years I’ve been gifted several worn family quilts – this will be my next family share, Than You! I will finish the edges either by machine stitching, embroidery or a liquid stitch to control fraying. I will label each tree with the ‘owner/donor’ generations can have a history for Christmas display. Thanks again!
What did you use for the stars and wooden stands? Where did you get them?
I’ve always been a red and gold ornament girl but in recent years I’ve added in aqua as part of my color scheme. I always buy my ornaments at after Christmas sales for the best prices and stash them away for the following year.
Super adorable, and what a fabulous cheat for those that don’t want to dust off their (ahem) sewing machines… haha
I’ve featured this project in this weekend’s DIY Salvaged Junk Projects 503… thanks for bringing it over! 🙂
Thank you for sharing this! I have a much lived quilt that I can not bare to part with. Now not only can I keep it , I can share it!
I’m gonna try this! I have an old quilt that my Grandma made that I just couldn’t throw out. I had made a couple of small projects with it, but had run out of ideas. Now I have a new one! Thanks for sharing your creativity.
Love t.his! I know I would over think this and it would take me forever
Kathy – Those trees are adorable! What a wonderful way to repurpose an old quilt. Star ornaments would be adorable too. Hmmm, I have a couple old pillow shams I’m thinking about now (LOL).
What a great idea!!!! The one with red did really pop. I think they might pop more if the stars were painted gold and the tree trunks were either green or brown. Little bit more work, but I think it would be worth the effort. Just a thought. As always, your creativity is amazing. Thanks for sharing
What a beautiful way to repurpose old quilts. I have several that I don’t display as they are so worn out….you have given me hope that I can display these beloved treasures. Thanks