Dry Brush Wood Stools White To Display White Pumpkins And White Mums For Fall Decor
As an Amazon Associate, I earn from qualifying purchases.
How to dry brush old wood stools, benches, and tool totes white for a fresh clean look.
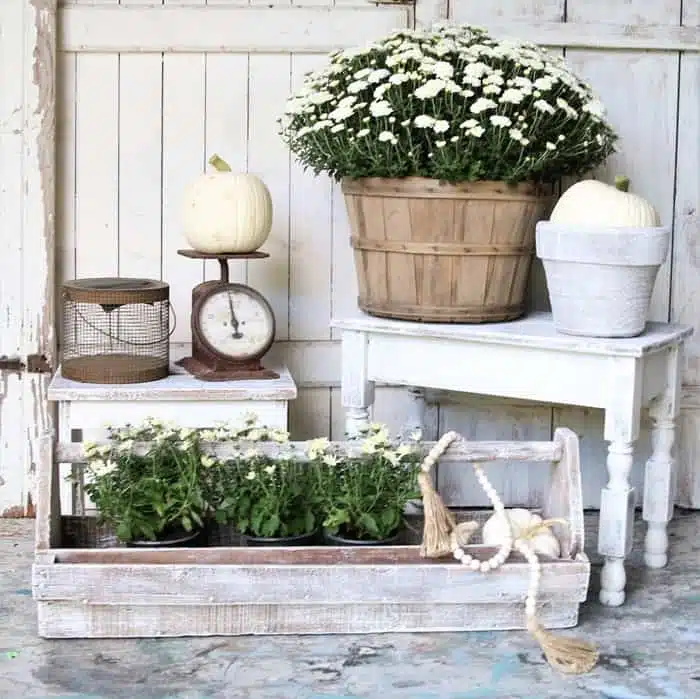
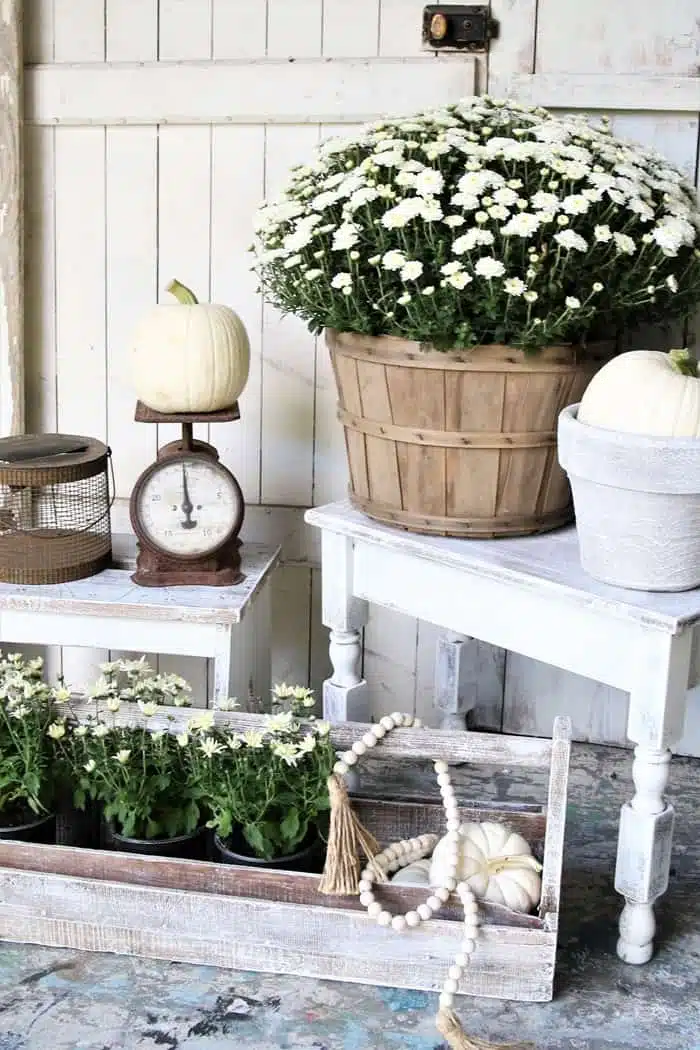
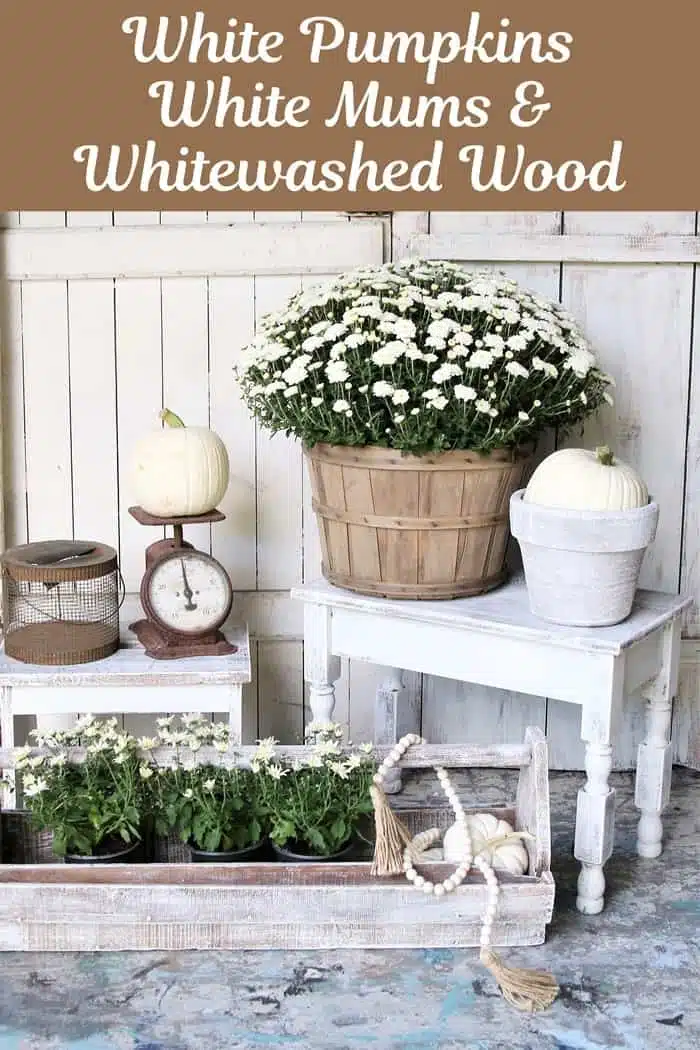
My painted and dry brushed stools and wood tool tote/caddy are perfection if I do say so myself. They’re headed to my booth at the shop but I couldn’t resist setting up this little Fall display using items from my junk stash first. Let me show you how the wood pieces looked before their transformation.
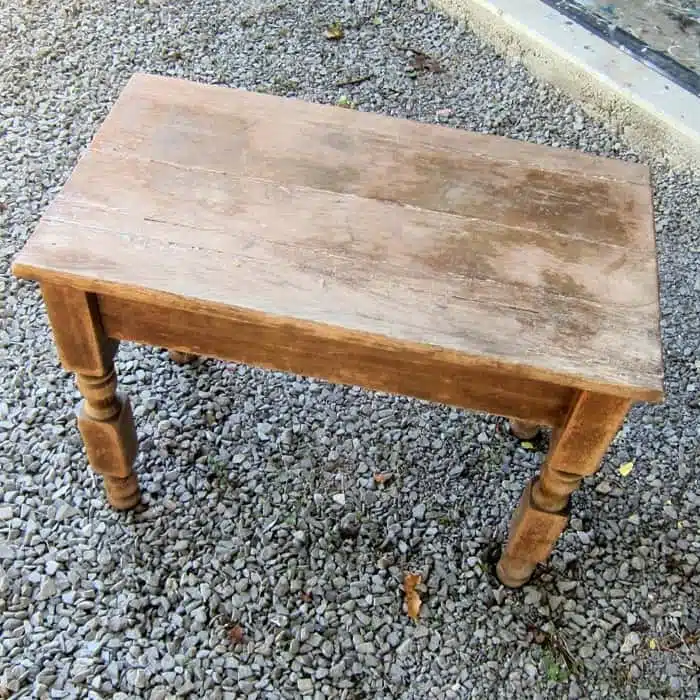
This little stool or bench, whatever you want to call it, was $5 at the junk shop. The top had been glued together where the boards were pulling apart. I had to sand off the glue before painting the stool.
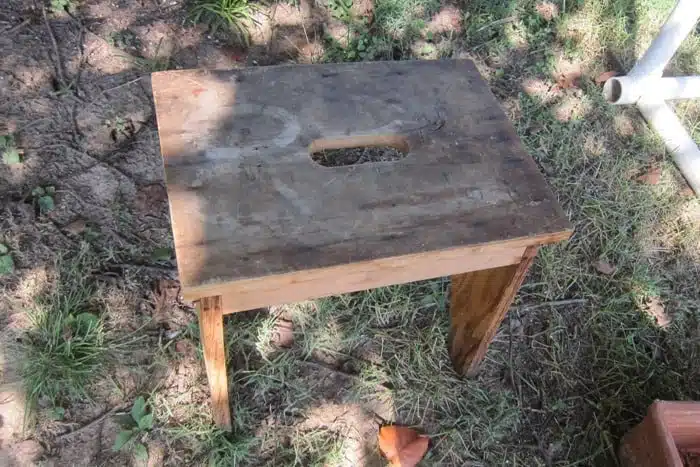
I got this unfinished plywood stool at my favorite junk shop too a few weeks ago and I don’t remember the price.
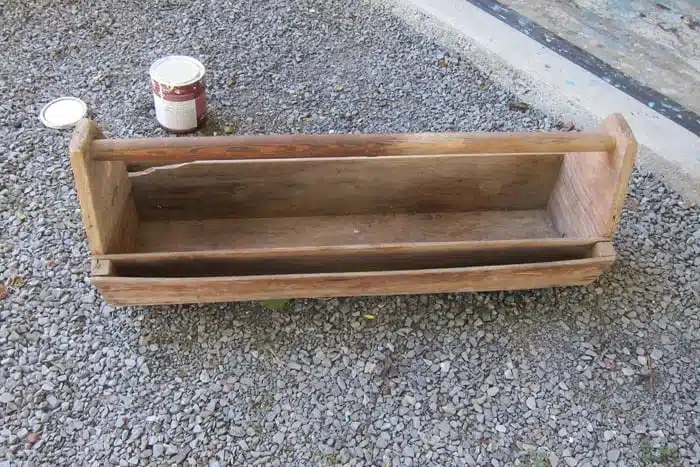
The wood tool tote or caddy was full of tools when I bought it at a local auction. We kept the tools and now I’m selling the tote after giving it a nice fresh look.
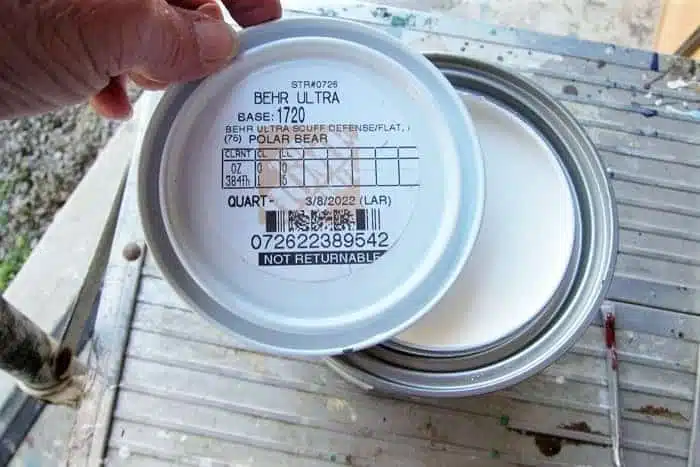
The paint color for the projects are Polar Bear from Behr paint. I really like this color, not too white or too off white, just right.
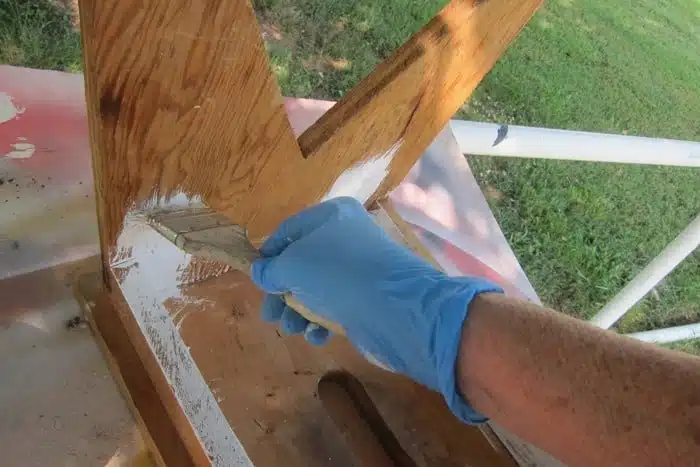
When painting things like benches, stools, and wood chairs I always start by turning the piece upside down and painting the legs and underside first. Not as likely to miss areas this way.
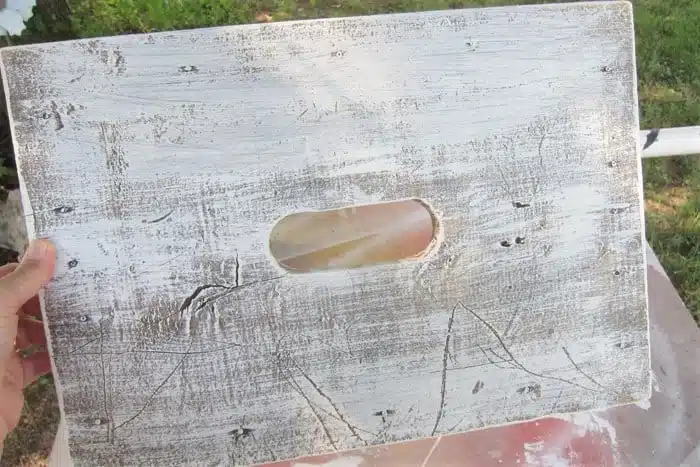
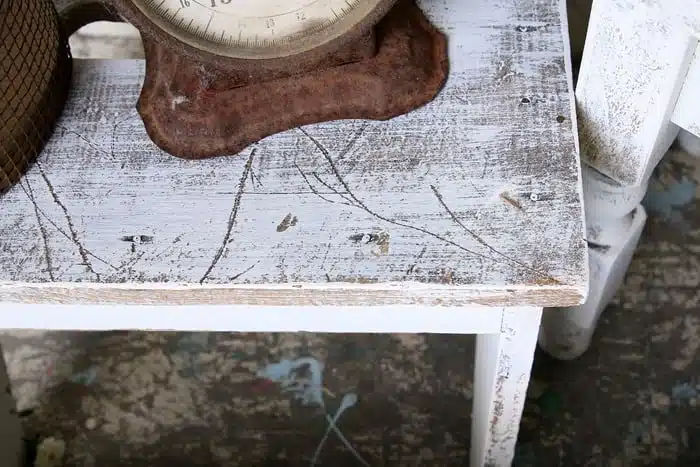
I gave the bottom and legs of the stool a good coat of paint mainly covering all of the wood. When I got to the top there were so many dings and scratches I decided to play those up by just giving the top a heavy dry brushing, That means I did not cover the top with a solid layer of paint.
I dipped my brush into the paint and then I wiped most of the paint off of the brush onto a paper towel. Next I ran the brush back and forth over the wood. The dry brushing allows all the scratches and dings to show through because there is not enough paint on the brush to drop into the dings.
Did I confuse you with that explanation or did you get it?? I have a tutorial on how to dry brush from an earlier project and I will add it at the bottom of the post.
I painted the other stool or bench using the same technique. I left a little more of the wood showing on the legs of the second bench.
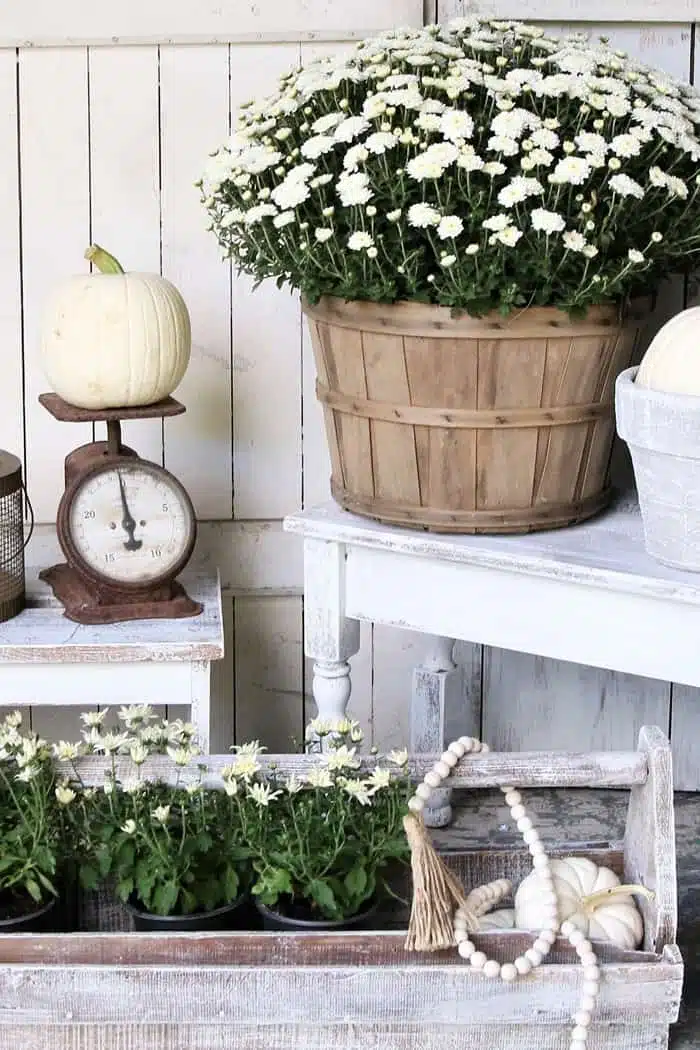
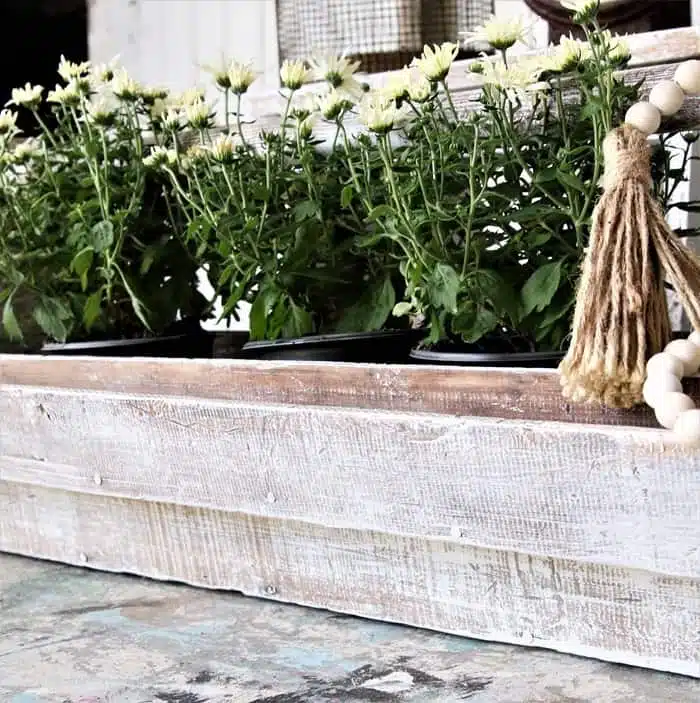
I dry brushed the wood tool tote too and it is my favorite piece. I love the rough wood and how it looks with the white paint.
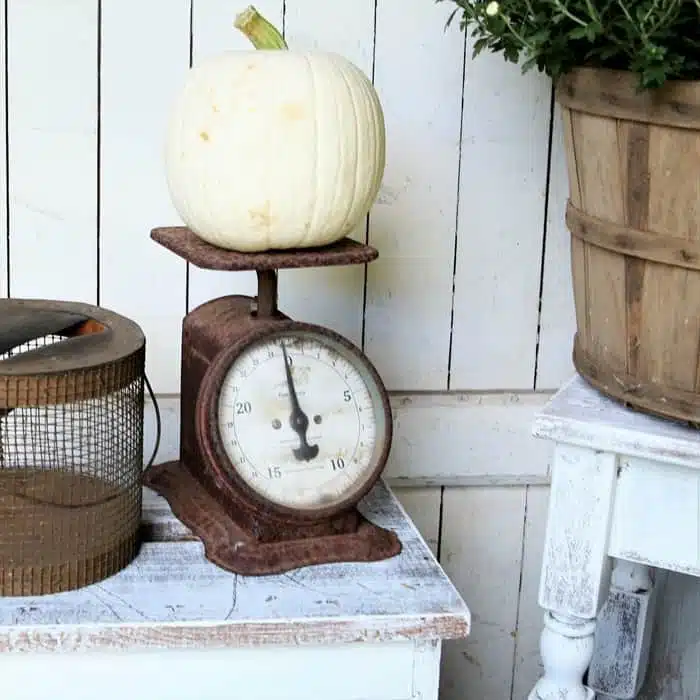
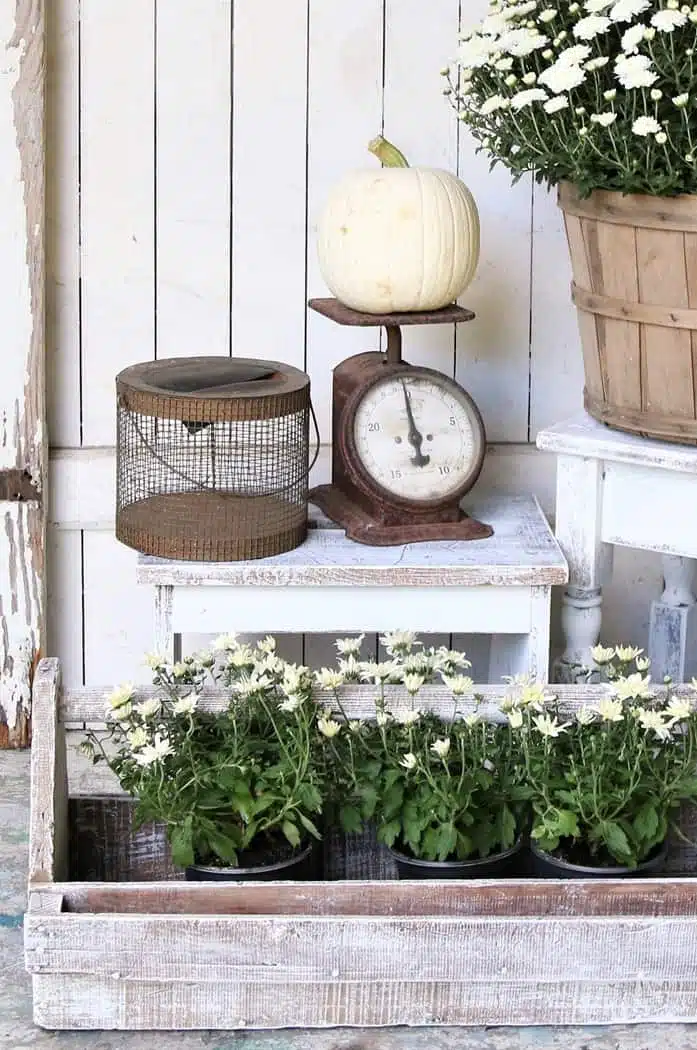
I keep the rusty scale on a shelf in the house. I bought the large mum at a local garden shop and the three small white mums at Lowes. There were the perfect size for the tote. I ordered 4 of the wood bead garlands from Amazon last week and they will be appearing in my home decor somewhere. I got them for a great price and you can find them here.
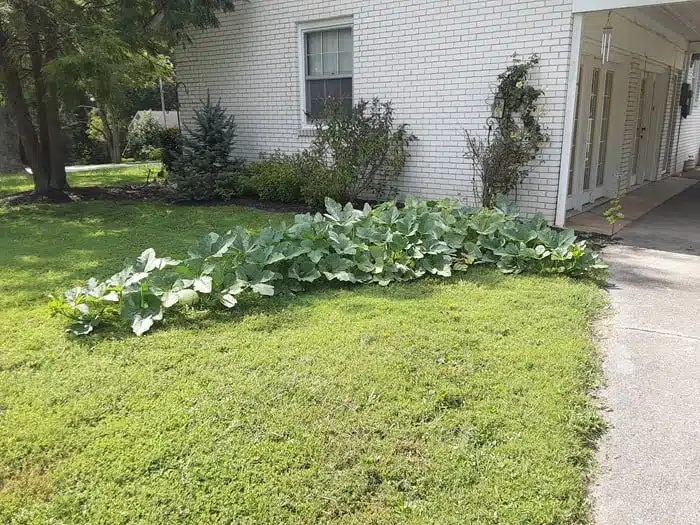
The basket and wood wire thingy on the left are always in my junk stash in the workshop. The pumpkins came from my neighbors yard. Our sweet neighbor Amy passed away a few months ago and there is a pumpkin vine growing in her yard. Every Fall we would take her a pumpkin or two and the vine is growing where the pumpkins usually set beside the house. I have picked 5 pumpkins from that vine and I call them “Amy’s” pumpkins.
The photo above shows the pumpkin vine. The house is listed for sale and we stay in contact with Amy’s daughter who lives about an hour away and we keep an eye on the house. There is another pumpkin hunter in the neighborhood because the other day there were 2 small pumpkins on the vine and I was waiting for them to get a little bigger. When I returned to pick the pumpkins they were gone!
A closer look at the tool tote and the beautifully dry brushed rough wood. This piece is really big and would look great on a fireplace hearth or as a table centerpiece for a large rectangular table.
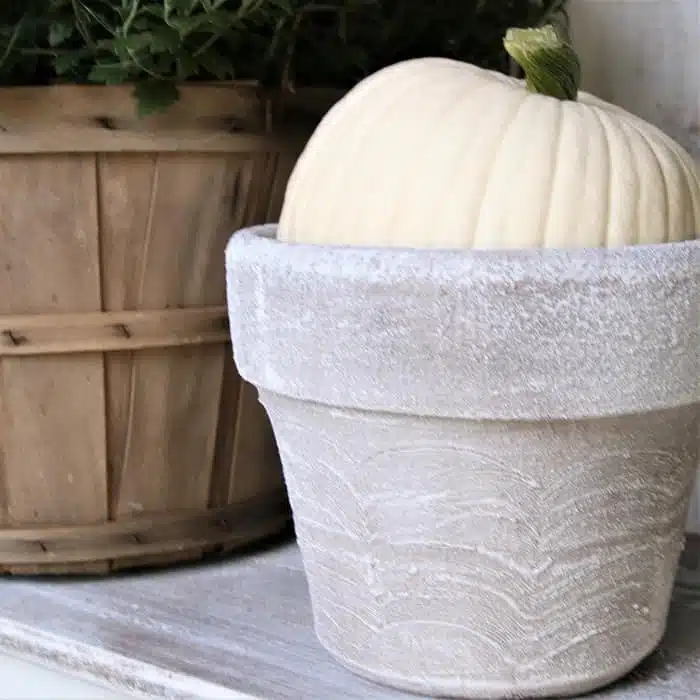
The flower pot is one I used the paint and baking soda technique on. It has a bumpy texture and I dry brushed it too.
You can find my video on how to dry brush below…..
[adthrive-in-post-video-player video-id=”a4LD2Vb4″ upload-date=”2018-07-19T13:02:06.000Z” name=”Dry Brush Paint Technique” description=”Detailed tutorial showing how to paint furniture using the dry brush paint technique.” player-type=”default” override-embed=”default”]
How To Dry Brush Wood Furniture And Home Decor
What do you think of the dry brushed pieces and the Fall display? Leave a note if you have time and thanks for being here, Kathy



So glad I checked your email today. I have 3 of the tool totes. All appear hand made. One is so rough, would you sand it some before dry brushing? One has original red paint & one with green. Of course, because of the age it is very chippy. Any suggestions? Love your work.
I love the white…I’m currently trying to transition my decorations from the traditional fall colors to neutrals and these are some pretty ideas. Thank you!
Beautiful display!
love it all!!!