Dry Brushing Paint? It Ain’t Rocket Science
As an Amazon Associate, I earn from qualifying purchases.
Dry Brushing Paint is Fun
Hey guys, dry brushing paint on a home décor accessory is something you can do in a heartbeat. It is seriously easy and fast and it’s not rocket science. I should get Sofi, my 6 year old granddaughter, to give it a try. For an added bonus today I have a fun project using painters tape to make stripes.
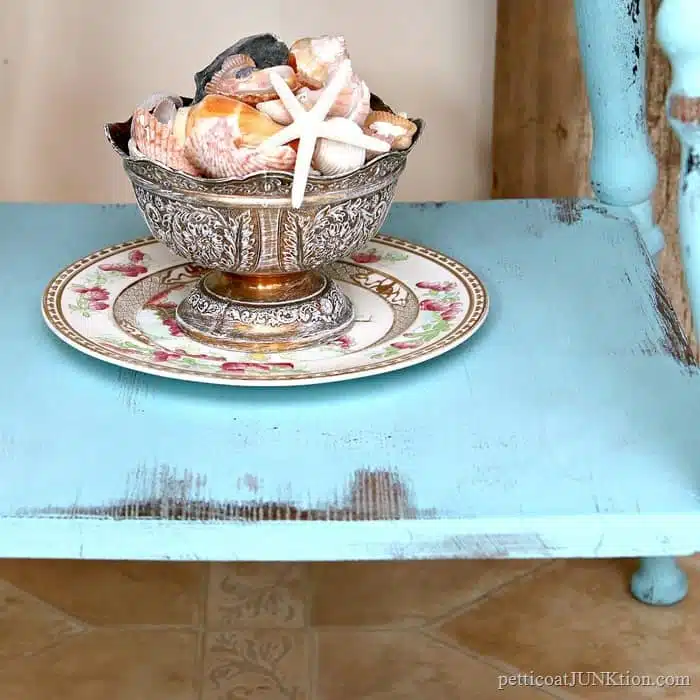
Dry Brushing Paint Technique on a Brass Bowl
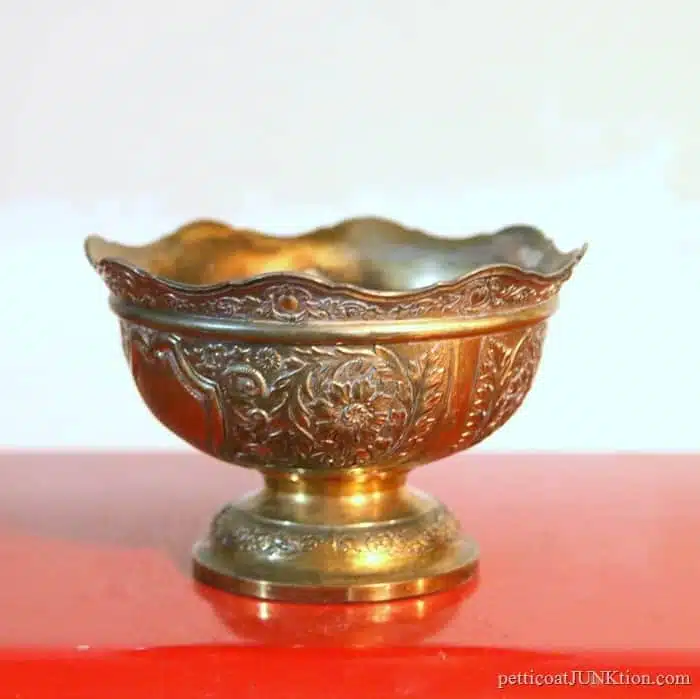
The brass bowl was a flea market buy. It has lovely details and when I picked it up it had a lot of weight to it. Very nice brass piece.
I looked at the stamped company name on the bottom and thought the bowl might be worth a good bit. Turns out I don’t think it is.
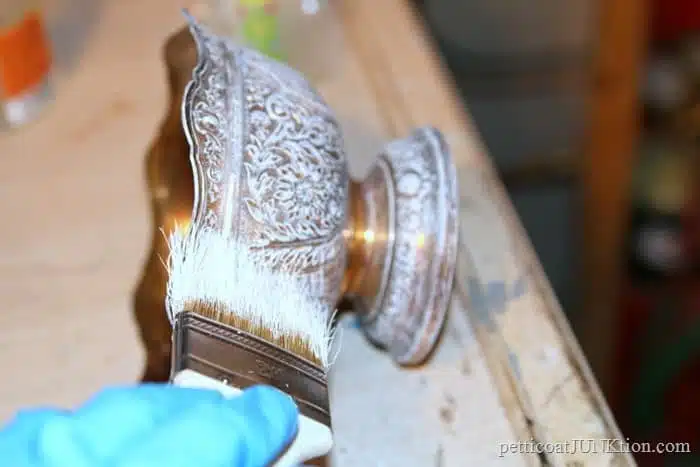
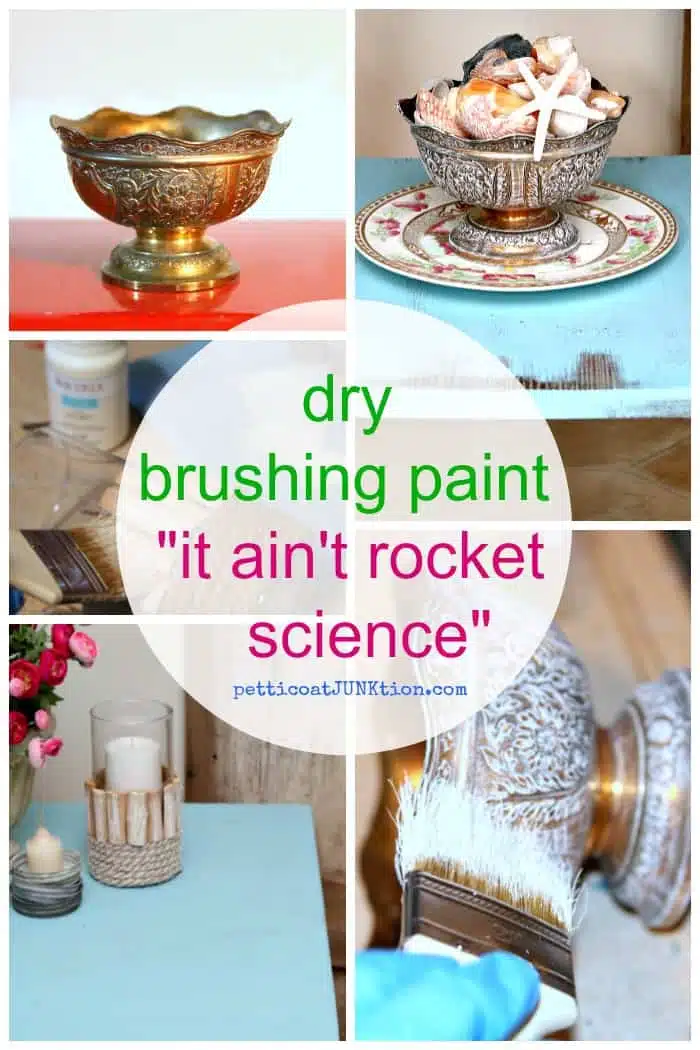
So I moved on to white paint and dry brushing. Nothing pretty’s up highly detailed stuff like dry brushing. The secret to dry brushing is a very dry brush. If you need more details read my post here….Dry Brush Paint Technique on a Picture Frame.
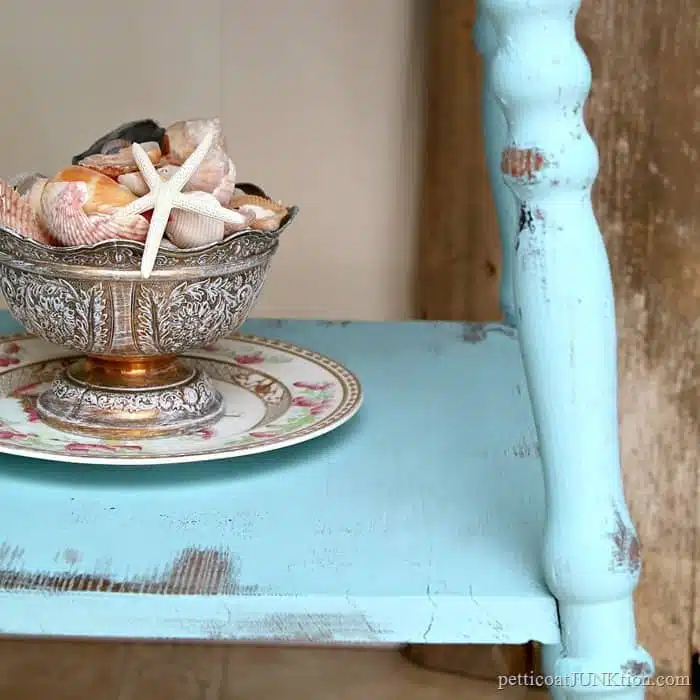
One last look at the bowl filled with seashells sitting on my baby wipe table!! Story here.
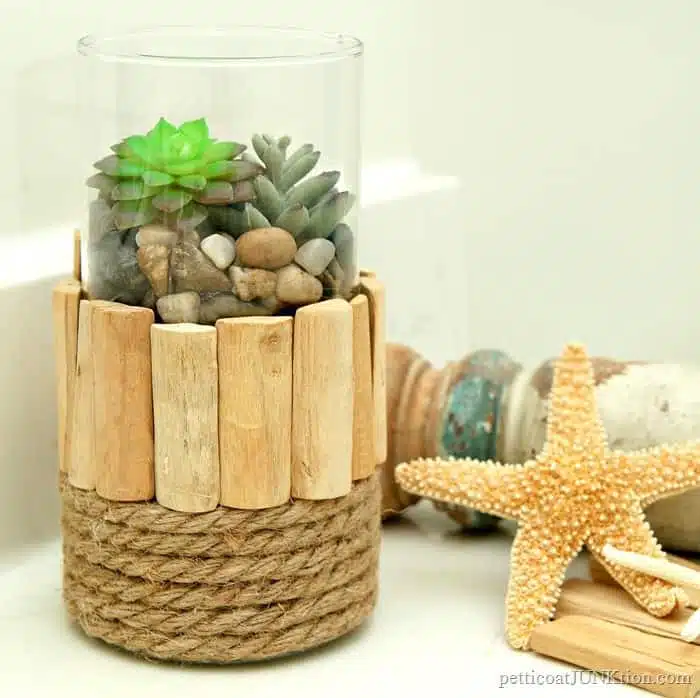
I put together this candleholder/flower planter/vase from dollar store buys. At the time I called it a Nautical Style Candleholder.
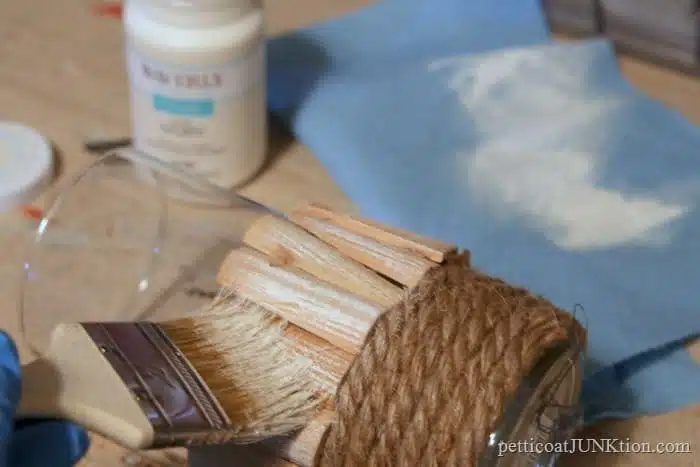
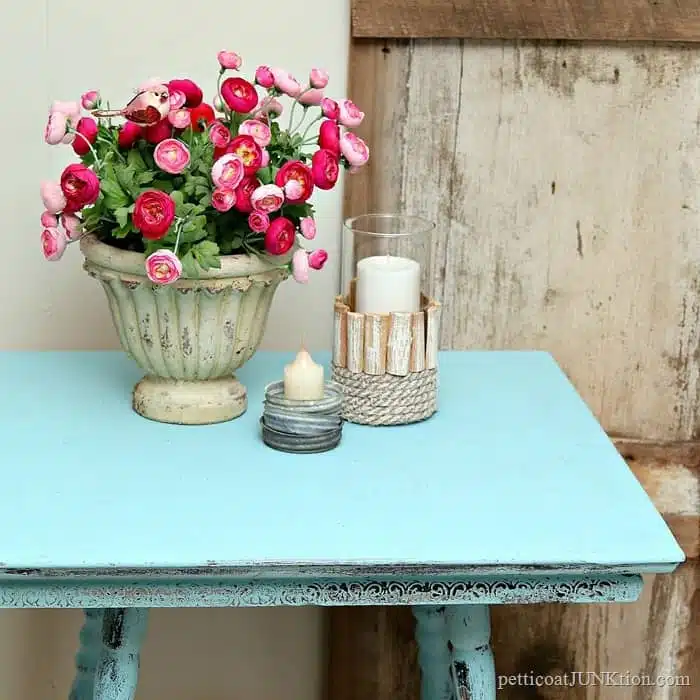
When I went beachy with the blue table I decided to pump up the candleholder. A few seconds of going over and over the rope and wood pieces with white paint until I got it just right and I had a whole new look.
How pretty and summery is that candleholder now?? Don’t be afraid to make changes to some of your decor. If you are tired of it or it just doesn’t work anymore then change it.
What do you think about the three vintage metal ball jar lids stacked together for a candleholder? A lot of times I just throw stuff together.
Next up is a project that isn’t dry brushed but it’s summery and nautical and this has been such a short post so far…………I wanted to give you guys something else so it was worth your while to stop in today. I worry that you might get bored.
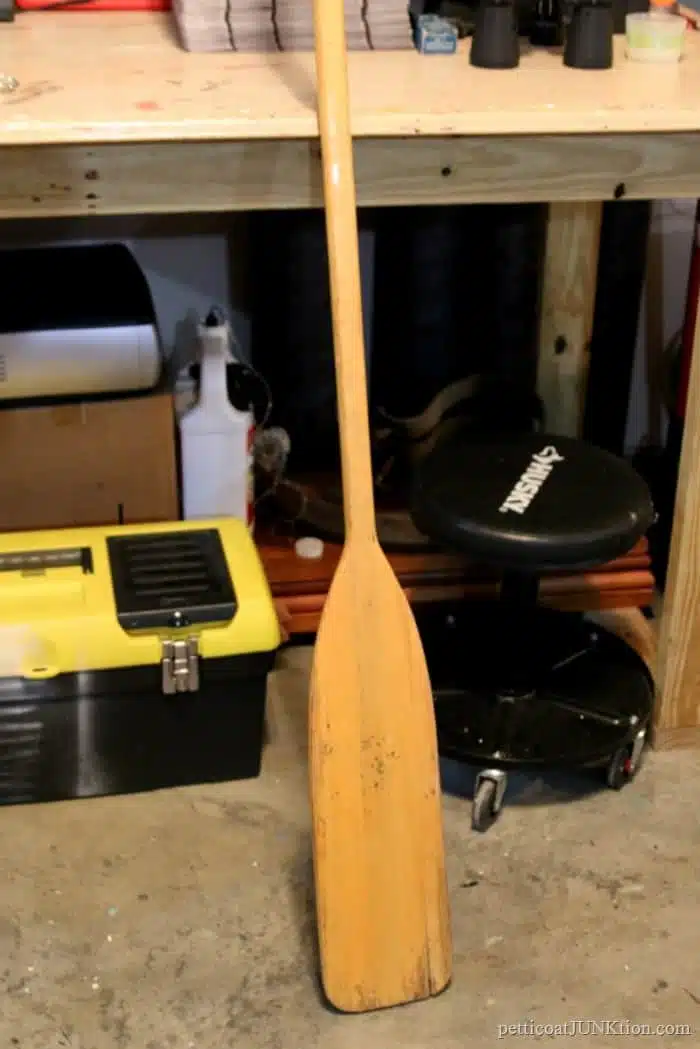
This project starts with a sad oar from the auction. I can’t remember what I paid for it but maybe too much. The wood was split and the JTS worked on it a bit.
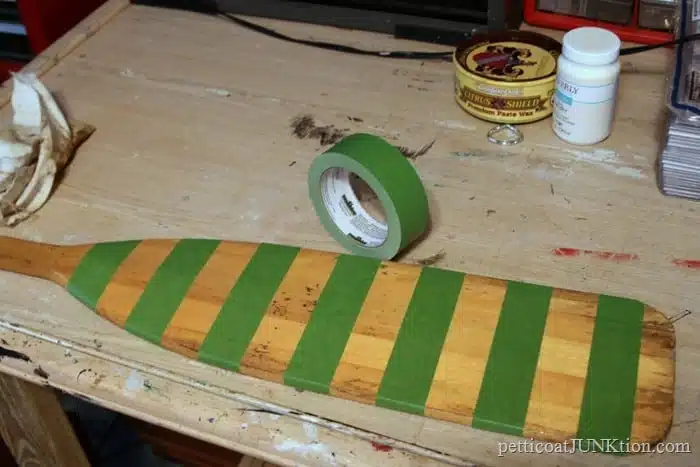
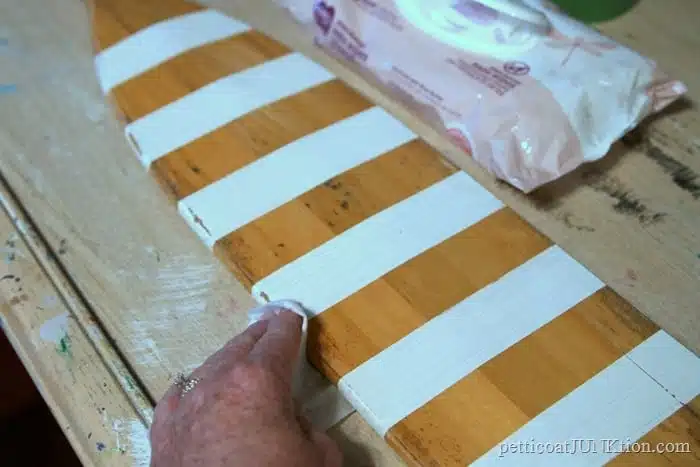
I spotted a photo of an oar online somewhere and it was simply striped with white paint. I was going to reference the photo here but I can’t find it now. I used FrogTape painters tape and taped off some stripes. I didn’t measure anything just eyeballed it. I tried to make the stripes equal width by using the width of the tape as a measurement.
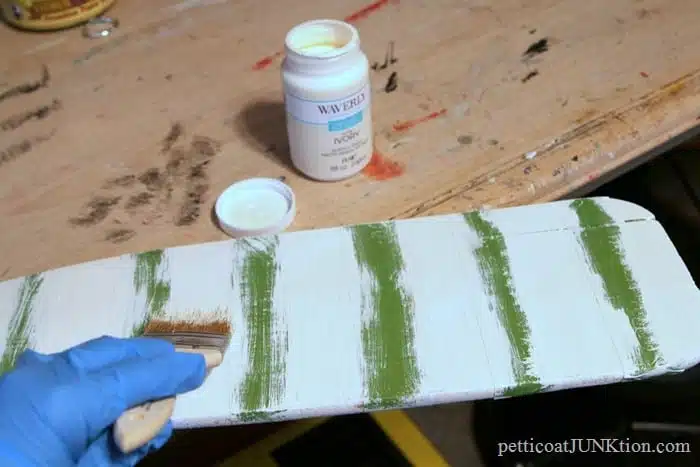
I found a jar of Waverly paint, Ivory color, in my paint stash and started painting. I used a cheap little chip brush to do the job.
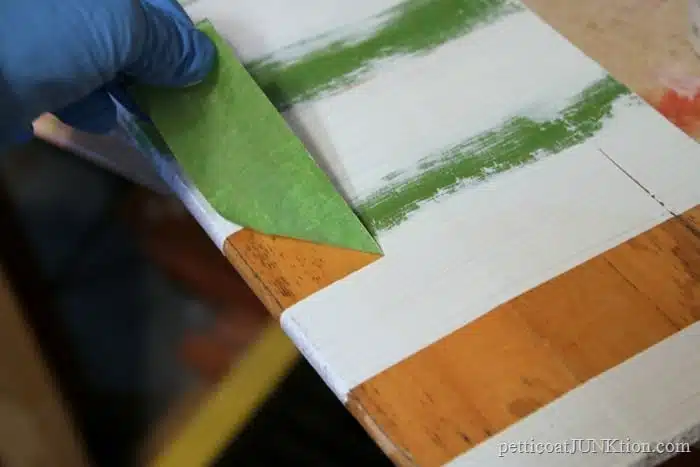
I let the paint set for just a few minutes then peeled off the painters tape. You don’t want the paint to completely dry or some of it may come up with the tape.
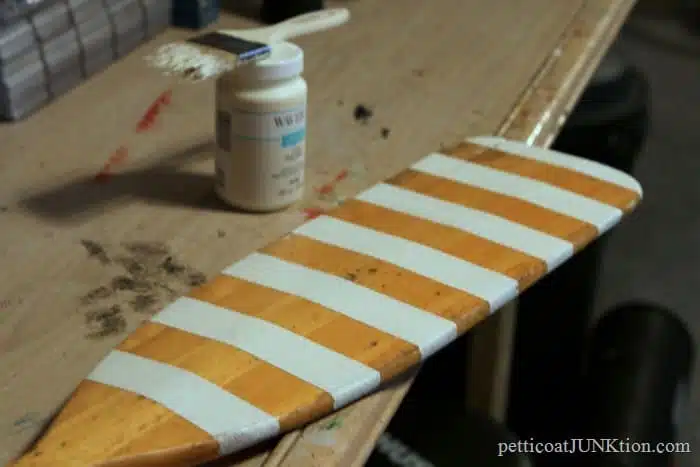
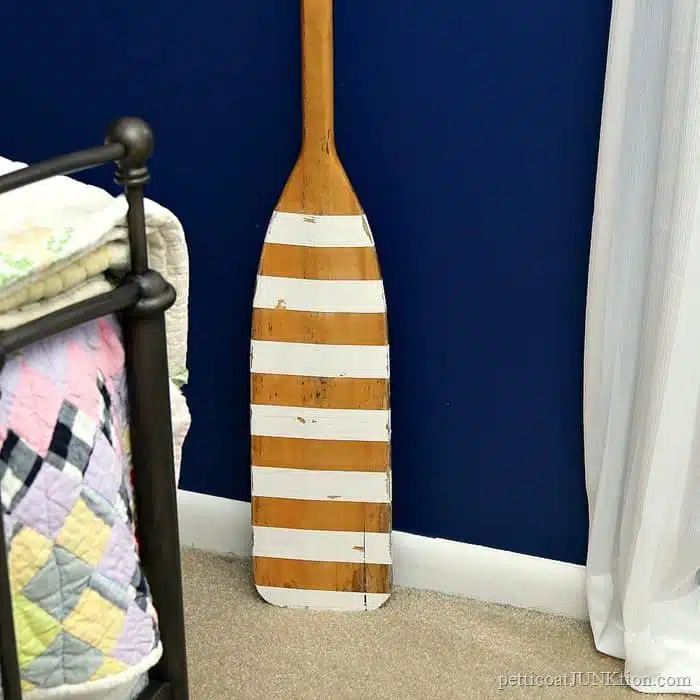
The stripes turned out so nice and neat. But you guys know I couldn’t leave them like that.
I grabbed the bundle of baby wipes and started distressing the paint. My new favorite technique is distressing paint with baby wipes. Easy as pie.
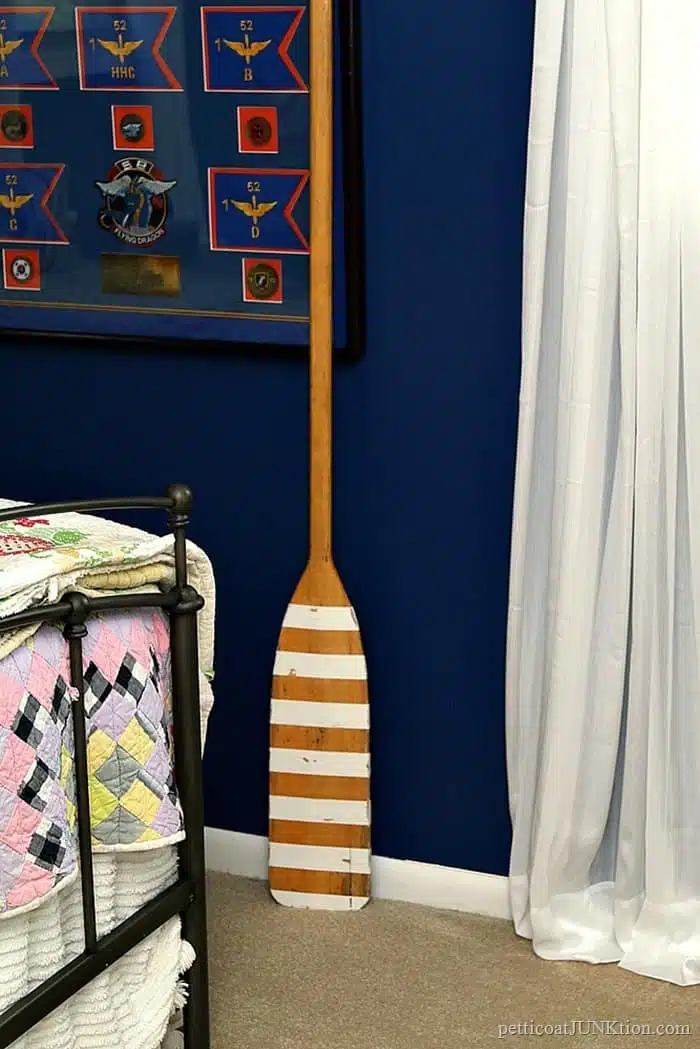
And that was it. I love the look of natural or light wood with white paint. What about you guys? It’s my favorite combo for a summery look.
One last look at the pretty painted oar against the “blue bedroom” wall.
I’m done for the week. Hope you guys have a restful holiday weekend and get to spend time with family. See you next week and thanks for being here, Kathy

I’ve never tried dry brushing but love the result. Thanks.
haha, I’m showing you my pink/purple strips of hair
I really need to do more of this! Hey, Kathy…. what is your hand doing in the cameo of you at the top right of your page???
Love how the details on the brass bowl pop with just a touch of white paint. Kicking myself for getting rid of a lot of my brass stuff because I would’ve totally updated them like this. I noticed your ingenious canning jar lid votive candleholder – pretty clever! Wishing you and yours a Happy Easter, Kathy 🙂