How to Make A Front Porch Welcome Shutter Sign For Summer Decorating
As an Amazon Associate, I earn from qualifying purchases.
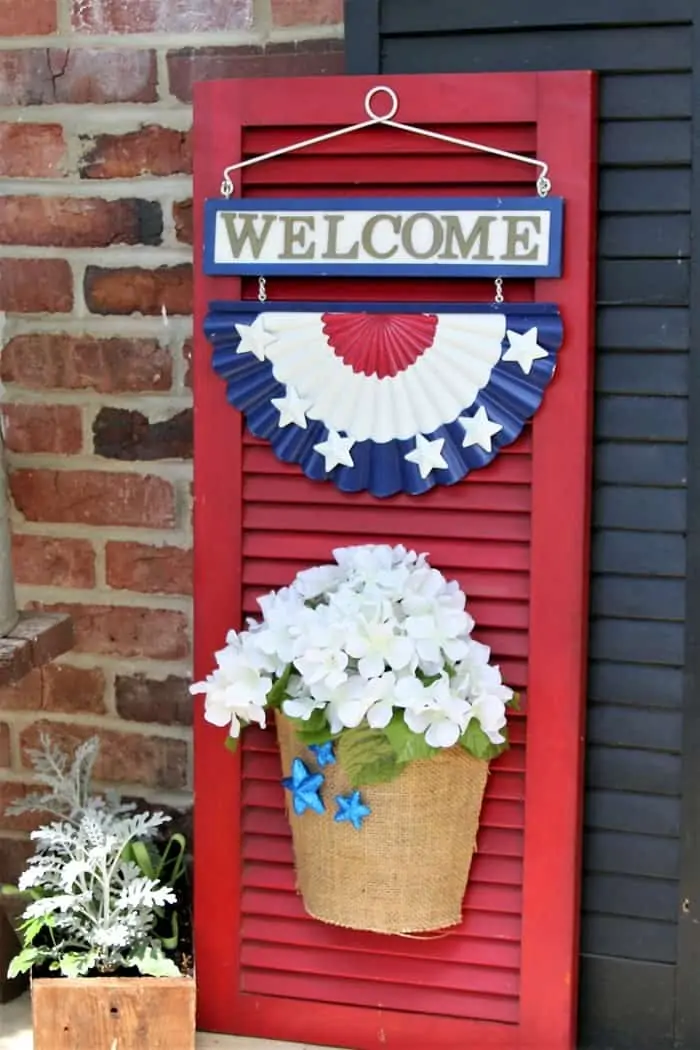
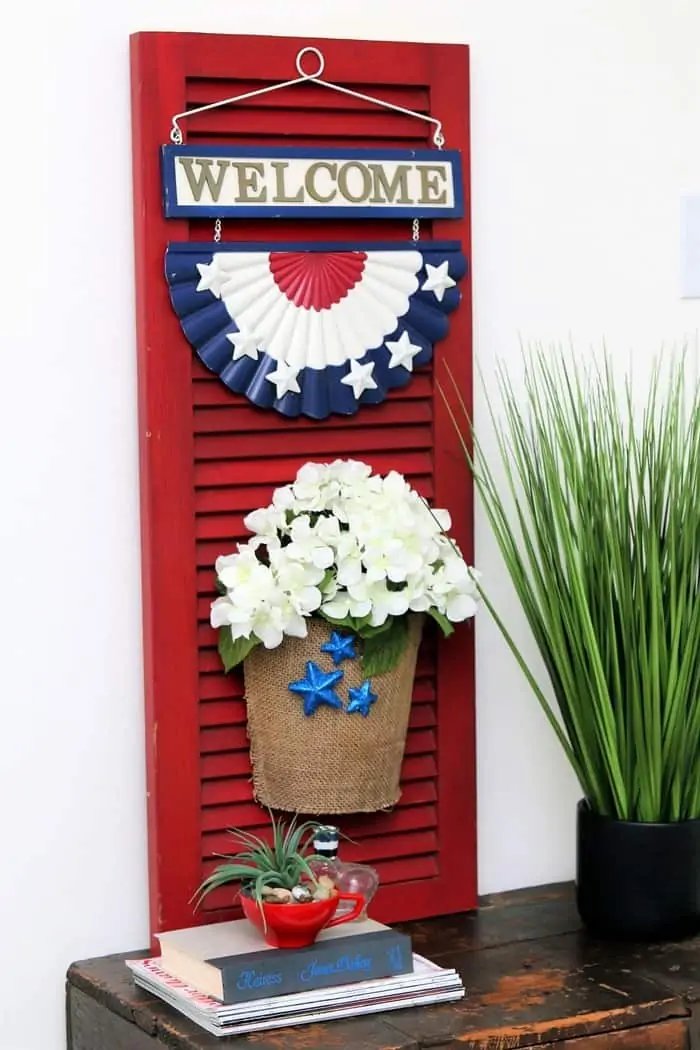
This is a one-of-a-kind front porch welcome shutter sign, not the standard plain old wood board painted with the word WELCOME. I know you guys have seen those in the craft and hobby stores. They’re everywhere. My wood shutter sign includes a metal piece, flowers, stars, and the colors red, white, and blue.
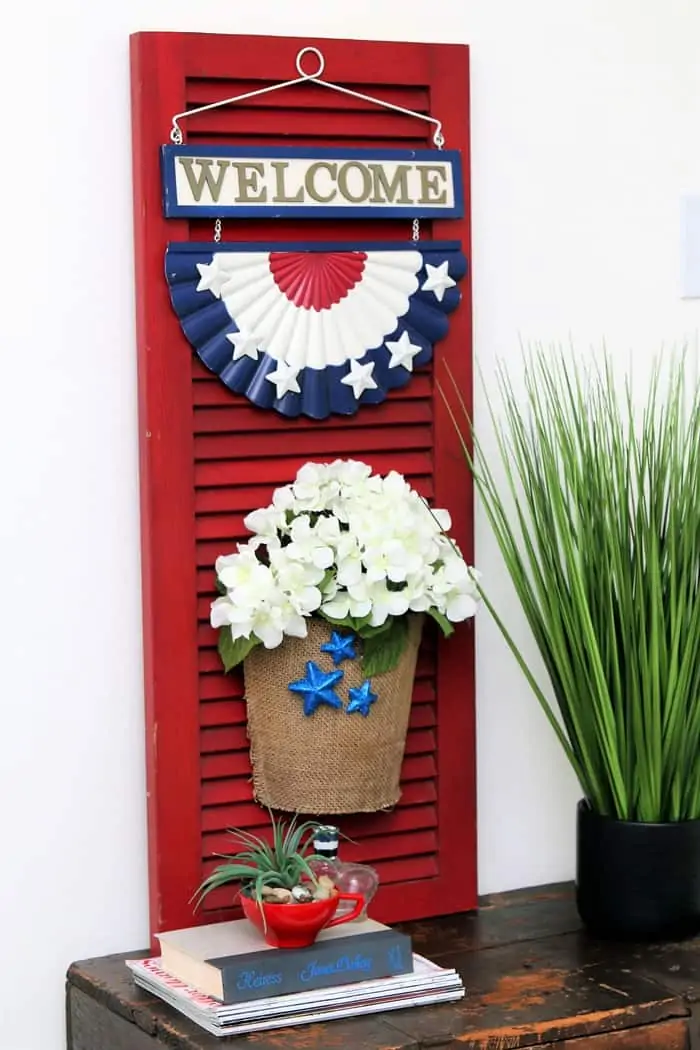
It was easy to put together. I’m going to show you how I made the shutter sign along with photos and tips for putting together your own porch welcome sign using items you may already have!
How to Make A Front Porch Welcome Shutter
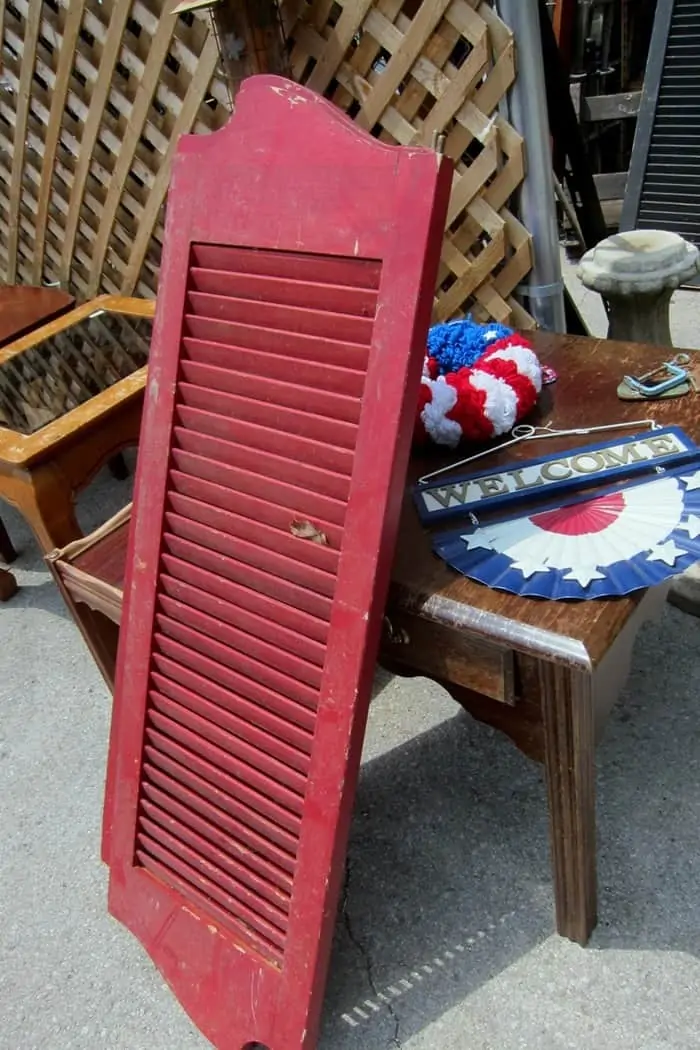
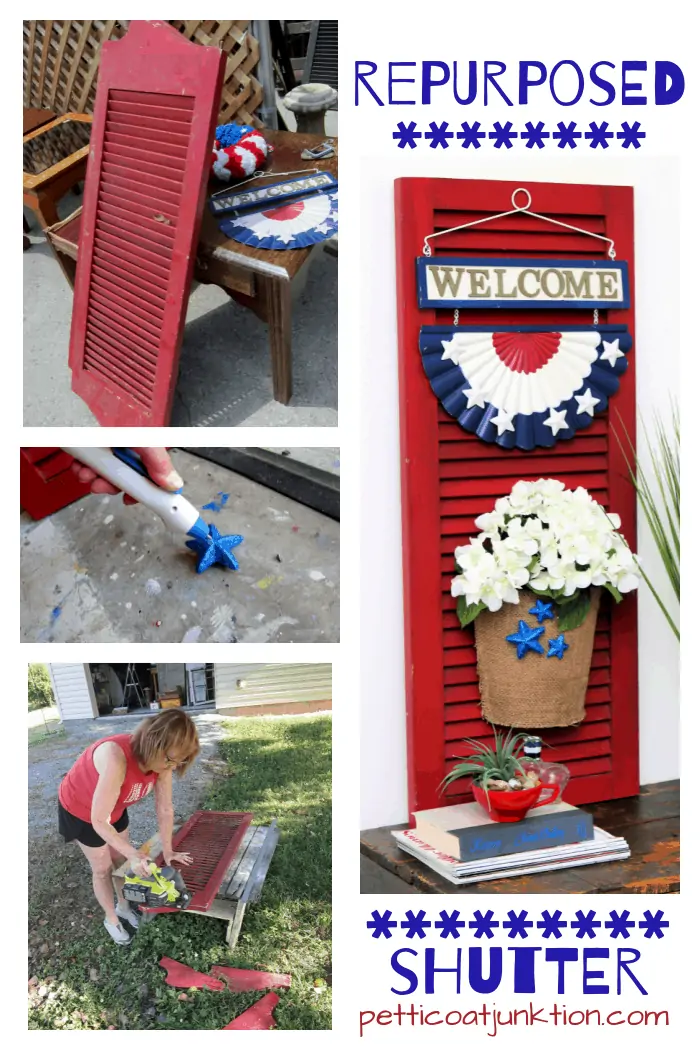
If you read yesterday’s post you know I got the pair of red shutter doors at my favorite junk shop and the price was $8 for the pair. Can’t beat that.
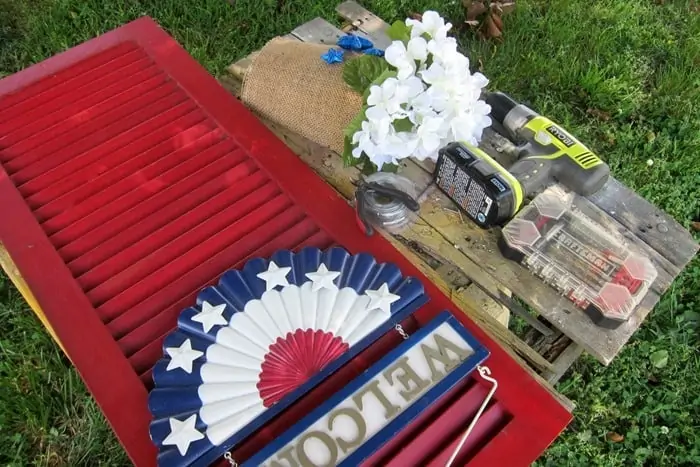
Gather Your Shutter Sign Supplies
I also got the metal welcome sign at the junk shop. It was $5. I knew immediately that I would pair the welcome sign with the red shutter because they are a match made in Heaven. And to find them on the same day at the same place. It was meant to be.
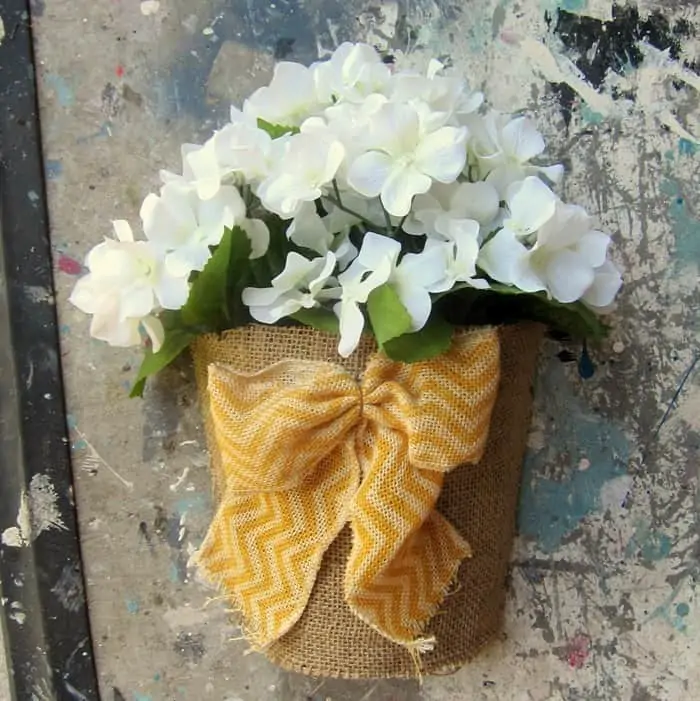
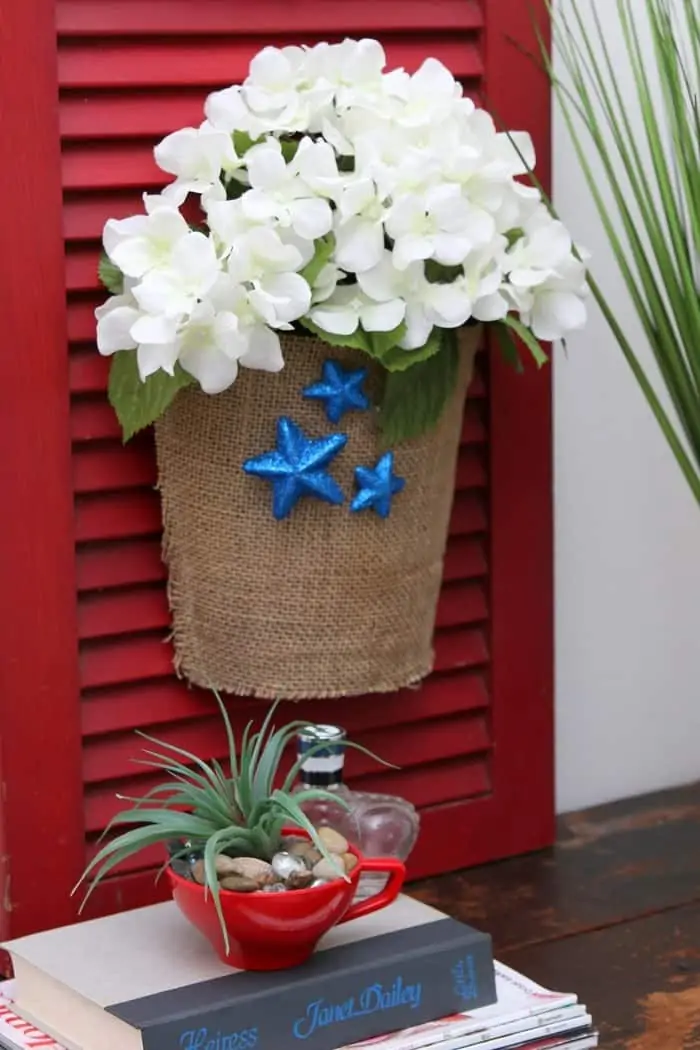
The faux hydrangea pot wall display is from the junk shop also. See a pattern. I bought it several shopping trips ago and don’t remember the price but probably a couple of dollars. It’s going on the red shutter welcome sign too but with a few modifications.
Prepare Shutter And Decorations
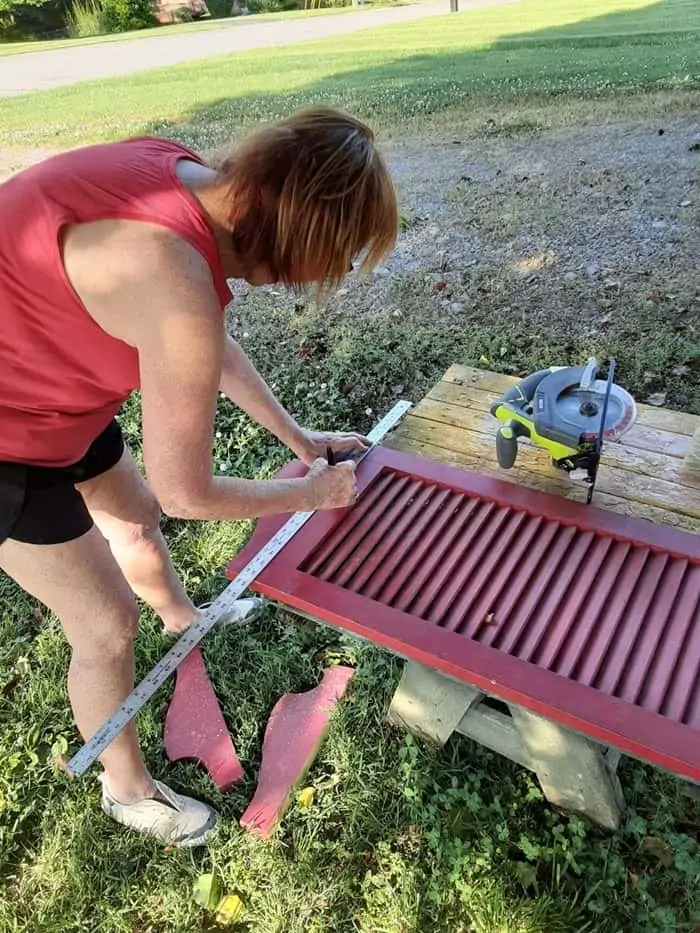
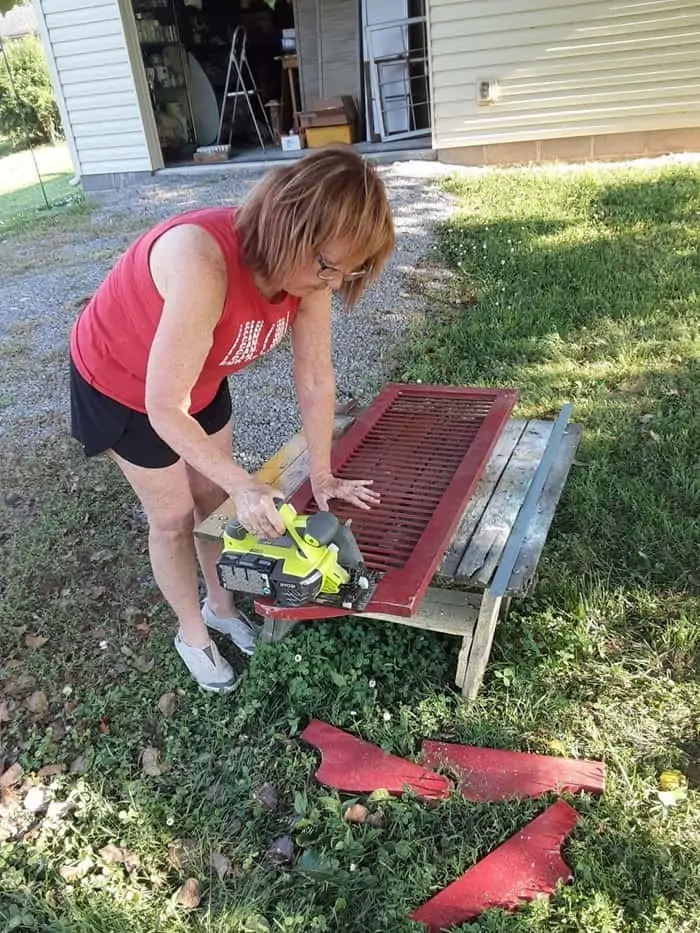
I needed to cut those curves off of the ends of the shutters. Not feeling the curves. I know that some of you are going to be upset that the cures are gone. I first measured and marked a straight line for cutting.
I used my Ryobi circular saw to make quick work of the cutting. The JTS was supervising. I don’t like for either of us to use a circular or table saw without someone around …..just in case.
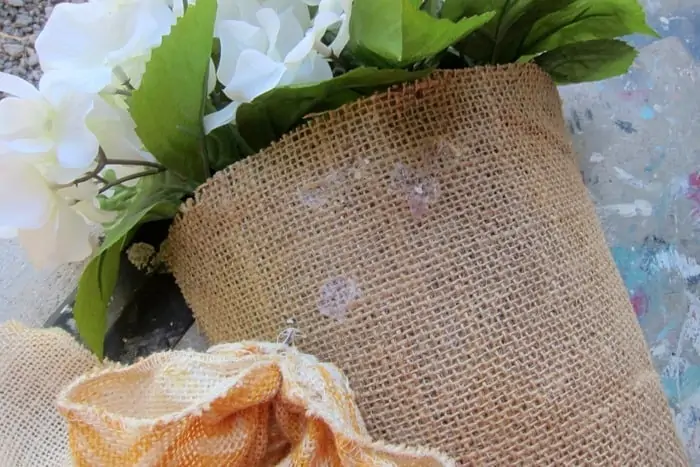
Next step is to remove that bow from the hydrangea display. It doesn’t fit the color scheme. And now we have the hot glue stuck to the burlap which is not going to come off.
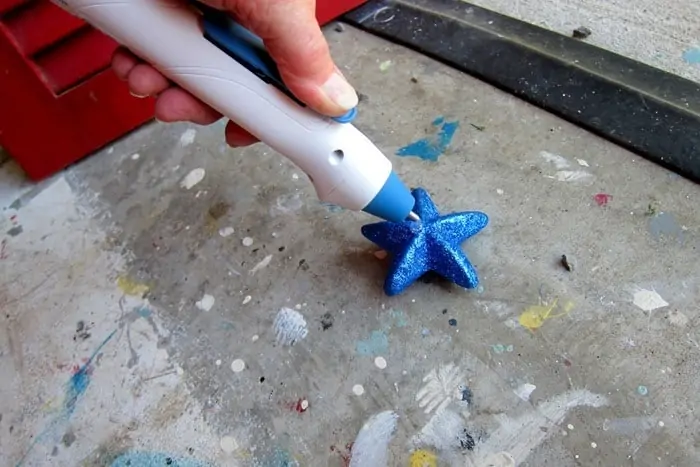
I found a few glittery stars from a previous project and hot glued them to the burlap front of the hydrangea “pot” to cover the previously glued areas. I believe the glitter stars came from the Dollar Tree and I decorated this hat with them….Red White And Blue Summer Hat Wreath
Now that I had all the parts ready for the project it’s time to put the sign together.
Put the Front Porch Welcome Shutter Sign Together
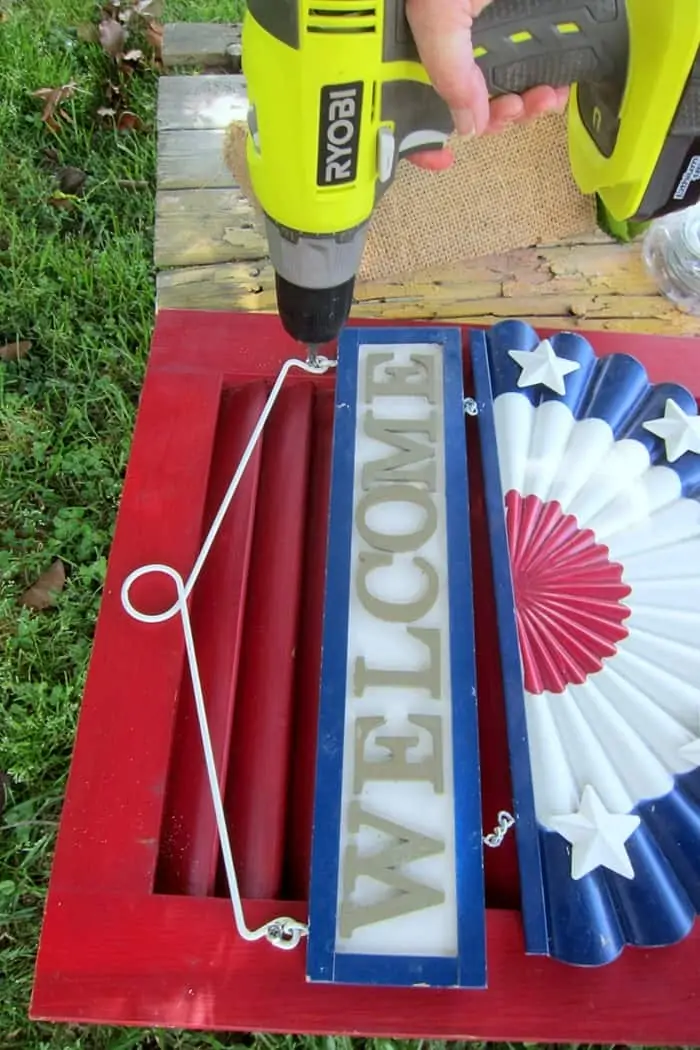
The metal welcome sign was an easy addition. I just used a screw in each side of the metal hanger to screw the sign into place using another Ryobi tool that happens to be my second favorite, the drill. All of these tools are battery powered so I’m not attached to any cords and can move anywhere.
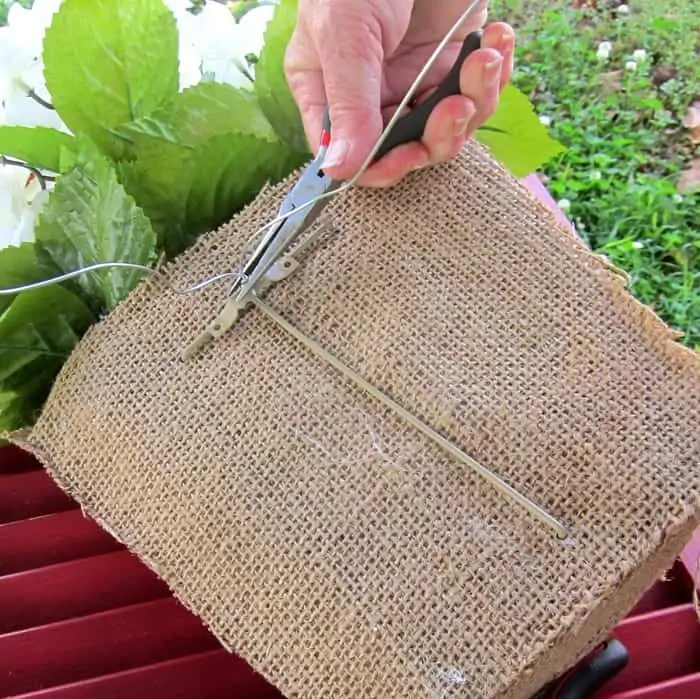
The back of the hydrangea pot had a hanger which really made the step of attaching the pot to the shutter very easy. I really didn’t want to drill holes through the shutter slats and I didn’t need to. I wrapped wire around the sawtooth hanger and twisted it tight.
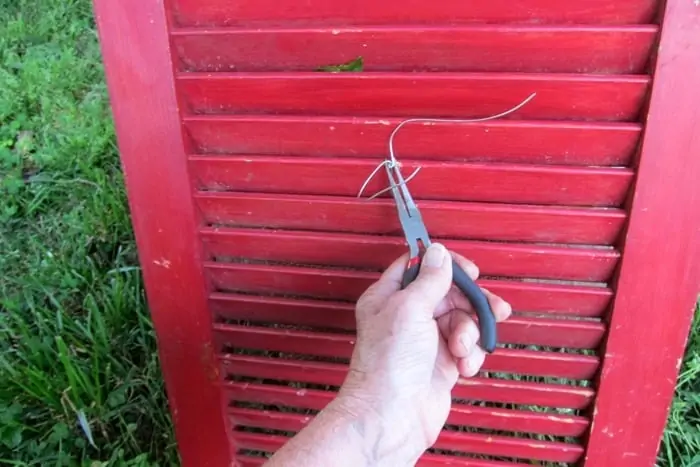
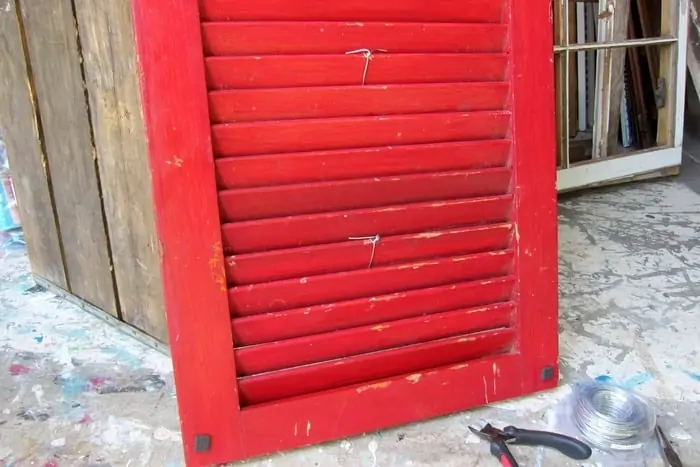
Then I slipped the wires through either side of one slat from the front to the back and twisted them together really tightly. I thought that would do the trick but the bottom of the pot wanted to slip around. The pot was just a piece of Styrofoam so I stuck wire through the bottom of the pot where it wouldn’t be seen from the front and worked the wire around the slats just like I did for the top of the pot.
Take a look at the back of the shutter and you can see where I trimmed the wires, curved them up out of the way and put foam wall protectors on each corner of the shutter. The wall protectors I have are large and I cut them into halves or fourths. Save money wherever you can.
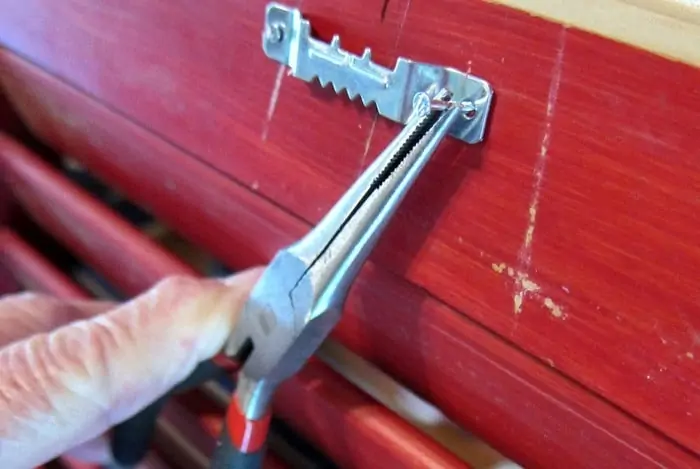
The shutter needed a hanger and I decided on a sawtooth one because they are easy to work with and the shutter is easier to get straight when hanging. The JTS taught me the simple trick of holding on to those little tiny tiny nails with a pair of needle nose pliers. I can hit them with a hammer without smashing my fingers or dropping the nail. After the nail gets started into the wood you can do away with the pliers. Simple and a great tip!
Display the Shutter Welcome Sign
The front porch welcome shutter sign can lean against a wall for display or be hung on a wall. This is the perfect time of year for the red, white, and blue patriotic shutter. In the photo above the shutter is on our front porch.
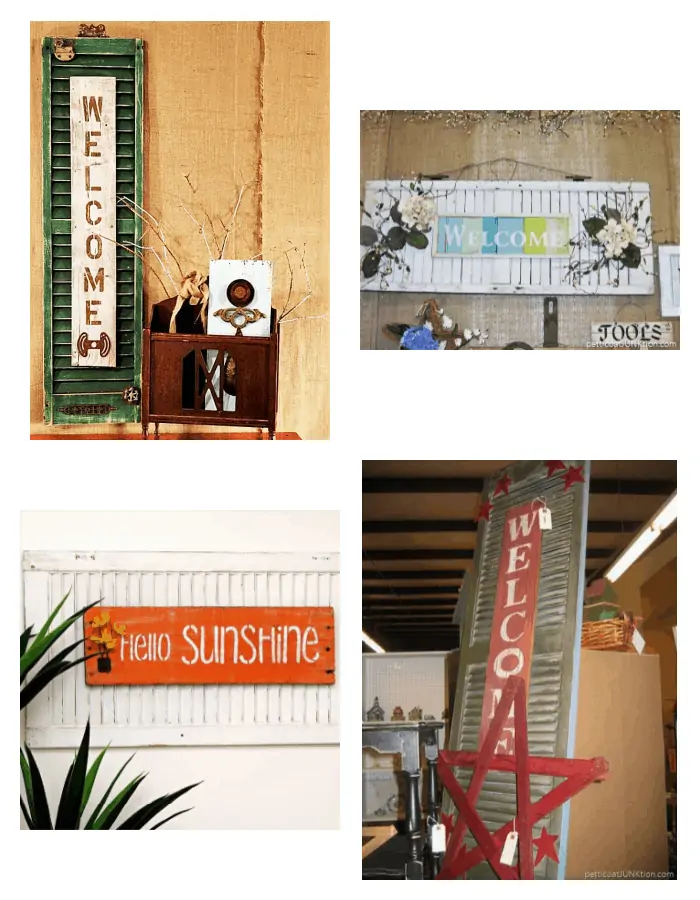
A shutter can be decorated in so many ways and I hope you get some ideas from this post. It doesn’t have to say Welcome or have flowers on the sign. Make your own unique sign. Buy a shutter at the local Habitat store, thrift store, or junk shop. Gather items you may have like small signs, faux flowers, junky metal pieces, anything you can picture attached to the shutter and go to work. Take a look at my four DIY shutter signs below…
These are signs I made in the past. Some are from 13 years ago before I had this blog. The top right and bottom right are signs I made when we lived in Florida. As you can see the shutters can be turned horizontal too. I have am old tutorial on the top left sign where I used rusty hardware and stenciled welcome onto a plain old board before attaching it to the shutter….. you can see it here….Stenciled Shutter Sign.
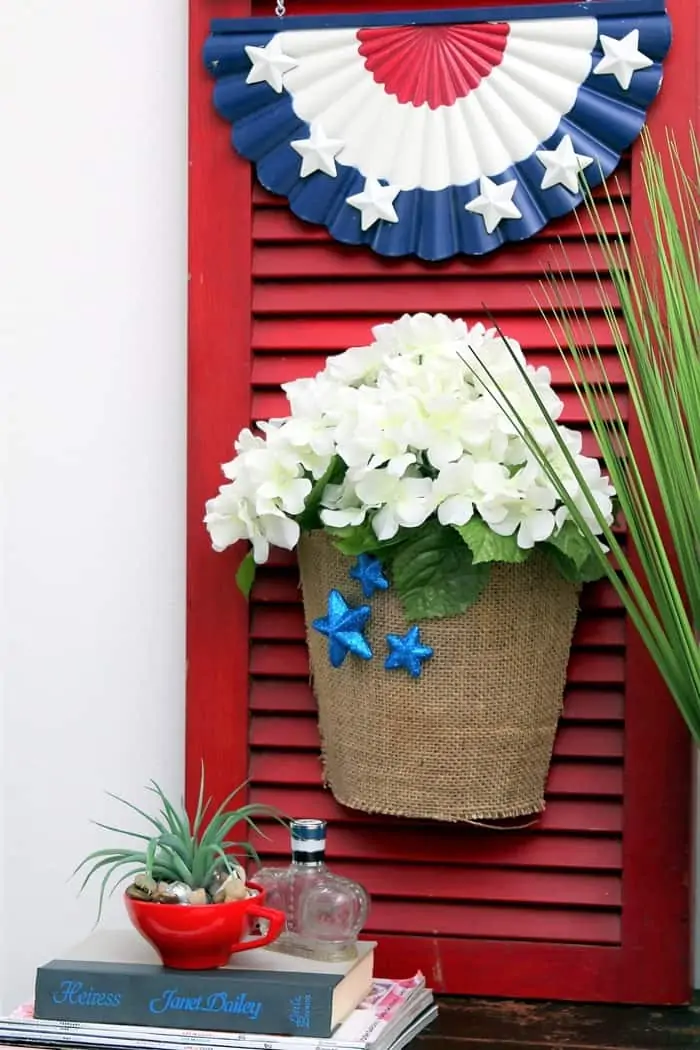
I placed the shutter sign on a wood trunk sitting in our navy blue bedroom we painted and redecorated a couple of years ago. I use lots of red accents in the bedroom because the color really pops against the navy and white in the room.
I’m super happy with the way the old shutter looks with the metal piece and the faux hydrangeas. Hydrangeas are some of my favorite flowers. I can always redo the shutter and maybe use turquoise accent pieces instead of red, white, and blue. Hey, I like that idea.
Are you ready to make your own welcome sign now? You could also use an old cabinet door, large barn door, or something similar if you don’t have a shutter. Think outside of the box. Leave a note. I read everyone. Thanks for being here, Kathy





I wish we had a junk store like that near me!
Beautiful project and so fun!
Love how you paired all the parts together to make the sign beautiful. Great job.
I love this sign. Great job!
As always, you did a fantastic job and gave us easy directions to follow. Thank you! Enjoy the season.
Very pretty. Summertime is definitely suited for the red, white & blue!
So pretty! What a nice idea
What a great piece. LOve the patriotic items.