Bold Gypsy Boho Style Painted Table With Purple Poppies Decoupage
As an Amazon Associate, I earn from qualifying purchases.
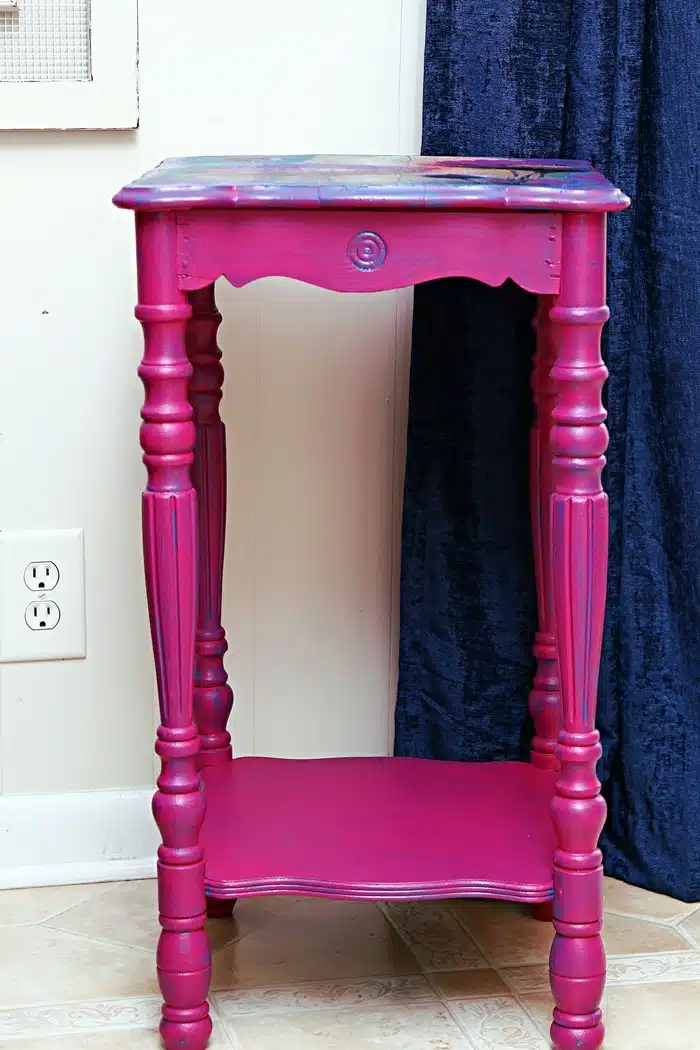
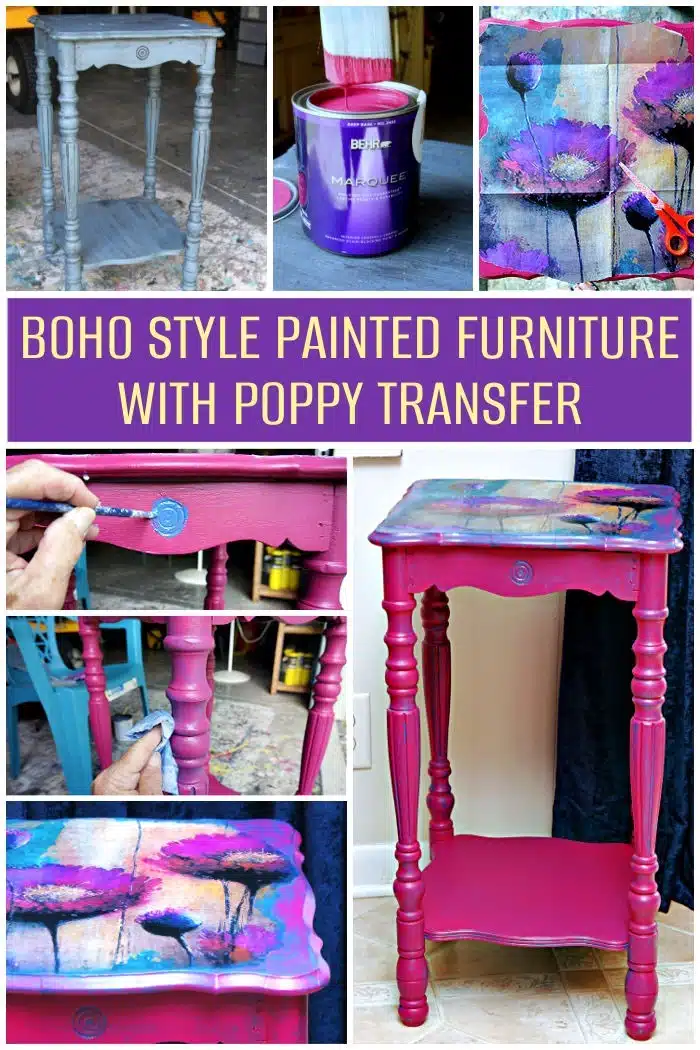
I’m a child of the 70s and just a hippie at heart. I guess that’s why I love colorful boho or gypsy-style clothing and decor. That’s why I fell in love with this project. My original plan evolved into something more in-depth, and the result is amazing.
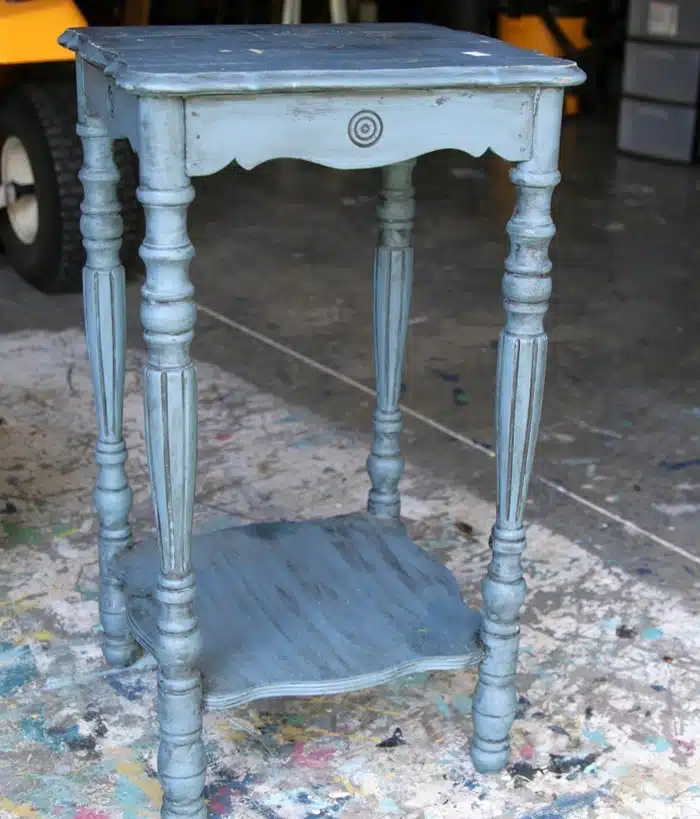
I found the table at my favorite junk shop for $10. Yay! This is the project for today, and it is also Furniture Fixer Upper Day! You guys know what that means. Four more awesome projects for inspiration.
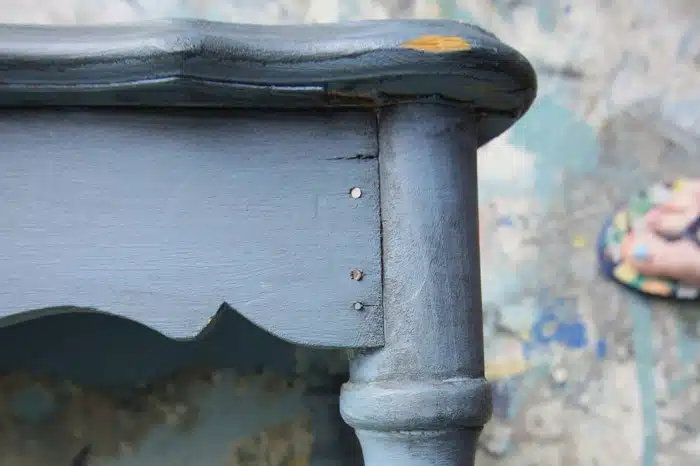
It was sturdy but was filled with nails and the original paint job left a few drips and runs.
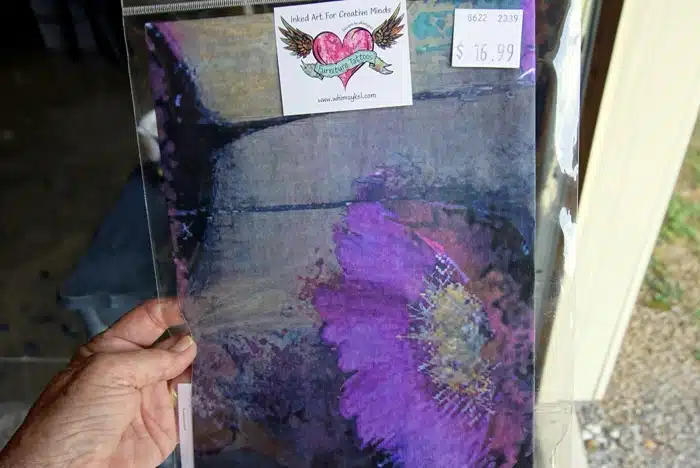
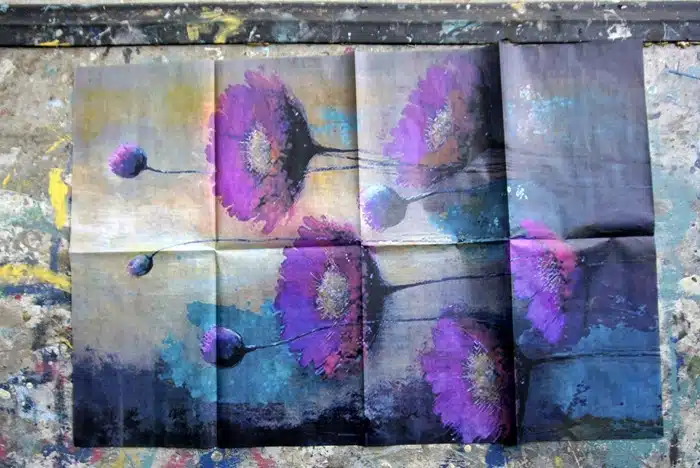
When I spotted the table, this decoupage tissue paper immediately came to mind.
Earlier in the week, I saw this piece at the shop where I have my booth, and that decoupage paper design really stood out. So I bought it. Perfect timing.
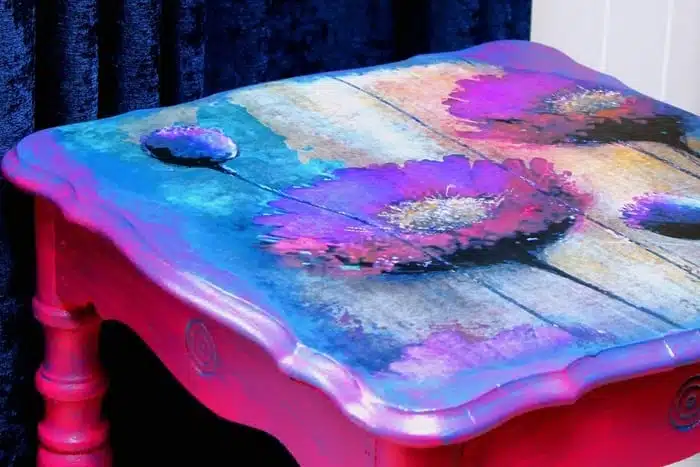
The colors are amazing, so deep and rich. My first plan was to clean up the small table and then decoupage this paper on the top.
But I got to thinking about the color, and even though the poppies kind of matched the table color, it was too flat and dull. I didn’t have a color I liked on my paint shelf and I hadn’t spent money on paint in a while so I headed off to Home Depot.
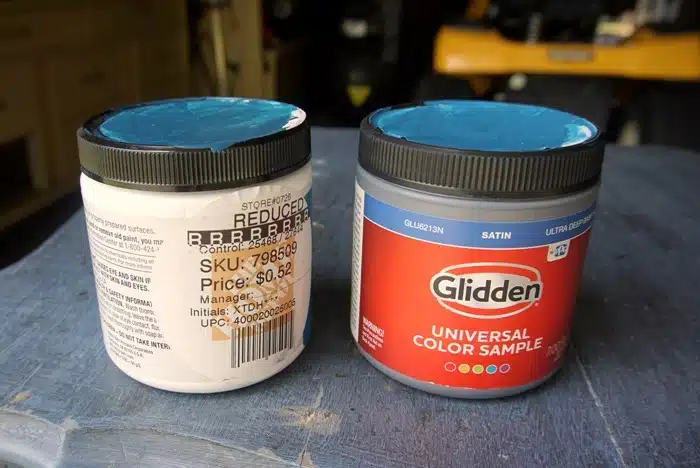
I always check the oops paint table and spotted these two samples right away. The samples were 52 cents each! The colors are bold and just a bit different. They are blue with a hint of green but not really a teal color.
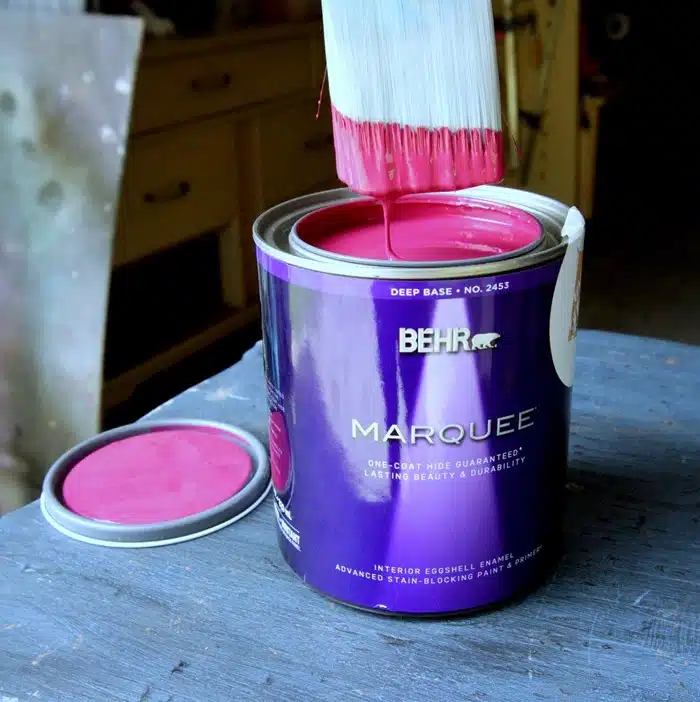
Then, I picked a fuchsia-colored paint sample and had it mixed in Behr Marquee! This is the color I originally went to the store to get. The marked down samples were a bonus!
This paint goes on so smoothly and covers really well.
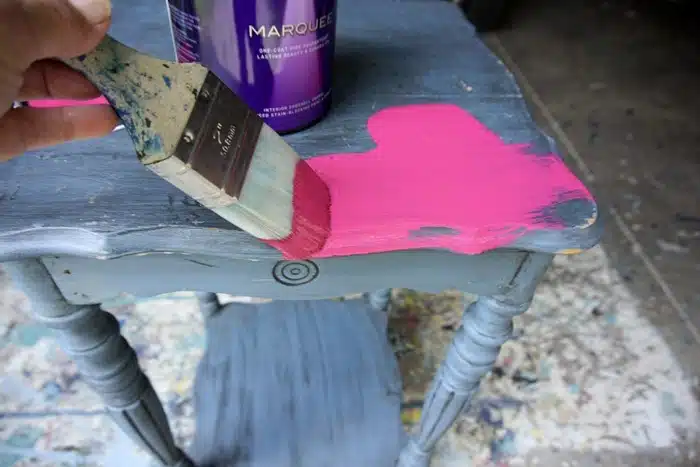
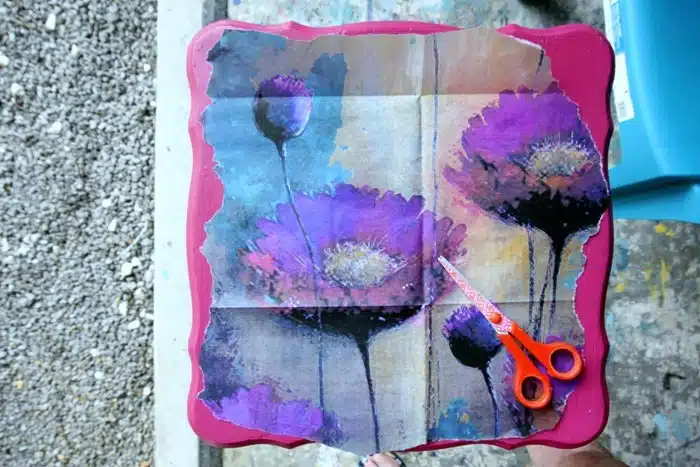
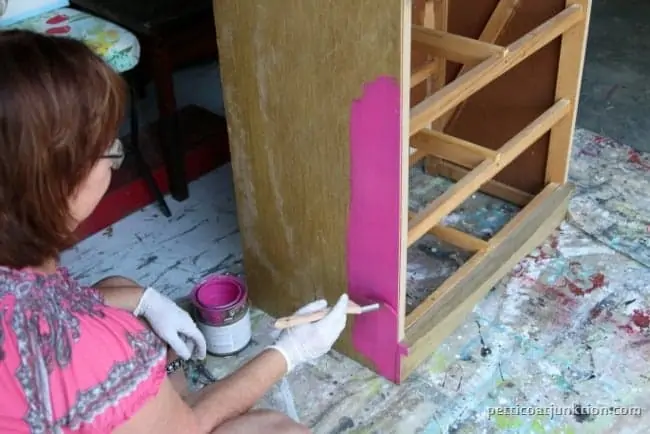
I applied two coats of paint and started on the decoupage after it dried. I selected the area of the paper sheet I thought would look best on the table, then tore that section from the whole sheet. Torn edges look better with this process than straight-cut lines. I did have to tweak a few of the torn edges with the scissors because they looked like pyramids jutting from the sides.
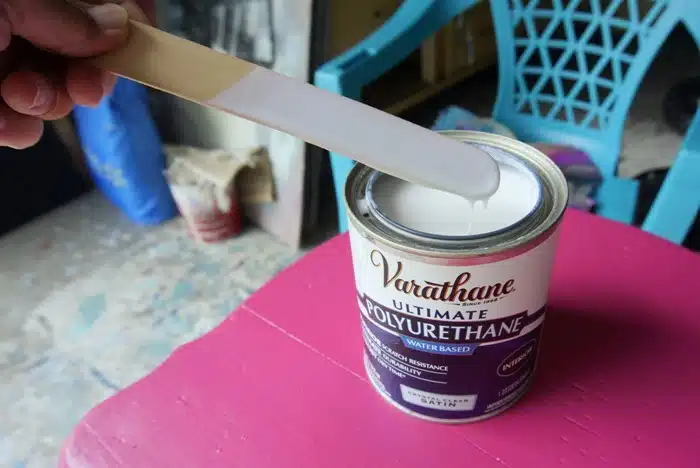
I tried a different decoupage technique today. Sarah at the shop told me she applied the paper with polyacrylic sealer instead of Mod Podge, so I tried that technique. The Varathane was on my paint shelf, so I used that.
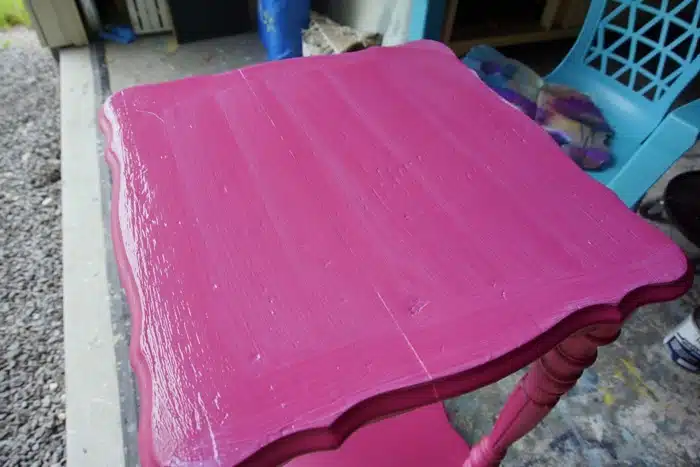
I brushed on one coat, covering the table top completely. Next, I laid the paper on the tabletop, starting from the top of the paper and slowly applying it, brushing out bubbles as I went. Well, the paper didn’t seem to stick well, and I decided I did not use enough poly.
So I pulled the paper away from the table and brushed on more sealer. That did the trick. The paper just didn’t get wet or damp enough the first time to adhere to the table.
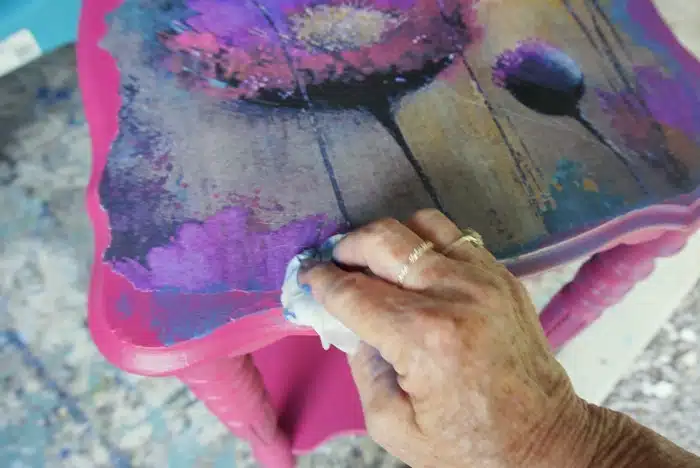
I had to brush over the decoupage paper with a soft rag several times to remove air bubbles. Using the poly sealer was much, much easier than using Mod Podge.
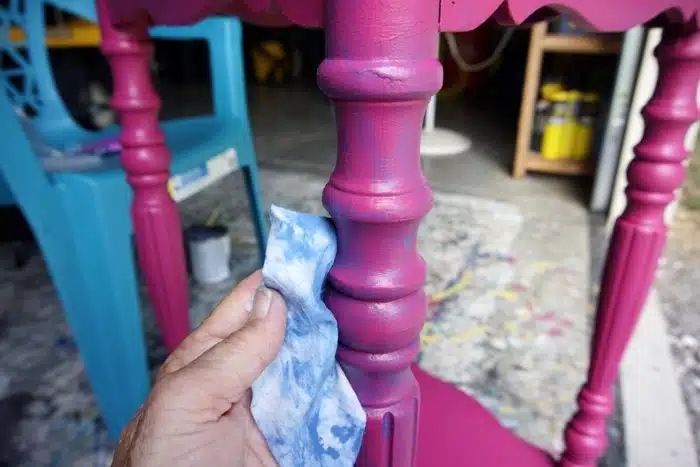
To bring out the teal or turquoise color in the paper I used one of the oops paint samples to blend into the edges of the paper and the fuchsia paint. I have never blended paint and this is not a real blend job but it worked for me.
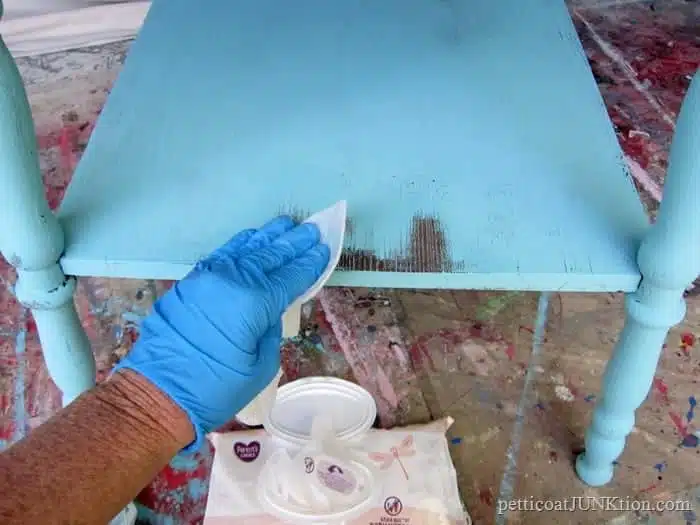
I dipped a wet wipe into the paint then smudged it around the edges of the torn paper and rubbed it over the fuchsia paint.
Then I went to work on the rest of the table. I just rubbed the bluish paint over the whole table using wet wipes. When one tore or gave out, I grabbed another one.
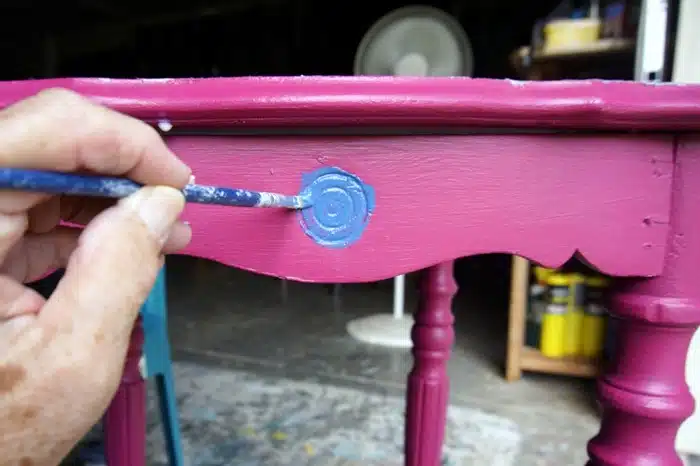
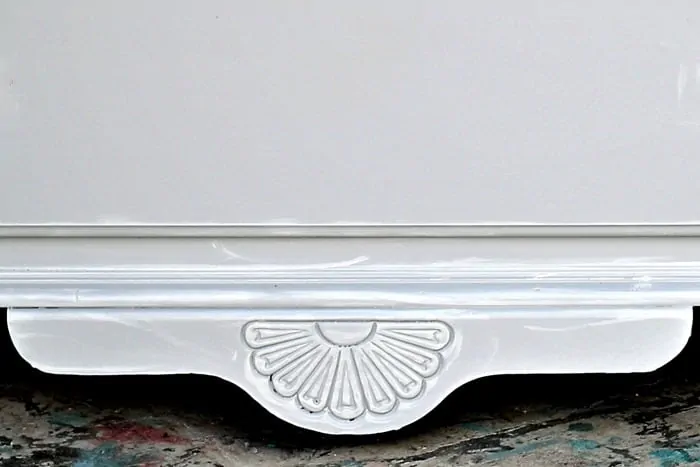
I painted the little curlicue design on each side of the table apron, covering it completely.
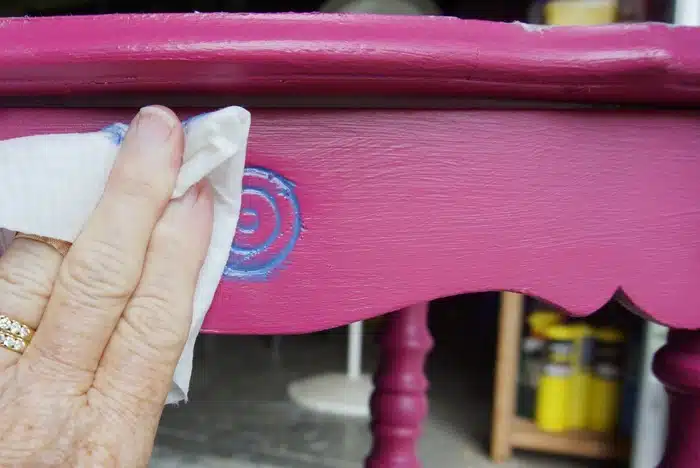
Then I wiped over it with a clean wet wipe. See how the paint stayed in the cut grooves and looks really cool? This is so easy to do.
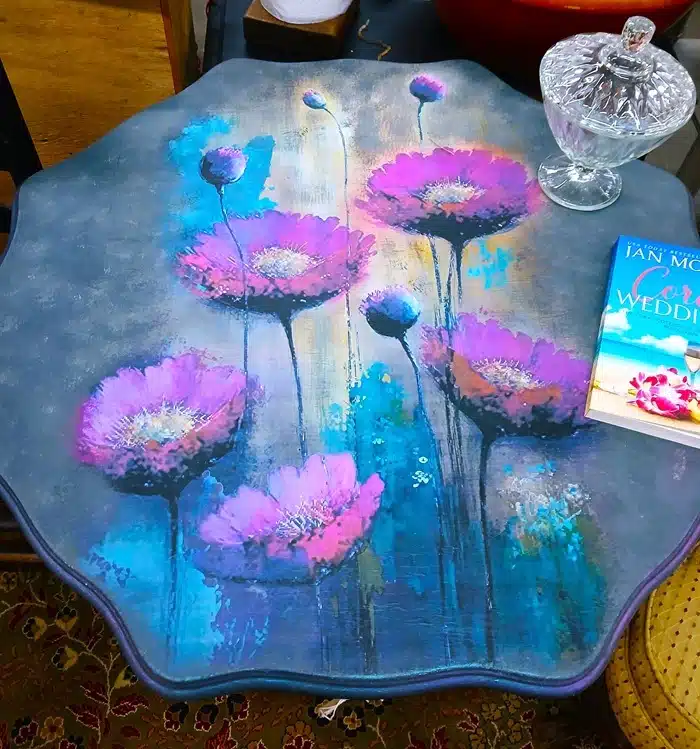
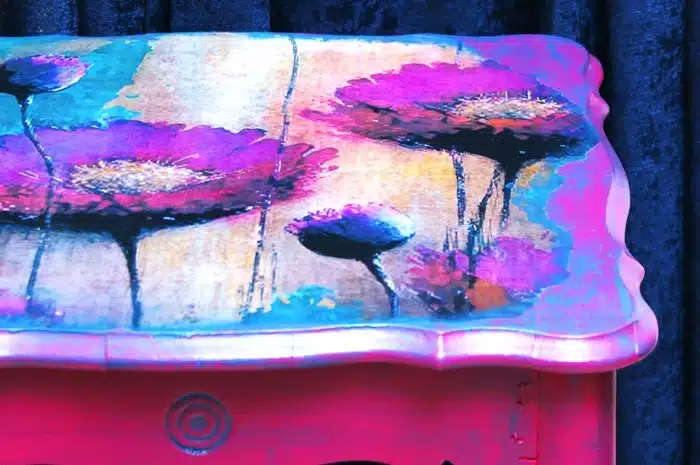
I’m very happy with the way the table turned out. The colors in the decoupage paper are so vibrant. To seal the tabletop I applied the same poly sealer over the decoupaged paper. To prevent bubbles,
I brushed on a very light coat of poly, and after that dried, I applied another very light coat. Applying a heavy coat of poly wet the paper too much and causes it to bubble up in places. I learned this from experience using Mod Podge as a sealer.
And the blue paint against the fuchsia really has a nice sheen to it. You can see that the blue paint is not evenly spaced or placed on the painted table. I always say perfectly imperfect is the best.
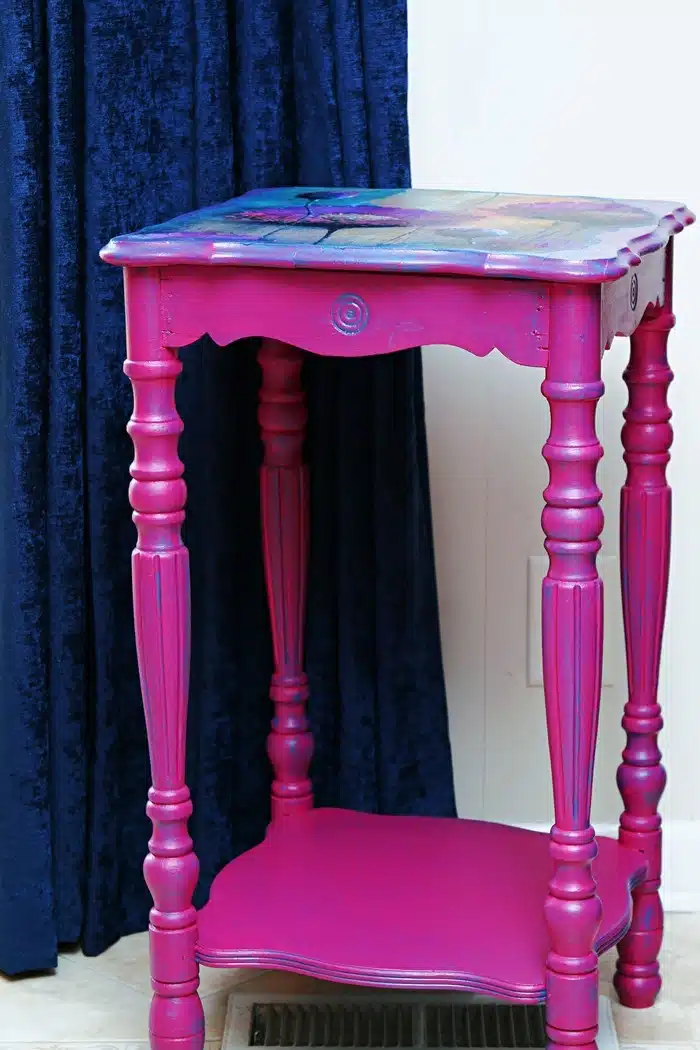
For photos, I brought the table into our dining area and set it against the blue curtains on our patio doors. The table does not really fit any color scheme in our home and this was the best place for photos.
Here’s another look at the pretty design. I have a large piece of the decoupage paper left over, so you will probably see another project with the purple poppy design.
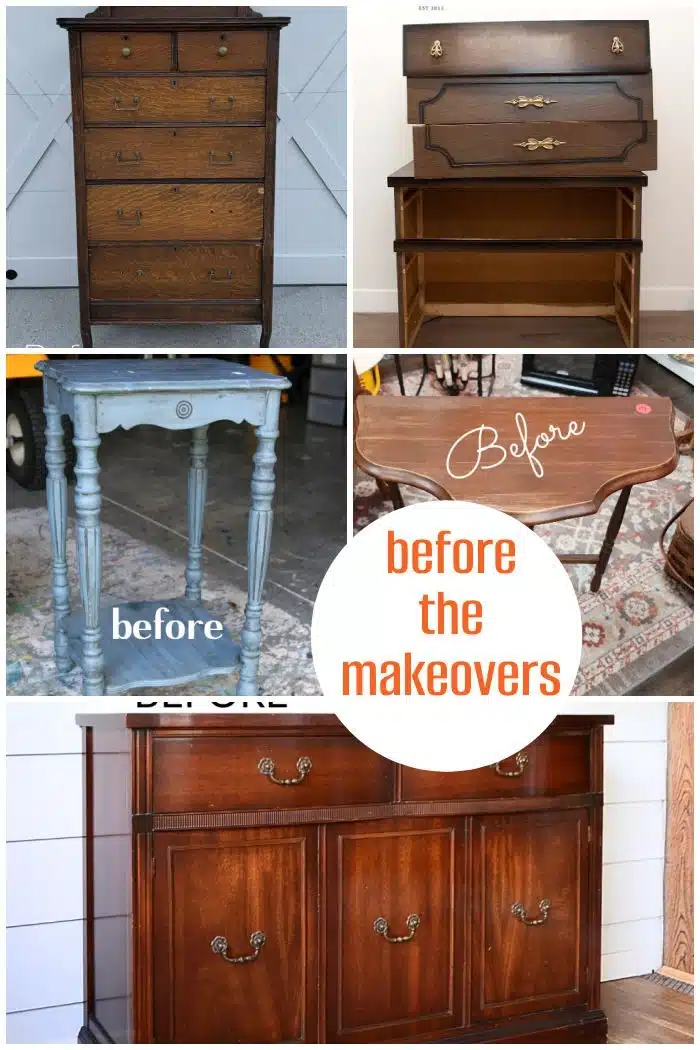
What do you think of my gypsy boho-style painted table? Is it a winner? I know the colors and design will not be to everyone’s liking but that’s okay. If you have time before heading out on the Furniture Fixer Upper Tour, leave a short comment please. Take the tour by clicking the links below the “before” makeovers photo collage….
Furniture Fixer Upper Tour:
Painted Antique Oak Dresser – Confessions of a Serial DIY’er
How To Fill In Dated Drawer Details – Salvaged Inspirations
Half Moon Table Makeover – My Repurposed Life
How To Repaint Furniture – A Ray Of Sunlight
Boho Style Painted Furniture – Petticoat Junktion (you are here)
As always, thanks for being here, Kathy

Love it!!
Hi Kathy! Very Boho! I love it!
I love your table! You are so creative.
Kathy,
I love the Poppy Decoupage Paper! It’s so pretty and colorful.
Pinned!
gail
This is such a fun and happy piece now, Kathy! XOXO
really nice, a fun look.
Hey Kathy, I love this gypsy boho-style painted table! The colors and poppy paper make this such a happy piece. Pinned! XOXO