Lane Cedar Chest Update: Soft Blue Paint And gold Accents
As an Amazon Associate, I earn from qualifying purchases.
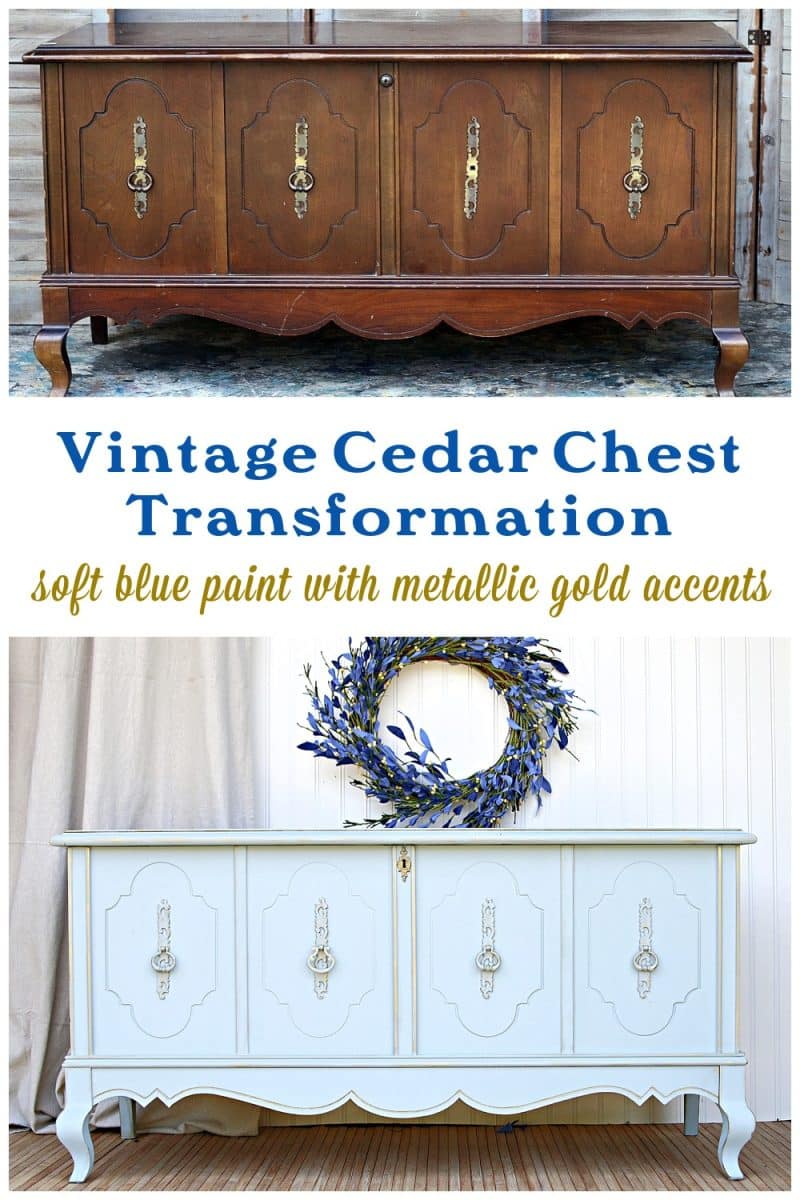
This is a Lane Cedar Chest makeover with an updated blue paint finish and metallic gold accents.
I enjoy painting cedar chests. Most of them are old pieces, and they could use a little love. This cedar chest has really good lines, and the new look is light and refreshing. I made a video showing how I painted the hardware and accented it with gold metallic wax.
![]()
Today is the Furniture Fixer Upper Tour, and you know what that means. We have 5 awesome furniture makeovers for you today. The links are at the bottom of the post.
Cedar Chest Update: Blue Paint and Gold Accents

My project piece is a vintage Lane cedar chest, and I bought it at the local online auction for $45 plus a few fees. That was a pretty fair price considering the price of used furniture. Prices have gone up except on antiques, and you can hardly give those away. Sad.

The inside is in excellent condition. Usually, those trays are broken or missing. This one just needs cleaning and sprucing up.
Supplies for the Project:
- screwdriver
- sanding sponges
- paintbrushes, large and small
- White Lightning cleaner
- Dixie Belle Bonding Boss
- Dixie Belle Chalk Mineral Paint, color Savannah Mist
- Dixie Belle Gold Gilding Wax
Prep Before Painting

The first step in any makeover is removing the hardware, drawer pulls, or knobs before cleaning. Never paint furniture with the knobs in place. I have seen this done.

In this case, the pulls were just for looks. The brass backplate had a nail on each end, and the pull was held in place with a screw.

I admit to being impatient, and I made a few gouges and dents when removing the backplate. It’s hard to get under those pieces with a putty knife or screwdriver without making a mess.

So that called for sanding pads. This pack from Dixie Belle is less than $3.00.
")
I normally sand the area where hardware is removed anyway because little indentations are left.
")
There were also a few minor scuffs that needed smoothing out.
")
And why did they put sticky tags on furniture? I sand those off too.
Make Furniture Repairs
")
Before cleaning the furniture, you should make any repairs. The leg was fine when I brought the cedar chest home, but I pulled it around the shop to get it in place to paint, and pulled the leg joint loose.
")
I knocked it back in place with a hammer.
")
Then I nailed it in several places so I didn’t have to worry about the joint coming loose again. (favorite Ryobi Brad Nailer)

This cedar chest also had the original lock, so I removed it for safety issues. You can order replacement locks from various places online.
Clean the Furniture

Now that all the prep work is complete, it’s time to remove any grit, grease, and grime from the chest.
")
I tried White Lightning for the first time, and it will now be my go-to cleaner. This is what Dixie Belle has to say about the cleaner…
White Lightning Cleaner is a powerful cleaner designed to remove grease, grime, and buildup from furniture before painting. Use it to prep cabinets, dressers, and hard surfaces so paint adheres better and finishes look smoother.
")
Dust and grime had settled into the corners and small, detailed areas. That stuff is hard to clean.
")
A trick I use is to take a flat-tip screwdriver to push a wet cloth (White Lightning) into the dirty areas and wipe away the mess as best I can.

It works fairly well. There is no way to remove all the built-up dirt without hosing it down.
Apply Primer
")
Sometimes I don’t prime, but since this piece was so dark and I planned to paint it a light color, the primer was a good idea.
")
Bonding Boss is my new go-to primer. Seriously, if you paint furniture, you have to try this product. You will not go back to regular old primer. It also comes in gray and clear, and you guys know gray is my favorite primer color for dark topcoats.
")
Those little pesky details require extra work. A lot of times, these carved areas have trash or even small wood protrusions, and I clean them as best I can with a flat-tip screwdriver.
")
While brushing on the Boss, I noticed the staples on the back where the manufacturer tags were affixed, and I pulled them out before applying the topcoat.
Select the Paint Color
My first plan was to paint the cedar chest black. Black paint is classy, and it adds drama.

I consider this piece to be classy, but while doing the prep, it was such a nice Spring day I just couldn’t do the black.
So I went to my paint shelf and found a beautiful light color called Savannah Mist.

It is Dixie Belle Chalk Mineral Paint and the color is described as…a serene light blue with soft gray undertones, evoking a sense of tranquility and timeless charm.

The paint looks more green than blue when wet, but it dries to a light blue color.
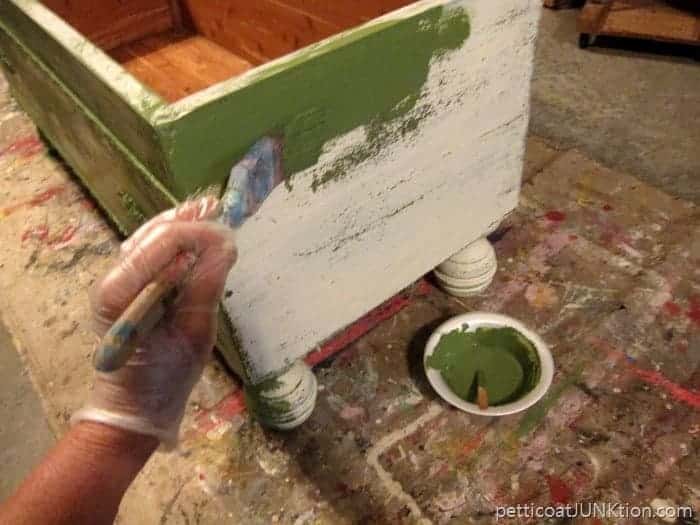
Paint the Furniture
")
After the first coat of paint, my 8-ounce jar was still almost full. The paint covered really well too.
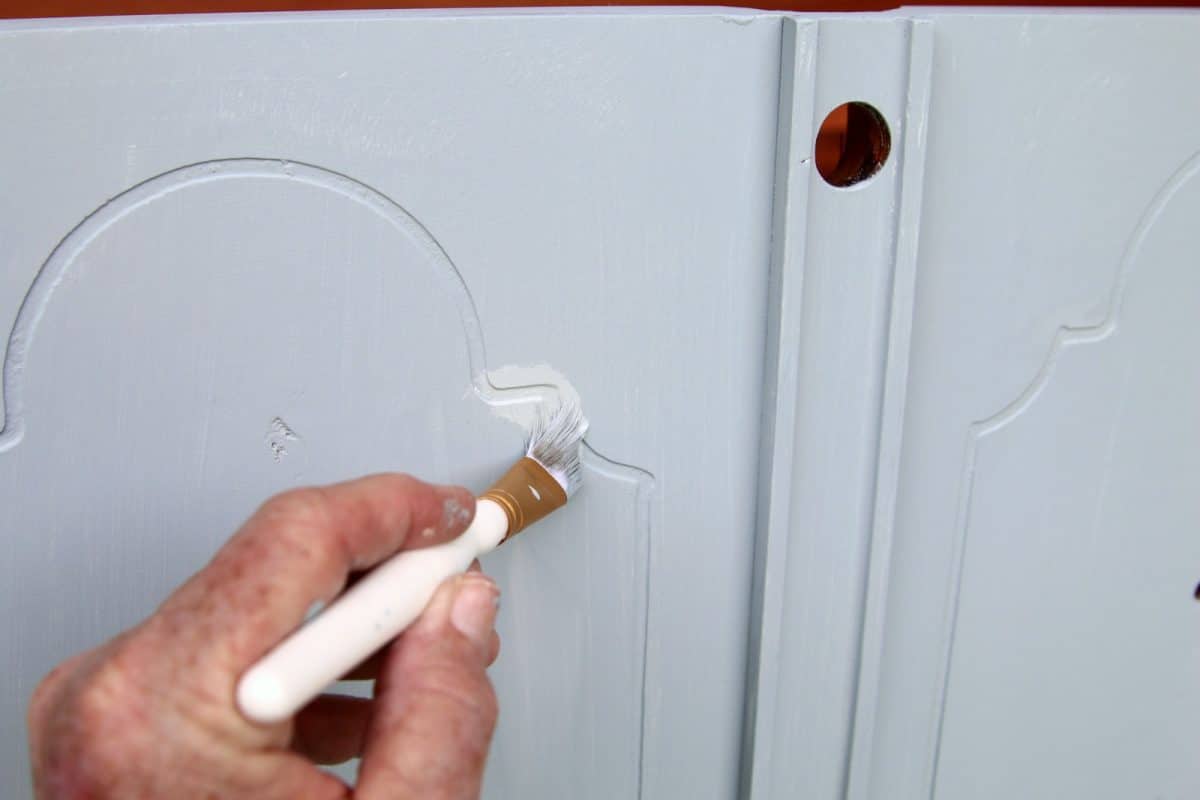
The carved areas are where I usually have problems. After the first coat of paint, I took a small paintbrush and looked for areas I missed. Now, when I do the second coat of paint, I don’t have to worry about these spots.

I apply two coats of paint for complete coverage because there are always a few spots I miss on the first go round.
I know you have noticed the gaping hole where I removed the locking mechanism. We will take care of that later.
Paint the Hardware
You can select new hardware or use the original hardware for your furniture project. I usually replace the old hardware with modern knobs but in this case they didn’t look right.
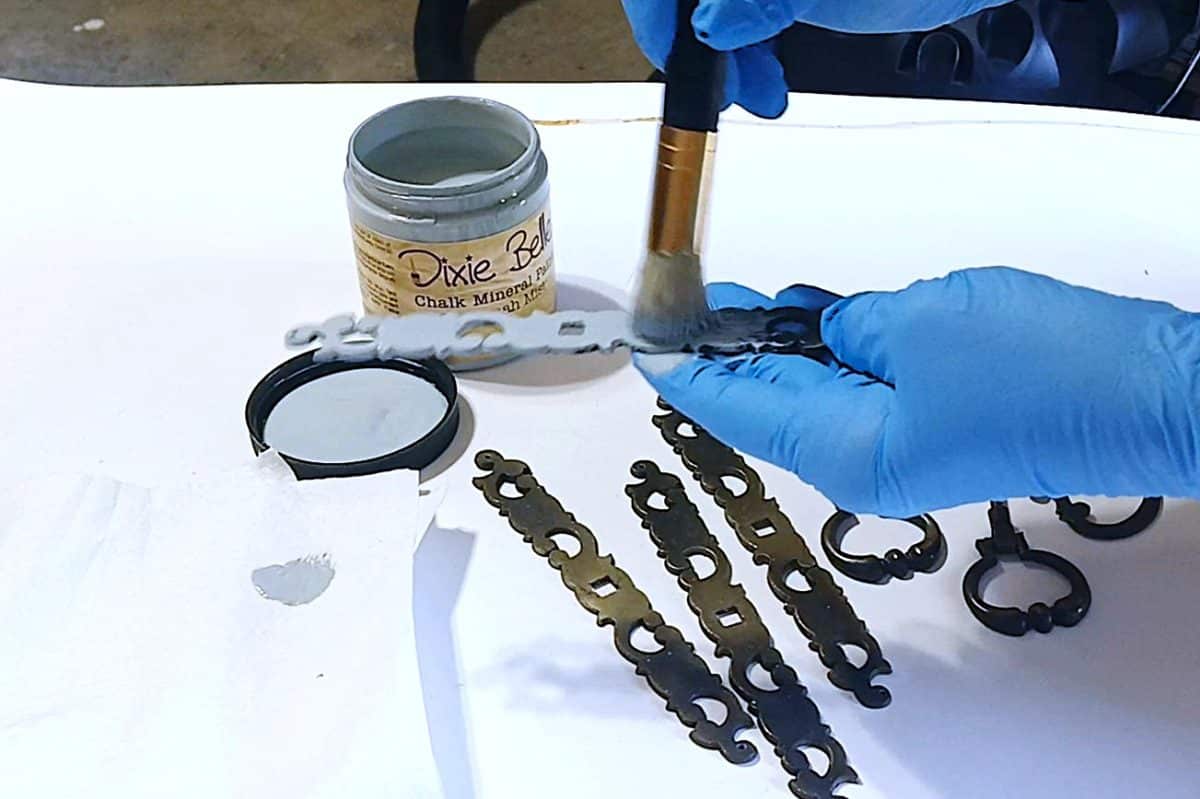
The Base Paint Color
So I painted the original hardware with the same paint color as the cedar chest. But don’t worry, it gets better.
Add Gold Accents
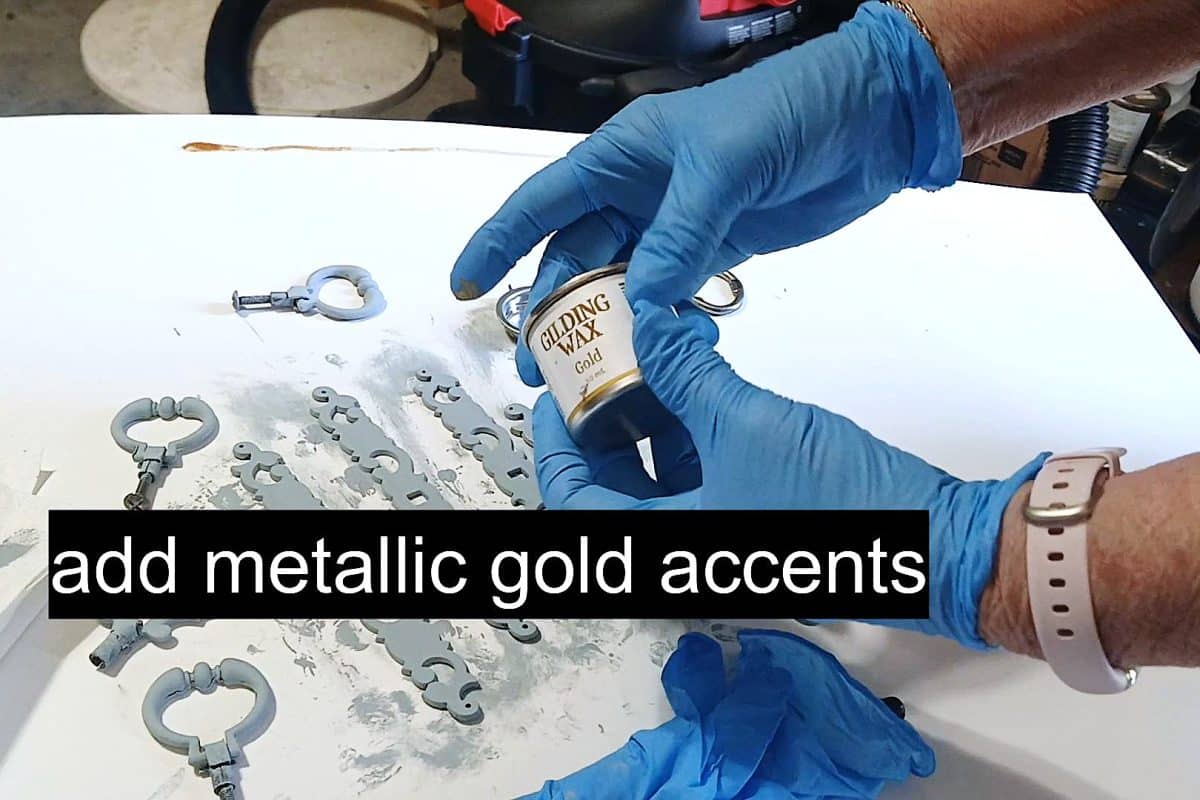
This little pot of gold gilding wax from Dixie Belle will last forever. I’ve used it on several projects, and it still looks full.
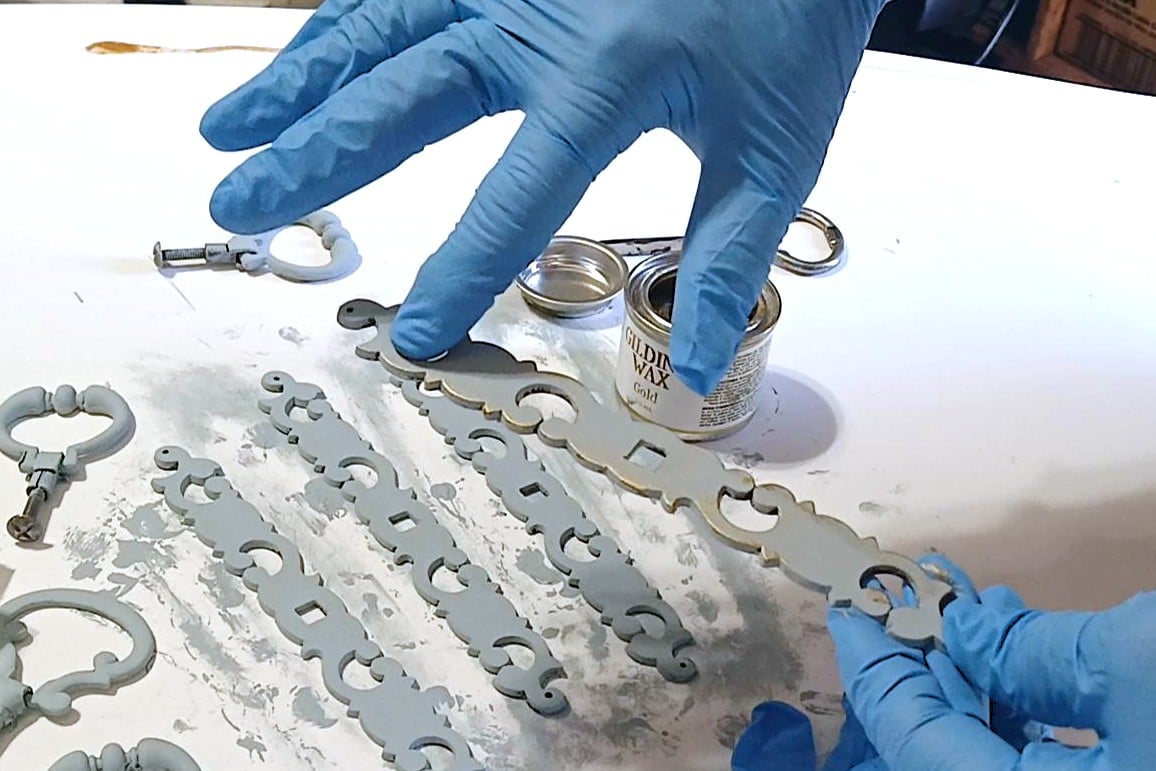 To add the gold details I dipped my finger into the wax and lightly rubbed it on the edges of the hardware and then down the center. There is no need to make this part perfect.
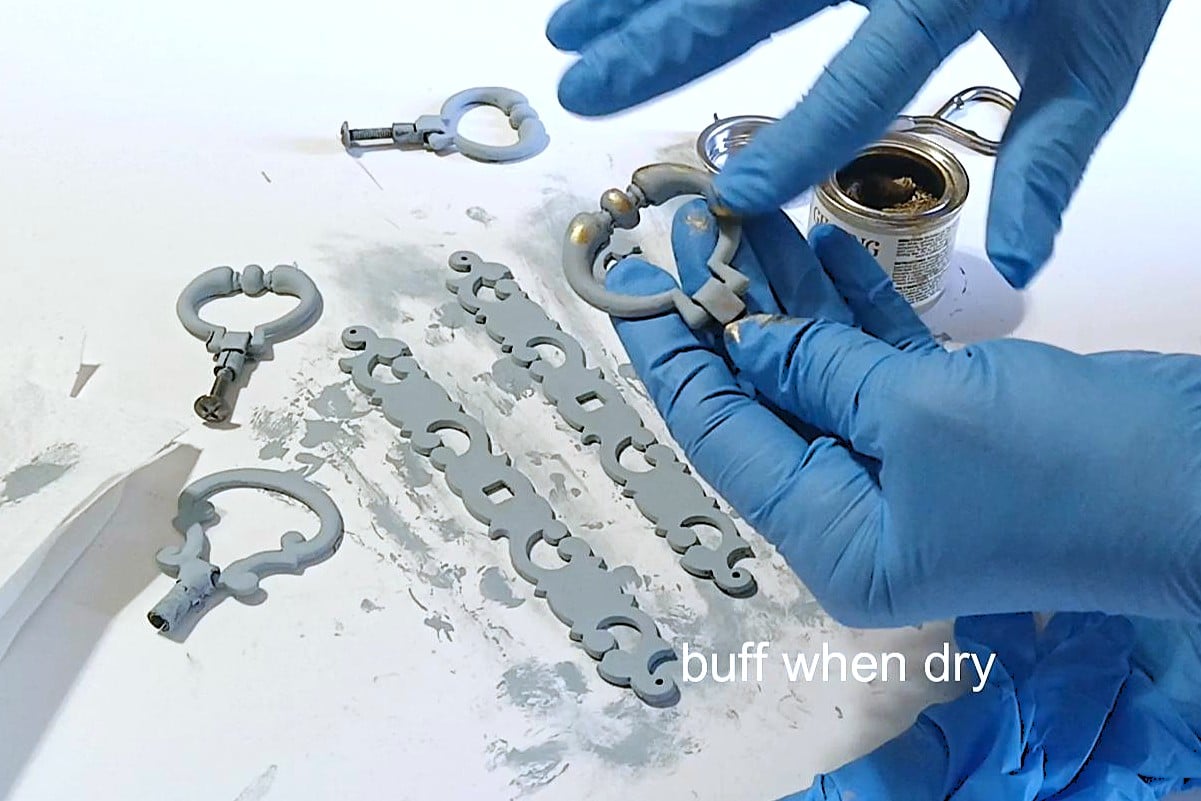
After the wax is dry, buff it with a soft lint-free cloth. It will have a beautiful sheen.
Add a Decorative Keyhole
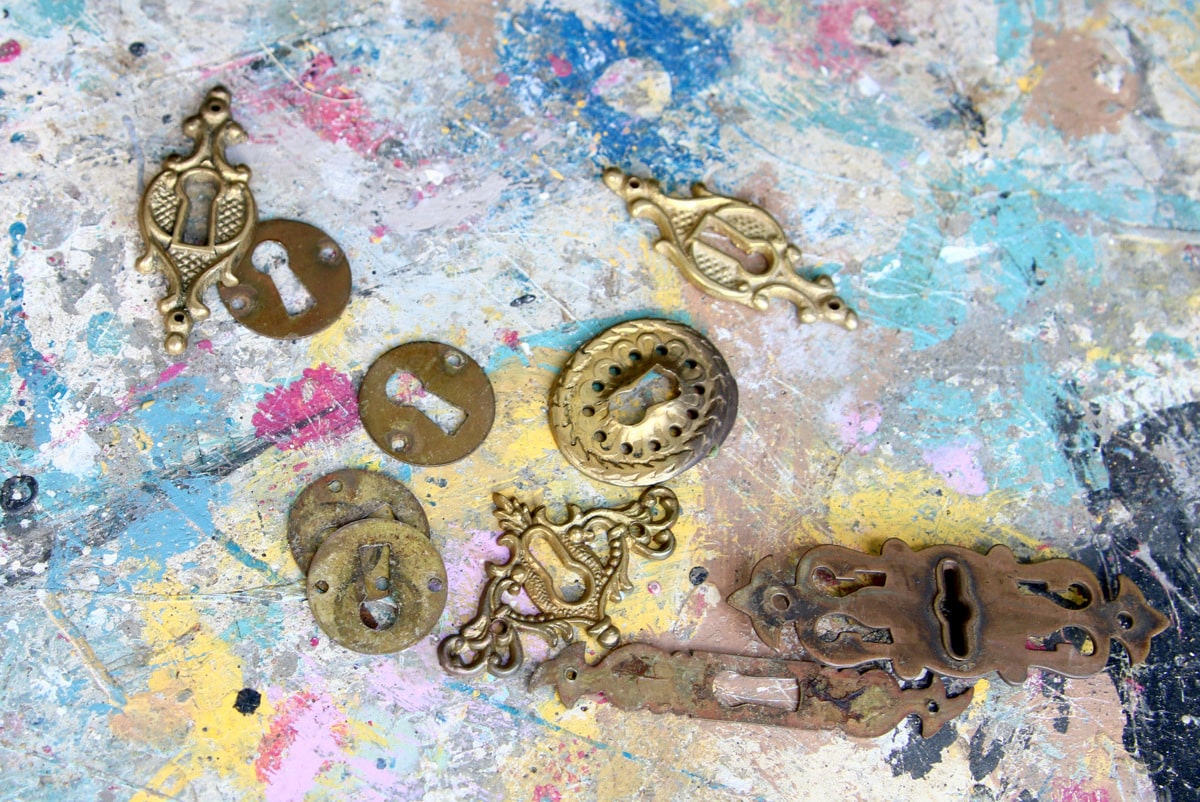
Now, to take care of the hole where I removed the lock. I have all these pretty, detailed brass pieces to choose from. Ya’ll, I have a stash of everything!
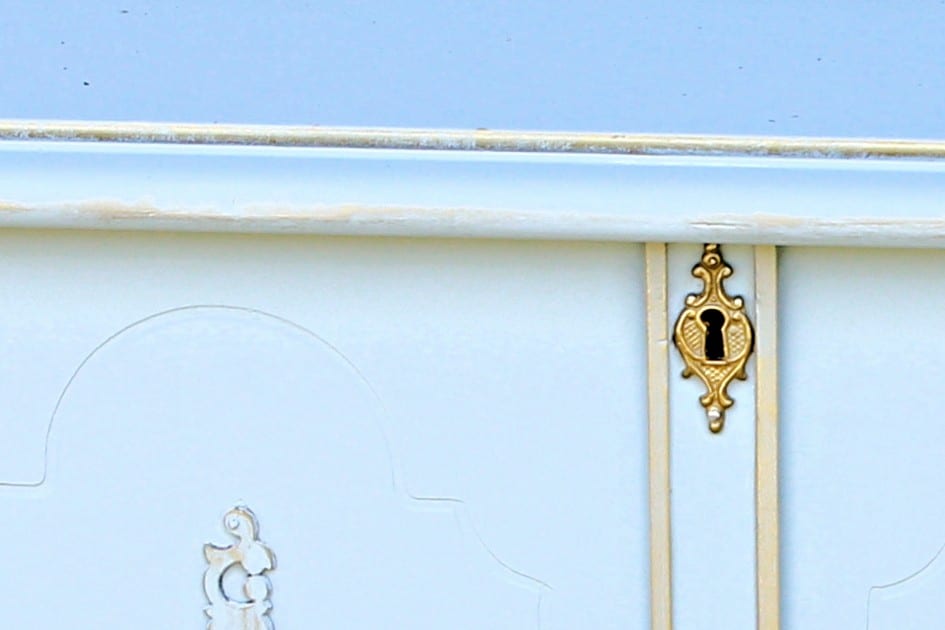
There was really only one of them that worked because of the small space in the panel area. But it was perfect.
Reattach the Painted Hardware
All that was left to do is put the hardware back on the chest. This part wasn’t difficult, but I wasn’t pleased with how off-kilter they looked.

They looked a little wonky. I used the original nail holes and screw holes when I reattached them. Soooo, I went back and looked at the before photos, and they were crooked to start with.
One was really bad, and I was able to straighten it a bit by making a new nail hole on the bottom end. See if you notice that the hardware is not straight in the photos. I spotted it because I always stand back and look critically at my work, and then of course I take a lot of photos.

I added gold accents to the cedar chest using the same gilding wax and a combination of paintbrushes and fingertips.
Yes, I have to say I’m in love with this piece. The color is fabulous, and the gold accents are perfect. I’m so glad I changed my paint plan.
The Finished Cedar Chest

Now, I’m trying to decide whether to keep the cedar chest or sell it. I did paint the back so it can be used as a coffee table, but it’s not very pretty.
The legs in the back have wooden attachments that don’t look too great; well, you saw them in the nail-gun photo. I may bring the chest into the house and try it anyway. I’ll let you know.

There was one pull missing from the chest, and I found this one in my stash. Not an exact match, but it looks fine.
Watch the video below to see how I painted the hardware and how I gave it that beautiful gold sheen.
The hardware and gold accents are what make this piece a standout. Without the extra touches, it would be just another painted cedar chest.

Leave me a note if you have time before going on the furniture tour. Or bookmark the post so you can come back later.
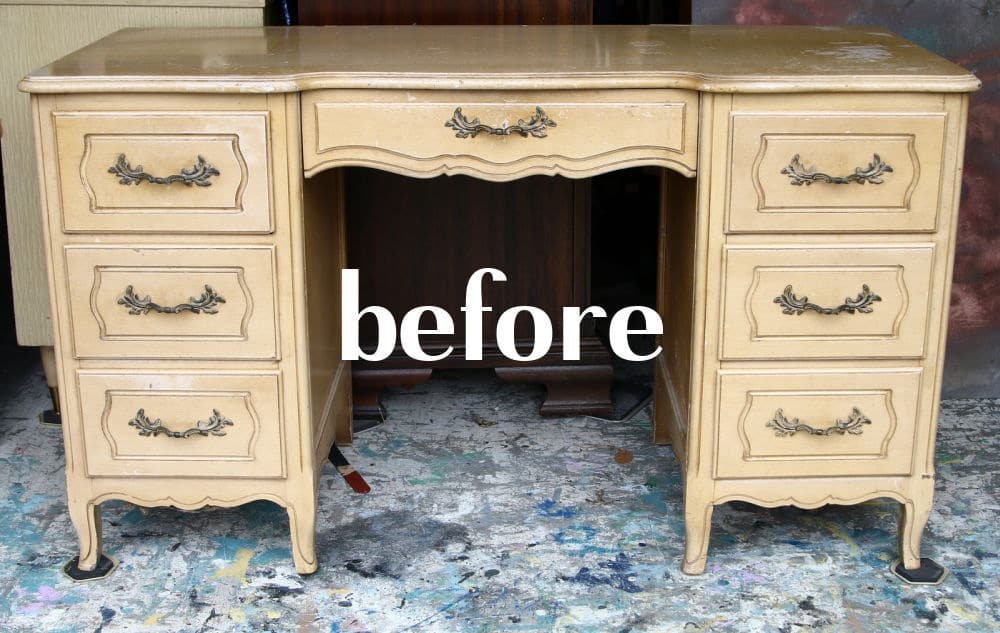
Take the Furniture Fixer Upper Tour by clicking the links below the “before makeovers” photo collage…..

Furniture Fixer Upper Tour:
Painted Pine Armoire – Confessions of a Serial DIY’er
Vintage Rose Dresser Makeover – Salvaged Inspirations
French Provincial Coffee Table Makeover – My Repurposed Life
Dresser Beginner Makeover – A Ray Of Sunlight
Cedar Chest Update – Petticoat Junktion (you are here)

As always, thanks for being here, Kathy
p.s. I have a blog post showing how to add any color paint to those little grooves and details here.

Thank you. I’ve never seen that show.
WOW! What a beautiful transformation. We’re watching the HGTV show “Castle Impossible,” and this piece would easily fit in the French Chateau they’re restoring. Featuring when my link party opens.
I love the color. You did a good job. It’s definitely a keeper.
I love it.
Very pretty!
Thank you. I haven’t used Rub n Buff but you can seal the gold wax with a sealer or use a clear wax to seal. I don’t think it will rub off but I cannot tell you for sure.
Can you give advice about using gilding wax or Rub n Buff? I have found the Rub n Buff does wear if you use the knobs. Aside from painting the hardware do you have any tips? And the chest is beautiful!
It’s really beautiful. I never thought of adding gold to a light blue piece, but now I will. It looks French! Ooh La La!
Wow, what a gorgeous update. The gold accents really make it pop!!
This blue and gold combo is a winner Kathy! So beautiful. Pinned XOXO
This is just beautiful!
This is gorgeous, Kathy! I think it might just be my favorite piece you’ve ever done!! I would want to keep it too!! XOXO